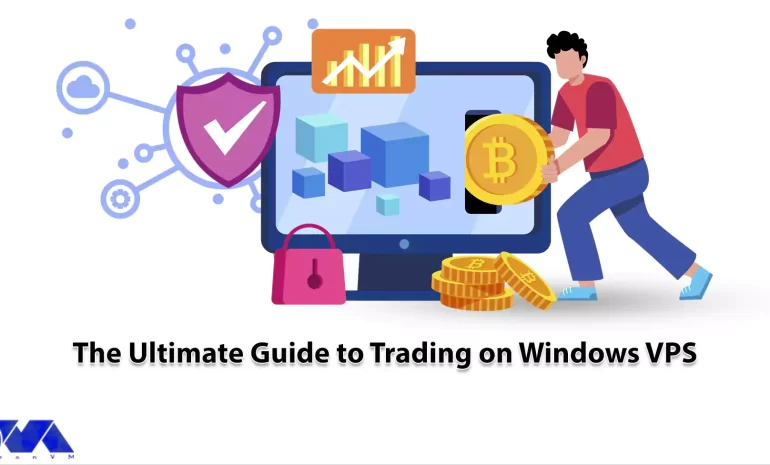
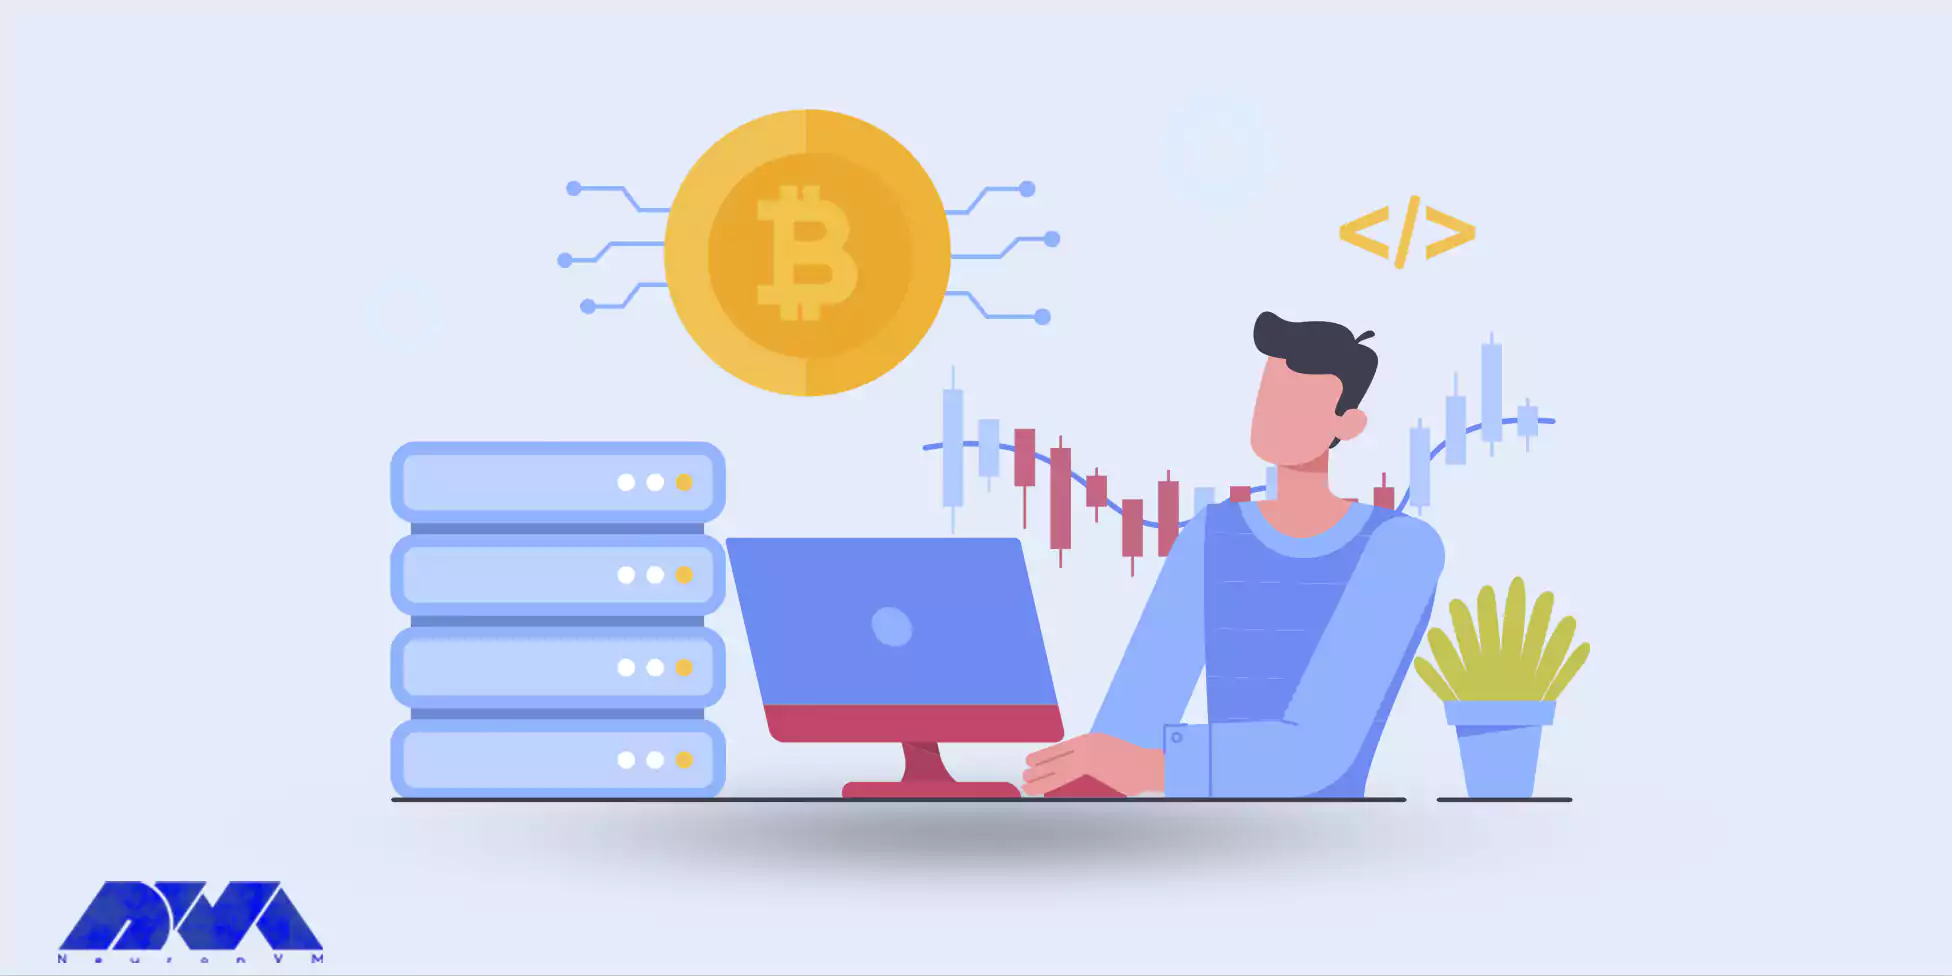
Are you looking for a fast and hassle-free way to purchase VPS hosting? Do you want to enjoy safe shopping without restrictions? So focus your attention on digital currencies like Ethereum. Follow this article to find out the benefits and how to do this. Meanwhile, NeuronVM has tried its best to provide users with the best facilities in the field of VPS hosting purchases using currencies such as Ethereum. Let’s find out what is the benefits of buying VPS with Ethereum.
What is Ethereum (ETH)?
Ethereum is a decentralized, open-source blockchain platform that was created to enable the development of decentralized applications (DApps) and smart contracts. It was proposed by Vitalik Buterin in late 2013, and development began in early 2014, with the network going live on July 30, 2015.
Ethereum’s flexibility and programmability have made it a popular choice for developers and organizations looking to create blockchain-based solutions for various industries. It has played a pivotal role in the growth of the decentralized finance (DeFi) sector, non-fungible tokens (NFTs), and many other blockchain-based innovations.
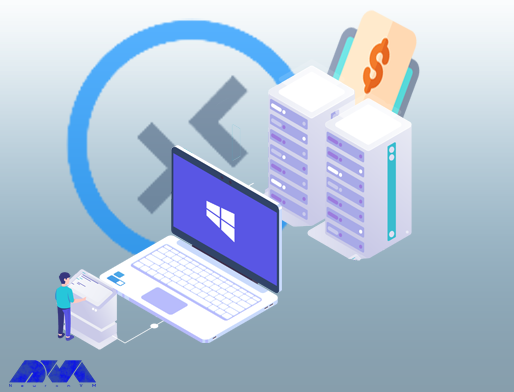
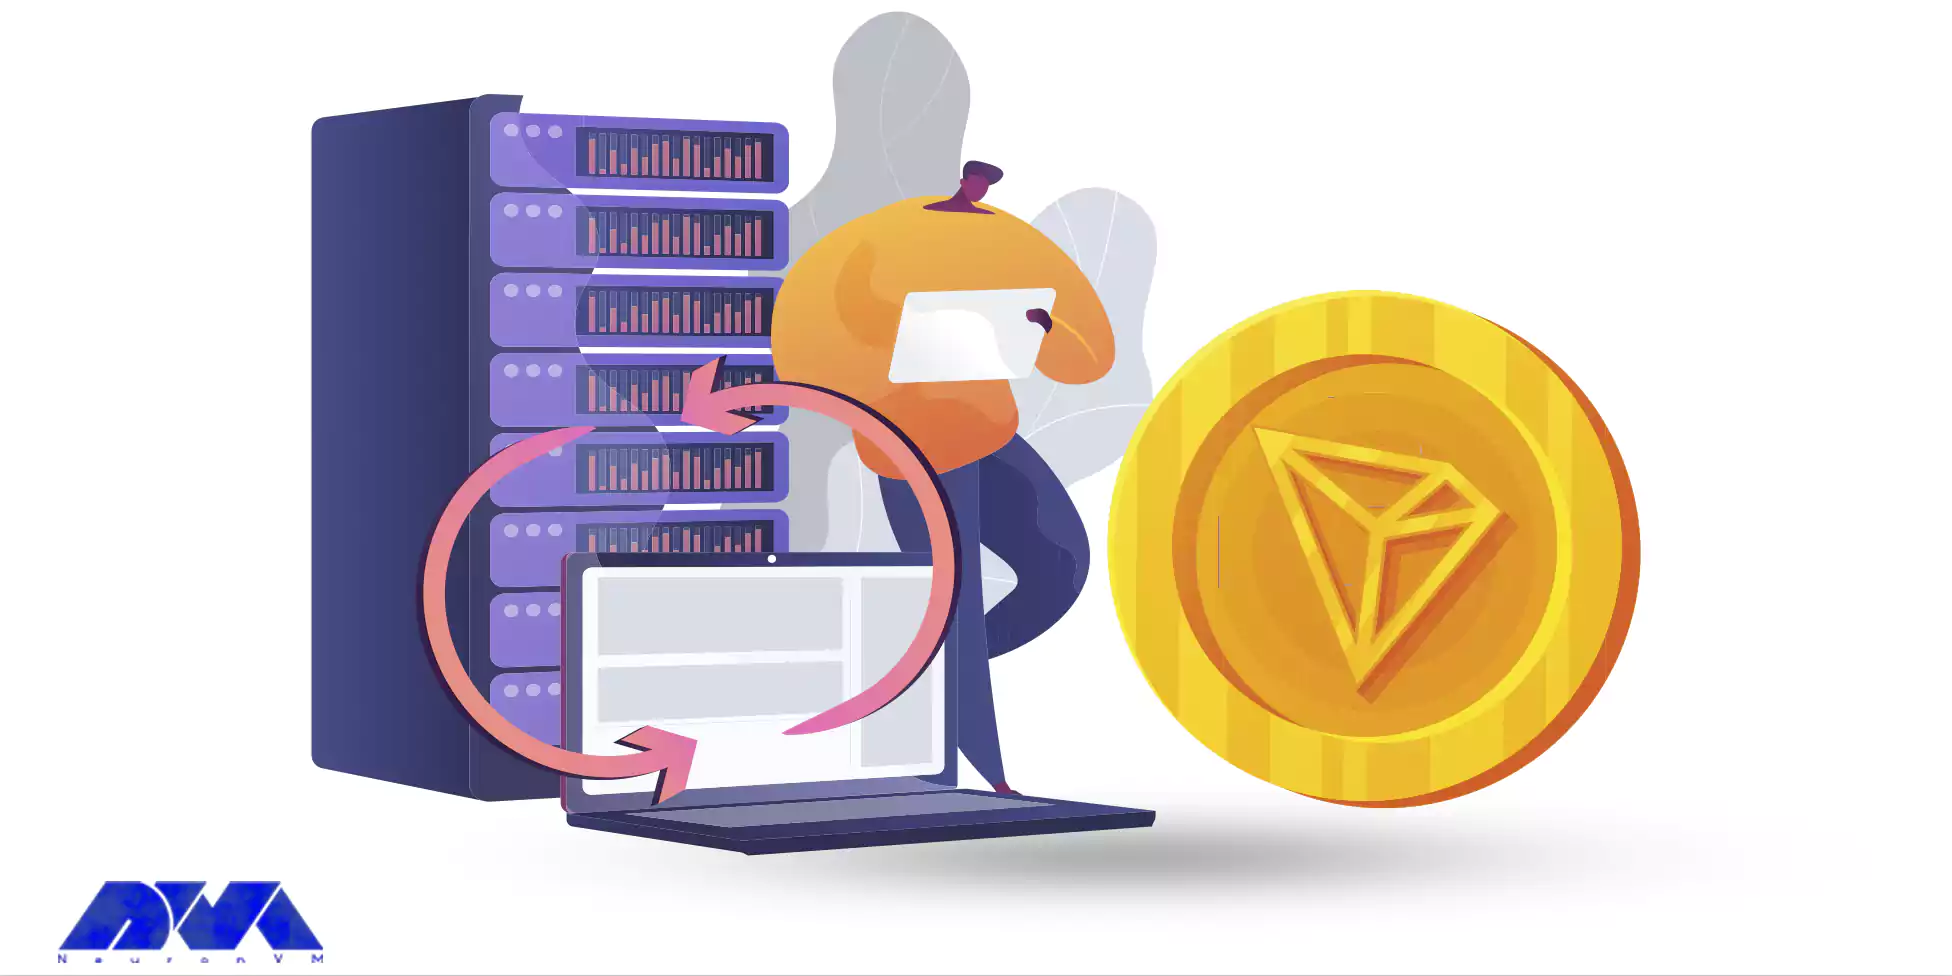
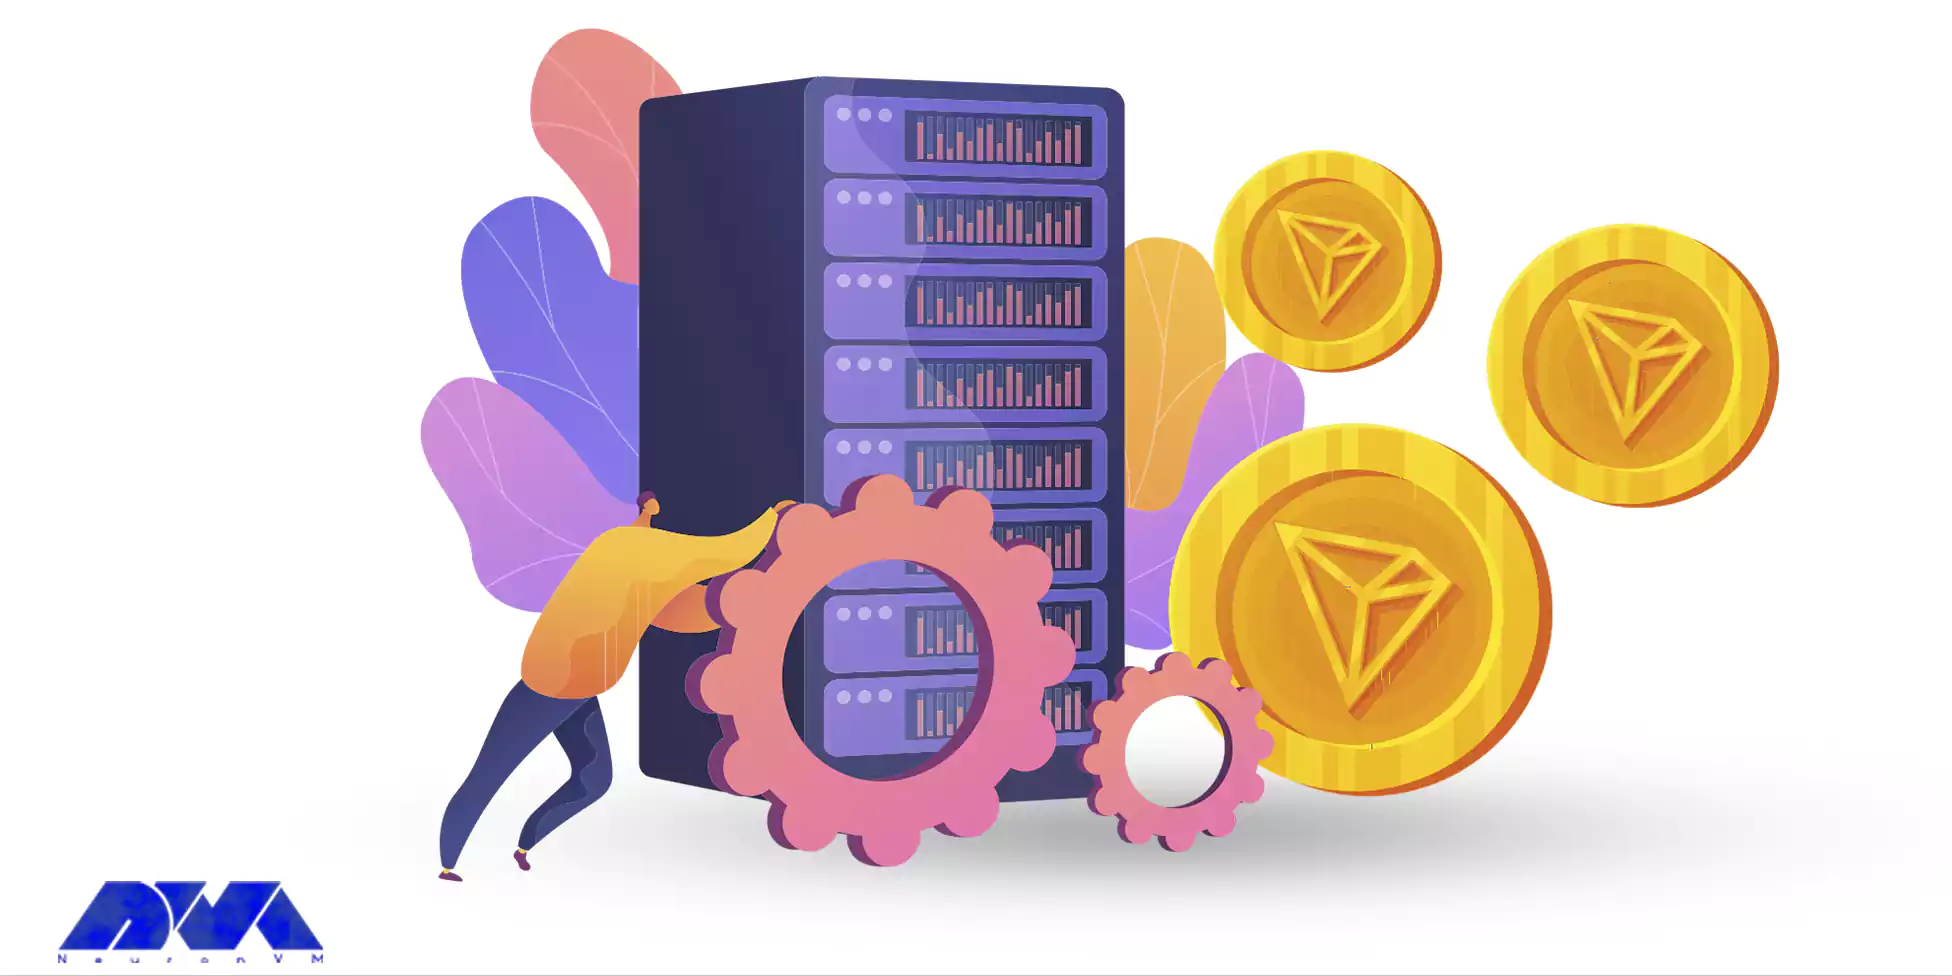
You can use Ethereum to purchase Virtual Private Servers (VPS) from certain hosting providers like NeuronVM that accept cryptocurrency as a payment method.
What are the Key Aspects of Ethereum?
To have a better understanding of Ethereum, let’s examine some important aspects of this popular cryptocurrency:
- Constant Development: Ethereum has a vibrant developer community constantly working on improving the platform. Ethereum has undergone several upgrades and hard forks, aiming to improve scalability, security, and sustainability.
- Ethereum Virtual Machine (EVM): The Ethereum Virtual Machine is a runtime environment that executes smart contracts on the Ethereum network.
- Smart Contracts: One of the most significant innovations introduced by Ethereum is the concept of smart contracts. Smart contracts are self-executing contracts with the terms and conditions of the agreement directly written into code.
- Blockchain Technology: Like Bitcoin, Ethereum operates on a blockchain, which is a distributed ledger that records all transactions across a network of computers.
- Decentralization: Ethereum, like other cryptocurrencies and blockchain networks, is decentralized, meaning it is not controlled by a single entity, government, or organization.
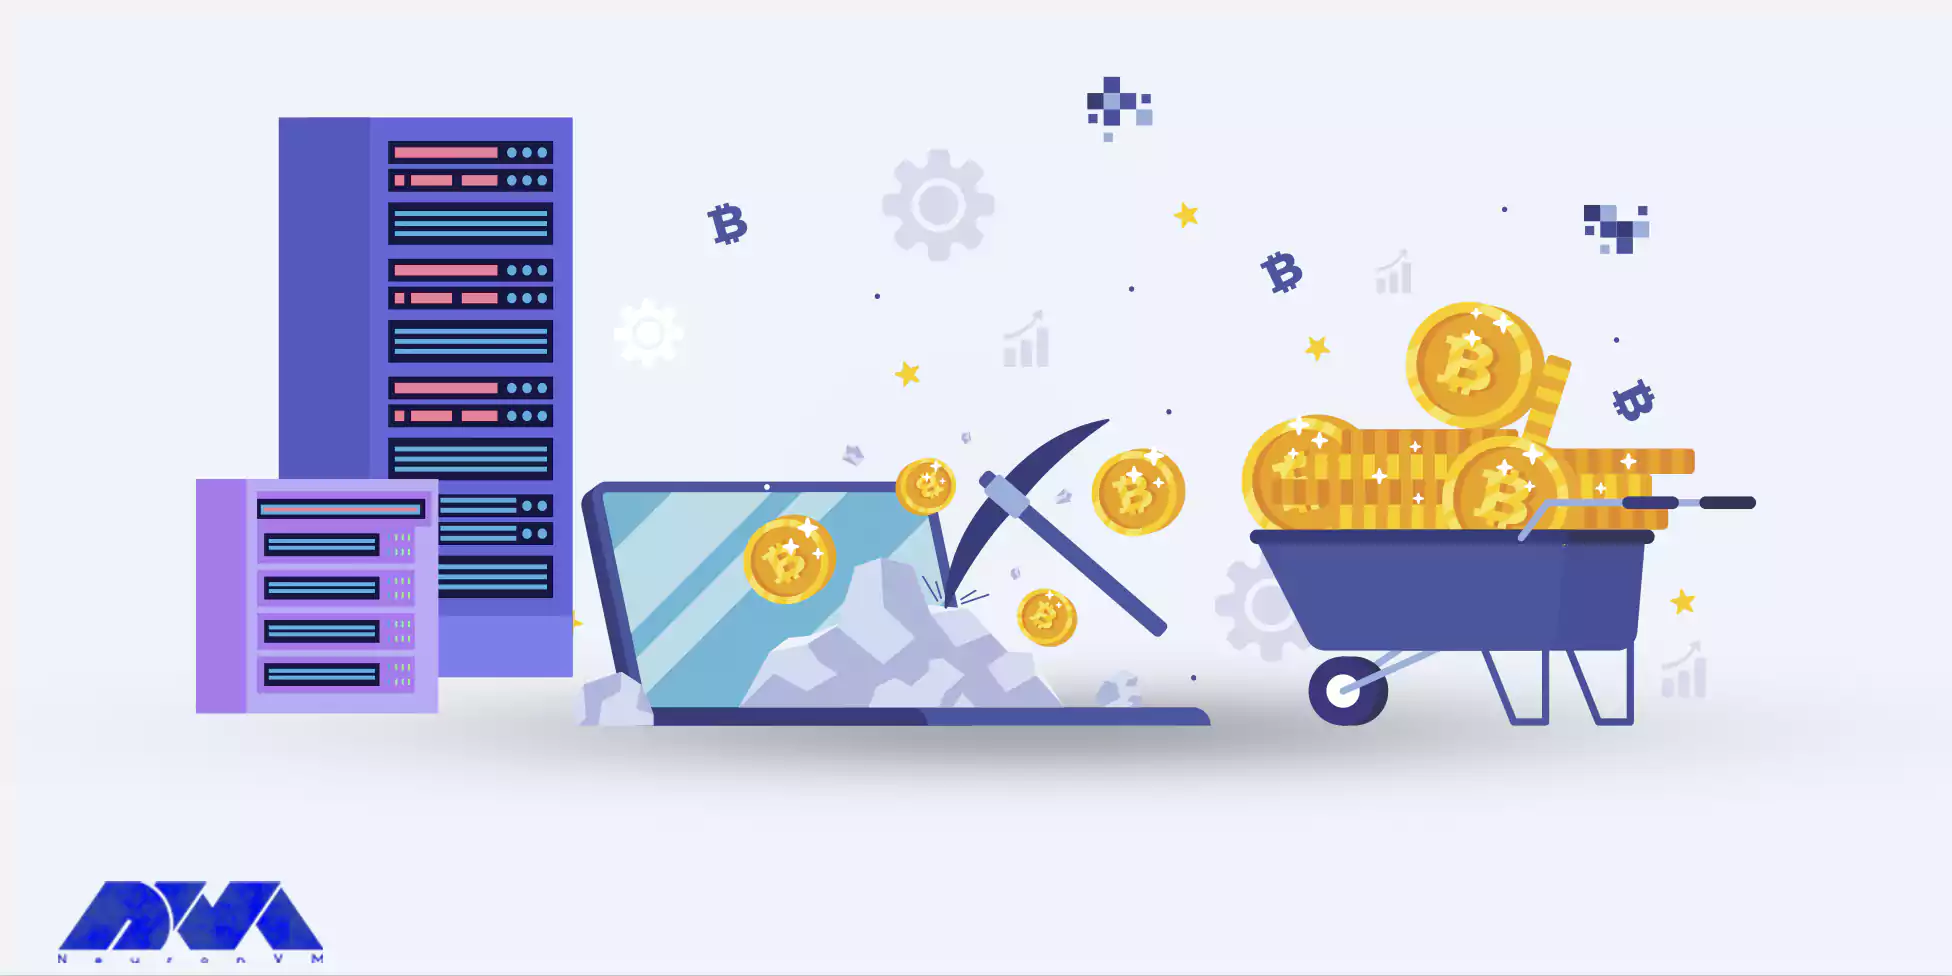
- Ether (ETH): Ethereum has its native cryptocurrency called Ether (ETH), which is used to pay for transactions and computational services and as a store of value.
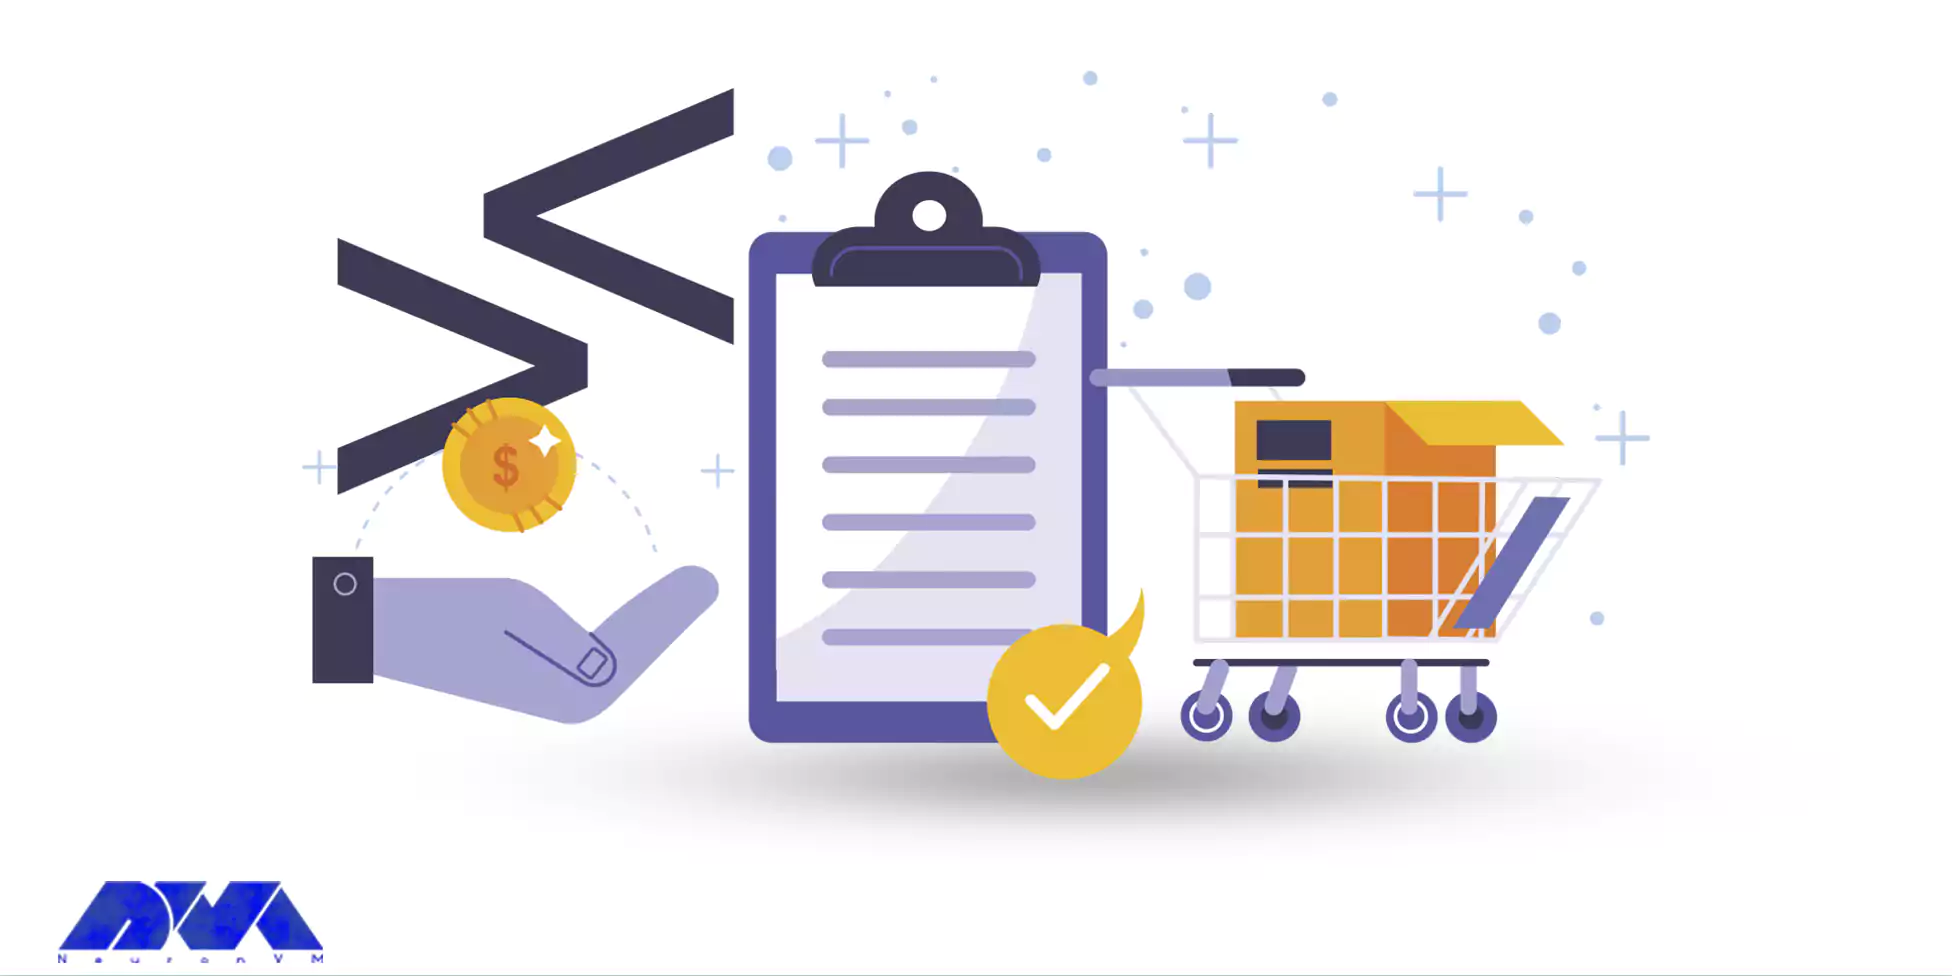
What Are the Significant Benefits of Buying VPS By Ethereum?
Buying a Virtual Private Server using Ethereum, a cryptocurrency, can offer several benefits, especially if you value privacy, security, and decentralization. Here we will analyze some benefits of usingEthereum to buy VPS.
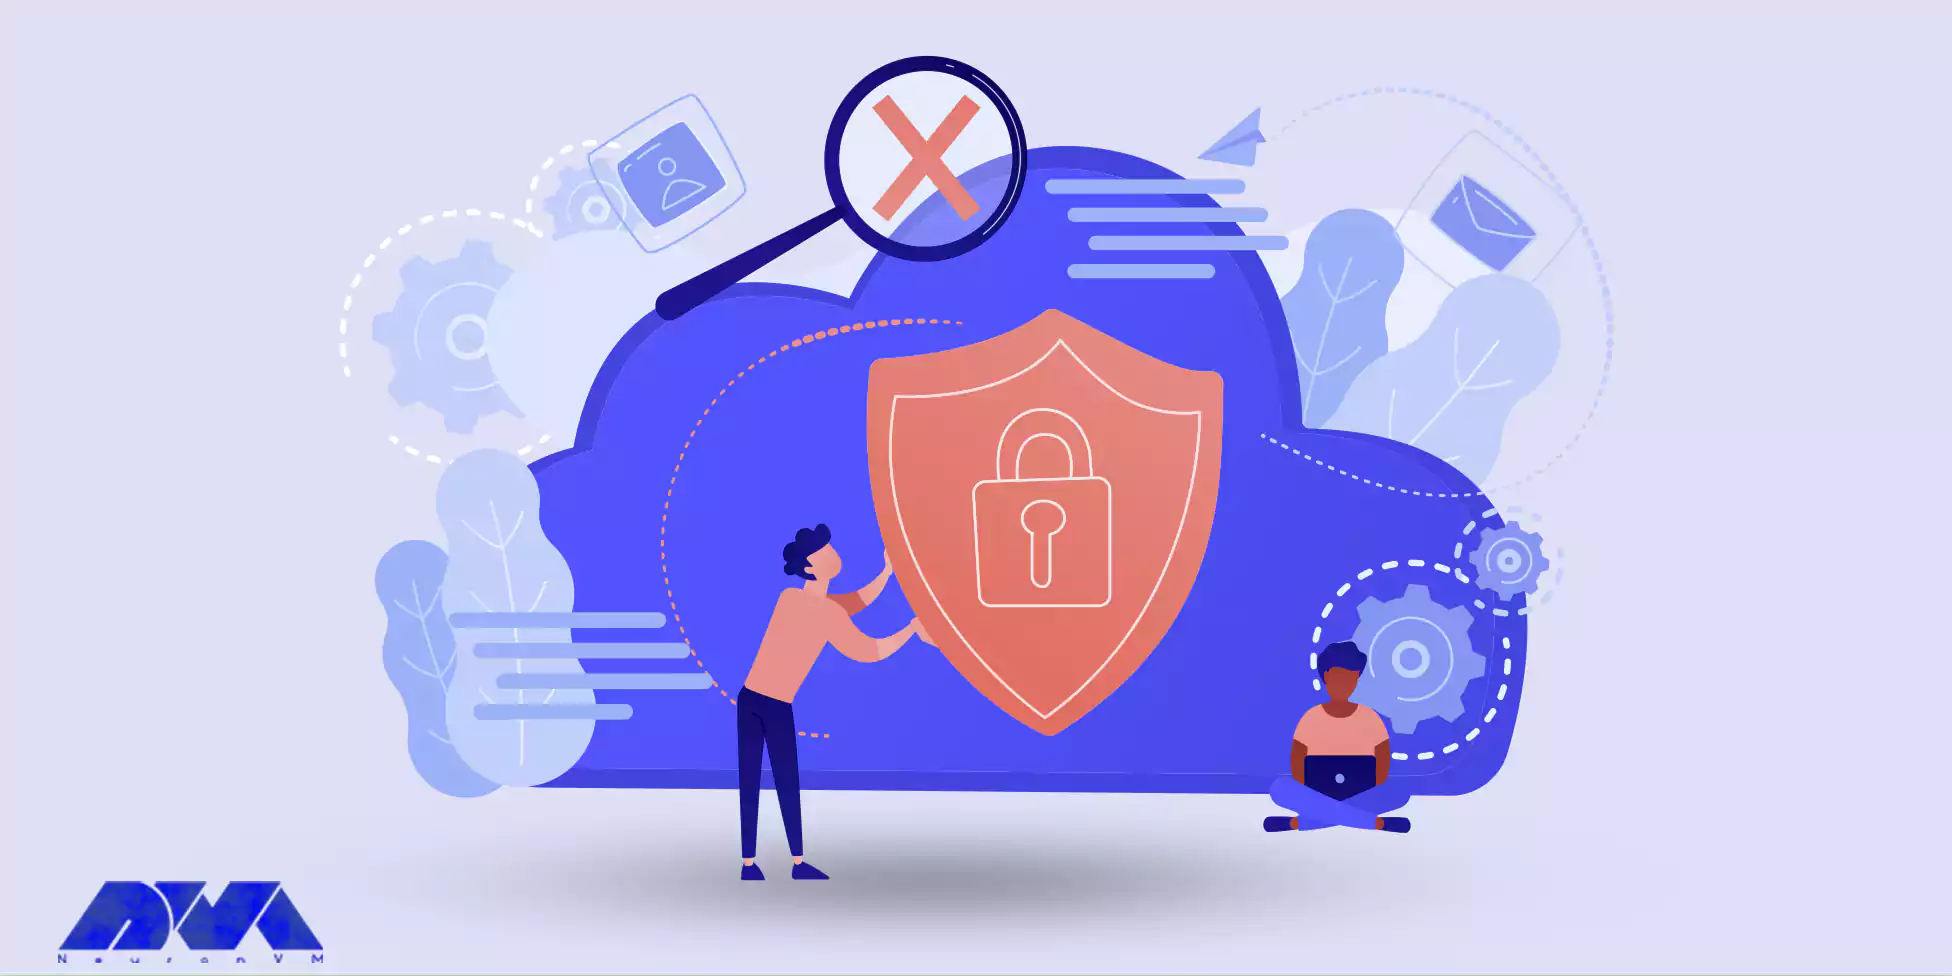
Having High Security by Purchasing VPS
When buying VPS and aiming for high security, there are several important considerations and steps you should take to ensure the safety of your server. These steps are: Choosing a reputable VPS provider, Having a secure operating system, Implementing a firewall, Using SSH, Securing database access, Regular backups, Monitoring server logs, and so on.
Ethereum transactions are secured using blockchain technology, making it difficult for unauthorized parties to tamper with your payment. When you buy a VPS with Ethereum, you can trust that your payment information is secure.
Remember that security is an ongoing process. Regularly assess and update your security measures to adapt to evolving threats. High-security VPS hosting requires diligence and a proactive approach to protect your data and systems.
The Advantage of Anonymity Using Ethereum
Ethereum transactions can be relatively anonymous, as they don’t require you to disclose personal information. This level of privacy can be appealing to users who want to maintain anonymity while purchasing online services, including VPS hosting. In other words, Another advantage of using Ethereum can be anonymity and a layer of privacy. So when you buy a VPS host from a site like neuronvm, you can be sure of the anonymity and confidentiality of your personal information and payment details.
Also, anonymity can enable individuals to express their opinions, thoughts, and ideas without fear of retaliation or judgment. This is especially important in situations where expressing dissenting or controversial views could lead to social, professional, or legal consequences.
In research and surveys, anonymity can encourage more honest responses from participants, especially when dealing with sensitive or stigmatized topics. People may be more willing to share their experiences and opinions when they know their responses won’t be linked back to them.
Lastly, We can say that anonymity can help reduce biases based on factors like race, gender, age, or social status when evaluating ideas or content. It allows people to focus on the content itself rather than the identity of the person presenting it.
Decentralization option of Ethereum When Buying VPS
When buying VPS for hosting applications or services that require a decentralized infrastructure, you can consider various options within the Ethereum ecosystem. Ethereum is a blockchain platform that supports smart contracts and decentralized applications (DApps), making it suitable for certain decentralized hosting and computing needs.
Ethereum is decentralized and it means it’s not controlled by a central authority. When you use Ethereum to buy a VPS, you are supporting a decentralized ecosystem that operates without intermediaries, providing you with more control over your financial transactions.
The Power of Global Accessibility By Ethereum When Buying VPS
Ethereum is a global cryptocurrency, and its use is not restricted by geographical boundaries. You can use Ethereum to purchase VPS hosting from providers around the world, increasing your options and accessibility. While Ethereum itself doesn’t provide VPS hosting, it can indirectly impact the accessibility and availability of VPS hosting through various mechanisms and applications built on the Ethereum blockchain.
Here’s how the Ethereum ecosystem can potentially enhance the accessibility of VPS hosting:
- Decentralized Applications (DApps)
- Smart Contracts
- Tokenization
- Payment Flexibility
- Trust and Transparency
It’s worth noting that while Ethereum can improve the accessibility and transparency of VPS hosting, it doesn’t directly provide hosting services. Users should conduct due diligence when choosing VPS providers to ensure they meet their specific requirements for performance, security, and support.
Fast Transaction With Ethereum
Ethereum, like many other blockchain networks, aims to provide fast and secure transactions. However, transaction speed on this currency network can vary depending on several factors. These are network congestion and the gas fee you’re willing to pay.
Ethereum transactions tend to be faster compared to traditional banking systems. This may involve delays due to intermediaries and complex verification processes. This speed can be advantageous when you need to set up your VPS quickly.
Some features that can help you have a faster transaction on the Ethereum network are: Using Ethereum wallets that have fast transaction options, Using Layer 2 solutions, Batch transactions, setting an appropriate gas limit, and so on.
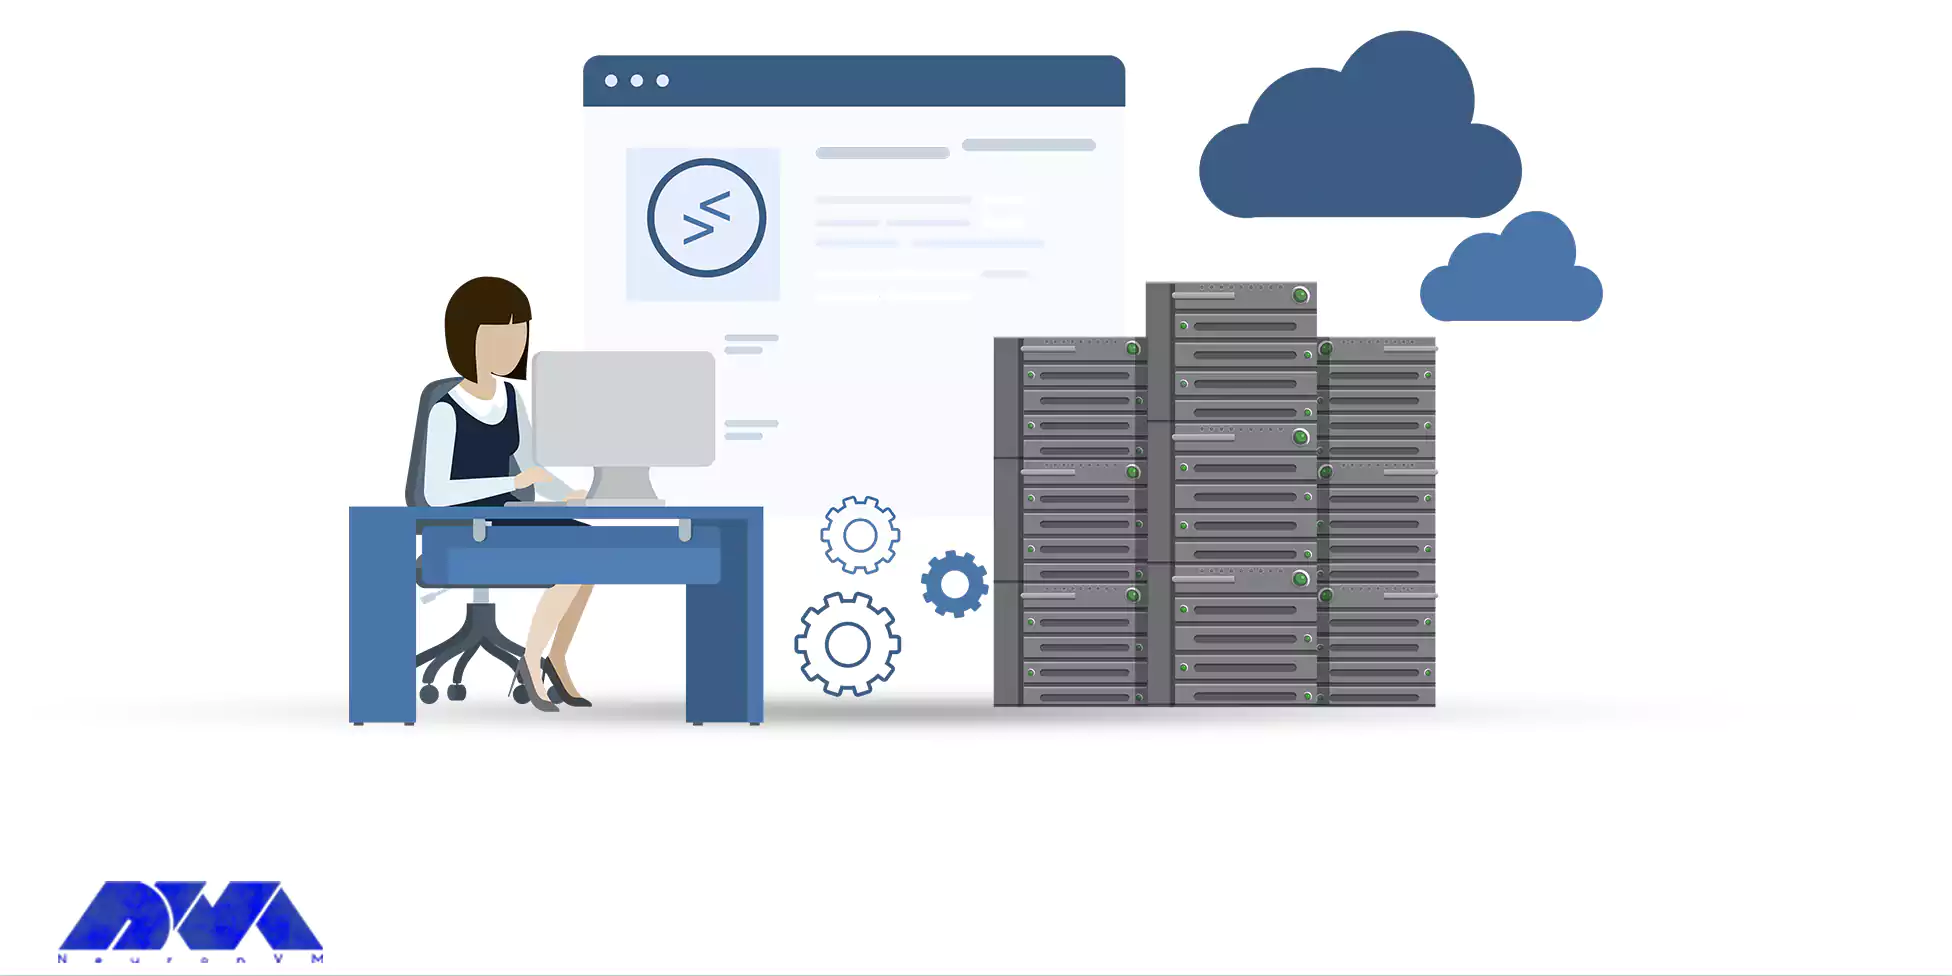
Why You Should Choose NeuronVM to Buy VPS With Ethereum?
As mentioned before, not all hosting providers offer cryptocurrencies like Ethereum. Only a few of them have made it possible to pay with Ethereum, one of these providers being NeuronVM. This site has tried to open the way for you as much as possible and provide you with the possibility of an easy and fast VPS purchase.
By choosing NeuronVM, you can experience high security, reliability, speed, 24/7 technical support, and communication with professional experts. With complete confidence in the quality of its products, this site also guarantees a 7-day money-back period.
Conclusion
Buying a VPS using Ethereum can provide benefits such as security, privacy, decentralization, and global accessibility. However, it’s essential to be aware of the potential downsides and ensure that you are comfortable with cryptocurrency transactions. Additionally, the availability of Ethereum as a payment option may vary among VPS providers. So it’s advisable to check with your chosen provider before making a purchase. Here we tried to get you familiar with this valuable crypto and the benefits of using Ethereum to buy VPS from a provider like NeuronVM.