In this article, we will show how you can download and use Desktop Google Drive for Windows, Mac & Linux. When we talk about Google Drive it makes sense a lot, Because this drive makes it easy to access and use your cloud storage files. It is very popular, useful, and also compatible with Google online tools. We should mention that if you want to use this drive, you should have a Google account and if you desire to have it, then the best way is to install it on your desktop and mount it to access. Google Drive consolidates with Google’s other services and systems like Chrome, Gmail, Google Docs, YouTube, Google+, and so on.
If you need to use a Windows VPS or Linux VPS server, we suggest you visit our website plans, which are offered with a wide variety and location of your choice.
Google Drive Features
Now let’s analyze some main features of Google Drive:
– Capability of storing files and folders and serving a backup solution
– Integration of Google Office apps
– Include different apps and icons like Google Docs, Google Sheets, Google Forms, and so on
– Allow to share files and invite others to view, edit, and download them
– Accessibility of files from any smartphone, tablet, or computer online or offline
– Possibility of comprehensive search
– Saving files safely and protecting them with an AES256 or AES128 encryption
How to Download and Use Google Drive on Windows / Mac
Now that you’re familiar with Google Drive, let’s see how we can install it on your desktop for Windows or MacOS. Actually, you can easily do the installation process and it is entirely free for you, so follow our instructions and enjoy your application.
Navigate to the Google Drive download page and select the option to download Drive for Desktop.As the website is intelligent, it can automatically recognize your operating system and will download the appropriate file type for you:
At this step, as soon as the window appears, select which folder you need to save the installation file and click the Save button.
For Windows, you should use Googledrivesetup.exe, and for Mac Googledrive.dmg file name.
Also, you can choose to open files automatically:
Now you can click the Install button to start the process.
Note: on MacOS, an extra window will appear, requiring your Mac password to confirm the installation.
So enter the Password and click Install Software:
Wait for the installation to complete.
If your operating system is Windows, a new drive named Google Drive (G:) will be added to the desktop. But if it is MacOS the Drive icon will show up in the top menu bar:
In the last step, sign in to your Google account to complete your task. On Windows, you will be redirected to the browser and go to the login page. But on Mac, first of all, you should click the drive icon on the top menu bar and if you complete the installation successfully then you can log in to Google Drive.
How to Download and Use Google Drive on Linux
As you see, we can use Google Drive on Windows and Mac. But Google hasn’t released an official version for Linux. Don’t worry cause we can use other tools to fill the gap.
You should know that Google officially recommended using the Google Driver Website on Linux. But if you want to find it on your desktop, then follow our instructions:
First of all, you should know that Gnome supports Google Drive on its version 3.18 desktop environment. Also, the Ubuntu desktop includes Nautilus which is part of Gnome. You need to spend extra time getting the Google Drive integration. To start this process you should install the Gnome Control Center and Gnome Online accounts package. So open the terminal and use the command below:
Enter your password and type “y” to install the software.
Then open the dashboard and search for “Gnome Control Center“. Navigate to the application settings:
At the window, click the “Online Accounts” icon in the Gnome Control Center window:
Now click the “add account” then select “Google” and sign into your Google account.
You can give access to your account and ensure that the files option is enabled:
You can see the Google Account email address as an option in the sidebar at the file manager window.
Then click to view Google Drive files. You can browse, open, and save files, but files are not synced offline to the desktop. The modified copy will be automatically uploaded by the system:
If you want to see the thumbnail preview, follow the pass below and then select “always“:
Edit >> Preferences >> Preview, click the “Show Thumbnail”
That’s it! Now you can use Google Drive on your desktop.
Conclusion
Ok, guys! We tried to guide you in learning how to download and use Google Drive on Windows, Mac, and Linux. Now you can easily download it on your operating system, and also manage and access your cloud storage files without any worries about security. We hope you enjoy this article and suggest that you read the interesting infographic post, Cloud Computing Structure.
FAQ
1) Is there any difference between Google Drive and Google Drive for Desktop?
The desktop version synchronizes and stores the content of Google Drive locally on the computer, but the first one streams all files and folders from the cloud.
2) What is the maximum storage for desktop Google Drive?
Actually, it comes with 15 GB storage, but if you upgrade it to Google One, your total storage increases to 100 GB or more.
Netstat is a powerful networking command-line tool used to display network information and statistics in Linux-based operating systems. You can easily run Netstat on Fedora to help troubleshoot network-related issues and monitor network connections on your system. This article will walk you through the steps to install and run Netstat on Fedora 33. Before starting the training, we suggest you use the Linux VPS server plans provided on our website. It should be noted that these plans are offered in multiple locations with immediate delivery.
How to Install Netstat on Fedora 33
Note that the Netstat command is provided by the net-tools package on Fedora servers.
In the first step, you should open a new terminal and log into your server via SSH as a root user or as a sudo user.
Now you can install Netstat on Fedora 33 server by entering the following command:
sudo dnf install net-tools
If you asked for confirmation, you should enter “y” and then press “Enter“:
Install 1 Package
Total download size: 305 k
Installed size: 989 k
Is this ok [y/N]: y
Next, Verify the installation by checking the netstat version:
netstat -V
How to Download and Install Netstat rpm on Fedora 33
First, you should log in to your Fedora 33 server as root.
Now enter the following command to download the net-tools package. This command downloads the net-tools package from the fedoraproject.org website:
This allows you to identify if the service is listed on each port.
Command parameters include:
t: is used to print TCP connections
u: is used for printing UDP connections
l: Print all listening server sockets
p: Print all PID/Program names for sockets
n: Don’t resolve names from IPs
Conclusion
This article taught you how to install and run Netstat on Fedora 33. Installing and running Netstat on Fedora 33 is a simple process that can provide valuable insights into your system’s network connections and statistics. By following the steps outlined in this article, you can easily install the net-tools package and run Netstat commands to troubleshoot network-related issues and monitor network activity on your Fedora 33 system. Take advantage of the powerful capabilities of Netstat to better understand and manage your network connections. If you want to use an editor with a lot of customization, you can read the article Introduction and Install Atom on Fedora 34.
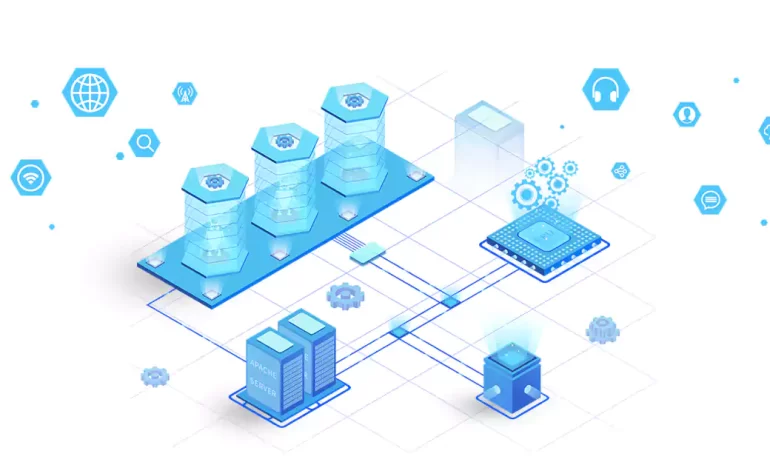
In this article, we are going to explain to you Why You Should Move to a More Powerful Dedicated Server. When you plan to set up a website to start your business, you also need a hosting space for it. In the meantime, you have different choices. From shared hosting and virtual server to dedicated server. Each of these spaces can serve you in some way. If your site is newly established and is not going to grow much, or in other words, you have a small online business, it is better to go for shared hosting. But if you want to bring the best performance to your site, our Dedicated Server plans will undoubtedly be the best option for you.
5 Reasons for choosing a powerful Dedicated Server
In general, a dedicated server is considered to be your most powerful choice for hosting your website and software. The power and speed that these servers give you is incredible. The amount of resources you have available is very high and you can see the best performance of your site or software. There are various reasons for choosing a dedicated server. In the following, we will discuss the main reasons for this choice.
1. Get the best Performance of the site or Software
By purchasing a dedicated server, you can witness the best performance of your website or software. The high bandwidth and uptime of NeuronVM dedicated servers ensures that you see the best version of your site’s performance. Even when you receive a lot of traffic, you can serve visitors without any problem due to the high processing power of these servers. These benefits do not exist in shared services such as shared hosting, and if you are looking for such features, you should consider getting a dedicated server.
2. High Security and Privacy
Security is one of the most important parts of business. When your business operates in virtual space and online, the importance of security increases many times. One of the risks that threaten you in shared services is the loss of information. Even your website may not be attacked directly, but due to the shared service, your site will be at risk during attacks. But these problems do not exist in powerful dedicated servers. Because this service is completely provided to you and you are responsible for establishing and maintaining security and installing the required software. So, if you have sensitive data or customer information, it is better to be careful in choosing a powerful dedicated server.
3. High Speed
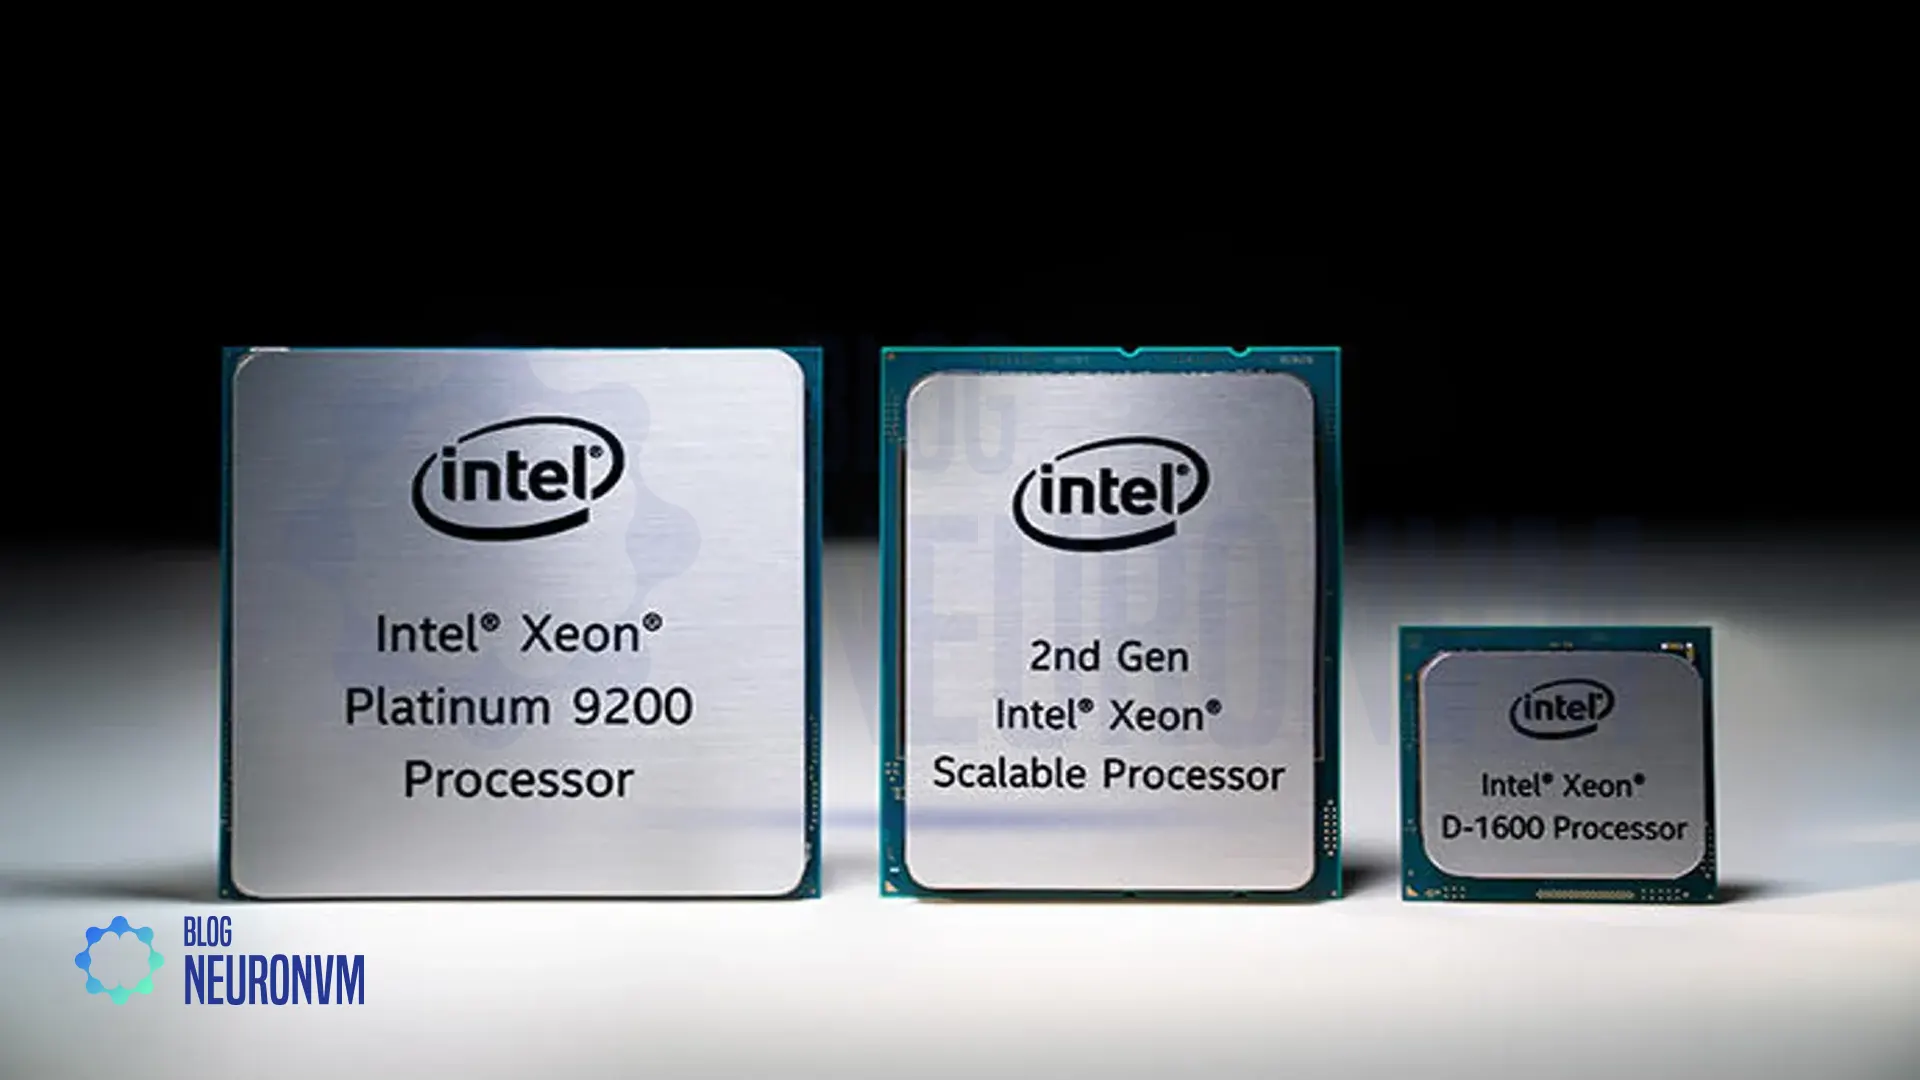
These days, speed is the first word for users. Today’s users don’t give your website a chance to load. If your site does not load in less than 3 seconds, they will simply leave it and never visit it again. Therefore, you should pay a lot of attention to this issue. Slowness is one of the main problems people face when using shared services. But if you use NeuronVM dedicated server, you will experience high and incredible speed because all the resources are at your disposal. The use of more optimized and stable infrastructure, high-level data center equipment and powerful CPU will increase the speed of your site.
4. IP address assignment
When you use shared services such as shared hosting, you must also share your IP address with other sites. Because you share the resources with them and it works in the same way in IP. But in a dedicated server, this issue is different. Maybe you think what is the importance of this issue? In fact, it should said that if one of the sites on your server has a low rank or produces spam, it can negatively affect the performance or rank of your site. But having a powerful dedicated server ensures that your site has a unique IP address. Also, NeuronVM has the ability to provide users with additional IPs at the lowest cost.
5. Full ownership and Access to the Server
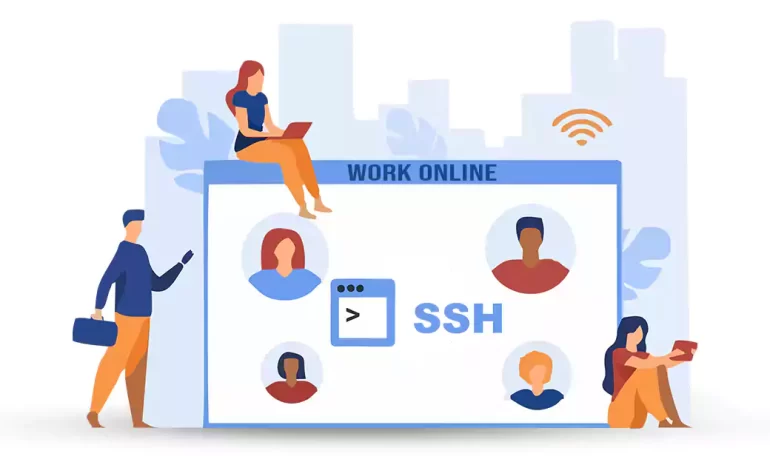
This is one of the main reasons why website owners are looking for a dedicated server. Especially those people whose site is full of important and vital information. With a powerful dedicated server, you can choose the software and operating system you want. In fact, by purchasing a dedicated server, you will have complete control over the root or SSH level of your server.
Conclusion
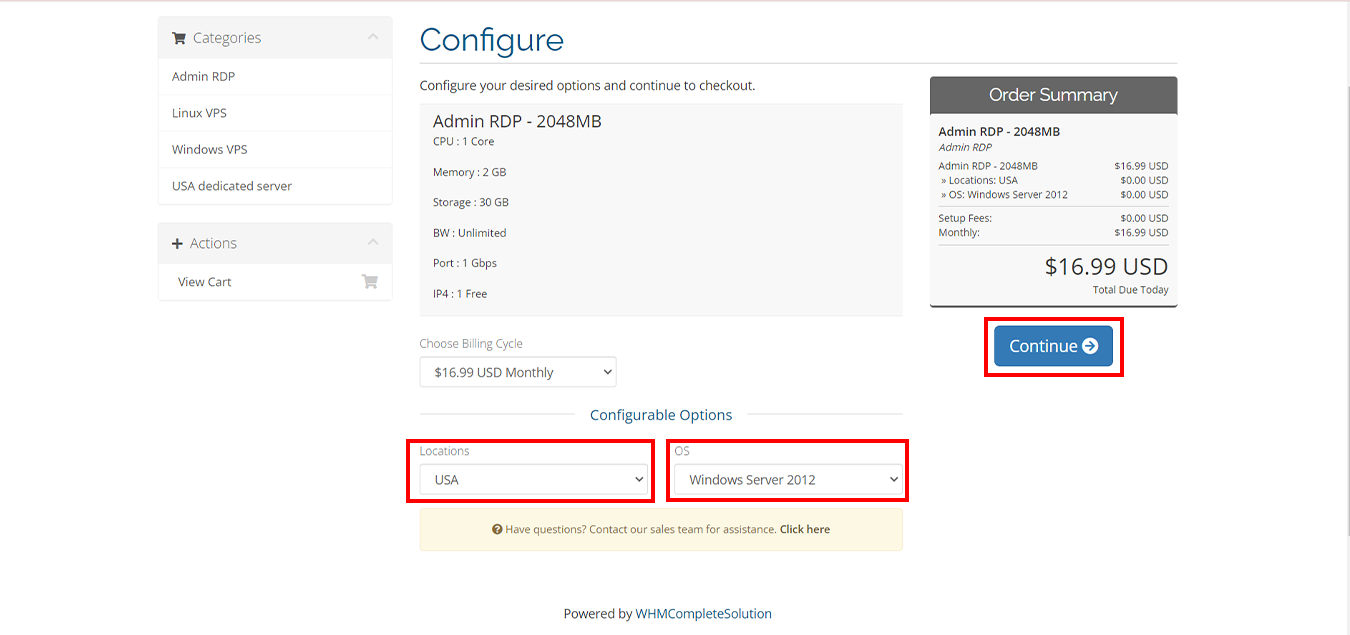
In this article, we explained 5 reasons why you should move to a more powerful dedicated server. By purchasing a dedicated server from the NeuronVM website, you can see the best performance in every part you use. Affordable prices, high security, high speed, bandwidth, etc. are the advantages of our powerful dedicated servers. It is also possible to change the configurations according to the customer’s request. If you want to buy a dedicated server, you can choose and buy the plan you want by sending a ticket and receiving a consultation.
Tutorial on how to Setup FTP Server on RDP 2012, 2016, and 2019 step by step. FTP or File Transfer Protocol is a protocol developed in 1971 on the Internet. This server is one of the oldest Internet protocols and One of the most common ways to transfer files between computers is through the FTP protocol. FTP is one of the most widely used protocols in web development, which is useful for people working in the field to get acquainted with this protocol and its mechanism. This article will explain the Tutorial Setup FTP Server on RDP 2012 with related concepts and their necessity and applications. Please stay with us until the end of this article. If you want to buy a server and set up an FTP server on it, we suggest you test and use the Admin RDP plans provided on our website.
How to Install FTP Server on RDP 2012
First, you must go to the Start menu and type Administrative Tools. On the page that opens, select Server Manager:
Now you need to click Add Roles and Features in the server manager:
In the next step, you should click Next on the “Before You Begin” section.
Then, make sure the Role-based or feature-based installation is selected in the “Installation Type” section, and click Next in the window that opens:
In the “Server Selection” section, make sure to select a server from the server pool. You must click Next after selecting your server in the “server pool” section:
In this stage click Web Server (IIS) in the “Server Roles” section and check FTP Server, then click Next:
You must select the features you want to be installed and then click Next:
In this step, you should click Install in the “Confirmation” section:
After the installation progress bar is completed, click Close:
Setup FTP Server on RDP 2012
You must add an FTP publishing to your site because you can not yet connect to your Website via FTP. Now to add FTP publishing, you should open IIS and expand your computer and Sites, then click on your Website. At the end click on Add FTP Publishing:
Next, choose an IP address for your FTP site. You have the option to use the default selection of “All Unassigned“.
You should choose to accept the default port of 21 because you would enter the TCP/IP port for the FTP site in the port box.
Note: Do not use the hostname and the virtual host box should be empty. The Certificates drop-down menu should also be “Not Selected” and the No SSL option should be selected. Then click Next:
_ To authenticate, you must first select Basic for authentication settings.
_ Select “Specified users” from the Allow access drop-down list for settings.
_ Now you must type “Administrator” for the username.
_ For the Permissions option, you should Select Read and Write. At the end click Finish:
Eventually, you must make sure that your Windows Firewall has a rule set for FTP default port 21.
To be sure, you should go to the Start menu type Administrative Tools, and open Windows Firewall with Advanced Security.
After opening the window, click on Inbound Rules and then on New Rule in the “Actions” section:
In the window that opens, select Port and click Next:
Now you should select TCP and Specific local ports, then click Next:
You must select Allow the connection on the action page and click Next:
In this step, you should check all the boxes on the Profile page and click Next:
Finally, you must select a name for the new rule and click Finish:
Setting up an FTP server on an RDP 2012 server can greatly enhance your file-sharing and collaboration capabilities. By following the steps outlined in this comprehensive guide, you can easily configure an FTP server on your RDP 2012 server and securely transfer files over the network. Take the time to configure the FTP server properly and test its functionality to ensure that it meets your needs. With a properly configured FTP server, you can streamline file sharing and improve collaboration within your organization.
RDP Server, or Microsoft Windows Server OS, is a series of Enterprise-class server operating systems designed to share services with multiple users and extensive control over data storage, applications, and shared networks. One of the most common and convenient ways to connect to a Windows server is to use Remote Desktop Connection or Admin RDP. This article is about What is RDP Server and How to can connect to Admin RDP. You can connect to a remote computer or Windows server using the RDP admin over the Internet or over a local area network. RDP gives users full access to the tools and software installed on the Windows server.
What is an RDP Server?
RDP Servers are versions of Microsoft Windows operating systems that are specifically designed to be installed and run on servers. Due to the fact that organizations, offices, and many companies have large or medium-sized computer networks, they use servers. These servers have to service and manage hundreds and sometimes thousands of computers. Therefore, the operating system that is installed on these servers must have the necessary facilities and capabilities to manage the network and respond to it.
RDP Server or Windows Server is mainly using in business and enterprise suites. The appearance of Windows Server may not be much different from regular Windows of the same age. Because the programming foundation of both types of Windows is common, many of their capabilities are common. Because of this, programs such as web browsers and image editors can be downloaded and installed on both types of Windows. Even their desktop environment, including the taskbar, start button, and page layout, is similar, and native Windows applications such as Notepad can be seen on Windows Server. However, there are many differences between a normal Windows application and a Windows server.
What does the RDP Server do?
Because RDP Server is designed for large businesses and enterprise environments, it has a variety of enterprise software. Some of the features of Windows Server for this purpose are:
1. Active Directory: Active Directory is one of the most important features of Windows Server, consisting of several different services that are used to manage computers and other networked equipment. The network administrator uses Active Directory to create domains and users on the network and grant them various permissions.
2. Dynamic Host Configuration Protocol (DHCP): DHCP automatically assigns a unique IP address to each network-connected device. DHCP facilitates and accelerates the addressing of network nodes and avoids problems such as duplicate IP address allocation.
3. File Server: A file Server can consider as a centralized storage system that can be accessed by multiple systems and network users. Large companies and organizations usually need this feature, so this possibility is anticipating in Windows Server. Users with related work tasks can share their files on the network using File Server if they have the relevant permissions.
Advantages of RDP Server
RDP Server, or Windows Server operating system, was added to the Microsoft Windows family in 2000 and was particularly popular from the beginning. Numerous roles and features of the Windows Server operating system were very useful for network administrators in setting up service and network control, and this was the reason for its increasing popularity.
Some of the roles of the Windows Server operating system are:
1. Active Directory Certificate Services
2. Active Directory Domain Services
3. Active Directory Federation Services
4. Active Directory Rights Management Services
5. File and Storage Services
6. Hyper-V
7. Remote Desktop Services
8. Web Server IIS
9. Windows Deployment Services
Today, with the development of the network world, many roles and features have been added to the RDP server operating system, each of which has its own important and unique capabilities.
How to Connect to Admin RDP
In the first stage, you should type the phrase remote desktop in the search section of the taskbar menu. Then you see Remote Desktop Connection as one of the options, select it:
Then in the Remote Desktop Connection window, you need to enter the destination IP address and then click Connect:
Note: If the default remote port direction has changed, you need to enter IP: Port. For example, you need to enter 123.456.7.8:12345. Which is 123.456.7.8 destination IP address and 12345 connection port.
In this step, if the security message appears to confirm the identity of the second system, click Yes:
In the next step, you will be asked for your username and password, and you will need to enter the username and password of the destination Windows user interface.
Then click on OK:
By performing the above steps correctly, you will enter the desktop environment of the second system and have full access to it:
Conclusion
Connecting to an Admin RDP server can provide users with the flexibility and convenience of accessing their computers remotely. By following the steps outlined in this guide, users can easily set up and connect to an Admin RDP server to access their desktops, files, and applications from anywhere in the world. The Remote Desktop Protocol is a powerful tool that can improve productivity, streamline IT support, and enhance remote collaboration. We suggest you read the article The Best Way to Buy Cheap Admin RDP Server With BTC.
VirtualBox is part of the software released by Oracle. Using this software, operating systems are installed on virtual computers. In this case, the performance of the operating system is the same as when it is installed on real hardware. There are also many applications for virtual machines. One of the best and safest ways to virtualize is to install VirtualBox. This software provides users with another operating system on the computer without causing any problems. It should also be noted that VirtualBox is free for home users. Because of the importance of this topic, How to Setup Virtualbox on RDP 2016 will be taught.
– Hardware virtualization support: Your server CPU must have hardware virtualization support (Intel VT-x or AMD-V) to run Virtualbox.
– Sufficient RAM: Make sure that your server has enough RAM to run Virtualbox smoothly. The minimum recommended RAM for Virtualbox is 2GB, but more is preferable for better performance.
– Disk space: Allocate enough disk space for Virtualbox and the virtual machines you plan to run. The installation itself requires only a few hundred megabytes of disk space, but the virtual machines can take up a significant amount of space depending on their size.
– Administrative privileges: You need to have administrative privileges on the server to install and run Virtualbox.
After the download is complete, you must go to the downloads folder and double-click on Virtualbox Installer.
In the next step, you will see the following window, click Next:
The next step is to customize the installation. As you can see, the VirtualBox Application is selected by default. Click Next to continue the installation process:
In the next step, check your preferred options for displaying VirtualBox and click Next:
In the window that opens, click Yes:
Click Install to begin installing VirtualBox:
Finally, click Finish to complete the VirtualBox installation:
Tutorial Setup and Use Virtualbox on RDP 2016
After you have successfully installed VirtualBox on RDP 2016 in the previous section, you will see the VirtualBox homepage. Note that no virtual machines have been created yet. Therefore, it must be constructed.
Note: In this tutorial, we are going to look at how to use VirtualBox to run Windows 10 on a virtual machine.
In the first stage, you must open the Virtualbox and click on the “New” button:
Remember to choose a name for the VM.
You should select “Microsoft Windows” on the first scroll menu, and then select “Windows 10” from the version box.
Click on Next to continue:
On the screen below, configure the amount of RAM that the virtual machine allows to use.
If you have a surplus or limited RAM, adjusting the slider is fine. Note that if you allocate too much RAM, you will end up with serious performance problems. Then click Next:
In the window that opens, select “Create a virtual hard disk now” and then click on Create:
In this window, click ”VDI (VirtualBox Disk Image)” and then select Next:
You should set the disk space for your hard drive. You can select a Dynamically allocated or a fixedsize. After selecting one of them, click on Next.
Note: If you want to save disk space, select the dedicated option Dynamically.
You can change the location of the drive as well as its size, At the final virtual hard disk screen.
After clicking the “Create” button, you should be able to see your created VM:
Conclusion
Setting up VirtualBox on RDP 2016 can expand the capabilities of your server by allowing you to run multiple operating systems simultaneously. By following the steps outlined in this guide, you can easily set up and manage virtual machines on your RDP server. With VirtualBox, you can create a flexible and scalable virtualized environment that meets your specific needs and requirements.
Content Management Systems are a group of software that allows users to produce, publish, organize, and organize content; Without the need to get involved in the complexities of programming. Web content management systems are built specifically for creating web pages, and you can use them to create your favorite web pages without even a single line of code. The most famous and popular web content management system is WordPress. So keep studying to learn how to install WordPress on LAMP on Ubuntu 21.04.
Prerequisites
To install WordPress on LAMP on Ubuntu you must first provide the prerequisites, which are:
– A Linux VPS server with Ubuntu 21.04 operating server.
– A non-root Sudo user
– Install a LAMP stack
– Secure your site with TLS/SSL technology.
After providing all the prerequisites, you should now create a MySQL database. Because WordPress uses MySQL to manage and store site and user information.
Install WordPress on LAMP on Ubuntu Linux
To install WordPress on LAMP on Ubuntu, first, you should create a MySQL Database and user for WordPress.
Use the following command to log in to a MySQL root account:
mysql -u root -p
In this step, you will be asked for the password that you set when installing MySQL root.
If you do not have access to the MySQL database via root, you should update the root user password by logging in as a Sudo user:
sudo mysql -u root
After you receive the MySQL prompt, you should Put a strong password instead of new_password in the following command:
ALTER USER 'root'@'localhost' IDENTIFIED WITH mysql_native_password BY 'new_password';
Now you need to enter “EXIT” and exit the database.
Then log back into the database by entering your new password:
mysql -u root -p
In this step, you need to create an exclusive database to control WordPress. To do this, enter the following command:
CREATE DATABASE wordpress DEFAULT CHARACTER SET utf8 COLLATE utf8_unicode_ci;
Note: there is a semi-colon (;) at the end of each MySQL statement.
Now you should create a separate account for the MySQL database to support you in terms of management and security. You will use this account to operate with your new database.
By typing the following command, you can create an account, set a password, and access the created database.
CREATE USER 'wordpressuser'@'%' IDENTIFIED WITH mysql_native_password BY 'password';
In this step, to inform a database that the WordPress user has full access to the setup database, run the following command:
GRANT ALL ON wordpress.* TO 'wordpressuser'@'%';
Now you should flush the privileges so that the current MySQL instance is aware of recent changes. To do this, enter the following command:
FLUSH PRIVILEGES;
To exit MySQL, run the following command:
EXIT;
Keep in mind that when setting up the LAMP stack, PHP needs a minimum set of extensions to communicate with MySQL, and WordPress uses the additional PHP extension.
In this stage, you should Install additional PHP plugins. Before downloading PHP, you must update the system with the following command:
sudo apt update
You must download and install some PHP extensions by entering the following command:
Remember to check your plugin documentation to discover its PHP requirements. If they are available, you must install them.
In this step, you have to restart Apache again with the help of the following command. Because you make more configurations on Apache to download new extensions:
sudo systemctl restart apache2
Then you should configure Apache to allow overriding and rewriting .htaccess.
Now you should create a configuration file for your site in the /etc/apache2/sites-available/ directory.
In this tutorial, you should put the configuration file path instead of /etc/apache2/sites-available/WordPress.conf. Also, use the webroot specified in your configuration instead of /var/www/ WordPress as the WordPress installation root directory.
Note that you may use the 000-default.conf configuration (with /var/www /html as your webroot). If you are just hosting a website on this virtual server, it would be fine. Otherwise, it is best to split the required configuration into logical sections, in one file per site.
By identifying your paths, you can start working with .htaccess so that Apache can make configuration changes based on any directory.
Now to Enable .htaccess overrides you should do the following methods. the use of .htaccess files is disabled. WordPress and many WordPress plugins use these files extensively for in-directory tricks on virtual web server behavior.
You can open the Apache configuration file for your website by entering the following command:
You should allow .htaccess files, to do this you need to put the AllowOverride instruction in a directory block that points to the root of our document. To make sure you are using the correct web root directory, add the following text block inside the VirtualHost block:
<Directory /var/www/wordpress/>
AllowOverride All
</Directory>
When done, you should save and close the file. To do this in nano, press CTRL and X together, then Y, and ENTER.
At this point, you should enable the rewrite module so you can use the permalink WordPress feature. To do this enter the following command. After doing this you will have more human-readable permalinks to your posts.
sudo a2enmod rewrite
The above command activates the specified module in the Apache configuration by calling the script. Now Enable changes. Before making the changes, check that you have not made any syntax errors by entering the following command:
sudo apache2ctl configtest
If you want to override the above line, just add a ServerName instruction to your main (global) Apache configuration file in /etc/apache2/apache2.conf. The server name can be the domain or IP address of your virtual server. However, this is only a message and does not affect the performance of your site. You can continue as long as the output contains Syntax OK.
Now to make changes you need to restart Apache with the following command:
sudo systemctl restart apache2
After completing the above steps, you can now install WordPress.
In this stage, you should Navigate to a writable directory and download the compressed version.
cd /tmp
curl -O https://wordpress.org/latest.tar.gz
You should run the following command to extract the compressed file:
tar xzvf latest.tar.gz
You should add a bogus .htaccess file to make it available for later use in WordPress. To do this enter the following command:
touch /tmp/wordpress/.htaccess
Then you need to copy the sample configuration file with the name of the file that WordPress reads. To do this, enter the following command:
You can create an updated directory with the following command. By doing this, WordPress will not be licensed automatically after updating the software:
mkdir /tmp/wordpress/wp-content/upgrade
In this step, copy all the contents of the directory to the root of your document. The dot used at the end of the source directory indicates that everything in the directory, even hidden files, should be copied:
sudo cp -a /tmp/wordpress/. /var/www/wordpress
Remember to replace the /var/www/wordpress folder with the directory set on the virtual server.
How to Configure WordPress on LAMP on Ubuntu 21.04
You must first give ownership of all files to the user and the www-data group. This is the user as the Apache virtual web server runs, and Apache must be able to read and write WordPress files to serve the website and perform automatic updates.
Now you should update ownership with the following command that allows you to change file ownership. Then you should refer to the relevant directory of your virtual server:
You can set the correct permissions in WordPress directories and files with the following commands:
sudo find /var/www/wordpress/ -type d -exec chmod 750 {} \;
sudo find /var/www/wordpress/ -type f -exec chmod 640 {} \;
By opening the file, our first task will be to set some secret keys to provide a security level for your installation. WordPress provides a reliable generator for these values so there is no need to try to achieve the right values alone. These are only used indoors, so using sophisticated and safe amounts here will not be a problem.
With the following command, you can get safe values from the WordPress secret key generator. You can add the output of the following command to the configuration file:
Now you need to open the WordPress configuration file. To do this, enter the following command:
sudo nano /var/www/wordpress/wp-config.php
Then you need to look for the section that has example values for those settings:
define('AUTH_KEY', 'put your unique phrase here');
define('SECURE_AUTH_KEY', 'put your unique phrase here');
define('LOGGED_IN_KEY', 'put your unique phrase here');
define('NONCE_KEY', 'put your unique phrase here');
define('AUTH_SALT', 'put your unique phrase here');
define('SECURE_AUTH_SALT', 'put your unique phrase here');
define('LOGGED_IN_SALT', 'put your unique phrase here');
define('NONCE_SALT', 'put your unique phrase here');
After deleting those lines, you need to paste in the copied values from the command line:
define('AUTH_KEY', 'VALUES COPIED FROM THE COMMAND LINE');
define('SECURE_AUTH_KEY', 'VALUES COPIED FROM THE COMMAND LINE');
define('LOGGED_IN_KEY', 'VALUES COPIED FROM THE COMMAND LINE');
define('NONCE_KEY', 'VALUES COPIED FROM THE COMMAND LINE');
define('AUTH_SALT', 'VALUES COPIED FROM THE COMMAND LINE');
define('SECURE_AUTH_SALT', 'VALUES COPIED FROM THE COMMAND LINE');
define('LOGGED_IN_SALT', 'VALUES COPIED FROM THE COMMAND LINE');
define('NONCE_SALT', 'VALUES COPIED FROM THE COMMAND LINE');
In this step, you must set the database name, database user, and associated password in MySQL to change some of the database connection settings at the beginning of the file.
Then you need to setup a method that WordPress uses to write to the file system. Set the file system method to “Direct” because the webserver is allowed to write wherever needed. Failure to do so with your current settings will result in WordPress requesting FTP credentials when performing certain actions.
You should add the above settings below the database connection settings. Note that you can add the file anywhere else:
// ** MySQL settings - You can get this info from your web host ** //
/** The name of the database for WordPress */
define( 'DB_NAME', 'wordpress' );
/** MySQL database username */
define( 'DB_USER', 'wordpressuser' );
/** MySQL database password */
define( 'DB_PASSWORD', 'password' );
/** MySQL hostname */
define( 'DB_HOST', 'localhost' );
/** Database Charset to use in creating database tables. */
define( 'DB_CHARSET', 'utf8' );
/** The Database Collate type. Don't change this if in doubt. */
define( 'DB_COLLATE', '' );
. . .
define('FS_METHOD', 'direct');
Finally, save it before closing the file.
How to Setup WordPress on Ubuntu 21.01
Once the server configuration is complete, install it via the web interface. To do this first go to the public IP address or domain name of your server from the web browser using the following command:
https://server_domain_or_IP
Then choose your language.
At this stage, you will enter the main setup page.
Then you need to choose a unique name for the WordPress site and a username. Then a strong password is automatically generated that you must save. Now you need to enter your email address and check the box of discouraging search engines from indexing this site.
After clicking on Install WordPress, you will be redirected to the following page that asks you to Log In:
After clicking on login, you will enter the WordPress admin dashboard:
Finally, you can start designing your WordPress website.
Conclusion
The WordPress platform is one of the most popular and widely used content management tools for creating great websites. In this tutorial, you have learned all the necessary things related to installing WordPress on Ubuntu. But note that you must have a MySQL database and install PHP for WordPress. After a successful installation, now you can log in to your WordPress admin dashboard and start customizing your website. We hope this guide was helpful enough.
NetBeans is a popular software development platform, primarily for Java, that provides wizards and templates to help developers build applications quickly and easily. It includes modular components across a wide range of tools and has an IDE (Integrated Development Environment) that allows developers to create applications using the GUI. This article will teach you about Tutorial Install NetBeans on Windows Server 2016 step by step. We suggest you use the various Windows VPS server plans that are offered on our website with immediate delivery.
Prerequisites
– Java Development Kit (JDK)
– The minimum disk space requirement is around 10-15 GB.
– Minimum of 4 GB of RAM
How to Install NetBeans on Windows Server 2016
After entering the Windows server environment, you must first open one of your favorite browsers.
Then you should click on your desired option ie windows like the below image to download the Apache NetBeans:
*
Once the download is complete, go to the place where you downloaded the file and double-click on it:
Mark the Accept License Agreement:
In this step, you have to click on the link JDK setup or setup NetBeans JDK, which is a Java development kit. Browse your downloaded JDK file and click Next:
Finally, click on Install:
You have to wait a while for the NetBeans installation to finish:
How to Run NetBeans on Windows Server 2016
In the Start menu, type NetBeans. Then open it by double-clicking.
Now you have to click Run.
You can now use NetBeans.
Conclusion
By following this article, you can easily install NetBeans on your Windows Server 2016 machine. Remember to download the correct installer, configure the installation location, select desired bundles, and customize the settings if necessary. With NetBeans successfully installed, you can now begin developing your applications efficiently, leveraging the powerful features provided by this versatile IDE.
Apache is a popular open-source web server software that is widely used to host websites and applications. In this Tutorial, we are going to teach you how to Setup and Configure Apache on Admin RDP (2012, 2016, 2019) step by step. By following the steps outlined in this guide, you will be able to have a fully functioning Apache web server on your Admin RDP, allowing you to host websites and serve content to users.
Prerequisites
1) The Admin RDP should be running a supported version of the Windows Server operating system, such as Windows Server 2012 or later.
2) Administrative Access to the RDP server.
3) Sufficient hardware resources, including CPU, RAM, and disk space, to handle the expected web traffic.
How to Download Apache on Admin RDP Server
In this section, we want to deal with Setup Apache on Admin RDP. The first step is to log in to your Admin RDP.
Open Remote Desktop by searching your Windows Start menu.
Then enter the desired IP to enter the RDP Admin and click Connect.
Note: If you are asked for a password, you must enter the server login password. If you do these steps successfully, you will become an Admin RDP environment.
After successfully entering the Admin RDP environment, you must open one of the browsers you want. Then, you must download the Apache webserver.
You should also have C++ Redistributable Visual Studio because the Apache webserver needs it to run on Windows. You can download this by clicking on vc_redist_x86for a 32-bit operating system andvc_redist_x64 for a 64-bit operating system and then install it.
Once the Apache download is complete, you should go to the location where you downloaded the file.
Then you have to extract it in the place you want. Note that after unzipping the file, you should see the files of this web server. In the next step, we will teach you how to configure Apache.
Setup and Configure Apache on Admin RDP
Now is the time to configure Apache.
First, you should locate the file “httpd.conf” and open it in a standard text editor. Apache can be installed anywhere on the system, but you must change the SVROOT settings to indicate your compressed location:
1- Now you need to add ExecCGI to the Options directory and locate the following line:
Options Indexes FollowSymLinks
and then you must append “ExecCGI“:
Options Indexes FollowSymLinks ExecCGI
This means in Apache CGI/Perl scripts are allowed outside of the CGI-bin director.
2- You need to find and uncomment the following line by removing the # sign from the beginning of the line:
AddHandler CGI-script .cgi
and then add the following line to it:
AddHandler CGI-script .pl
These two lines show how to handle the .cgi / .pl file to Apache.
3- You should add the following command to the end of the httpd.conf file:
ScriptInterpreterSource Registry
This allows Apache to ignore the first line of.cgi / .pl files and instead determine the location of Perl through the Windows registry.
How to Setup Apache on Admin RDP
Now it’s time to start Apache.
First, go to the Apache extraction location and open the command windows/PowerShell prompt in the bin folder.
After opening the command prompt, enter the “httpd.exe” command to start Apache.
Note: If you open the PowerShell prompt, you must enter the command “D:\Apache\bin\httpd.exe” to start Apache.
Now you should allow access as appropriate after seeing a Windows Firewall prompt.
The point to note is that you must have access to Apache through the firewall. Otherwise, other devices will not be able to connect to the web server. So allow access accordingly:
At this point, you should check the Apache. Go to http://127.0.0.1 from your web browser, provided the previous command window is open. If Apache is running, you must see the image below.
Note: To exit Apache, just close the command/PowerShell window.
Now you should install Apache as a Windows service. After that, you make sure it runs all the time.
To do this, open the command prompt again and enter the following command:
httpd.exe -k install
Or if you open PowerShell, you can run the following command:
Start-Process PowerShell -Verb RunAs
Then you should enter:
& "D:\Apache\bin\httpd.exe" -k install
Now you must receive a message that Apache is installed.
Type the following command to start the service:
net start Apache2.4
Apache has an “Apache Monitor” with which you can control the current state of the Apache server and start, stop, or restart the server.
Double-click ApacheMonitor.exe to run the utility. Also, to run it automatically when Windows starts put a shortcut in the Startup folder.
You can press WinKey+R and type “shell:common startup” to access the Startup folder faster, in Admin RDP:
Conclusion
Setup and configure Apache on Admin RDP server is a foundational step in hosting websites and serving content to users. By following this comprehensive guide, you have learned how to install Apache, configure its settings, start and test the server, host websites, and configure virtual hosts. Apache’s flexibility and robustness make it an ideal choice for web servers, and with the knowledge gained from this tutorial, you are now ready to explore the vast possibilities of hosting websites on your own Admin RDP server. If you wish, you can read the Apache vs Litespeed article.