
BlackArch Linux is a powerful and comprehensive penetration testing and security research operating system. It is designed to provide a wide range of tools and applications for ethical hackers, cyber security professionals, and enthusiasts. In this article, we will explore the features, applications, and benefits of BlackArch Linux.
Introduction to BlackArch Linux
BlackArch Linux is built on Arch Linux, a lightweight and flexible Linux distribution known for its simplicity and user-centric approach. It takes the solid foundation of Arch Linux and extends it with a vast collection of specialized tools and packages tailored explicitly for penetration testing, vulnerability assessment, and digital forensics. This distribution primarily focuses on security professionals and individuals with knowledge and experience in penetration testing and security auditing. We recommend you buy and use the cheap Linux VPS server plans provided on our website.
Key Features of BlackArch Linux
BlackArch Linux offers several key features that make it a popular choice among security professionals and enthusiasts. Here are some of its notable features:
Extensive Tool Repository
BlackArch Linux offers a massive repository of over 2,500 tools categorized into different groups, including information gathering, network analysis, web application analysis, exploitation, password attacks, and more. So, these tools cover various aspects of cyber security and provide users with a diverse arsenal to perform comprehensive security assessments.
Rolling Release Model
BlackArch Linux follows a rolling release model. This means that users can receive regular updates without reinstalling the entire operating system. In fact, it ensures that users always have access to the latest versions of tools and packages, keeping their systems up-to-date with the ever-evolving cybersecurity landscape.
Easy Installation and Configuration
Installing BlackArch Linux is straightforward, thanks to the provided installation scripts. These scripts automate the installation process and guide users through the necessary steps. Additionally, BlackArch Linux provides detailed documentation and a helpful community that can assist users in configuring their system and resolving any issues they may encounter.
Lightweight and Minimalistic
BlackArch Linux is designed to be lightweight and minimalistic, allowing users to run it on resource-constrained systems without sacrificing performance or functionality. In fact, the minimal installation footprint ensures efficient resource utilization, making it suitable for both physical machines and virtual environments.
Customizable and Flexible
BlackArch Linux provides users with the flexibility to customize their environment according to their specific needs. Users can choose from various desktop environments, window managers, and themes to create a personalized working environment. Additionally, BlackArch Linux supports the Arch User Repository (AUR). This allows users to access a vast collection of additional packages to enhance their system.
Documentation and Community Support
BlackArch Linux offers extensive documentation that covers installation, configuration, usage guides, and troubleshooting. Also, the documentation is regularly updated and provides detailed information about each tool and its usage. Moreover, it has an active and friendly community where users can seek support, share knowledge, and collaborate on security-related topics.
Top BlackArch Linux Tools for Penetration Testing and Security Auditing
Here are the top BlackArch Linux tools for penetration testing and security auditing:
Nmap
Nmap is a powerful network scanning tool that allows users to discover hosts, services, and open ports on a network. It provides various scanning techniques and advanced features such as OS detection, version detection, and scriptable interaction with the target systems. However, this tool is widely used for network mapping, vulnerability assessment, and penetration testing.
Metasploit Framework
Metasploit Framework is a well-known tool for exploiting vulnerabilities in systems and applications. It provides a comprehensive set of exploits, payloads, and auxiliary modules that can be used to test the security of target systems. This Framework also offers a user-friendly interface and automation capabilities, making it a preferred choice among security professionals.
Wireshark
Wireshark is a popular network protocol analyzer that allows users to capture and analyze network traffic in real time. Also, it supports a wide range of protocols and provides powerful filtering and analysis capabilities. This protocol is an essential tool for network troubleshooting, packet analysis, and identifying potential security issues.
John the Ripper
John the Ripper is a password-cracking tool that can be used to test the strength of passwords on various systems and applications. It supports multiple password hash types and employs different cracking techniques, including dictionary attacks and brute-force attacks. John the Ripper is a valuable tool for assessing the security of password-based authentication systems.
Aircrack-ng
Aircrack-ng is a complete suite of Wi-Fi security tools that enables users to assess the security of wireless networks. It includes tools for packet capturing, network monitoring, WEP and WPA/WPA2-PSK key cracking, and wireless network discovery. You can use this tool for auditing the security of Wi-Fi networks and identifying potential vulnerabilities.
Burp Suite
Burp Suite is a powerful web application security testing tool that provides a range of features for assessing the security of web applications. It includes tools for capturing and manipulating HTTP requests and responses, scanning for vulnerabilities, and performing automated attacks. Generally, this tool is widely used for web application penetration testing and security auditing.
Hydra
Hydra is a popular password-cracking tool that specializes in online attacks, including brute-force and dictionary attacks, against various network services. It supports multiple protocols, including HTTP, FTP, SSH, and more. Also, this tool is a versatile tool for testing the security of systems with weak or easily guessable passwords.
Maltego
Maltego is a unique tool that focuses on open-source intelligence gathering and footprinting. It allows users to gather information from various sources and visualize the relationships between different entities, such as domains, IP addresses, and social media profiles. You can use Maltego for reconnaissance and gathering intelligence in the early stages of a security assessment.
Sqlmap
Sqlmap is a specialized tool for detecting and exploiting SQL injection vulnerabilities in web applications. It automates the process of identifying vulnerable parameters, extracting data from databases, and even gaining remote command execution on the underlying server. This tool is a valuable tool for assessing the security of web applications that interact with SQL databases.
OpenVAS
OpenVAS is a comprehensive vulnerability scanning and management tool. It allows users to scan networks and systems for known vulnerabilities and provides detailed reports with remediation suggestions. Also, remember that you can use OpenVAS for vulnerability management and periodic security assessments.

Who Can Benefit from Using BlackArch Linux?
BlackArch Linux can be used by various individuals and groups involved in cyber security and related fields. Here are some examples of who can benefit from using BlackArch Linux:
Security Professionals
BlackArch Linux is a valuable resource for security professionals and ethical hackers. It provides a comprehensive collection of tools for conducting thorough security assessments, vulnerability scanning, and penetration testing. Also, security professionals can leverage BlackArch Linux to identify and fix potential security vulnerabilities within systems and networks, ensuring robust protection against cyber threats.
IT Administrators
IT administrators responsible for managing and securing networks can greatly benefit from BlackArch Linux. With its extensive toolset, they can assess the security posture of their networks, identify potential weaknesses, and implement appropriate security measures. Also, BlackArch Linux enables IT administrators to stay one step ahead of potential attackers by proactively addressing vulnerabilities and strengthening the overall security infrastructure.
System Administrators
System administrators can utilize BlackArch Linux to enhance the security of their systems. Generally, by exploring the tools available in the distribution, they can identify any weaknesses in their system configurations, conduct security audits, and take necessary actions to mitigate risks. Also, BlackArch Linux empowers system administrators with the ability to fortify their systems against unauthorized access and potential threats.
Cybersecurity Students and Enthusiasts
BlackArch Linux serves as an excellent learning tool for cybersecurity students and enthusiasts. It provides a hands-on platform to develop practical skills in penetration testing and security auditing. By working with the diverse range of tools available in BlackArch Linux, students can gain real-world experience in identifying vulnerabilities, exploiting weaknesses, and implementing effective security measures.
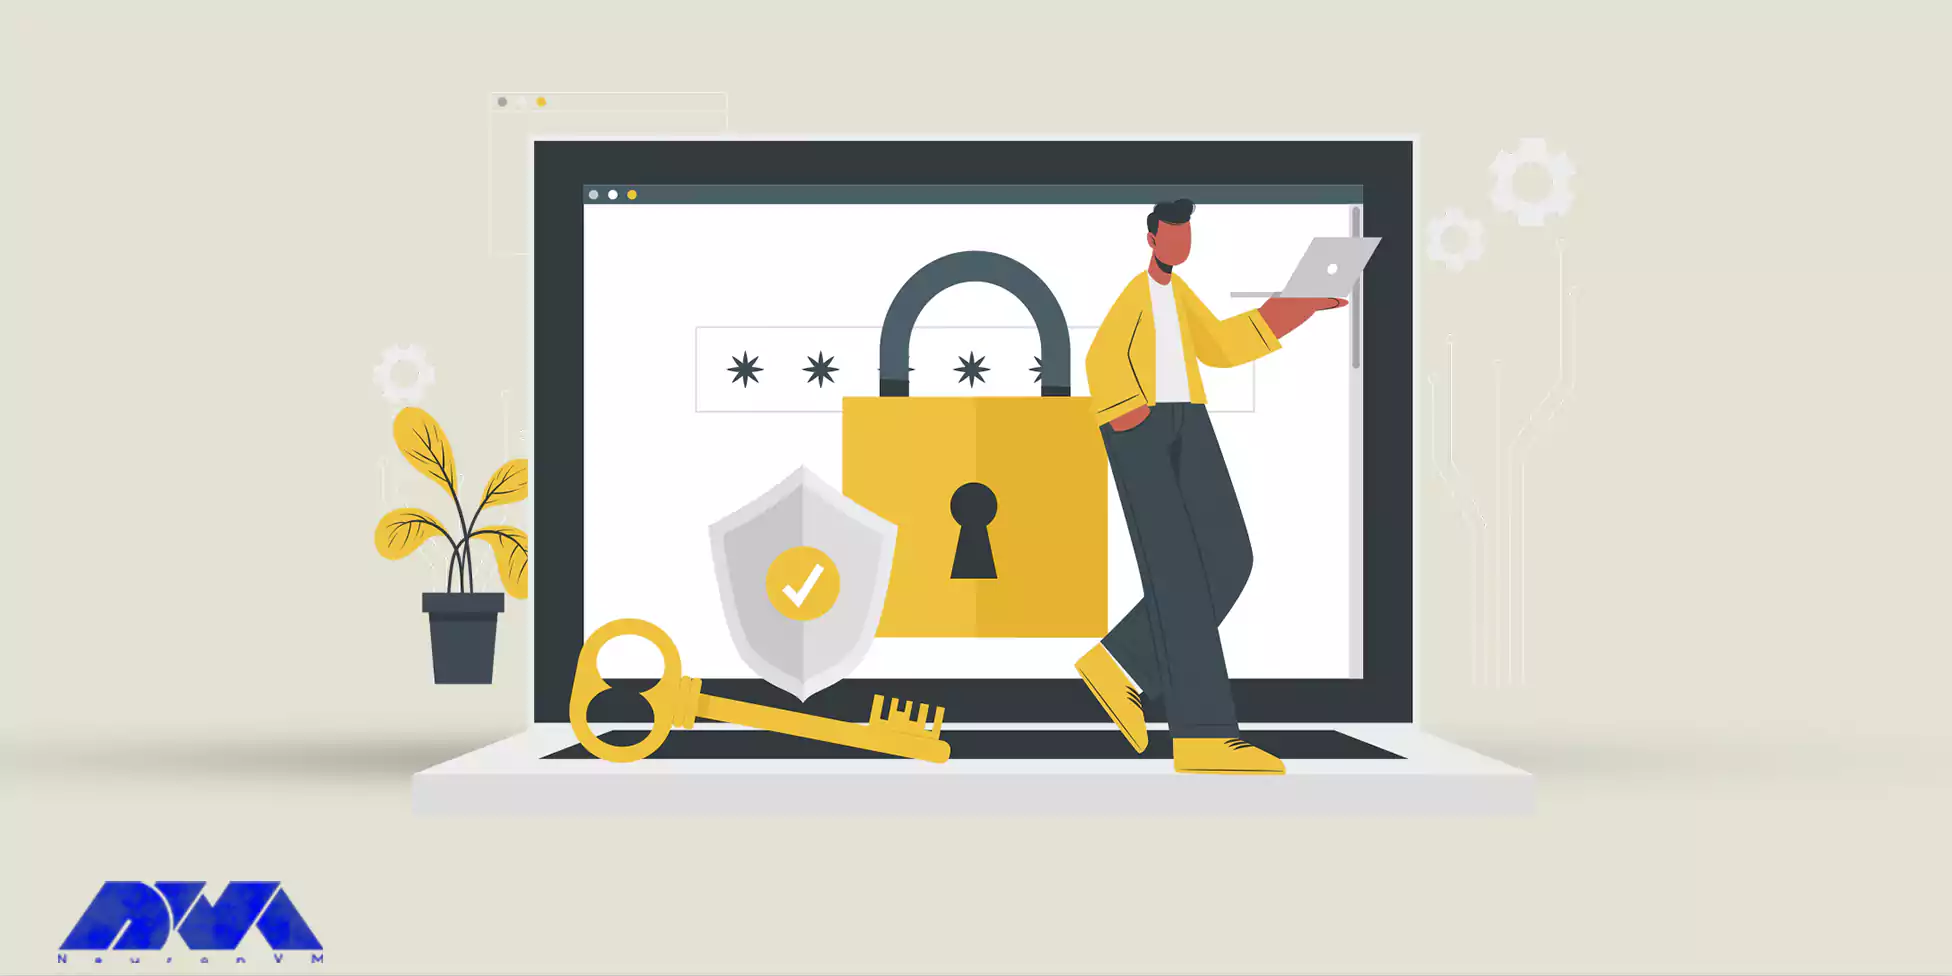
Understanding the Security of BlackArch Linux
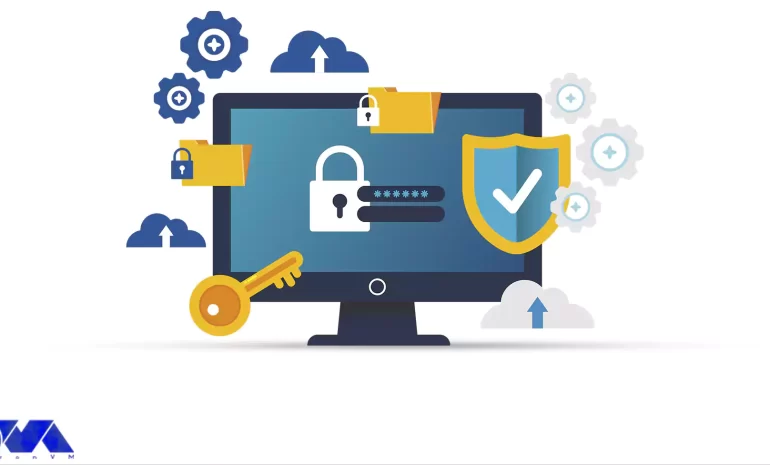
BlackArch Linux offers a wide range of security tools and software to support ethical hacking and vulnerability assessment. The security of BlackArch Linux is maintained through several measures. Firstly, the distribution follows a rolling release model, receiving regular updates to ensure that the included software and tools are up to date with the latest security patches and bug fixes. This helps to keep the system secure and protected against potential vulnerabilities.
Secondly, BlackArch Linux maintains its own repository of packages, which undergo thorough testing for security and compatibility before being included. The maintainers of BlackArch Linux prioritize the reliability and security of the software in the distribution. However, users need to regularly update their systems and apply security patches to maintain a secure environment.
Finally, users have a responsibility to practice good security habits, such as using strong passwords, keeping software up to date, and being cautious with third-party software installations or external repositories. While BlackArch Linux strives to provide a secure environment, users play a crucial role in ensuring the security of their own systems.
Final Thoughts
BlackArch Linux is a powerful and versatile operating system that empowers cyber security professionals and enthusiasts with a comprehensive suite of tools for various security tasks. Its extensive tool repository, rolling release model, ease of installation, customization options, and active community support make it a preferred choice for penetration testing, digital forensics, malware analysis, and other security-related activities.


