Are you ready to take your online presence to the next level? Well, get ready to unlock the secrets! In this guide, we’ll reveal five awesome techniques that will improve your dedicated server’s performance. So, brace yourselves and prepare to immerse in the world of dedicated servers.
Introducing a Dedicated Server
First things first, what exactly is a dedicated server? Well, imagine having a server all to yourself. Yep, that’s right! A dedicated server is like having your own personal playground in the world of web hosting. Unlike shared hosting where you share server resources with other users, a dedicated server is exclusively yours. This means you get to enjoy enhanced performance, speed, and security. It’s perfect for businesses or individuals who have high-traffic websites, or simply crave more control over their online presence.
Now let’s talk about the perks of having a dedicated server. One of the biggest advantages is the level of customization it offers. Since you have the entire server to yourself, you can configure it to meet your specific needs. Another great perk is the reliability and stability that comes with a dedicated server. With no other users hogging up the resources, you can ensure a consistent and smooth performance for your website or application.
Also, let’s talk about scalability. As your online presence grows, so do your needs. With a dedicated server, you have the flexibility to scale up or down as required. Whether you need more CPU power, RAM, or storage, you can easily upgrade your server to accommodate the increasing demands of your website or application.
So there you have it folks, an introduction to the wonderful world of dedicated servers. It’s like having your own little corner of the internet, tailored to your exact needs. We also suggest you visit the Cheap Dedicated Server plans presented on our website.

What is the impact of a Dedicated Server in improving your business?
There are many ways that a dedicated server can help you improve your business. First of all, it will enhance the performance and reliability of your website. With a dedicated server that’s all yours, you’ll have access to all its resources, ensuring you high speed, strong bandwidth, and storage capabilities. This means your website or application can handle increased traffic without experiencing slowdowns or crashes, which results in a smooth user experience and improved customer satisfaction. Additionally, a dedicated server offers better security measures as you have full control over your server’s configuration and can implement advanced security protocols to guard your data and protect against hackers and cyber-attacks.
Also, a dedicated server allows you to customize the server environment to meet your specific business requirements. You have the flexibility to install and configure software, choose the operating system, and optimize settings for better performance. This level of customization ensures that your server aligns perfectly with your business needs.
How can we improve the performance of a Dedicated Server?
To improve the performance of a dedicated server, there are a few simple ways you can try. Some of these ways are well known. For example allocating the server’s resources, like CPU and RAM to avoid overloading or updating the server’s software. Monitoring and optimizing the performance of your database, such as improving queries and indexing, is also important. But there are a few other ways to improve dedicated servers, which we’re gonna tell you about.

Here are 5 secret techniques to improve a dedicated server:
Enable caching on Your Dedicated Server
By caching frequently accessed data or content, the server can store and deliver it more efficiently. This reduces the time it takes to retrieve information and minimizes the load on the server’s resources. This also leads to faster response times and increased website or application loading speeds for visitors or users. Caching also helps to optimize the server’s bandwidth usage, as it reduces the need to repeatedly fetch and transmit data from external sources. Overall, enabling caching on your dedicated server significantly enhances its efficiency and ensures a smoother and more responsive experience for your audience.
Optimize JavaScript and CSS delivery
Another technique to improve the dedicated server is optimizing JavaScript and CSS delivery. By efficiently delivering these resources, the server can reduce the time it takes to load web pages, resulting in a faster and smoother user experience. This optimization technique involves minimizing the file sizes of JavaScript and CSS files, combining multiple files into a single one, and utilizing techniques like compression. All things considered, optimizing JavaScript and CSS delivery helps to maximize the server’s resources, improve website loading times, and enhance user satisfaction.
Adjust priority settings
Prioritizing tasks such as database queries, network traffic, or system maintenance can significantly optimize server performance. This leads to improved user experience and overall productivity. Also by carefully managing the priority levels of different processes and applications, server administrators can ensure that critical tasks receive the necessary attention they require. This allows for better utilization of server resources, enhanced responsiveness, and smoother operation.
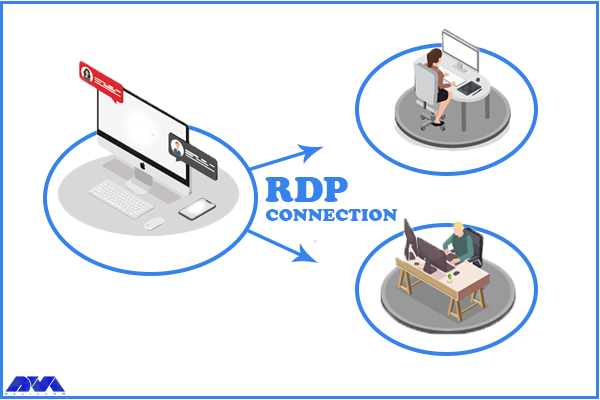
Use a proxy server
A beneficial technique for improving a dedicated server is using a proxy server. By acting as an intermediary between a user and the internet, a proxy server can mask the user’s IP address, making it difficult for websites to track their online activities. This helps protect sensitive information and maintain anonymity. Additionally, a proxy server can cache frequently accessed web pages, reducing the load on a dedicated server and improving its overall performance. This allows for faster and more efficient browsing, benefiting both the user and the server.
Keep your server updated and secure
Regular updates ensure that your server is benefiting from the latest software and security patches and bug fixes. Updating the server means you can benefit from improved stability, increased efficiency, and optimized performance. Additionally, keeping your server secure, protects it from potential cyber-attacks and vulnerabilities. Regular security measures such as installing firewalls, using strong passwords, and implementing intrusion detection systems help safeguard your server and its data. By maintaining the security and updating your dedicated server, you can ensure its optimal performance and protect it from potential risks.
Conclusion
So there you have it! five techniques that you can use to step up your dedicated server today. Implementing the five techniques to improve the performance of a dedicated server can significantly enhance its efficiency and effectiveness. It’s important to always monitor and find better ways to improve the performance of your servers.