In this article, we are going to teach you How to Configure Parse Server on CentOS 8. Modern applications store data and interact with other services on the Internet. User accounts shared content, documents, and purchases need to be linked and stored elsewhere. All of these programs require complementary server-side applications to communicate with. Before Parse, these items had to be made separately, which requires knowledge in many disciplines. Few people can do this alone. The rest were grouped together and worked with others to complete the whole picture.
What is a Parse Server?
Parse Server is an open-source and self-hosted backend. Parse server can be deployed on any infrastructure that can run Node.js. You can deploy and run the Parse Server on your infrastructure. One of the biggest successes of Parse Server is that you can develop and test your application locally.
The analytics server can be hosted anywhere, and you can even run multiple instances in different regions to serve a global audience. Parse uses MongoDB and PostgreSQL to store information and create new features. Also, Parse has stored all the files in its Amazon S3 bin. Using Parse Server, adapters are written that allow developers to control the database platform and file storage system they want to use. You can develop and test your application using Node.
Prerequisites to Install Parse Server on CentOS 8
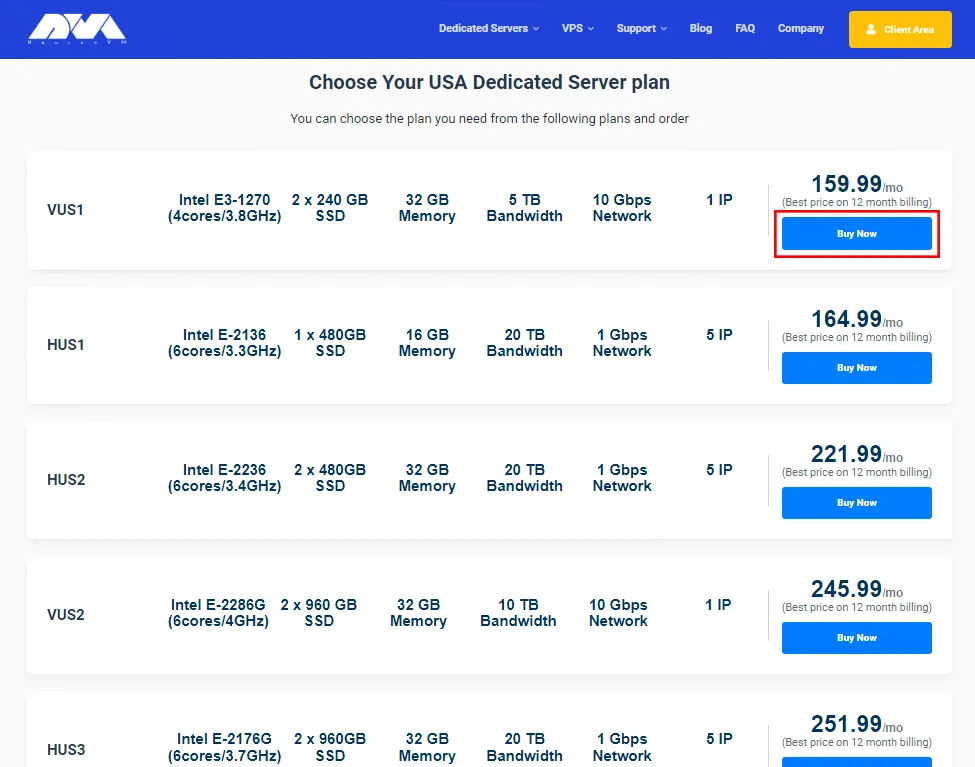
1. CentOS Linux VPS
2. A privileged Sudo account
3. Login via SSH as the root account
How to Install Parse Server on CentOS 8
First, you should install Node.js from the official Yum repository. You can configure the Yum repository using the following command:
dnf install -y gcc-c++ make
curl -sL https://rpm.nodesource.com/setup_12.x | sudo -E bash -
Now to install Node.js on your server, run the following command:
sudo dnf install -y nodejs
In this step, you must install Yarn. You can install Yarn with the NPM repository or using the DNF package manager tool. By entering the following command, the Yarn repository will be added to your system:
sudo rpm --import https://dl.yarnpkg.com/rpm/pubkey.gpg
curl -sL https://dl.yarnpkg.com/rpm/yarn.repo -o /etc/yum.repos.d/yarn.repo
Now you can install Yarn by entering the following command:
sudo dnf install yarn --disablerepo=AppStream
Next, you should install MongoDB according to the required version and architecture of your system. To do this, add the following content to the Yum repository configuration file:
sudo vi /etc/yum.repos.d/mongodb.repo
[MongoDB]
name=MongoDB Repository
baseurl=http://repo.mongodb.org/yum/redhat/$releasever/mongodb-org/4.2/$basearch/
gpgcheck=1
enabled=1
gpgkey=https://www.mongodb.org/static/pgp/server-4.2.asc
Remember to save your file and close it.
Then run the following command to install the MongoDB server:
sudo dnf install mongodb-org
After installing the required packages, you can install Parse Server. The Parse Server package is available in the global repository and can be installed using the Yarn packaging manager. To install Parse Server, run the following command:
yarn global add parse-server
How to Configure Parse Server on CentOS 8
Now you should create a configuration file for your Parse Server. In the configuration file, you can define parse server attributes. Create a configuration file by entering the following command and editing it in your desired text editor:
nano config.json
Remember to add the following content to the file:
{
"appName": "My Parse Server",
"databaseURI": "mongodb://localhost:27017/dev",
"appId": "KSDJFKDJ9DKFDJDKF",
"masterkey": "KJDF89DFJ3H37JHFJDF8DFJDF",
"serverURL": "https://localhost:1337/parse",
"publicServerURL": "https://0.0.0.0:1337/parse",
"port": 1337
}
The configuration details are as follows:
appName – Set a name for your Parse Server
databaseURI – Connection string to the MongoDB database
appID – Set a random string as appID, which is used to connect to the server
masterKey – Set a random string for the master key
serverURL – Set a URL for your parse server
publicServerURL – This allows you to access the parse server from the public network
port – Enter a port to run on the parse server. The default port is 1337
After saving the file, run the parse server by entering the following command. Also, run it as a background process.
nohup parse-server config.json &
How to Install Parse Dashboard on CentOS
In this step, you are going to install a web interface to access the Parse Server called the Parse Dashboard, which is also available as a node module. You can install Parse Dashboard by entering the following command:
yarn global add parse-dashboard
Now you should create a configuration file for the Parse Dashboard using the following command and edit it in your desired text editor:
nano parse-dashboard-config.json
Then add the following content:
{
  "apps": [
    {
      "serverURL": "http://your_server_ip:1337/parse",
      "appId": "KSDJFKDJ9DKFDJDKF",
      "masterKey": "KJDF89DFJ3H37JHFJDF8DFJDF",
      "allowInsecureHTTP": "true",
      "appName": "MyApp1"
    }
  ],
 "users": [
    {
      "user":"admin",
      "pass":"password"
    }
  ],
  "iconsFolder": "icons"
}
Multiple Parse Servers can be added to your Parse Dashboard. Add your Parse Server with the server URL and use the same appID and master key you defined for your Parse Server.
After saving the file, start the Parse Dashboard by running the following command:
nohup parse-dashboard --dev --config parse-dashboard-config.json &
Finally, the Parse Server is set up on port 4040.
Next, you should set the FirewallD Rules. Because systems have a firewall enabled, they must allow access to the ports running the Parse Server. Use port 1337 for the parse server and 4040 for the dashboard. By running the following commands, Parse server access will be possible for public users. Run the following commands to open the port type:
sudo firewall-cmd --permanent --zone=public --add-port=1337/tcp
sudo firewall-cmd --permanent --zone=public --add-port=4040/tcp
By running the following command, the above changes will be applied:
firewall-cmd --reload
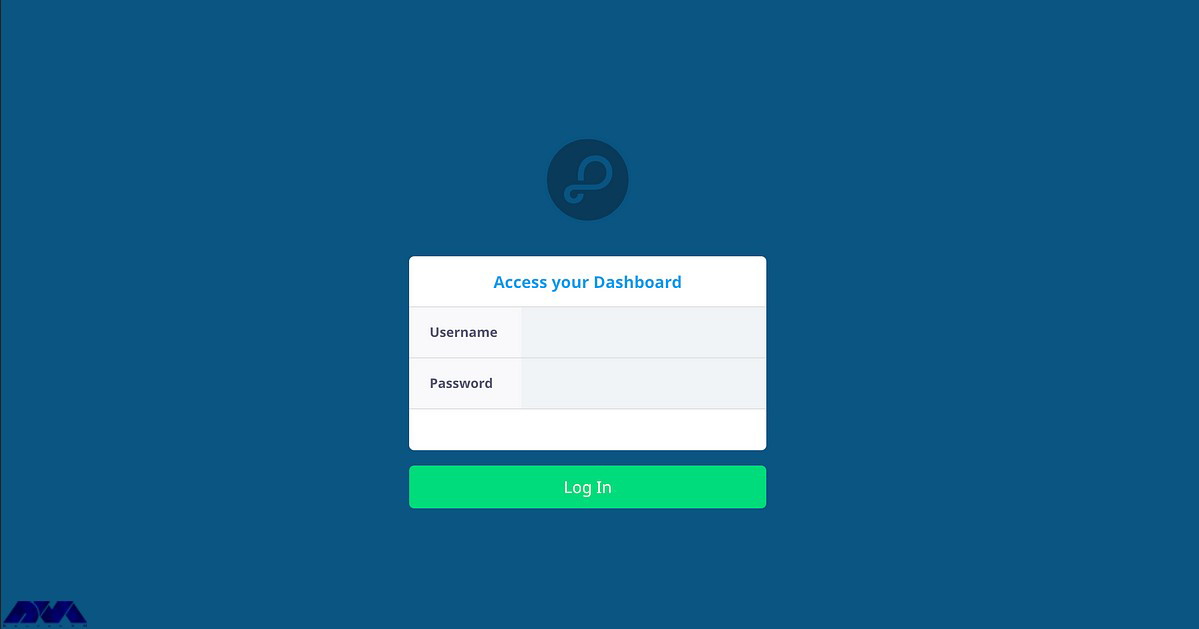
How to Access Parse Dashboard on CentOS
By accessing your server on port 4040, you access the web interface of your Parse dashboard. You must log in with the username and password of the dashboard as defined in the parse configuration file (parse-dashboard-config.json).
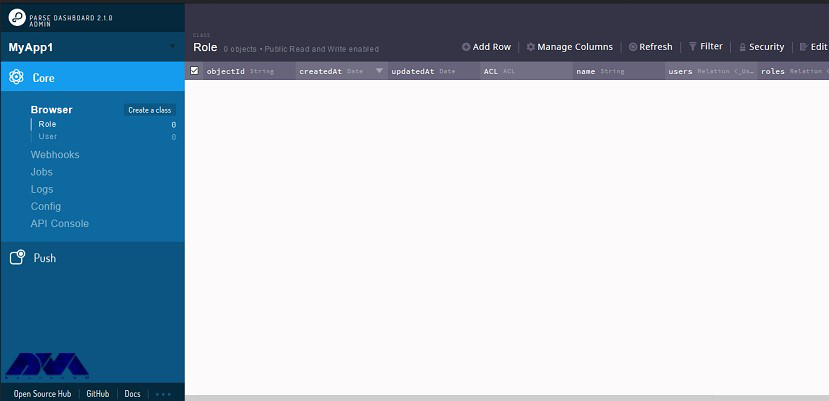
Now you can see the dashboard:
Conclusion
In this article, you learned how to configure Parse Server on CentOS 8. Also, you were taught how to install the Parse Dashboard and how to access it. Note that using Parse, developers will have the opportunity to provide a scalable and powerful back end for an application filled with facilities, android, javascript, windows, and so on.