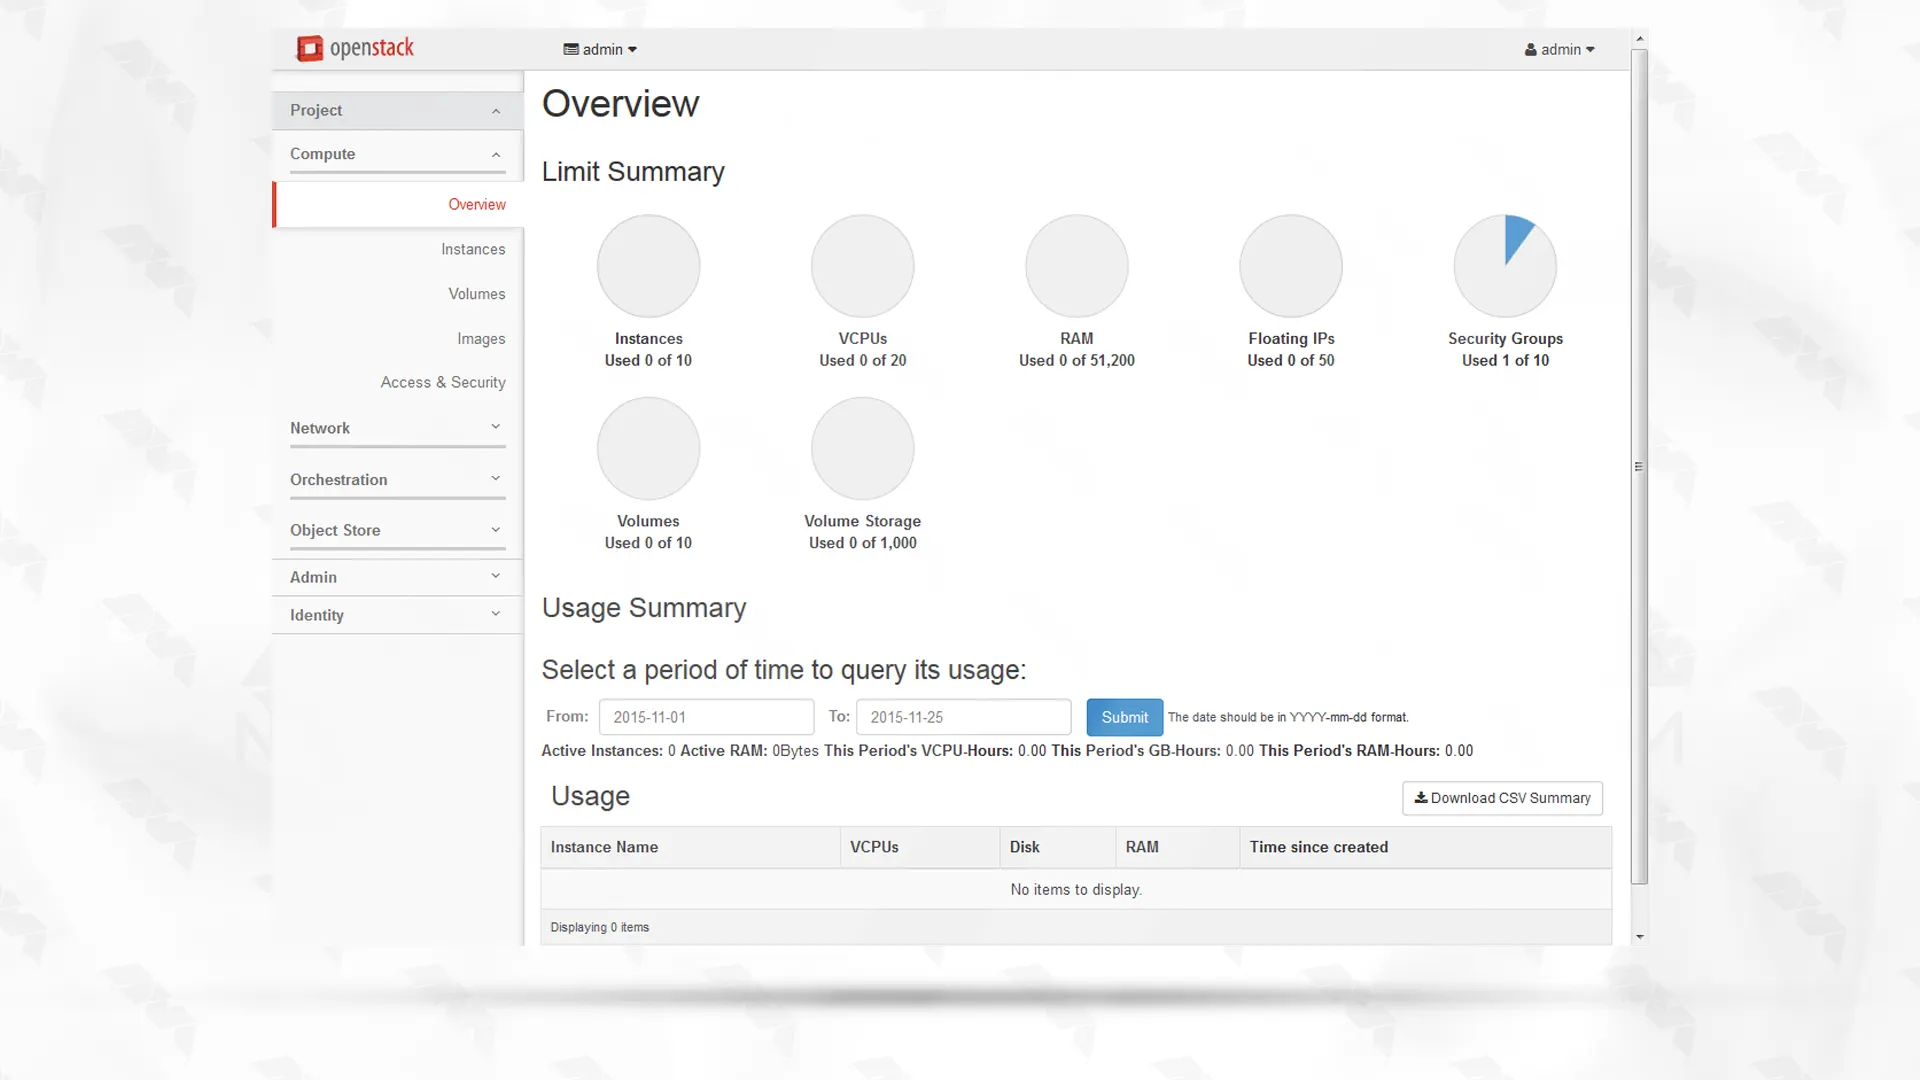


OpenStack is an open-source cloud computing platform that allows you to create and manage a private or public cloud environment. It provides tools and services for building and managing cloud infrastructure. In this guide, we will walk you through the step-by-step process to install OpenStack in Ubuntu 20.04, one of the most popular Linux distributions.
– A Linux VPS with Ubuntu 20.04 Operating System
– Minimum of 8 GB RAM
– 64-bit processor
– At least 128 GB of disk space

Make sure your server is updated using the following commands:
sudo apt update
sudo apt upgrade -y
To install OpenStack on a non-root user with sudo enabled, generating a fresh user called “stack” is imperative. For this, follow the steps below.
First, run the following command:
sudo useradd -s /bin/bash -d /opt/stack -m stack
Now you need to enable the stack user to have root privileges using the following command:
echo "stack ALL=(ALL) NOPASSWD: ALL" | sudo tee /etc/sudoers.d/stack
It is time to Log in to the stack user using the following command:
sudo su - stack
OpenStack can be installed using the “devstack” project, which provides a script to simplify the installation process. Begin by cloning the “devstack” repository:
git clone https://github.com/openstack-dev/devstack.git
Once the repository is cloned, navigate to the “devstack” directory and create a “local.conf” file to customize your OpenStack installation:
cd devstack
Now, open the “local.conf” file using a text editor:
nano local.conf
and make the following modifications:
ADMIN_PASSWORD=StrongAdminSecret
DATABASE_PASSWORD=$ADMIN_PASSWOCinder
RABBIT_PASSWORD=$ADMIN_PASSWORD
SERVICE_PASSWORD=$ADMIN_PASSWORD
Set the IP address of your server for the “HOST_IP” variable:
HOST_IP=YourServerIP
Enable the required OpenStack services by uncommenting the respective lines:
ENABLED_SERVICES=n-cpu,n-net,rabbit,g-api,g-reg,key,n-api-meta,neutron-api,neutron-dhcp-agent,neutron-l3-agent,neutron-metadata-agent
Save and close the file.
You are now ready to start the OpenStack installation. Run the following command:
./stack.sh
This command will begin the installation process and may take some time to complete. Make sure to grab a cup of coffee while it runs.
Once the installation is complete, you can access the OpenStack Dashboard, also known as Horizon, through a web browser. Open your browser and enter the following URL:
http://YourServerIP/dashboard
Log in with the username “admin” and the password you set during the configuration step.

Congratulations! You have successfully installed OpenStack on Ubuntu 20.04.
In this guide, we have covered the steps to install OpenStack on Ubuntu 20.04. By following these instructions, you should now have a fully functional OpenStack environment ready for use. Remember to keep your OpenStack installation up to date with regular maintenance and security updates. OpenStack offers a powerful platform for building and managing cloud infrastructure, empowering you to deploy and scale applications with ease.
How useful was this post?
Click on a star to rate it!
Average rating 5 / 5. Vote count: 1
No votes so far! Be the first to rate this post.
 Tags
Tags

Remote Desktop Protocol is a technology developed by Microsoft that allows users to remotely connect...


 Tags
Tags

If you want to simplify and automate the set of operations in hosting companies, using WHMCS is the ...


 Tags
Tags
What is your opinion about this Blog?


