Tag: Security

  • Secure Your Cryptocurrency Future with Dedicated Servers

    Secure Your Cryptocurrency Future with Dedicated Servers

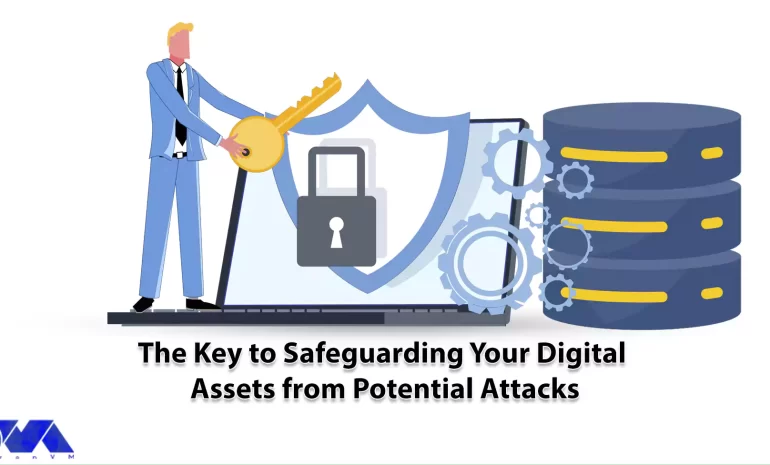
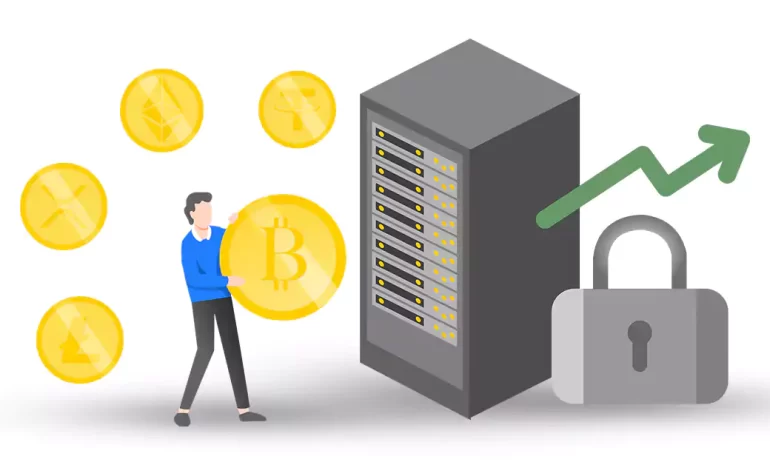
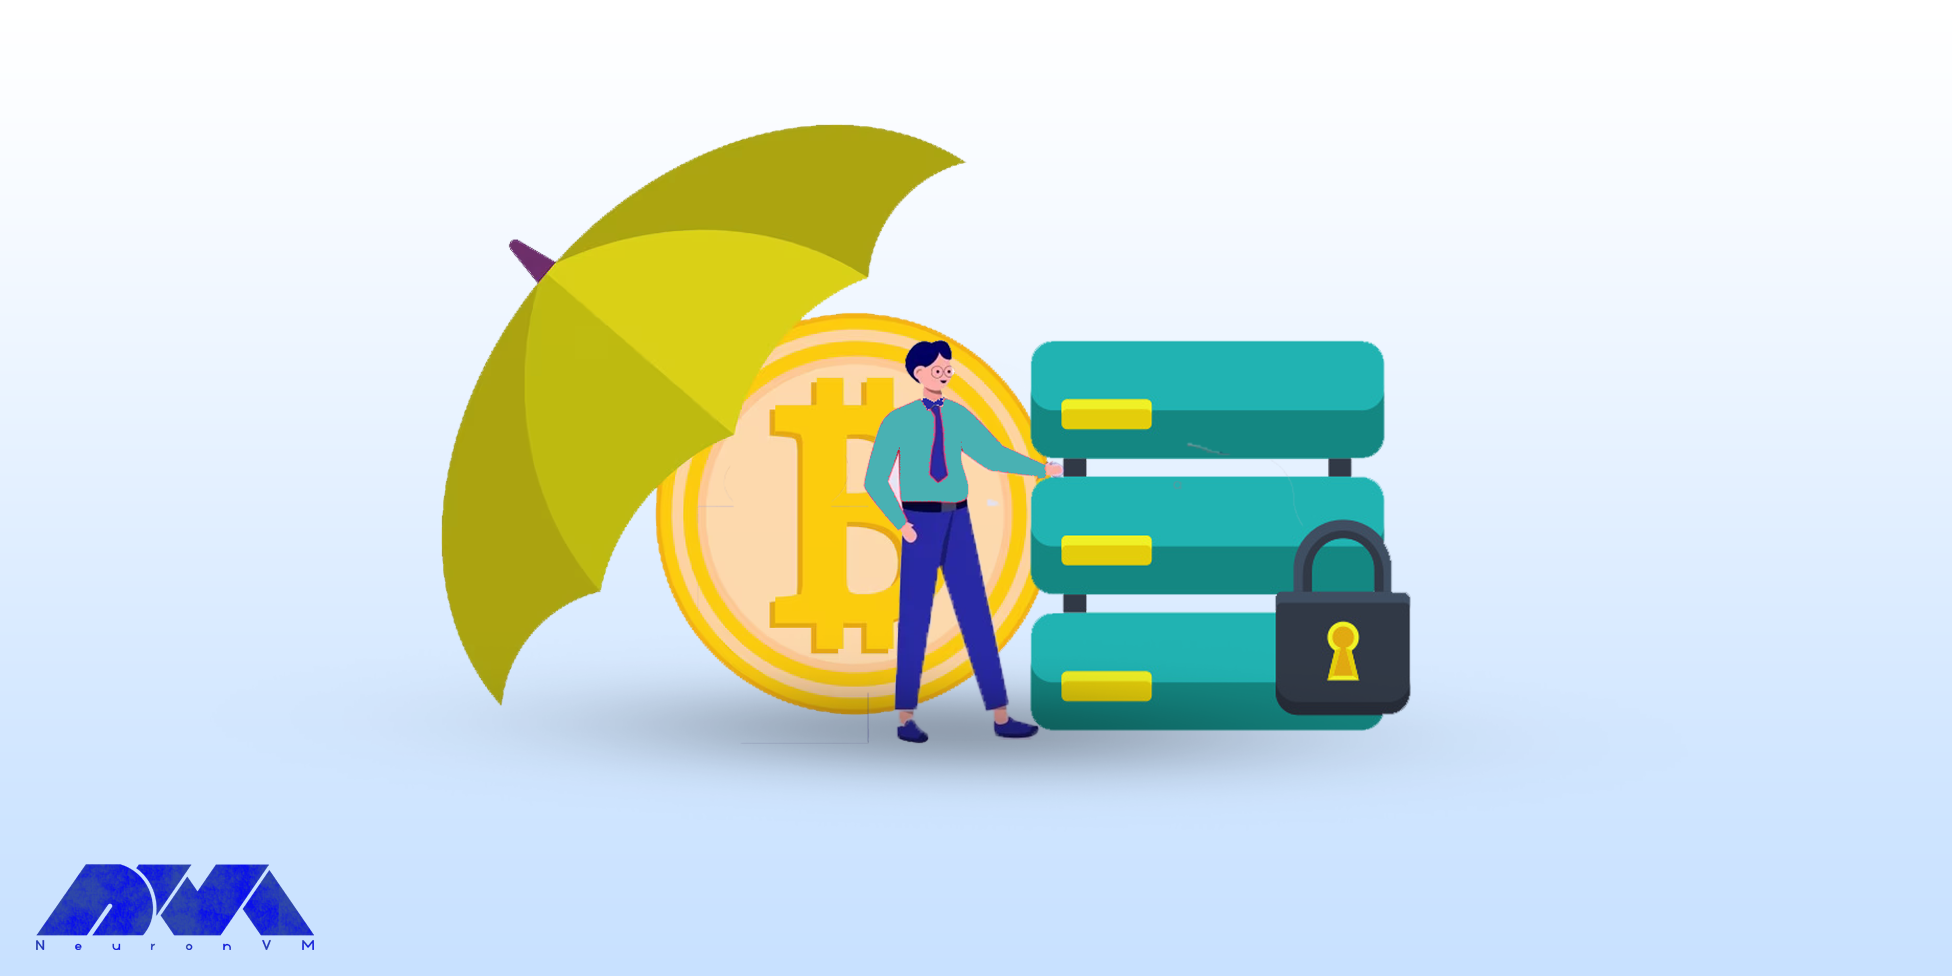
    When it comes to cyberspace, online security becomes very important because nothing is more crucial than protecting users’ data. Many businesses that operate in virtual environments have turned to hosting cryptocurrencies and use virtual servers, especially dedicated servers, to keep their important information safe. We will also discuss the impact of dedicated servers and the future of cryptocurrency with dedicated servers in the above article.

    Advantages of Dedicated Server For Cryptocurrency

    Choosing a dedicated server for cryptocurrency offers several advantages:

    – Dedicated server provides isolated resources, reducing the risk of security breaches compared to shared hosting. This is crucial for safeguarding cryptocurrency wallets and transactions.

    – Dedicated servers offer dedicated resources, ensuring consistent and high-performance levels. This is particularly important for mining, transaction processing, and maintaining the overall responsiveness of cryptocurrency platforms.

    – With a dedicated server, you have more control over the server environment, allowing you to customize configurations based on the specific requirements of your cryptocurrency operations.

    Advantages of Dedicated Server For Cryptocurrency

    – Dedicated servers typically come with higher uptime guarantees, ensuring that your cryptocurrency operations remain accessible and functional. This is essential for maintaining trust among users and investors.

    – Dedicated servers can contribute to lower latency, ensuring faster transaction processing times. This is critical in the cryptocurrency space, where rapid and efficient transactions are valued.

    – Depending on the regulatory environment, using a dedicated server can help ensure compliance with data protection and financial regulations, providing a more secure and legally sound infrastructure.

    – Dedicated servers can be scaled up to accommodate growing cryptocurrency operations. As your needs increase, you can easily upgrade hardware, storage, and bandwidth to meet the demands of your expanding network.

    Buy a Dedicated Server from a Trusted Provider

    Always look for reputable, dedicated server providers. Consider factors like customer reviews, uptime guarantees, and support services. Let us explain some factors and steps to consider when buying a trusted, dedicated server because if you need this server for your crypto, then you should be more careful.

    1- First of all, determine your server requirements, including processing power, RAM, storage, and bandwidth. This will help you choose a server that meets your specific needs.

    2- Ensure the provider has a history of reliability and good customer support. Look for uptime guarantees and customer reviews to gauge their service quality.

    3- Choose a provider with data centers in locations that align with your target audience. This can improve server response times and overall performance.

    4- Carefully read the terms of service and contract. Pay attention to factors like cancellation policies, service-level agreements (SLAs), and any hidden fees.

    5- Check the security measures in place, such as firewalls, DDoS protection, and physical security at the data centers. Security is crucial for safeguarding your data.

    6- Assess the level of customer support offered. Ensure they provide 24/7 support and inquire about their response times for technical issues.

    7- Confirm the available payment options and ensure they align with your preferences. Check if the provider offers flexibility in billing cycles.

    Once you’ve made your decision, follow the provider’s ordering process. Provide the necessary details, choose your server specifications, and proceed with the payment.

    We recommend NeuronVM dedicated services as one of the reliable and strong providers that are concentrated on offering the most up-to-date servers for you and providing 24/7 support to reassure customers.

    How to Buy a Dedicated Server?

    Now that you are familiar with dedicated servers and understand their effects on digital currencies, you can go to the NeuronVM website and buy your own server.

    To find out how you can buy a dedicated server, you can refer to the post The Ultimate Guide to Buying Dedicated Server with Perfect Money.

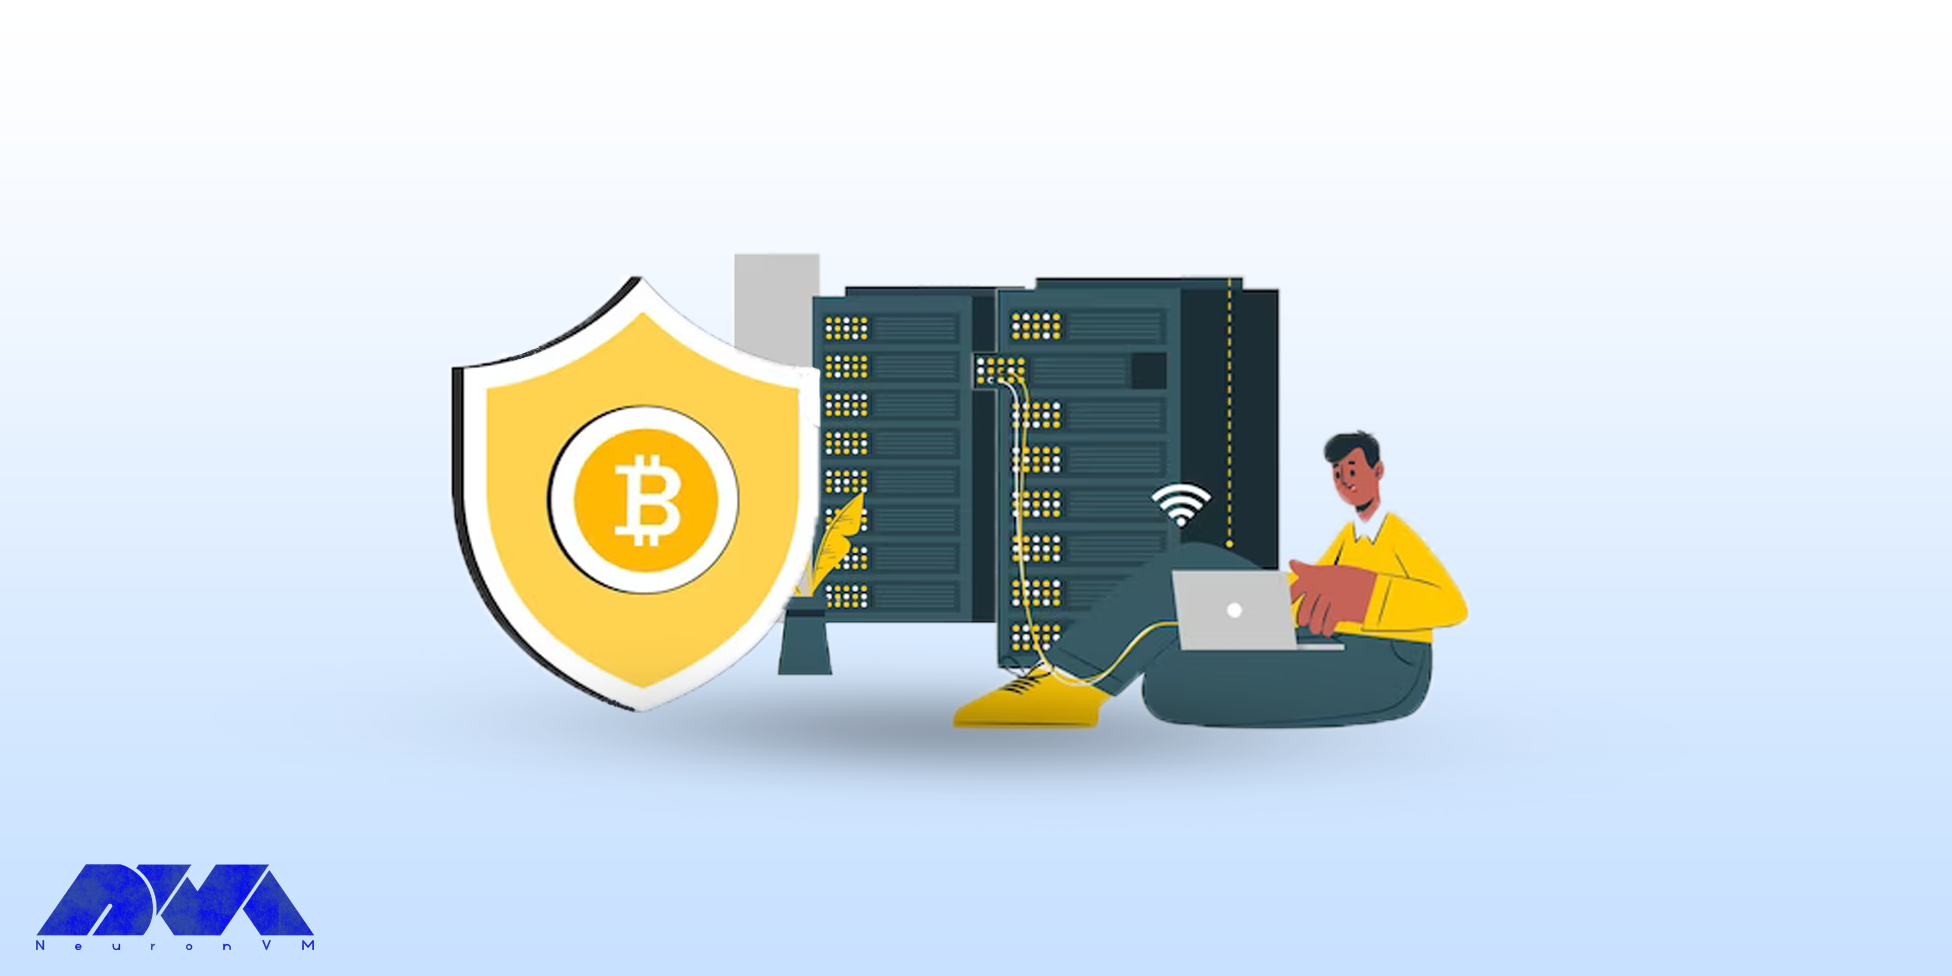
    Best Practices Used to Secure Cryptocurrency on Dedicated Server

    Securing cryptocurrency on a dedicated server is crucial to prevent unauthorized access, hacking, and potential loss of funds. Here are some best practices to enhance the security of cryptocurrency future with dedicated servers:

    1- Implement two-factor authentication (2FA) for server access. Also, use secure authentication methods such as SSH keys instead of passwords.

    2- Keep the server’s operating system, cryptocurrency wallets, and any other software up-to-date with the latest security patches.

    3- Configure a firewall to allow only necessary traffic to and from the server.

    4- Disable unused physical and network ports.

    secure crypto by dedicated server

    5- Use SSL/TLS for encrypting communication between the server and users and Employ encrypted protocols for wallet access and transactions.

    6- Set up IDS to monitor and detect any suspicious activity on the server.

    7- Avoid using the root account for routine tasks and Follow the principle of least privilege.

    8- Use hardware wallets or secure software wallets with strong encryption.

    By combining these best practices, you can significantly enhance the security of cryptocurrency stored on a dedicated server.

    Conclusion

    A dedicated server is one of the most powerful and secure places to keep your important data safe. So, it is a wise decision to use these servers for cryptocurrency. Keep in mind that the cryptocurrency landscape and security threats are constantly evolving, so staying informed about the latest developments and adjusting security measures accordingly is crucial. We hope this post about the Cryptocurrency Future with Dedicated Servers was a good source to give some useful information for you. Keep following our blog.

  • The Key to Safeguarding Your Digital Assets from Potential Attacks

    The Key to Safeguarding Your Digital Assets from Potential Attacks

    In today’s evolving digital landscape, Safeguarding digital assets from potential attacks is more important than ever. With cyber threats increasing alarmingly, businesses and individuals need a reliable and effective solution to protect their sensitive information. Enter Nessus, the key to fortifying your digital fortress against potential vulnerabilities. As a powerful vulnerability scanning tool, Nessus provides comprehensive insights into your network’s security posture, allowing you to identify and fix potential vulnerabilities before malicious actors exploit them. With its advanced features and user-friendly interface, Nessus empowers organizations of all sizes to proactively defend their digital assets, ensuring peace of mind and maintaining the trust of customers and stakeholders. In this article, we’ll look at the incredible capabilities of Nessus and explore how this essential tool can revolutionize your cybersecurity strategy. Get ready to unlock a more secure digital future with Nessus.

    Understanding the Importance of Safeguarding Digital Assets

    Protecting digital assets is of great importance in today’s world, which is completely dependent on virtual and digital technologies. In this regard, the users of these technologies have obtained assets that are offered digitally. These assets are information, data, and valuable resources such as personal information, material data intellectual property, and sometimes business strategies. Here we will mention some cases of safeguarding digital assets:

    – Financial security especially for businesses.

    – National security at the level of government and public institutions

    – Customer loyalty in businesses and organizations.

    – Safeguarding digital assets to manage the reputation of organizations.

    – Respect data privacy and protection for sensitive personal and financial information.

    We suggest you use the high-speed Windows VPS servers provided on our website for investing and trading in digital markets.

    Common Types of Cyber Attacks

    Cyber attack is the attempt of cyber criminals and hackers to gain access to computer systems. The purpose of this attack is to change, steal, disclose information, or destroy systems. This action is very dangerous and may target a wide range of users of organizations and companies. The purpose of hackers is to gain access to sensitive and valuable company resources for profit and abuse. Let’s examine some of these attacks in the digital world:

    1- Phishing: This is a kind of cyberattack that uses email, SMS, social media, phone, and social engineering techniques to encourage victims to share sensitive information like passwords.

    2- Malware: This is a kind of malicious software like a code or program that is created to harm a computer or system. This one is the most common type of attack.

    3- Dos and DDoS attacks: This malicious and targeted attack, floods a network with false requests to ruin business operations. The significant difference between Dos and DDos is that Dos originates from just one system while DDos starts from multiple systems.

    4- Spoofing: This attack is a technique that is used by a cybercriminal to disguise himself as a trusted and known source.

    5- Code injection attacks: An injection attack includes injecting malicious code in a vulnerable computer or network to change the course of action.

    6- DNS Tunneling: This type of cyber attack works in such a way that it uses DNS questions and answers to bypass security operations and transfer code data in the network.

    How Nessus Works as a Vulnerability Scanner

    Nessus is a scanning tool that performs its scans through several plugins that run on every host on the network to detect vulnerabilities. These plugins are considered separate pieces of code that Nessus uses to perform individual scans. These plugins have extensive features. For example, a plugin can be launched and placed on a specific host to do the following:

    • Operating system identification and services run on ports.
    • Identifying vulnerable software components.
    • Determining whether compliance requirements are met on different hosts.
    nessus-vulnerability-scanner

    Safeguarding Digital Assets

    Benefits of Using Nessus for Vulnerability Assessment

    – A valuable benefit of Nessus is the creation of a fast and user-friendly method to find and fix vulnerabilities in many IT assets, containing cloud-based and virtualized resources.

    – Over 450 pre-configured templates are provided for standard vulnerability scans and configuration audits to simplify platform usage.

    – Another benefit of Nessus is its low false positive rate of 0.32 defects in every 1 million scans. If there is too many false positive, it can suppress security teams cause alert fatigue, and ignore legitimate threats.

    – It is beneficial for security professionals because it is a highly portable, and helpful tool.

    Key Features of Nessus

    Nessus has great features like:

    1) Ability to discover assets at high speed

    2) The capability of listening to the configuration

    3) Ability to detect and detect malware

    4) The feature of discovering sensitive data

    Steps to Implement Nessus for Digital Asset Protection

    Nessus is a vulnerability scanner and assessment tool that can help protect digital assets by identifying and prioritizing security vulnerabilities. The implementation of Nessus for the protection of digital assets has several steps, which are as follows:

    1- It is time to download and install Nessus, so go to the Nessus Home landing page, enter your name and email address, and then click on the register button. Since you want to install it on your system, Click download.

    2- As you downloaded Nessus, run the installation package and follow the given instructions to complete the installation.

    Tip: Nessus will create a local server on your computer and run from there.

    3- Now go to your browser and insert https://localhost:8834/ to complete the sign-up and activate your Nessus copy. You will encounter the message “Your connection is not secure“. Go to “advanced” and then “proceed to localhost” to bypass the warning.

    4- Create an account and leave the registration as “Home, Professional, or Manager,” then enter the activation code and press continue. At last, Nessus will download several plugins to scan your network.

    5- Now you have a Nessus scanner and you can test it on your network. go through the instructions below:

    – Click on New Scan.

    – Then click on Network Basic Scan.

    – Choose a name for your scan and add a description.

    – In the “Targets” field, enter IP scanning details about your network, and Nessus will scan all the devices on your network.

    – Click the Save button and on the next part, click on the Play icon to start the scan.

    Best Practices for Using Nessus Effectively

    You can use Nessus to identify security weaknesses in networks, systems, and applications. These are the best practices for Nessus:

    – Try to keep Nessus up-to-date.

    – Configure scan policies.

    – You should scan segmented networks.

    – It is recommended to schedule the scan appropriately. 

    – You should review and validate the results.

    –  It is better to prioritize vulnerabilities, you can use the CVSS score or Common Vulnerability Scoring System.

    Case Studies of Successful Vulnerability Assessments Using Nessus

    To demonstrate the effectiveness of Nessus as a vulnerability scanning tool, let’s explore some real-world case studies:

    1. **XYZ Corporation**: XYZ Corporation, a global financial institution, implemented Nessus as part of its vulnerability management strategy. By conducting regular scans and prioritizing remediation efforts, the company significantly reduced its vulnerability. This proactive approach resulted in a 50% reduction in successful cyber attacks and increased customer trust.

    2. **ABC Healthcare**: ABC Healthcare, a leading healthcare provider, used Nessus to assess the security posture of its network infrastructure and medical devices. By identifying vulnerabilities and implementing appropriate controls, the organization improved patient data protection and achieved compliance with regulatory frameworks such as HIPAA.

    3. **DEF Manufacturing**: DEF Manufacturing, a large-scale manufacturing company, integrated Nessus with its SIEM system to enhance threat detection capabilities. By leveraging the real-time data provided by Nessus, the organization was able to quickly identify and respond to potential vulnerabilities, minimizing the impact of cyber-attacks and ensuring uninterrupted operations.

    Comparing Nessus with Other Vulnerability Scanners

    In this section, we will try to compare Nessus with some other vulnerability scanners like Openvas, Openscap, and Rapid7nexpose.

    Openvas: OpenVAS is open-source and is often compared to Nessus due to its similar feature set. Both tools have a plugin-based architecture to identify vulnerabilities in systems. Since OpenVAS is free to use, it is suitable for budget-conscious organizations. However, Nessus is better known for its performance, user interface, and support.

    Rapid7nexpose: Nexpose or InsightVM is another popular vulnerability management tool that can be compared to Nessus. This tool provides real-time vulnerability assessment and risk analysis. Rapid7expose offers additional features such as usability evaluation and integration with other Rapid7 products. Nessus, on the other hand, has a wider user base and may have a wider library of vulnerability checks.

    Openscape: Openscape is also an open-source, compliance-friendly scanner that focuses entirely on security standards. Assessing compliance with security standards and policies is the main task of this scanner, so it is an excellent choice for organizations with compliance requirements. But Nesus provides a more comprehensive vulnerability scan.

    Conclusion: Importance of Proactive Vulnerability Management with Nessus

    With cyber threats becoming increasingly sophisticated, organizations and individuals need a reliable and effective solution to protect their sensitive information. As a powerful vulnerability scanning tool, Nessus provides the key to fortifying your digital fortress against potential vulnerabilities.

    By implementing Nessus as part of your vulnerability management strategy, you can proactively identify and address potential weaknesses in your network infrastructure and applications. The comprehensive insights provided by Nessus enable you to prioritize remediation efforts and reduce the risk of exploitation. With its cutting-edge features, scalability, and ease of use, Nessus empowers organizations of all sizes to defend their digital assets effectively.

    In an era where the consequences of a successful cyber attack can be devastating, Nessus offers peace of mind and ensures the continuity of your operations. By investing in proactive vulnerability management with Nessus, you can unlock the door to a safer digital future and maintain the trust of both customers and stakeholders. Safeguard your digital assets today with Nessus and fortify your defenses against potential attacks.

    FAQ

    What are the reasons that make Nessus the best scanner?

    It is a fast and user-friendly tool to find and fix vulnerabilities in most IT assets like cloud-based and virtualized resources.

    Are there any limitations to the Nessus scanner?

    Nessus is free to use and scan any environment but it is limited to 16 IP addresses per scanner.

  • Secure Your AlmaLinux with Firewall: Ultimate Guide to Protect Your System from Cyber Threats

    Secure Your AlmaLinux with Firewall: Ultimate Guide to Protect Your System from Cyber Threats

    If you are going to prevent malicious traffic or data coming from the Internet or other networks to your system, you need to know what a firewall is and how it works. Generally, a firewall is a device and network security mode that monitors incoming and outgoing network traffic and blocks or allows packets or information data to pass based on its security rules. In this post, with an Ultimate Guide to Protect Your System from Cyber Threats, we will tell you how to Secure Your AlmaLinux with Firewall.

    Introduction to Firewall in AlmaLinux

    A firewall is used to prevent sabotage and security of any system of this system. We must say that every system connected to the Internet needs its firewall to be active to prevent malware attacks and the penetration of dangerous data. It is interesting to note that AlmaLinux and other RHEL-based Linux distributions use firewalls to manage firewall rules. Before we start and explain to you the methods of Secure Your AlmaLinux with Firewall, we recommend you choose and buy a plan from the Linux VPS server plans presented on our website. After installing AlmaLinux on our servers, you will enjoy their high quality.

    How to Secure Your AlmaLinux with Firewall

    In the rest of this article, we will comprehensively teach you how to Secure Your AlmaLinux with Firewall.

    Harden Access with SSH

    If we want to describe SSH with a simple example, we should say that it is like the door of your house. Therefore, securing the front door will keep your home safe. When you purchase a Linux server, your service provider will provide you with SSH root access. To increase security, you should start with SSH access. In the following, we will teach you 5 ways to harden SSH access.

    To carry out the steps that we will tell in the rest of this article, it is enough to open the configuration file using your desired text editor:

    nano /etc/ssh/sshd_config

    It is also necessary to save and exit the configuration file after completing each step. Then, to apply the changes, you must restart the sshd file by running the following command:

    systemctl restart sshd

    1: Setting an idle timeout

    The first method is to exit SSH if the user is inactive. Therefore, you can search for the following command inside the configuration file:

    #ClientAliveInterval 0

    Now, if you want to set the idle time to 5 minutes, for example, you need to set it in seconds. That is 300 seconds:

    ClientAliveInterval 300

    2: Limit the maximum authentication attempts

    In the second method, you can reduce the number of unsuccessful attempts to enter the system. (3 unsuccessful logins):

    MaxAuthTries 3

    3: Changing the SSH Port number

    Another very effective method is to change the SSH port. Given that the default SSH port is 22, you can easily change it to the desired number by running the following command. (for example port 1022):

    #Port 22

    and change it to:

    Port 1022

    4: Disable Tunneling and forwarding

    It should be noted that SSH tunnels allow connections made to a local port to be forwarded to a remote device over a secure channel. To disable some unnecessary options related to tunneling and forwarding, you can search for the following commands in the configuration file:

    #AllowAgentForwarding yes
    #AllowTcpForwarding no
    #PermitTunnel no

    Now you need to change the above commands as below and save the configuration file and exit it:

    AllowAgentForwarding no
    AllowTcpForwarding no
    PermitTunnel no

    5: Using authentication without a password and public key

    To generate your public key on a desktop computer on different platforms, you need to do the following. If you are using OpenSSH Client on Windows, you must use the following command in the command prompt:

    ssh-keygen

    But if you don’t use OpenSSH Client, you can generate SSH keys using PuTTYgen.

    Also, if you use MacOS or Linux operating systems, you can use the following command:

    ssh-keygen

    Again, it is necessary to run the configuration file after entering the server by running the following command:

    nano /.ssh/authorized_keys

    Put your public key in a row in the file and save it. After doing this you can connect to SSH using your private key. Now it’s time to run the following command:

    /etc/ssh/sshd_config

    Finally, you need to paste the following lines in the desired path:

    Password Authentication yes
    PubkeyAuthentication yes

    Installing CSF Firewall

    AlmaLinux has a default firewall but we recommend CSF firewall for intrusion detection, intrusion detection, and security in this article. This firewall is very popular among the users of the popular control panels CPanel, DirectAdmin, and Webmin. To install the CSF firewall, you must first install the necessary prerequisites using the following command:

    dnf install perl-libwww-perl.noarch perl-LWP-Protocol-https.noarch perl-GDGraph wget tar perl-Math-BigInt

    Now you can run the following commands to download, extract and install CSF Firewall:

    cd /usr/src
    wget https://download.configserver.com/csf.tgz
    tar -xzf csf.tgz
    cd csf
    sh install.sh

    In the next step, you can use the following command to check if your server has iptable modules or not:

    perl /usr/local/csf/bin/csftest.pl

    After learning the relevant explanations, you should turn off the test mode:

    sed 's/TESTING = "1"/TESTING = "0"/g' /etc/csf/csf.conf

    Finally, you can restart the CSF firewall by running the following command:

    csf -r

    Install ClamAV Antivirus

    ClamAV is an open-source, cross-platform, anti-malware toolkit developed by Cisco Systems Inc. This kit contains a new protection system to deal with Trojans, viruses, worms, and other types of malware. This antivirus is basically a light and command-line-based system that is combined with other tools such as FreshClam, ClamDaemon, ClamDTop, ClamScan, and Clamtk and offers many valuable features such as automatic database update and real-time scanning and scheduled scanning.

    You can run the following commands to install ClamAV on AlmaLinux:

    dnf install clamav
    dnf install clamd

    You should know that ClamAV uses FreshClam to check for new database versions periodically. Run ClamAV to update the signature database. To do this, just follow the instructions below step by step.

    Stop the freshclam service by running the following command:

    systemctl stop clamav-freshclam

    You can also run Freshclam using the following command:

    freshclam

    Run the following command again to start the Freshclam:

    systemctl start clamav-freshclam

    After completing the installation process, you can use the following command to run a full system scan and remove malware:

    clamscan --infected --recursive --remove /

    AlmaLinux update

    As you know AlmaLinux is a binary-compatible fork of the RHEL and CentOS base. On the other hand, RHEL and CentOS are secure enough for an enterprise environment. However, it is important to try to always keep AlmaLinux up-to-date by running the following command:

    dnf update all

    How to enable the Firewall on AlmaLinux

    In the first step, you can check the status of the firewall on AlmaLinux by running the following command:

    systemctl status firewalld

    Check the services configured in the firewall using the following command:

    sudo firewall-cmd --list-all

    You can stop the firewall with the help of the following command:

    sudo systemctl stop firewalld

    You can also run the following command to start the firewall again:

    sudo systemctl start firewalld

    To restart the process, use the following command:

    sudo systemctl restart firewalld

    As you know, by default, the firewall starts automatically after the system boots. To disable the firewall, you can use the following command:

    systemctl disable firewalld

    It should be noted that if the above command is executed with the systemctl stop firewalld command, the firewall will be disabled forever.

    The interesting thing is that you can reactivate the firewalld service at any time:

    sudo systemctl enable firewalld

    Conclusion

    In this article that you read, we tried to fully familiarize you with the steps to secure AlmaLinux so that you can be safe from cyber-attacks. We also tried to teach you how to Secure Your AlmaLinux with Firewall. In this way, now you can easily install FirewallD on AlmaLinux and other RPM-based Linux systems. By doing this you will partially secure your system from the outside world.

  • Protecting Your Ubuntu Server: A Comprehensive Guide to Firewalls

    Protecting Your Ubuntu Server: A Comprehensive Guide to Firewalls

    If you want to secure your Ubuntu system, you should configure a firewall. If you want to setup and manage a firewall, various flexible utilities are designed by Linux. One of these tools is called iptables. But, it should note that new users in network security may be a little afraid of iptables, so it is better to start with UFW first. This article proposes to give a comprehensive guide to firewalls.

    What is UFW on Ubuntu?

    UFW or Uncomplicated Firewall is a default firewall configuration tool. This user-friendly tool has been developed to facilitate the configuration of iptables firewalls and is provided for creating ipv4 or ipv6 host-based firewalls. It is initially disabled by default from the UFW man page. Also, UFW gives an easy way to add or remove simple rules, but it is not intended to provide complete firewall functionality.

    How to Configure a Firewall on Ubuntu Server?

    Here, we are going to show how you can setup a firewall on Ubuntu servers using UFW with a Comprehensive Guide to Firewalls. Follow the steps to protect your Ubuntu system. But, first of all, you should prepare the necessary requirements.

    setup firewall on ubuntu

    A Comprehensive Guide to Firewalls

    Prerequisites

    – A Linux VPS Server with Ubuntu operating system

    – A user account with sudo privileges

    – accessing a Windows command line

    Installing UFW on Ubuntu

    UFW is disabled by default. So, the first thing to do is to enable it from the terminal prompt:

    sudo ufw enable

    Note that UFW is installed by your Ubuntu server as default, if not, you can check the status and install it using the commands below and then enable it:

    sudo ufw status
    sudo apt install ufw

    Wait to complete the installation process. Now you have UFW enabled on your server.

    Configuring UFW on Ubuntu

    Now that you enabled UFW, you can configure UFW using both IPv4 and IPv6. To support both protocols you should modify the UFW configuration file, so go through these instructions.

    First, you can use Nano or any text editor to open the default settings file:

    sudo nano /etc/default/ufw

    In your output, you will see the IPv6. If this value is set as no, change the value to yes and enable your IP. Then save and close the file.

    Setting up Default UFW Policy

    By default, UFW is set to allow all outgoing connections and deny all incoming connections. These rules are typical for PCs that do not need to respond to incoming requests. So, if you have changed the default settings and want to return to the default settings, run the following command:

    sudo ufw default deny incoming

    To allow outgoing connections use the following command:

    sudo ufw default allow outgoing

    So return the statute to the default settings by these comments.

    Allowing SSH Connections

    If your connection is from remote locations, you should setup UFW to allow incoming SSH connections.

    Use the command below to configure UFW to allow the SSH connections:

    sudo ufw allow ssh

    To add a rule for IPv4 (or IPv6 if enabled) use this command and allow incoming and outcoming traffic from SSH connections.

    Enabling UFW

    After the configuration, to apply changes, disable and enable the UFW firewall again:

    sudo ufw disable
    sudo ufw enable

    With these actions, you succeeded in setting up and activating the firewall.

    Checking the Status of UFW

    If you need to check the status and get detailed information, execute the following command:

    sudo ufw status verbose

    How to Work with UFW Rules?

    UFW determines the rules for how the server communicates with other devices. Now you need to specify which connections are allowed to control firewall settings and which are prohibited.

    Allowing Incoming Connections on Other Ports

    You should allow specific incoming connections to control additional connections, depending on the purpose of the server. Now create UFW rules to add connections. Below is a list of commands requiring for configuration:

    1- Apply the command below to set the server and listen to HTTP:

    sudo ufw allow http

    You can use port 80 as an alternative for HTTP connection:

    sudo ufw allow 80

    You can see the rule in UFW status:

    sudo ufw status verbose

    2- Run the following command to enable HTTPS connections:

    sudo ufw allow https

    You can use port number 443 as an alternative for HTTPS connection:

    sudo ufw allow 443

    Now to check the status run this command:

    sudo ufw status verbose

    3- Apply the command below to modify a rule that allows access to all ports from a specific IP:

    sudo ufw allow from to any port

    This allows all traffic from a remote server to a local machine or local server.

    4- Apply this command to allow access from a particular machine to a specific port. This rule will limit access to the specific port:

    sudo ufw allow from to any port

    5- Determine the range values and the protocol type to allow access to a range of sports. The following is using to allow connections from 2000 to 2004 for TCP:

    sudo ufw allow 2000:2004/tcp

    To change the protocol for UDP use the following command:

    sudo ufw allow 2000:2004/udp

    Denying Incoming Connections on the Other Ports

    If you want to forbid connection from a specific IP address create a deny rule:

    sudo ufw deny from

    Or, you can use the following command to deny access to particular ports:

    sudo ufw deny from to any port

    How to Delete UFW Ports

    It is possible to delete UFW rules. You can use two ways for this reason:

    1- You can disable the list of all rules and find the determined number of the rule. Now you can see the list in your output:

    sudo ufw status numbered

    Choose the related rule number and use the command below to delete the rule, so the rule will be removed from the list:

    sudo ufw delete

    2- The second way is to specify it word for word:

    sudo ufw delete

    For Example:

     sudo ufw delete allow 2000

    Checking Application Profiles

    Since you use the apt command to install UFW, each package has an application profile in the /etc/ufw/applications.d directory. This profile includes information about the software and its UFW settings. So to see the list of the application profiles use this command:

    sudo ufw app list

    To see more detailed information about a specific package run this command:

    sudo ufw app info 'package name'

    To give an example, put Apache full to see all the information about this application profile:

    sudo ufw app info 'Apache Full'

    Conclusion

    Security is one of the most important parts of servers and to provide this security, you should set a firewall for your server. Here, we taught how to setup a firewall using UFW on the Ubuntu server after a Comprehensive Guide to Firewalls. We also gave some extra commands and instructions to show the way it works. We hope you enjoyed this article.

  • How to Install Antivirus on Linux Dedicated Servers

    How to Install Antivirus on Linux Dedicated Servers

    Viruses or malware are malicious programs that are used to destroy your system. Now, if you suspect this type of malware or viruses and shell scripts in your dedicated system, there are tools that you can access in the WHM panel and scan this malicious content. But first, you have to enter WHM. This article concentrates on the way to learn how to install Antivirus on a Linux Dedicated server.

    Setup Antivirus on a Dedicated Server

    As you notice, having an antivirus on your dedicated server is really essential because of your system’s security. You can use some apps for scanning viruses on the server. Before you start Installing Antivirus on Linux Dedicated Servers, you need to install Cpanel on the dedicated server first. We also suggest you use the Cheap Dedicated Server plans with instant delivery provided on our website.

    When you want to install and setup antivirus on a dedicated server, you have two options:

    – The first one is using ClamAV

    – The second one is ImunifyMV

    Let’s see how these two work.

    How to Install ClamAV on a Dedicated Server

    As we mentioned before, ClamAV is one of the ways to scan viruses on the dedicated server. Here, we are going to show how you can install and setup ClamAV.

    First, you should log in to the WHM.

    Then, Click on the Cpanel option in the WHM and search for the Cpanel menu:

    Now, you can see the Manage Plugins option. Using this option, you can manage the plugins for the Cpanel account:

    manage plugins option on Cpanel

    Here, different plugins are available for you. Click on the ClamAV option. Note that you can use this option to uninstall the plugin, too.

    Install ClamAV on Cpanel

    The installation process will take a few minutes. After the installation, the Log Entry will be produced along the process and displayed on your screen. After the successful installation, you will see the message about that:

    Installation process of ClamAV - install Antivirus on a Linux Dedicated server

    Configure ClamAV on a Dedicated Server

    Now we will show you the way to configure ClamAV on your system. Here is a step-by-step instruction to follow:

    1- On WHM, search for a Feature and choose the Feature Manager. Then go to the Manage Feature List, select Just Host, and click Edit.

    2- Activate Virus scanning and click the Save button.

    clamav scanner configuration - install Antivirus on a Linux Dedicated server

    How to Install ImunifyAV on a Dedicated Server

    Another app to scan viruses on your system is ImunifyAV. Here, we will show how you can do the installation and setup in steps. Follow the instructions:

    1- Use SSH or Putty to connect to your server.

    2. You can download the ImunifyAV shell script from Imunify360.com/antivirus. Here is the command:

    wget https://repo.imunify360.cloudlinux.com/defence360/imav-deploy.sh

    3- Execute the installation shell script using the following command:

    bash imav-deploy.sh

    4- Now, use the command below to update ImunifyAV:

    yum update imunify-antivirus

    5. Enter the WHM.

    6. On the left side of the panel, select ImunifyAV.

    7- Choose the right arrow button under the actions column to scan the account.

    8- Now, click on Yes, Scan to confirm the user’s file, or choose Scan All to scan the entire files, and at last, Yes, Scan All to scan all Cpanel user files.

    ImunifyAV dashboard - install Antivirus on a Linux Dedicated server

    Configure ImunifyAV on a Dedicated Server

    Select the Settings button with the gear icon.

    Adjust Resource Consumption according to your needs.

    Then, configure the background scan time or disable run scanning from the drop-down menu.

    Unmark the enable sentry error reporting option and save the changes.

    ImunifyAV setting

    Conclusion

    As you learned from this article, you can install and configure different apps to scan viruses and malware on your system. Here, we analyzed ClamAV and ImunifyAV. Two popular tools for scanning viruses. We hope you enjoyed the tutorial. If you have any ideas or questions please share in a comment.

    FAQ

    Why an antivirus is essential for a dedicated server?

    It is crucial for maintaining the security of your system and also for the integrity of your data and applications. It is helpful in detecting viruses and malware.

    Is it possible to install various antiviruses on a single system?

    It is not recommended. It causes conflicts, performance issues, and false positives in your system.