


If you want to simplify and automate the set of operations in hosting companies, using WHMCS is the best option. This product allows you to easily manage your business and increase the efficiency of your services. So you can Setup and Configure WHMCS after reading the following post. One of the best Dedicated server locations that we can offer you to start WHMCS is USA Dedicated Server. You can purchase this server by visiting the NeuronVM website.
– A web hosting server with PHP and MySQL support
– The latest ionCube Loader version for your PHP version
– WHMCS software license
Note: You should go to the activating licensing addon on the official site and follow the steps shown on the website.
– FTP access to upload and configure WHMCS files
– A domain name for your WHMCS installation
– Access to your server’s control panel (cPanel or similar) to create a database and user for WHMCS
– PHP extensions included: BC Math, Fileinfo, Iconv, GMP, Intl, Imap, MBString, OAP, and OpenSSL
First of all, you should visit WHMCS’s official website and click on Download under the Full Release section:
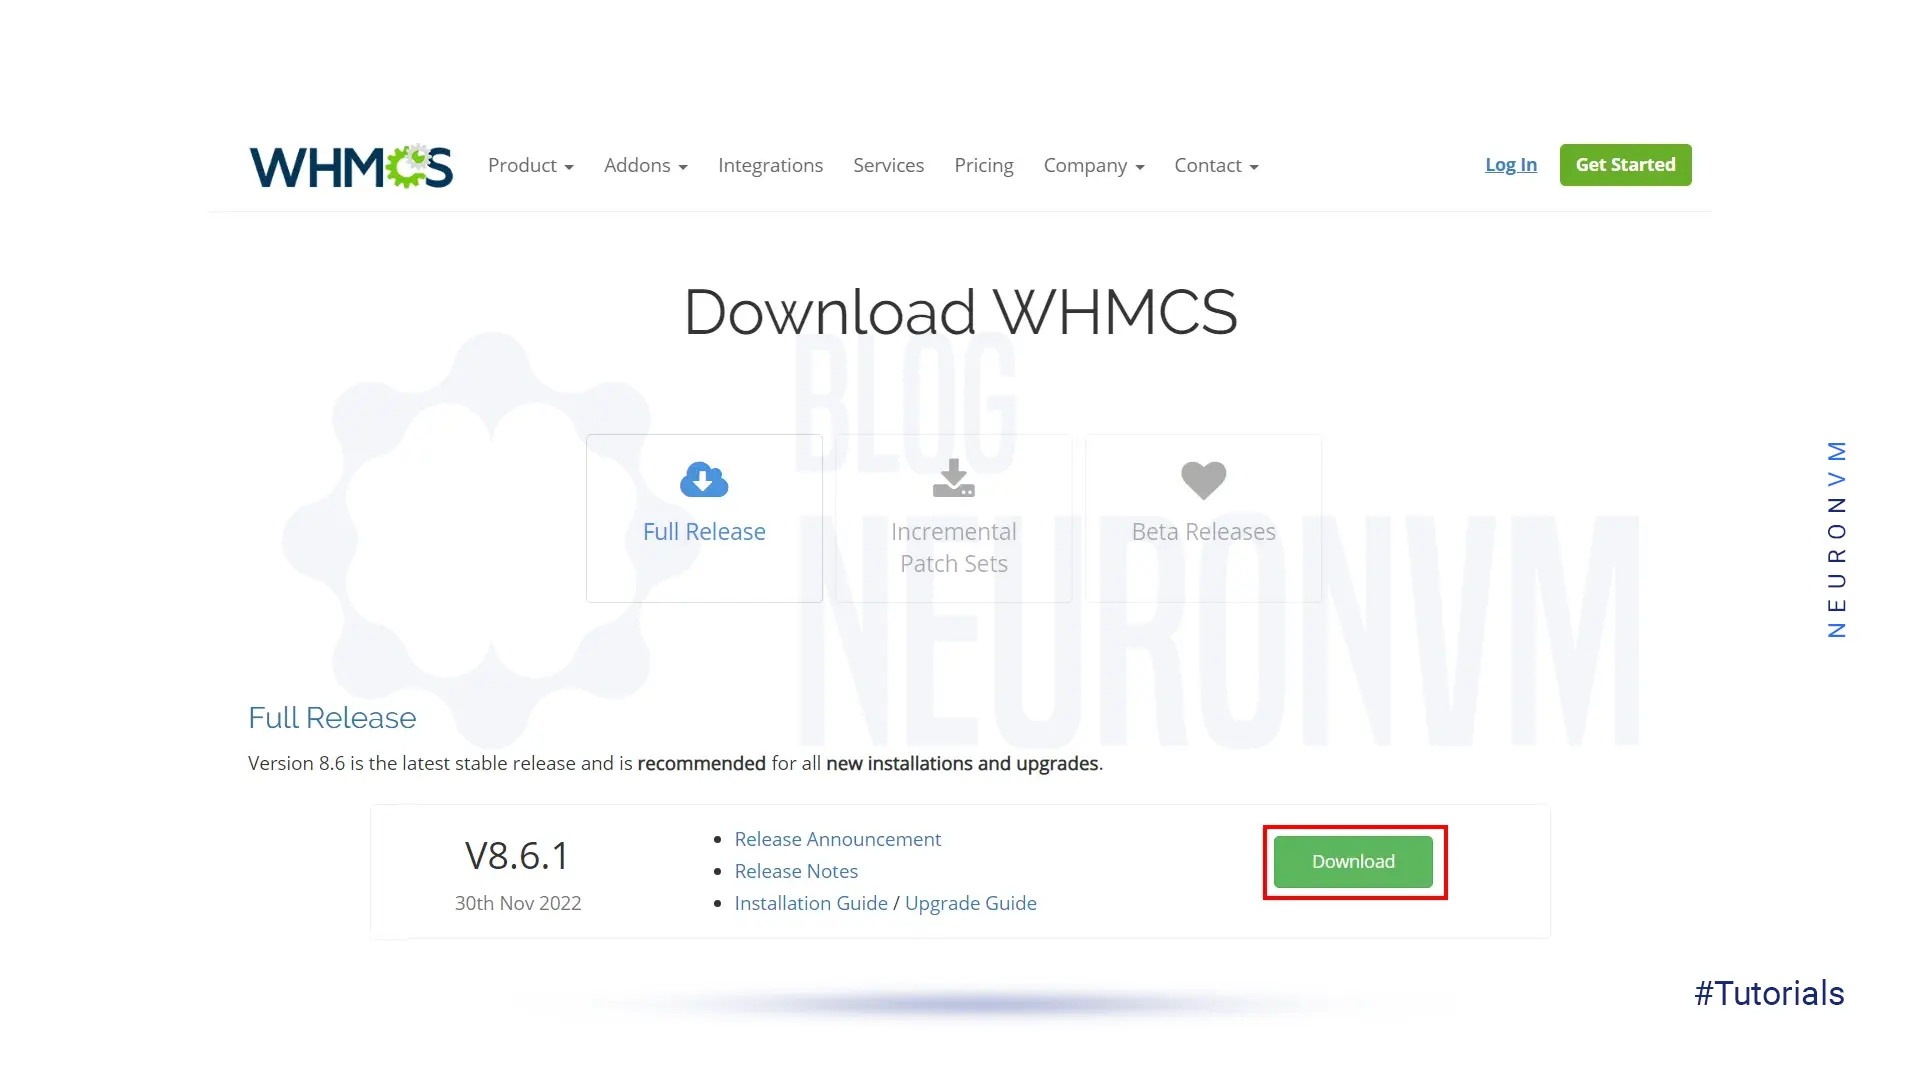
Wait for the download to finish.
Now it’s time to install WHMCS on your server. Remember that this step uses cPanel Server. If you have not installed cPanel on your server, check our related article.
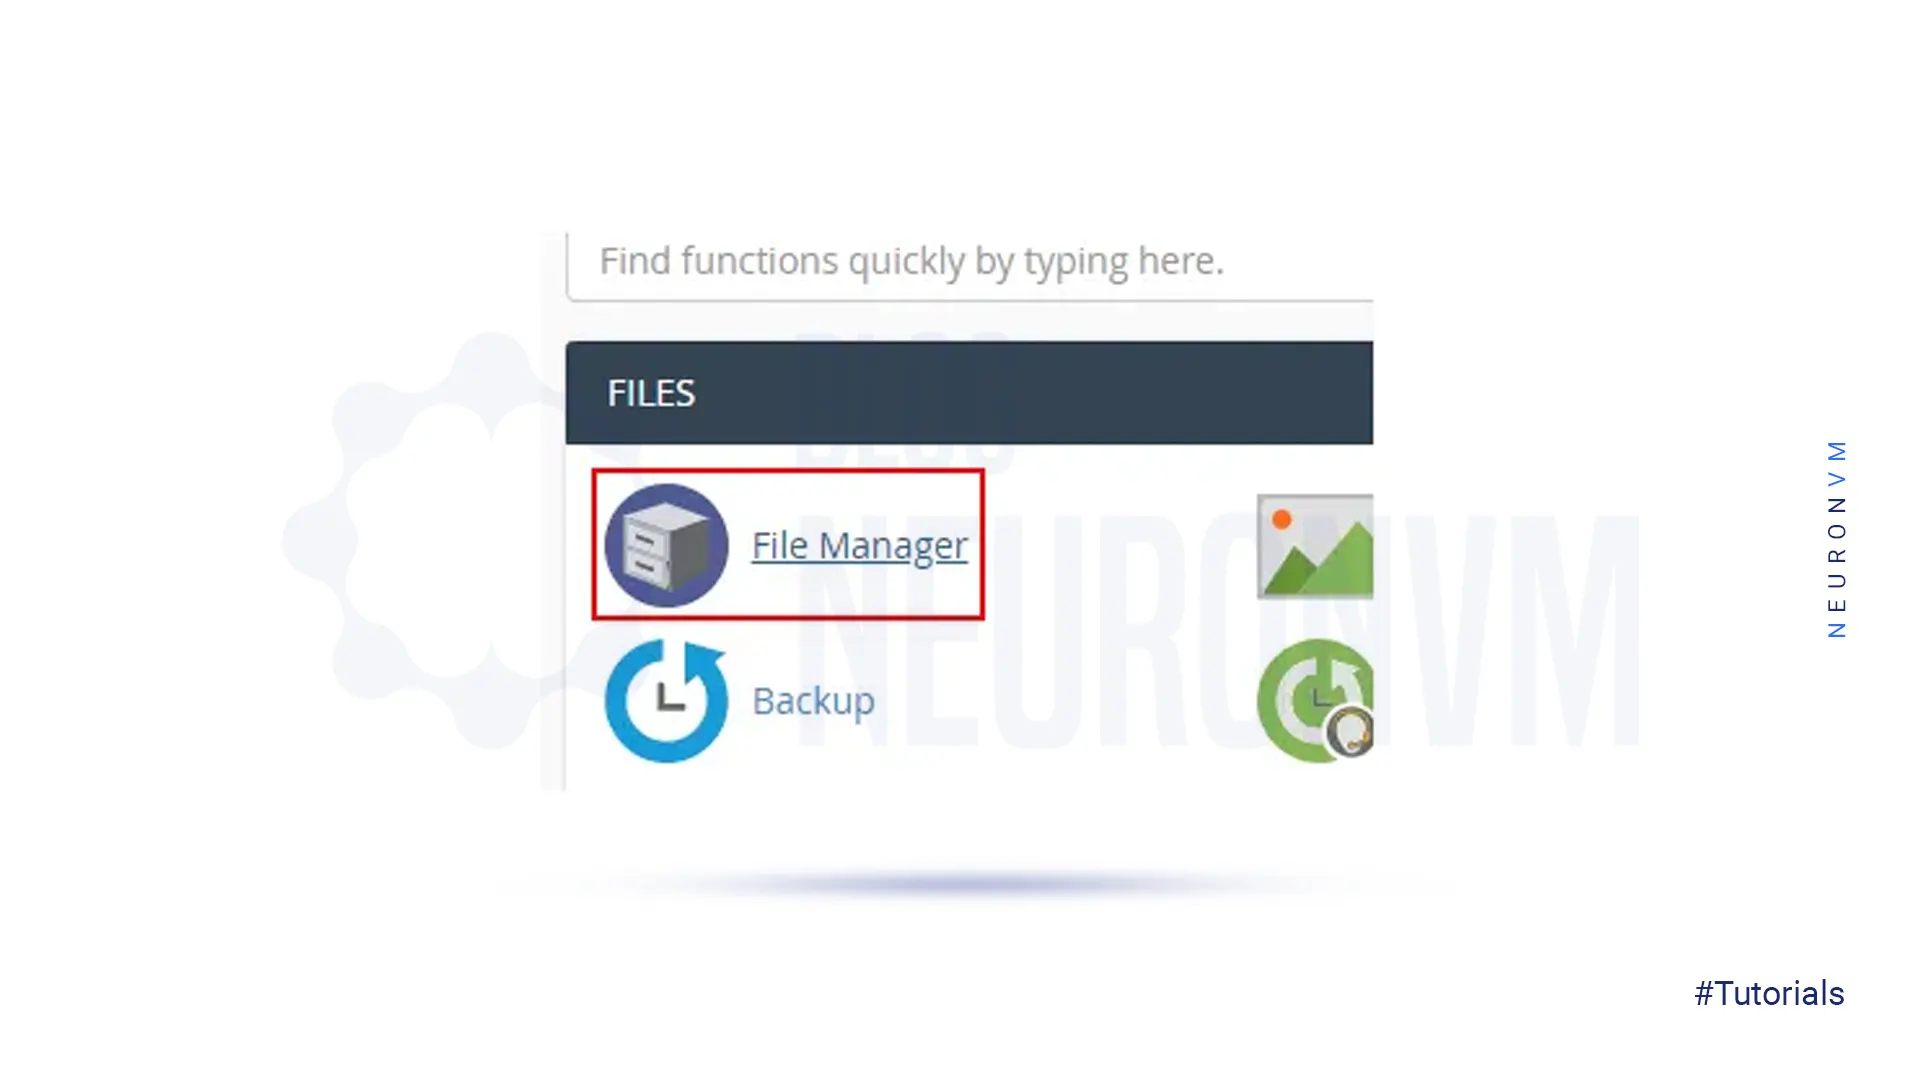
Firstly, you should log in to your cPanel account and navigate to the Files >> File Manager path to the File Manager interface of cPanel:
Double-click on the folder icon to navigate to the public_html directory:

Now click on Upload after you see this screen, choose Select File. Then browse the .zip file:

Once the .zip file is uploaded, you should click on Go Back to “/home/username/public_html” to view the newly uploaded .zip file in the public_html directory.
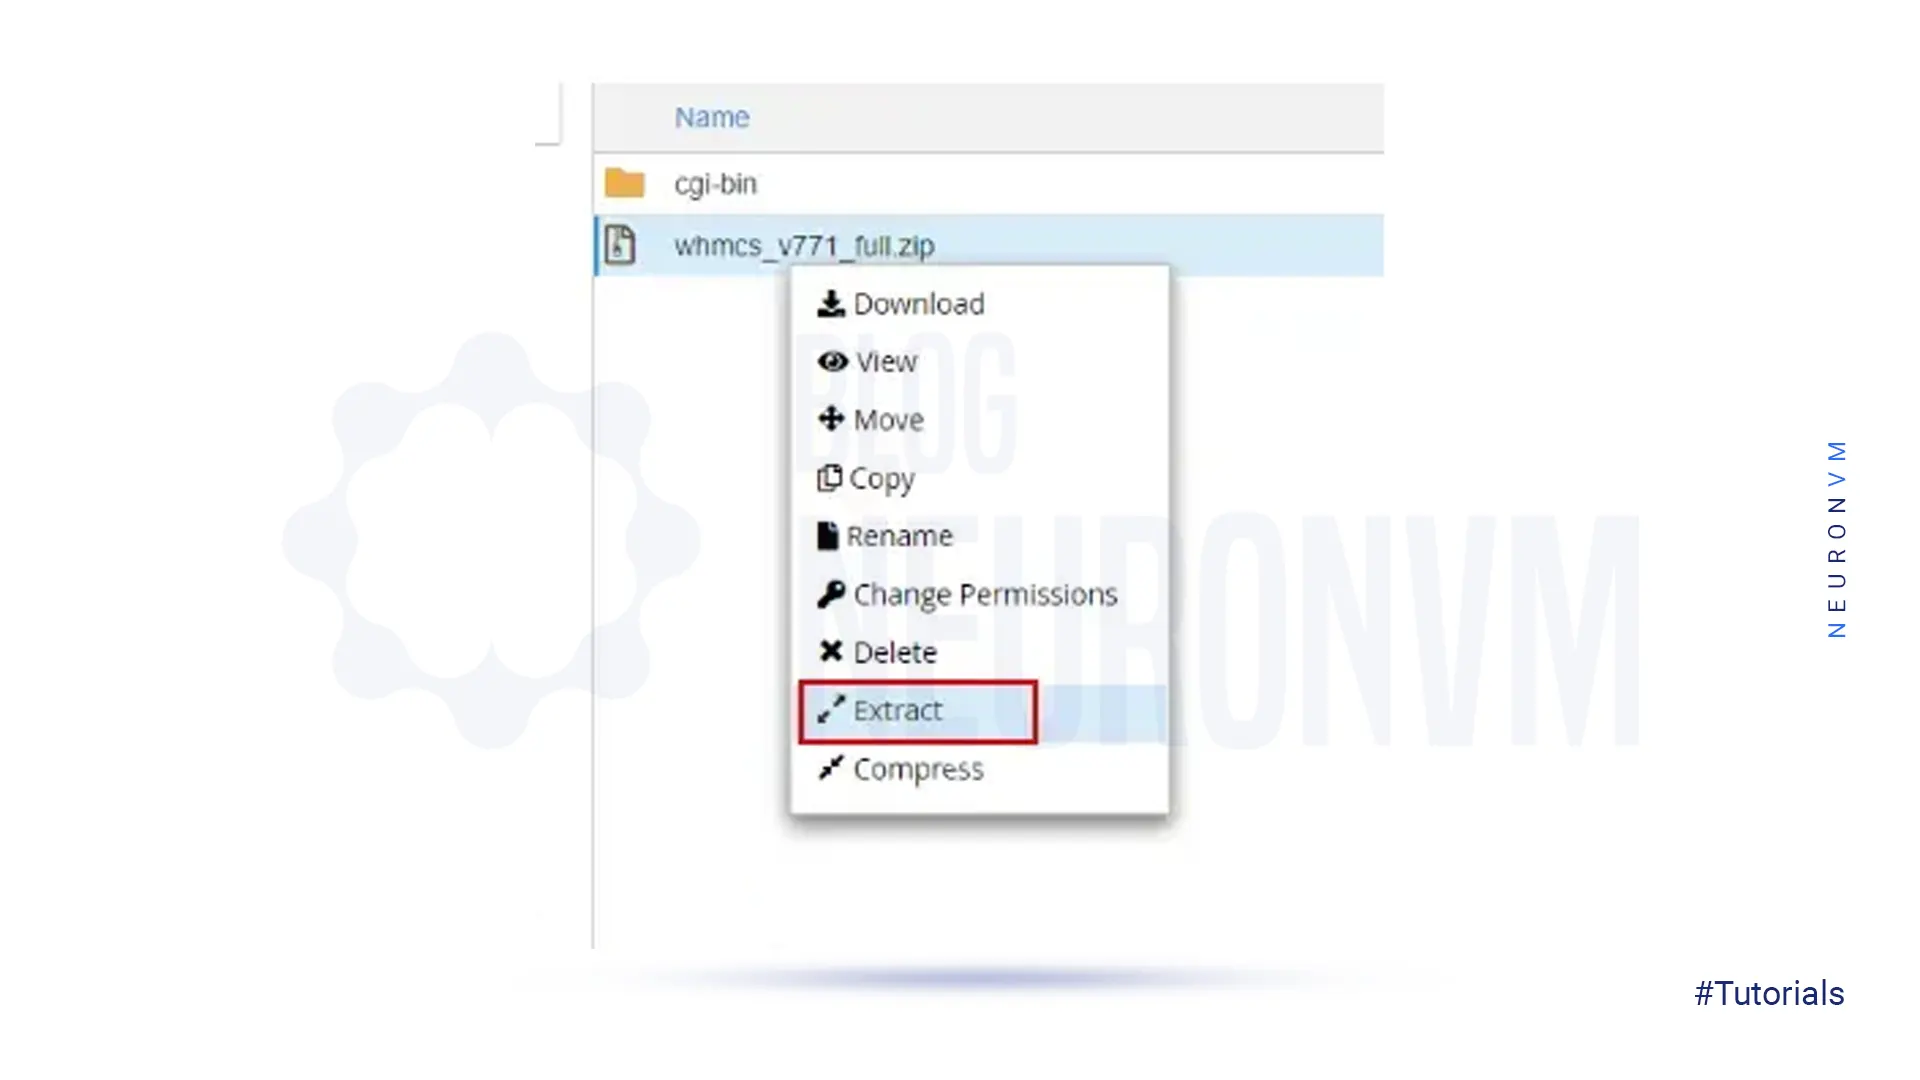
Next, right-click the .zip file and select Extract:
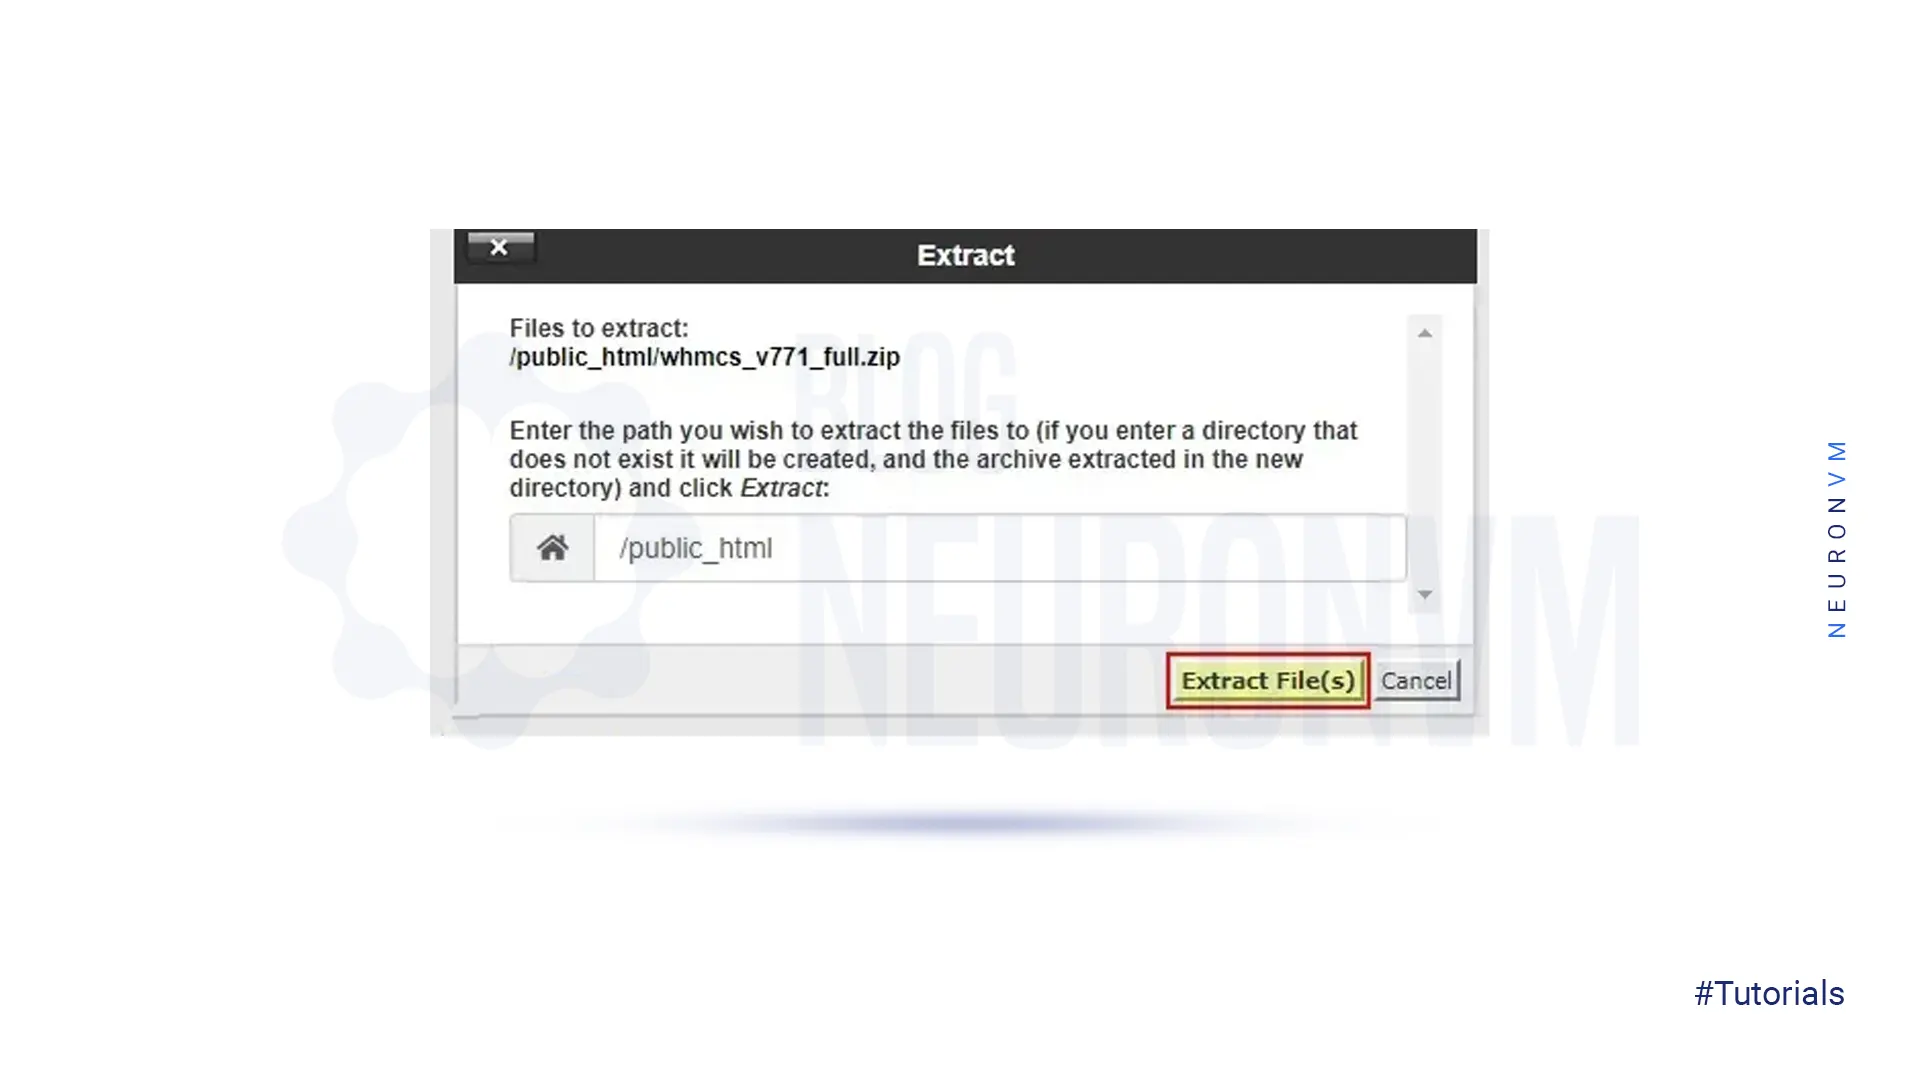
When prompted, select a destination and click Extract File(s). We will extract it to the public_html folder:
Finally, rename the configuration.php.new file to the configuration.php.
Note that you should create the MySQL database for the setup and configure WHMCS.
For this purpose, navigate to the Databases >> MySQL Database in cPanel to access the MySQL Database Wizard interface. You can create a WHMCS database with the help of this interface:

You can use the interface to choose a database name, username, and password, and to set permissions.
Remember to choose All Privileges in the Privileges section:
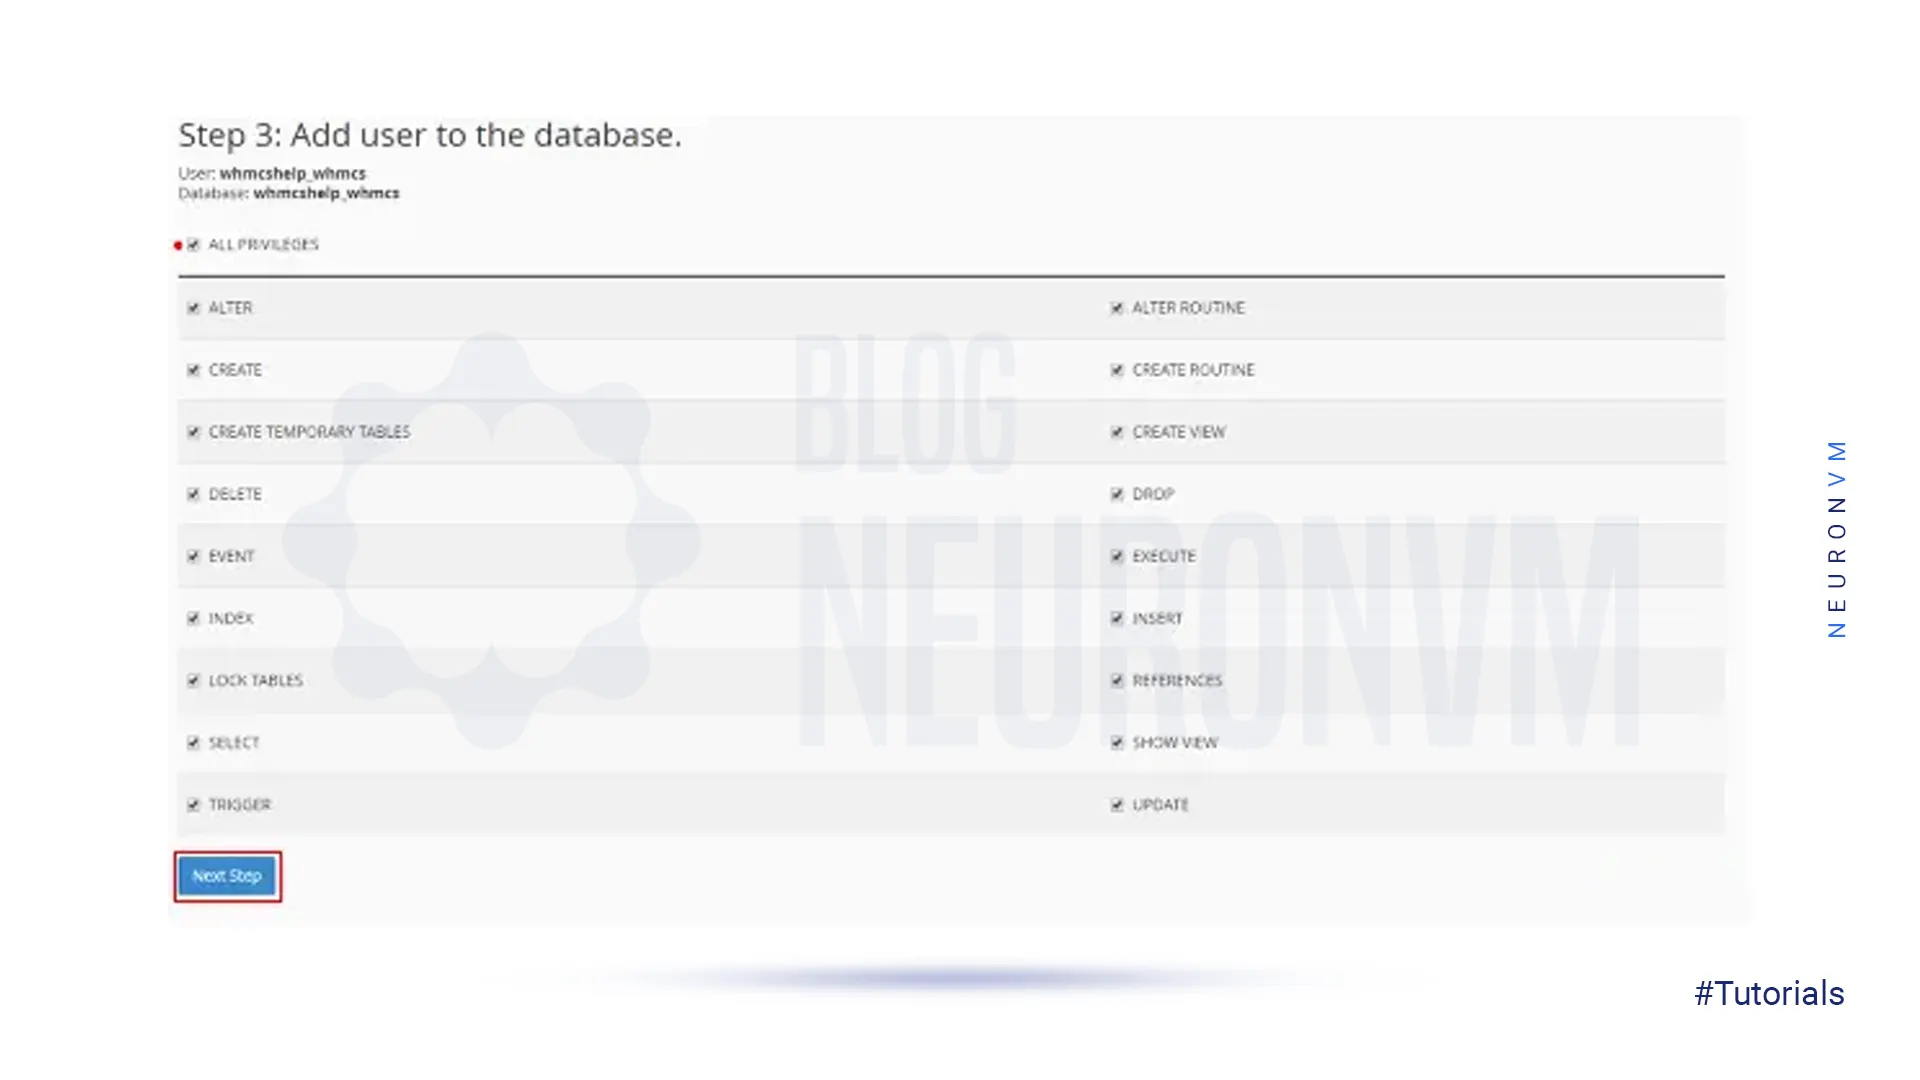
Remember to note down the database details. Note that for databases, cPanel uses the cPanel account username, an underscore, and then the name or username of the database.
Now open a separate browser and navigate to the following URL:
https://www.example.com/whmcs/install/
Tip: Replace example.com with your website address.
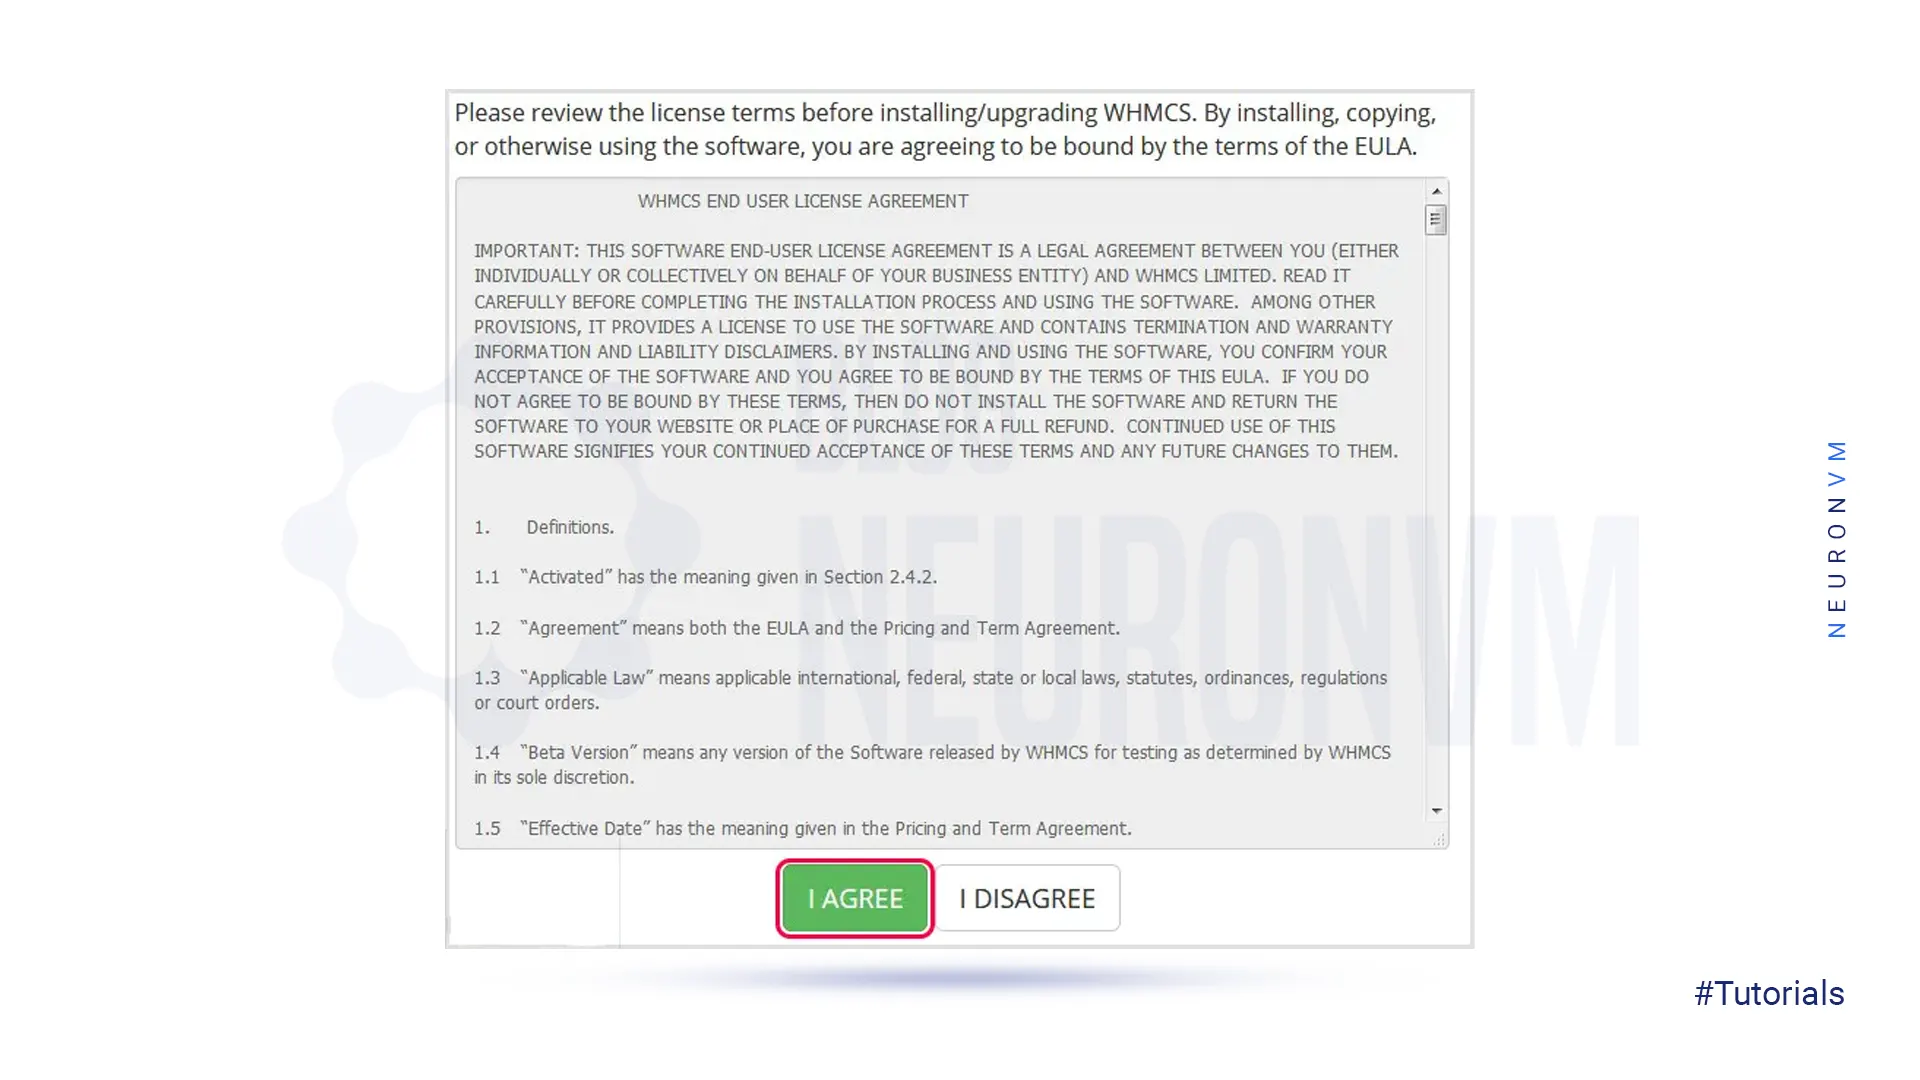
At this point, you will see the End User License Agreement, read it and click I Agree:
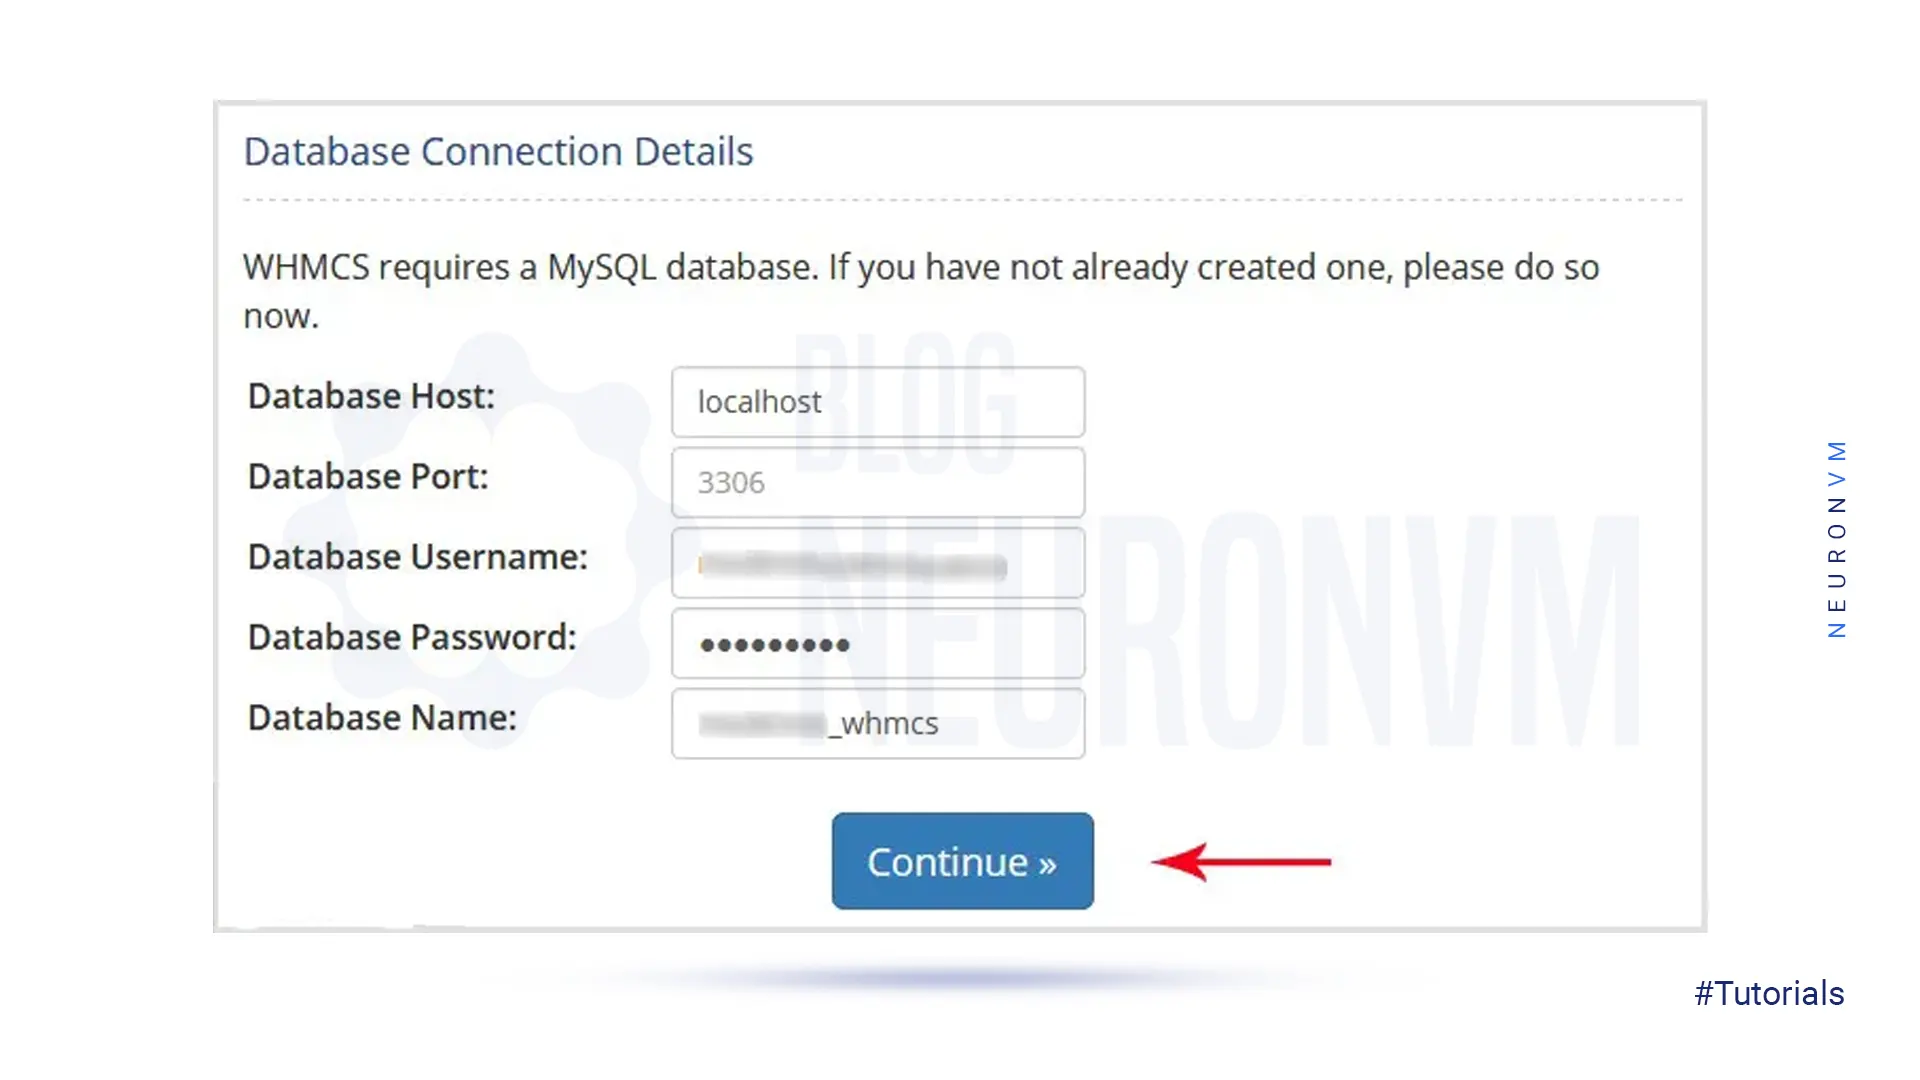
Follow the instructions and provide database information, license key, and other information when prompted:
Finally, click Complete Setup.
Tip: The daily cron job is unique to your server. Remember to copy and save it.
After seeing the installation completion page, delete the /install directory from your server. To do this, just right-click on the /install folder in the cPanel file management interface and select Delete.
That’s all about installing and configuring WHMCS.
Setting up and configuring WHMCS is essential for any web hosting business looking to streamline its client management, billing, and support processes. By following the steps outlined in this article, you can easily set up WHMCS on your server and start using it to efficiently manage your web hosting business. With its powerful features and customizable settings, WHMCS is a valuable tool that will help you grow your business and provide excellent service to your clients. For more information about web hosting, we suggest you read the infographic article The Evolution of Web Hosting.
How useful was this post?
Click on a star to rate it!
Average rating 5 / 5. Vote count: 3
No votes so far! Be the first to rate this post.
 Tags
Tags

Using Virtual Private Servers (VPS) allows you to protect your system and reduce the risk percentage...


 Tags
Tags

Redis is often referred to as a data structure server since it allows storing, manipulating, and ret...


 Tags
Tags
What is your opinion about this Blog?


