

With just a few simple commands, you can install the Linux graphical desktop, GNOME, to make your system management easier on AlmaLinux. GNOME creates an attractive platform with features for use in a graphical environment such as a menu, icons, and tabs for you, and provides a user-friendly environment. So let’s learn how to install GNOME on AlmaLinux.
Here are the prerequisites to have a successful installation process of AlmaLinux:
Like CentOS, AlmaLinux is binary and RHEL compatible. So, we can use dnf to install its different packages. Here are the necessary steps to install GNOME on this practical operating system:

The first step before installing any software in AlmaLinux is to make sure that the system directory and packages are updated. Then use the following command to update the AlmaLinux packages:
sudo dnf update -y
To examine the needed package for GNOME desktop environment installation we need to refer to the package repository. The installation is straightforward and easy using the group list package. You can do all these by running just one command without any error.
So, search the available groups:
sudo dnf group list
Now you can see a list of several groups that are prepared for installation in the Linux system. One of them is Server with GUI. This group list will install the stable version of GNOME on your CLI server. As a result, run the following command:
sudo yum groupinstall "Server with GUI"
By default, the AlmaLinux operating system will boot into your system’s command line interface to switch to graphical mode. So you should also change the execution level to graphics. Use the following command:
sudo systemctl set-default graphical.target
As the final step, restart your system to apply changes. When the system reboots, you will see GNOME graphical login instead of the command line. So run this command:
sudo reboot
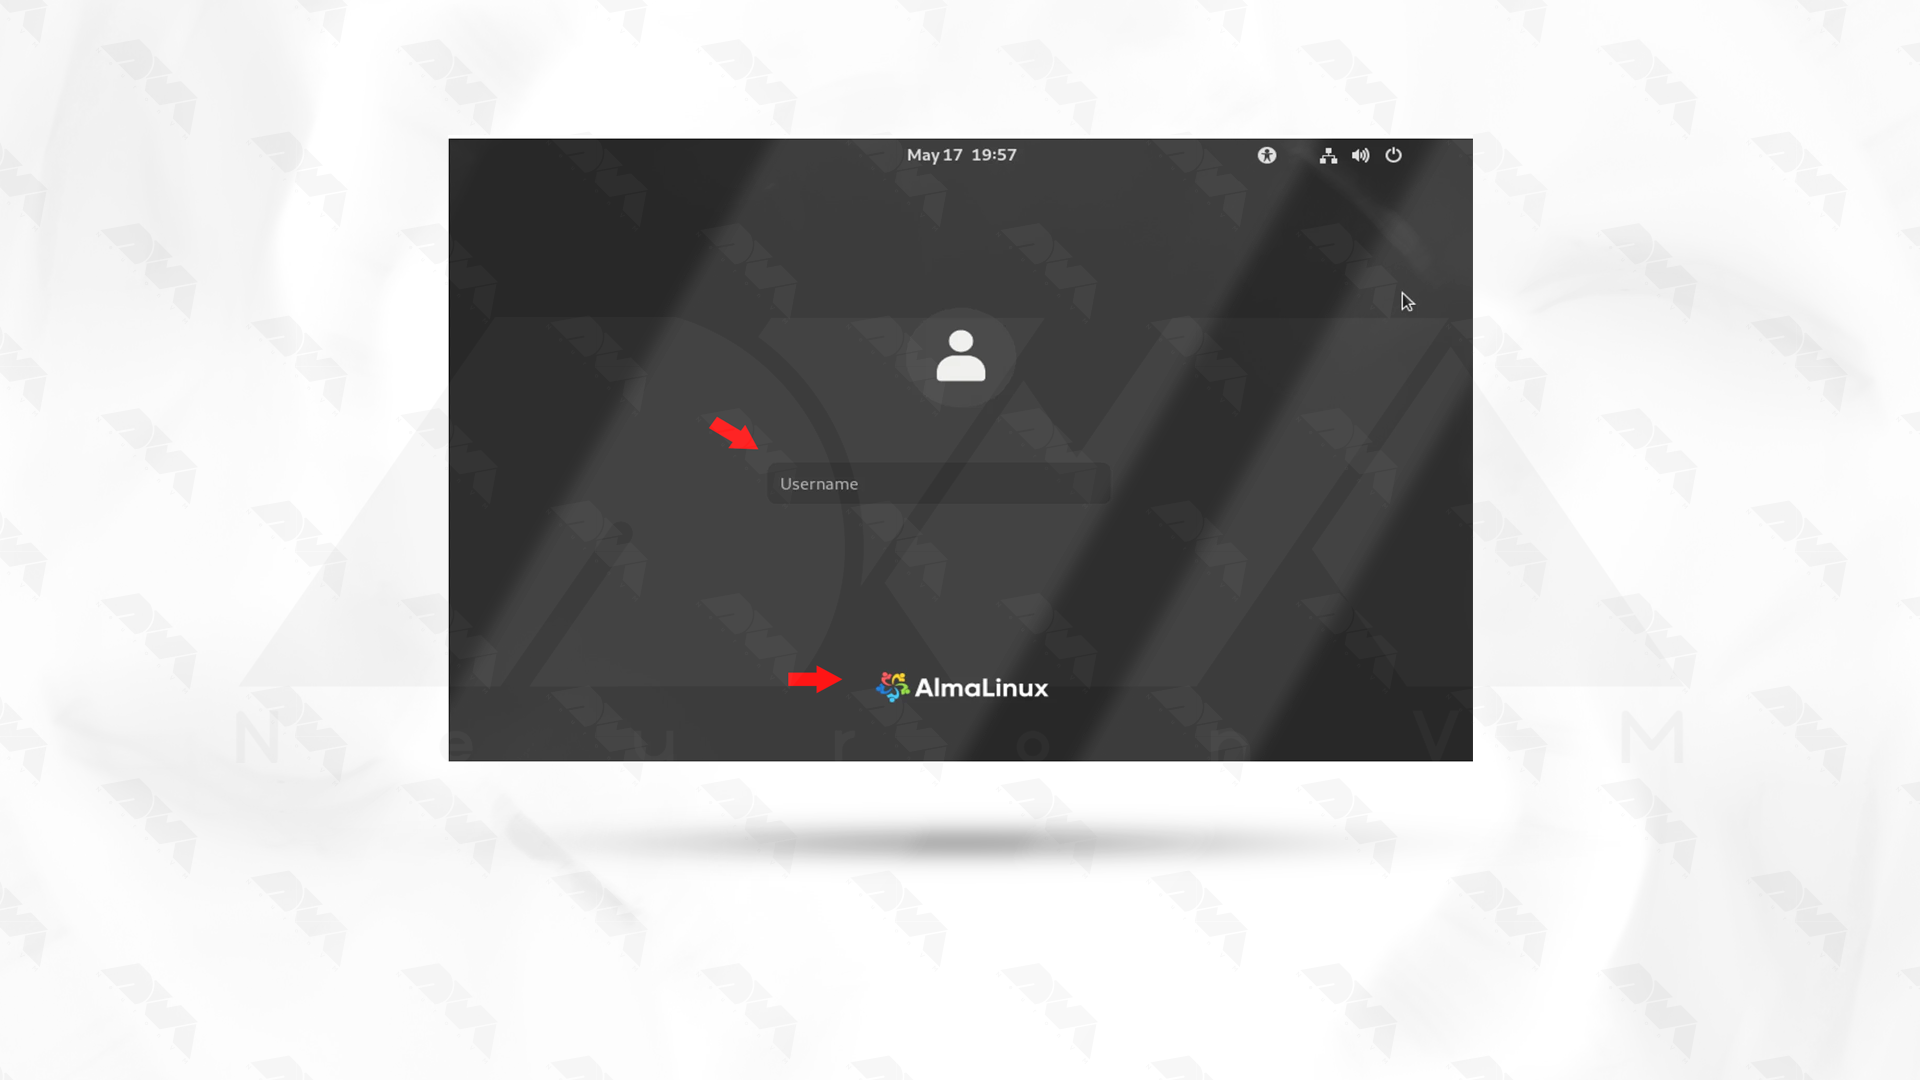
After restarting you will see a login screen that allows you to select a GNOME session. You can use a web interface:

In this section, you will find out some problems that may occur during the installation of GNOME on AlmaLinux:
1- The required repositories might not be enabled or configured properly.
Solution:
Make sure that the necessary repositories are enabled. You can check the repositories in the /etc/yum.repos.d/ directory. The default repositories should include the necessary packages for GNOME.
2- The package or group name might have changed, or it might not be available in the configured repositories.
Solution:
Confirm that you are using the correct package or group name. You can search for packages with similar names using yum search <packege_name>and adjust your installation command accordingly.
3- Installation fails due to missing dependencies.
Solution:
Check the error message during installation to identify the missing dependencies. Use yum install <dependency_package> to install the required dependencies manually before attempting to install GNOME again.
4- There may be conflicts with existing packages or groups on the system.
Solution:
Check for any conflicting packages or groups and resolve the conflicts before attempting to install GNOME. You can use commands like yum list installed to see the installed packages.
GNOME is an important graphical tool that helps Linux users work more effectively and efficiently with the Alma Linux operating system. This interface makes AlmaLinux more user-friendly and simple. The above steps will help you to install this tool easily step-by-step. So, install it and enjoy the attractive environment of GNOME.
How useful was this post?
Click on a star to rate it!
Average rating 3.6 / 5. Vote count: 7
No votes so far! Be the first to rate this post.
 Tags
Tags

The Control Panel is a set of sub-programs that can be used to configure various aspects of the Oper...


 Tags
Tags

By reading the step-by-step guide of this article, you can easily Install Virtualizor on AlmaLinux 8...


 Tags
Tags
What is your opinion about this Blog?


