


This article will help you to install Xubuntu on Vmware workstation. We recommend Xubuntu because of its impressive benefits. This beautiful operating system can be used as a free distribution and is fast. Also, using the Xfce desktop environment is a significant advantage for Xubuntu. So, follow this article to find out how you can setup Xubuntu on Vmware.
Xubuntu is a derivation of the Ubuntu operating system provided by Canonical Ltd company. The name Xubuntu is a combination of Xfce and Ubuntu. This distribution tries to provide a stable, customizable, and lightweight desktop environment using Xfce and also, is intended for both beginners and professional users.
After a short explanation about Xubuntu distribution, let’s see how we can set it up on Vmware workstation through a step-by-step guide prepared for you. After purchasing a Linux VPS server from NeuronVM, you can test this training on it and enjoy it.
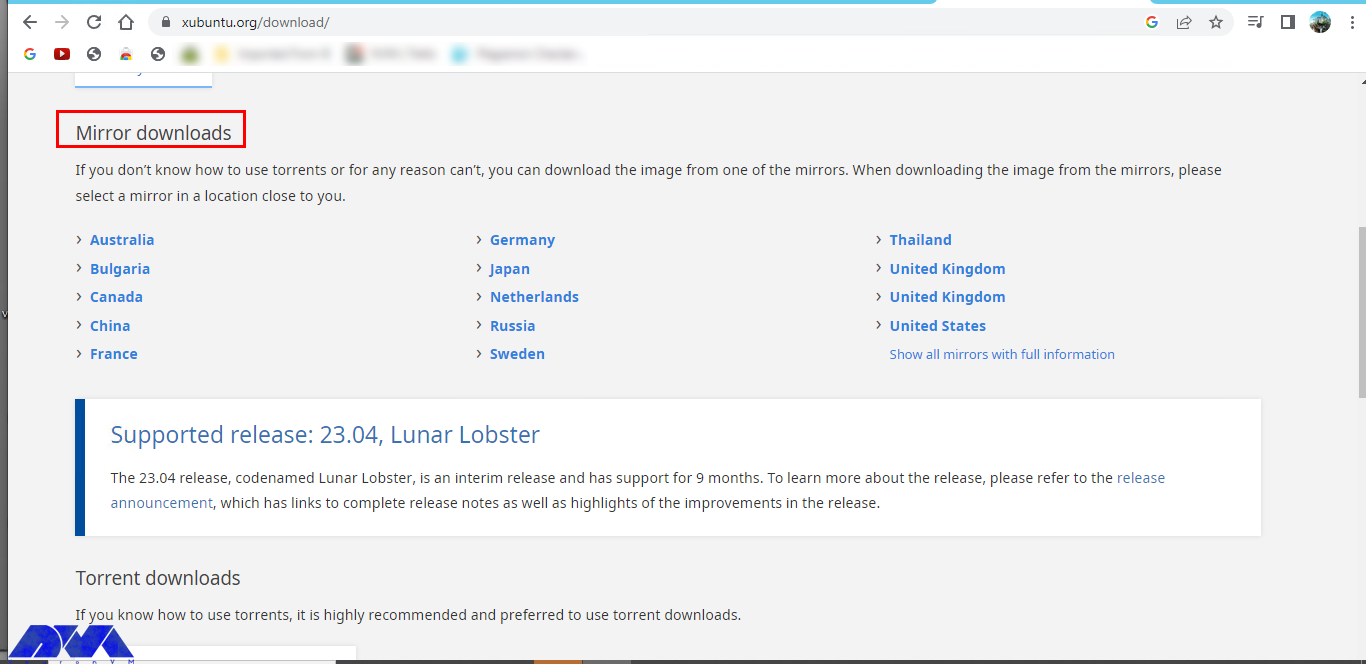
This step is straightforward. Just go to the official page and download Xubuntu. It is recommended to use a torrent file because it’s flexible or uses the iso image file under the Mirror Downloads section. you should choose the closest location:
– Then go to the downloads folder and find the image file. Probably, the file name starts with Xubuntu and is an iso file
– Now you can start the installation process. open the Vmware workstation but if you don’t have it on your system you can download it from the official page.
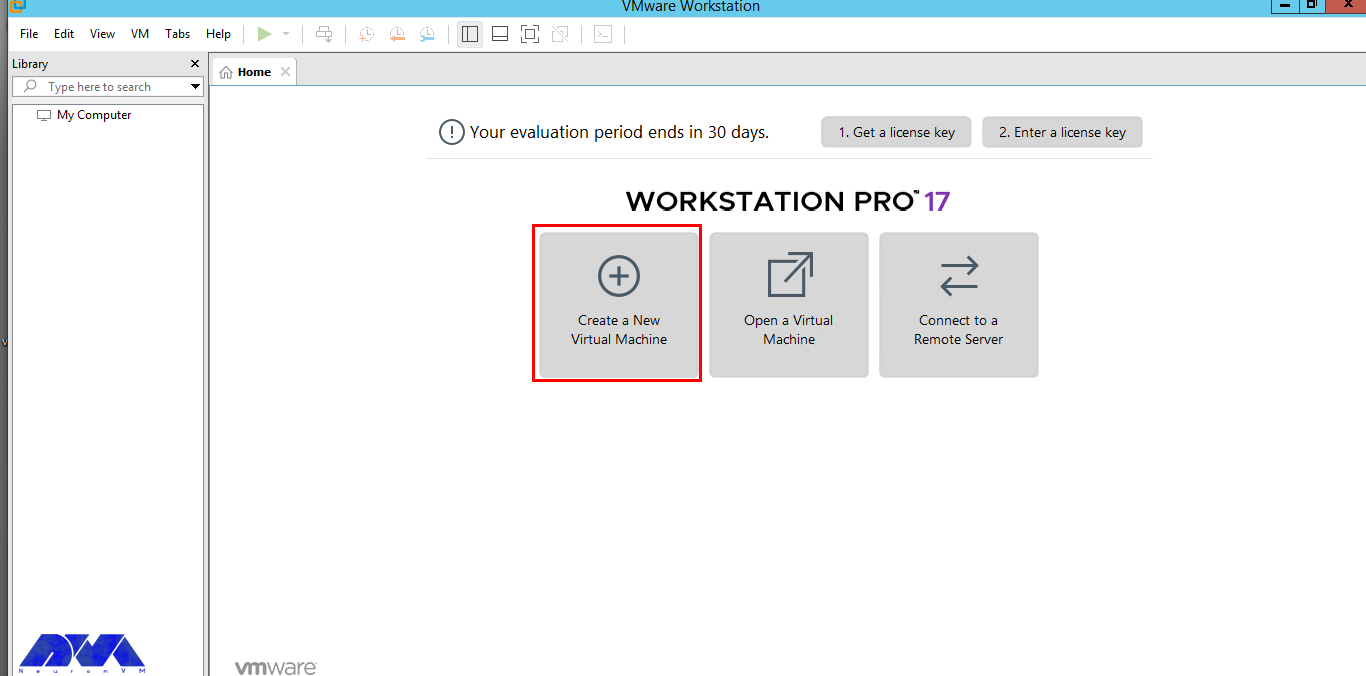
– To start the process of installing Xubuntu, Open the Vmware workstation and click on Create a new virtual machine on your home screen or you can go through this pass: File > New Virtual Machine. Also, use the keyboard shortcut Ctrl+N.
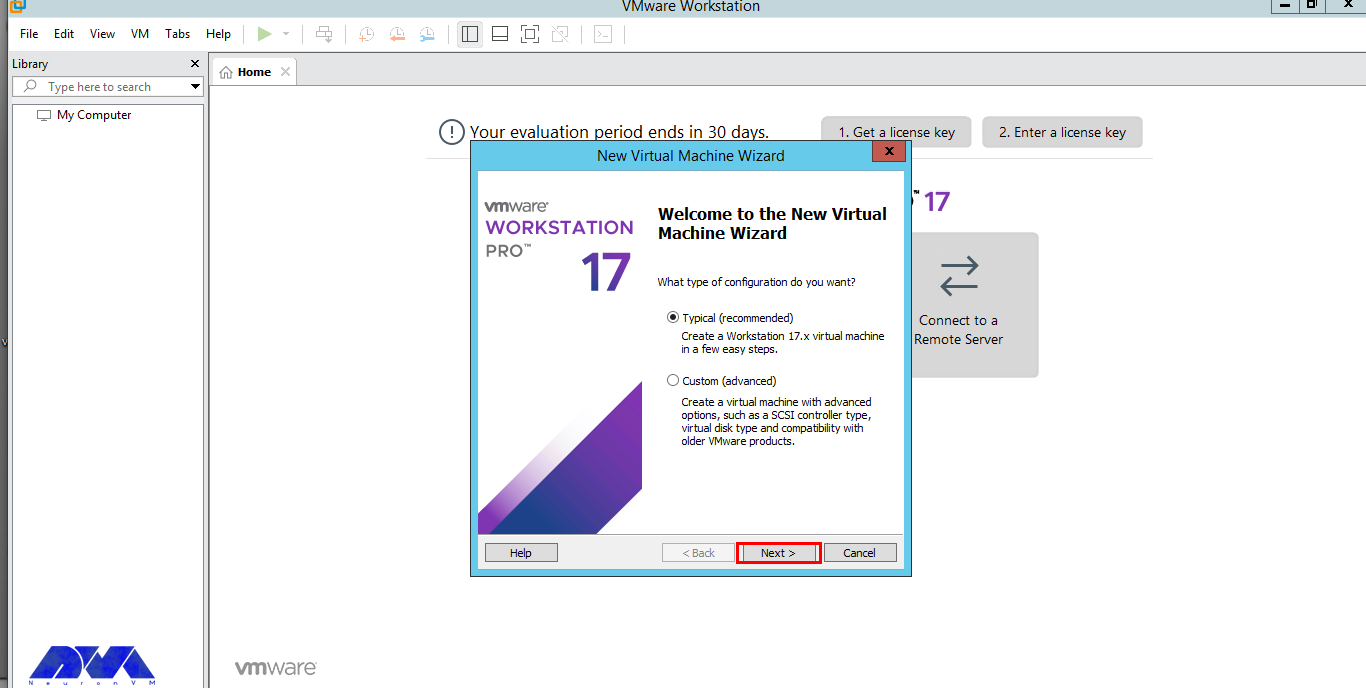
– In this section, you will start the Vmware virtual machine Wizard. As soon as you see the welcome window of the wizard, you can do the configuration. Custom is a more advanced setting, so, the only thing you have to do is select the Typical option which is checked in default mode. Enter Next to continue:
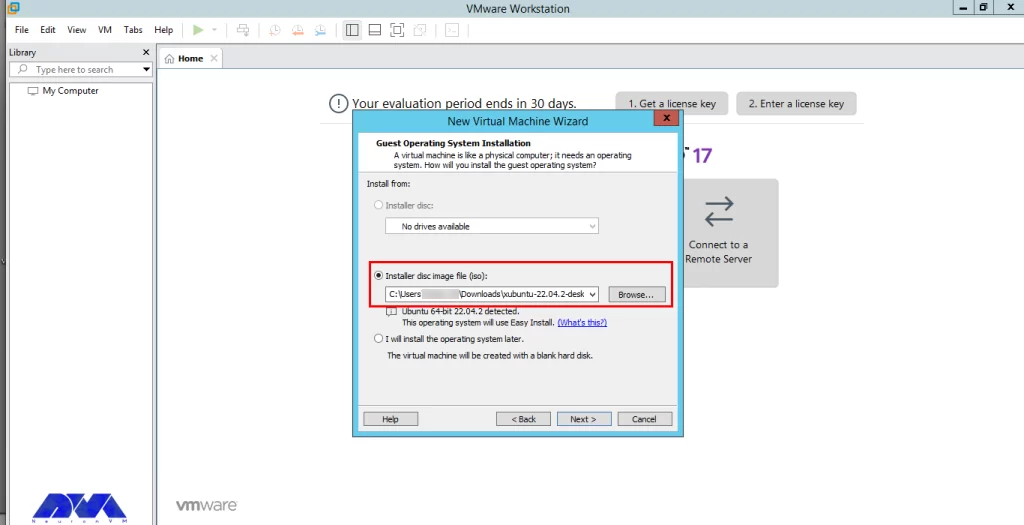
– In the next step, you should browse the downloaded iso image file and click Next:
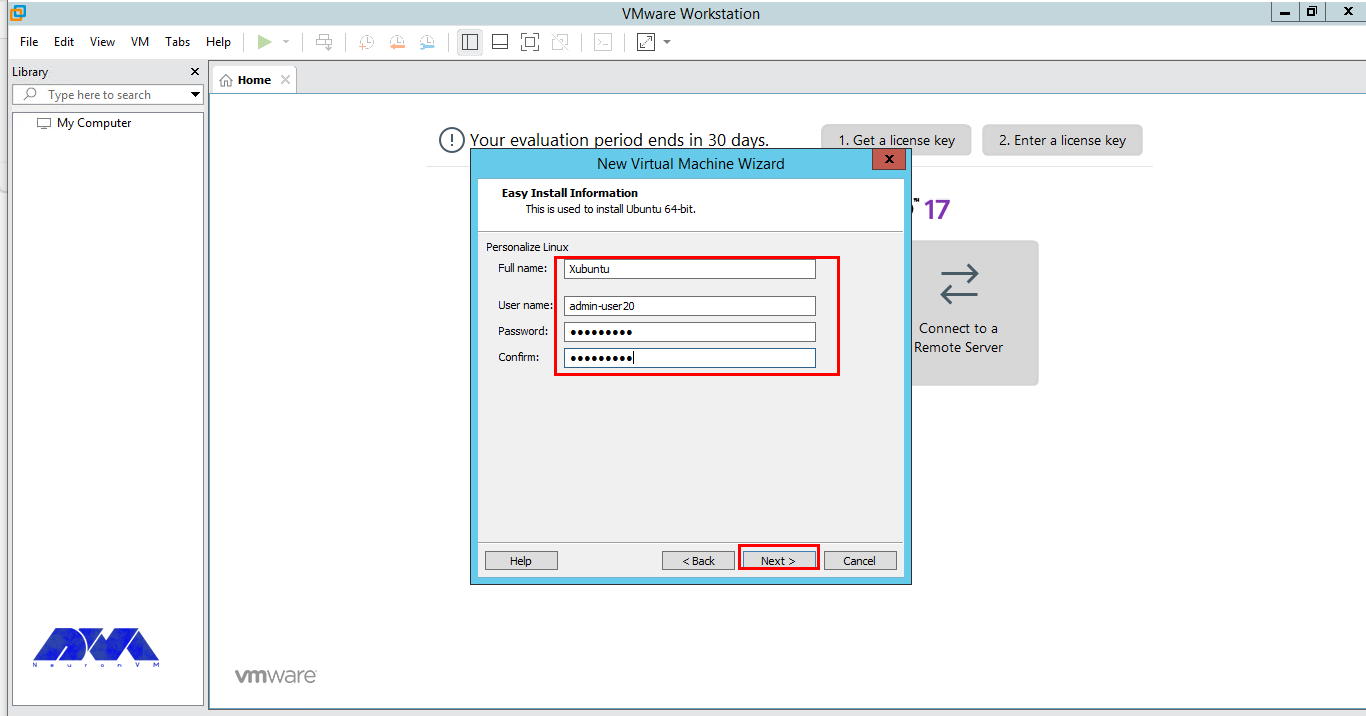
– Here, you should enter your virtual machines Name, Username, and Password:
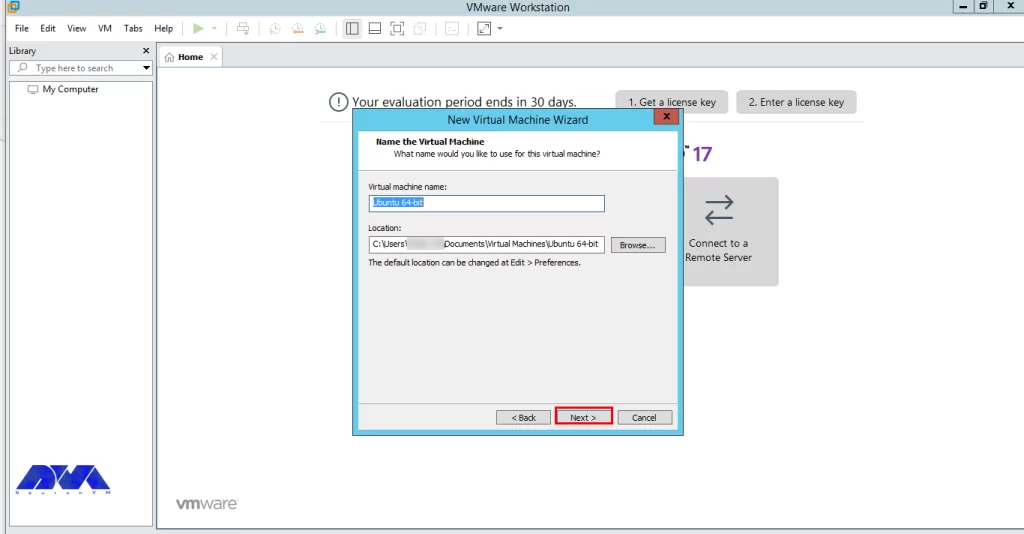
– Then, specify your VMs name in the dialog box or leave it as the default. Also, you can accept the default location. Your folders name will be the same as your VM file name:
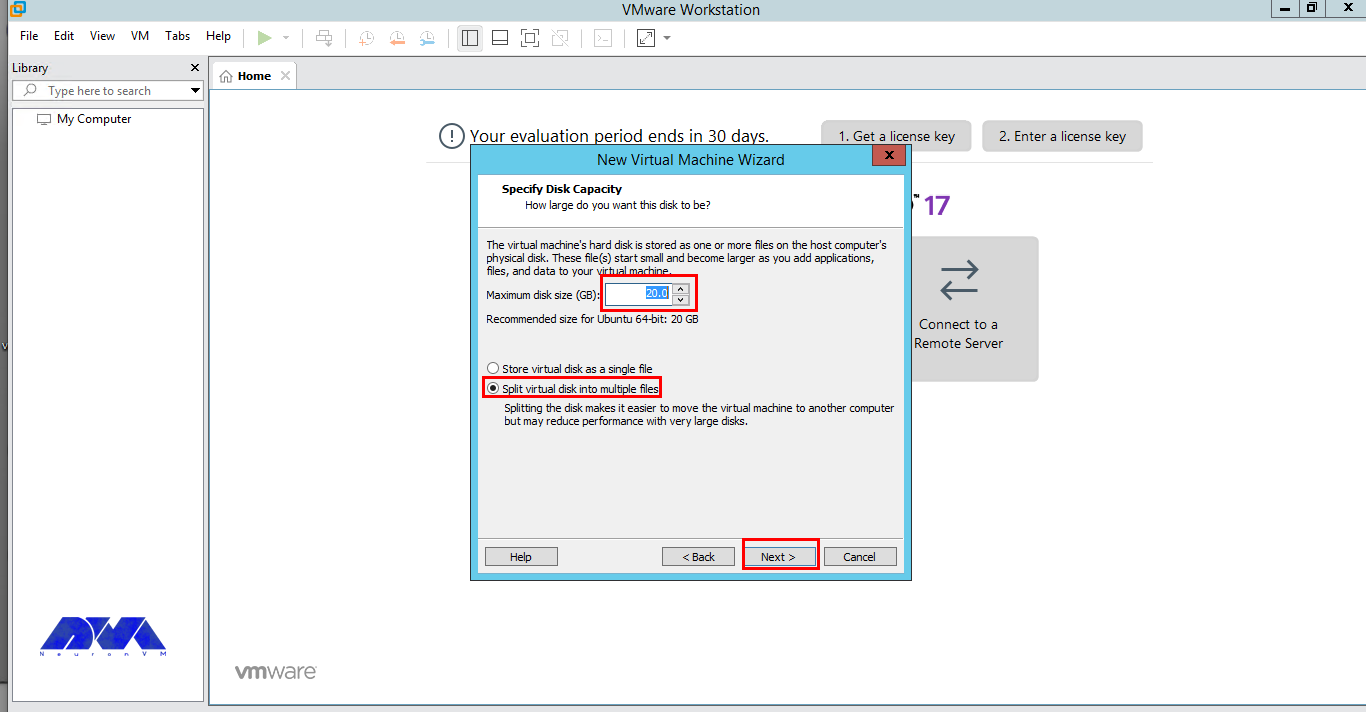
– It is time to determine the Disk Space capacity. The default amount is 20 GB. We should mention that if you are not using heavy applications like Photoshop, this amount will be enough. Mark the Split Virtual Disk into Multiple Files option and go to the next part:
– This is the final dialog box. Here, you can see the details of your setup. The only thing to do is click on the Finish button:
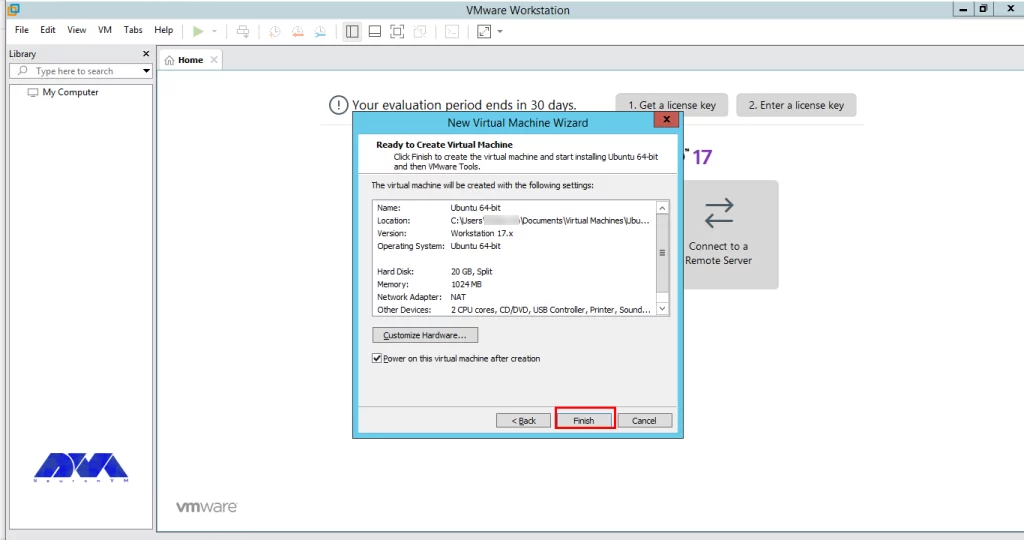
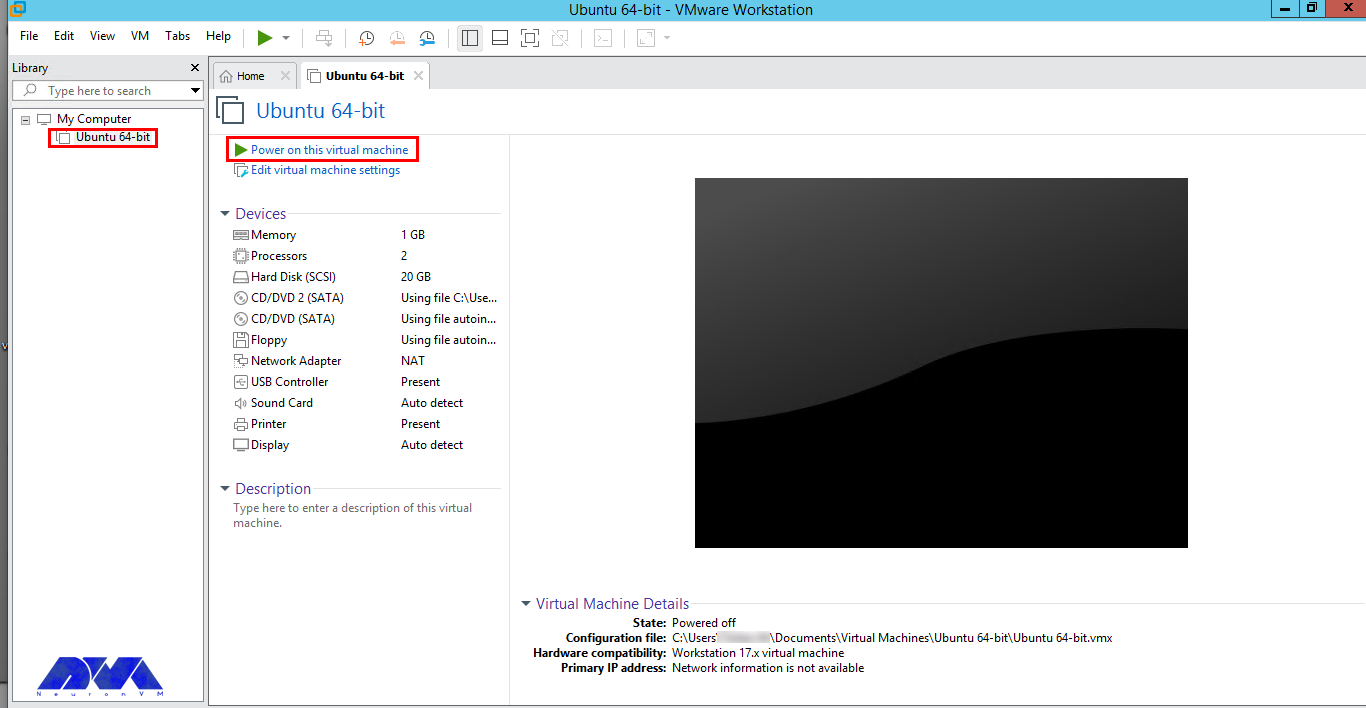
– Now power on a virtual machine to start and Vmware will start automatically:
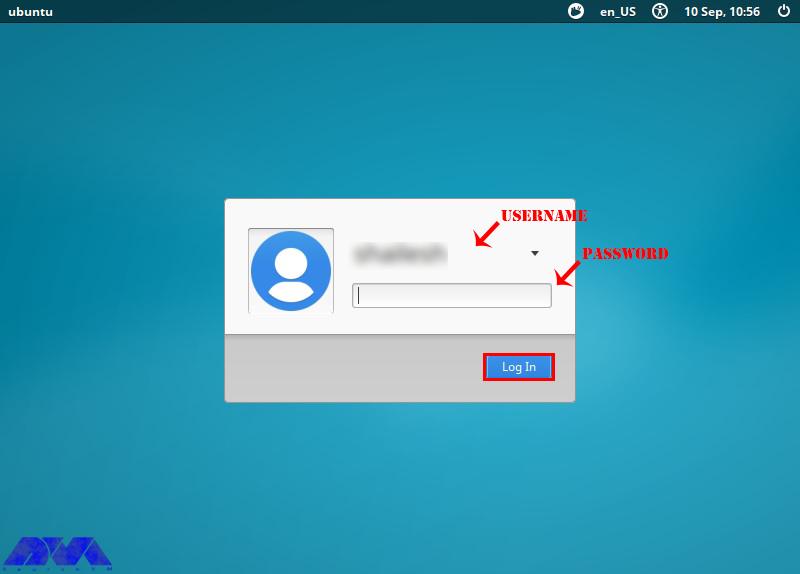
– After an automatic reboot, you should enter the Username and Password:
###
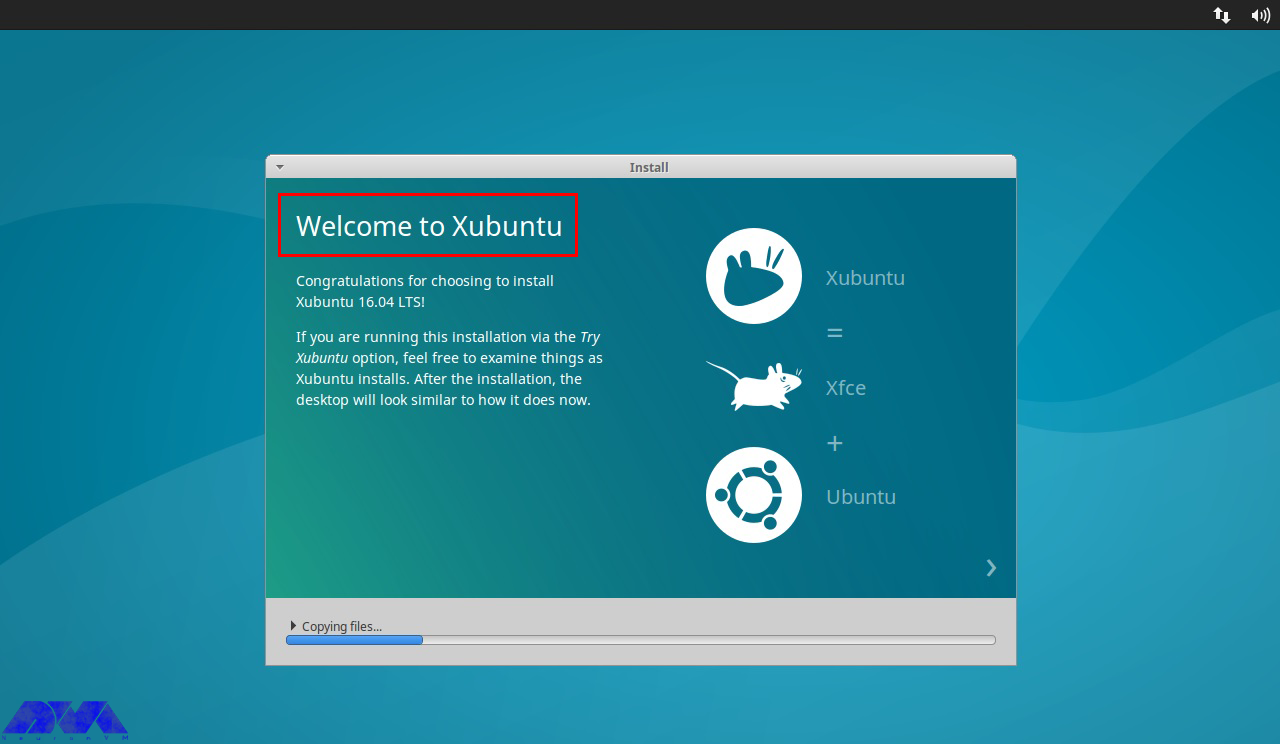
– Vmware tools will install automatically. If you see the VM > Reinstall Vmware tools then You have already installed them. To check the status, use the command below:
vmware-toolbox-cmd -vIf you notice the version number, you have installed the Vmware tools. If not, go through this pass VM > Install VMware tools and restart the system:
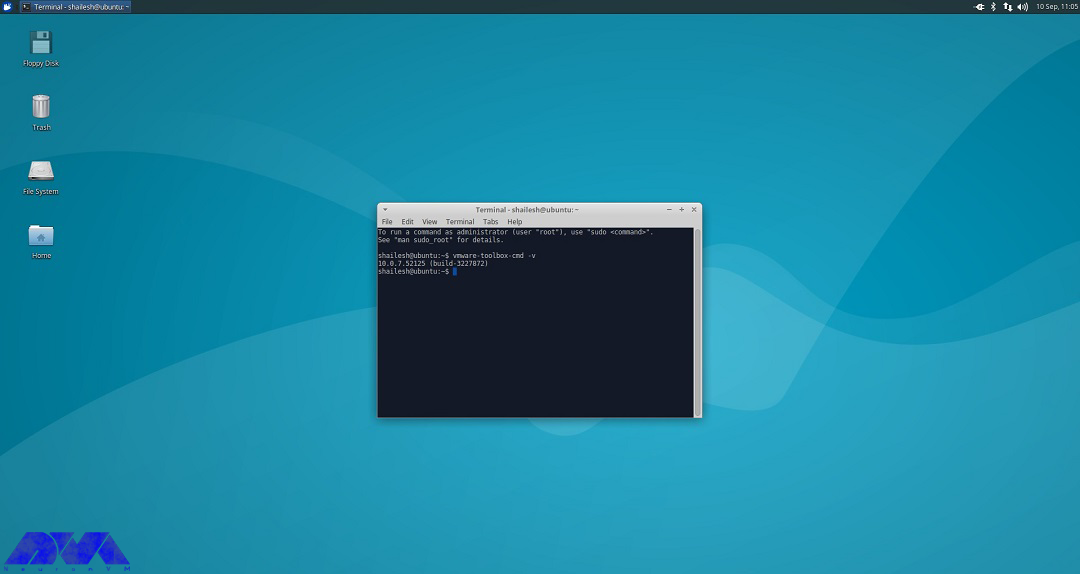
Now, you can see the Xubuntu desktop on full scream. If you can not see the full-screen mode, then you should restart your system:

Xubuntu is an easy-to-use, great operating system that is derived from Ubuntu. This article can be a helpful guide to show the way to setup Xubuntu on Vmware. We tried to teach how you can download and install it on Vmware and how you can create a virtual machine to start your task. Hope you enjoyed the content. If you have any questions or ideas, just leave a comment.
Xubuntu can use Xfce file manager Thunar.
You should allocate at least 1 GB RAM and Intel or AMD 64 Bit processor for your Xubuntu distribution.
How useful was this post?
Click on a star to rate it!
Average rating 1 / 5. Vote count: 1
No votes so far! Be the first to rate this post.
 Tags
Tags

Have you ever heard the name of the game Minecraft? This game is one of the well-known and popular s...


 Tags
Tags

Foolproof Backup refers to a backup system or strategy that is designed to be highly reliable and vi...


 Tags
Tags
What is your opinion about this Blog?


