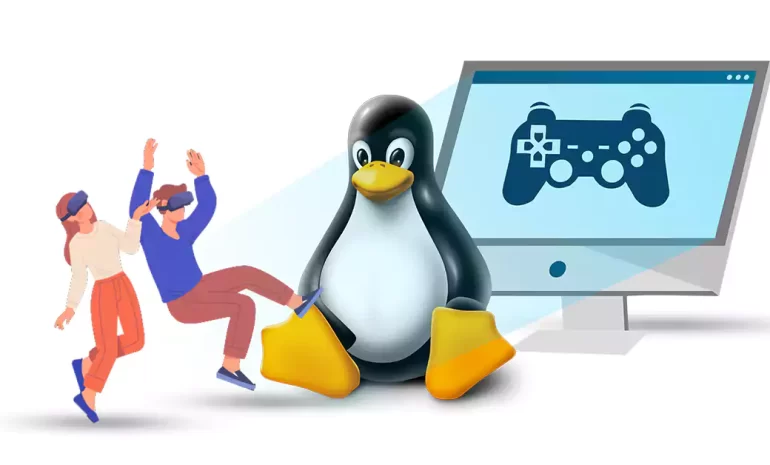
Linux has evolved into a robust platform in the realm of gaming, providing a plethora of top-tier titles. With an increasing cadre of developers adopting this open-source system, Linux gaming has seen a rapid influx of creative games that provoke a reconsideration of traditional entertainment. This article dives into the transformative realm of Linux games, examining the captivating offerings at hand and their sway over gamers across the globe.
From immersive narratives to extraordinary visual artistry, Linux games are reshaping the public perception of video games and projecting a new vision for the future of entertainment.
Overview of Linux Gaming
The popularity of Linux gaming has risen substantially due to its extraordinary compatibility with a vast array of digital amusements. Linux offers a variety of game styles including strategy, action, role-playing, among others. Several well-known game creators have begun to provide Linux-compatible versions of their games, broadening the choices available for Linux aficionados.
From immersive narratives to extraordinary visual artistry, Linux games are reshaping the public perception of video games and projecting a new vision for the future of entertainment.
The open-source essence of Linux fosters an active community of innovative creators who specialize in crafting games particularly suited for this platform.
Technology, such as emulation software, has enabled Linux users to engage with vintage games, originally intended for different operating systems. Steam, a behemoth in the realm of online gaming, supports Linux and boasts a comprehensive assortment of games for users to relish on their systems.
Best Linux Games
Here’s a list of Top 10 games you can run on your Linux operating system today!
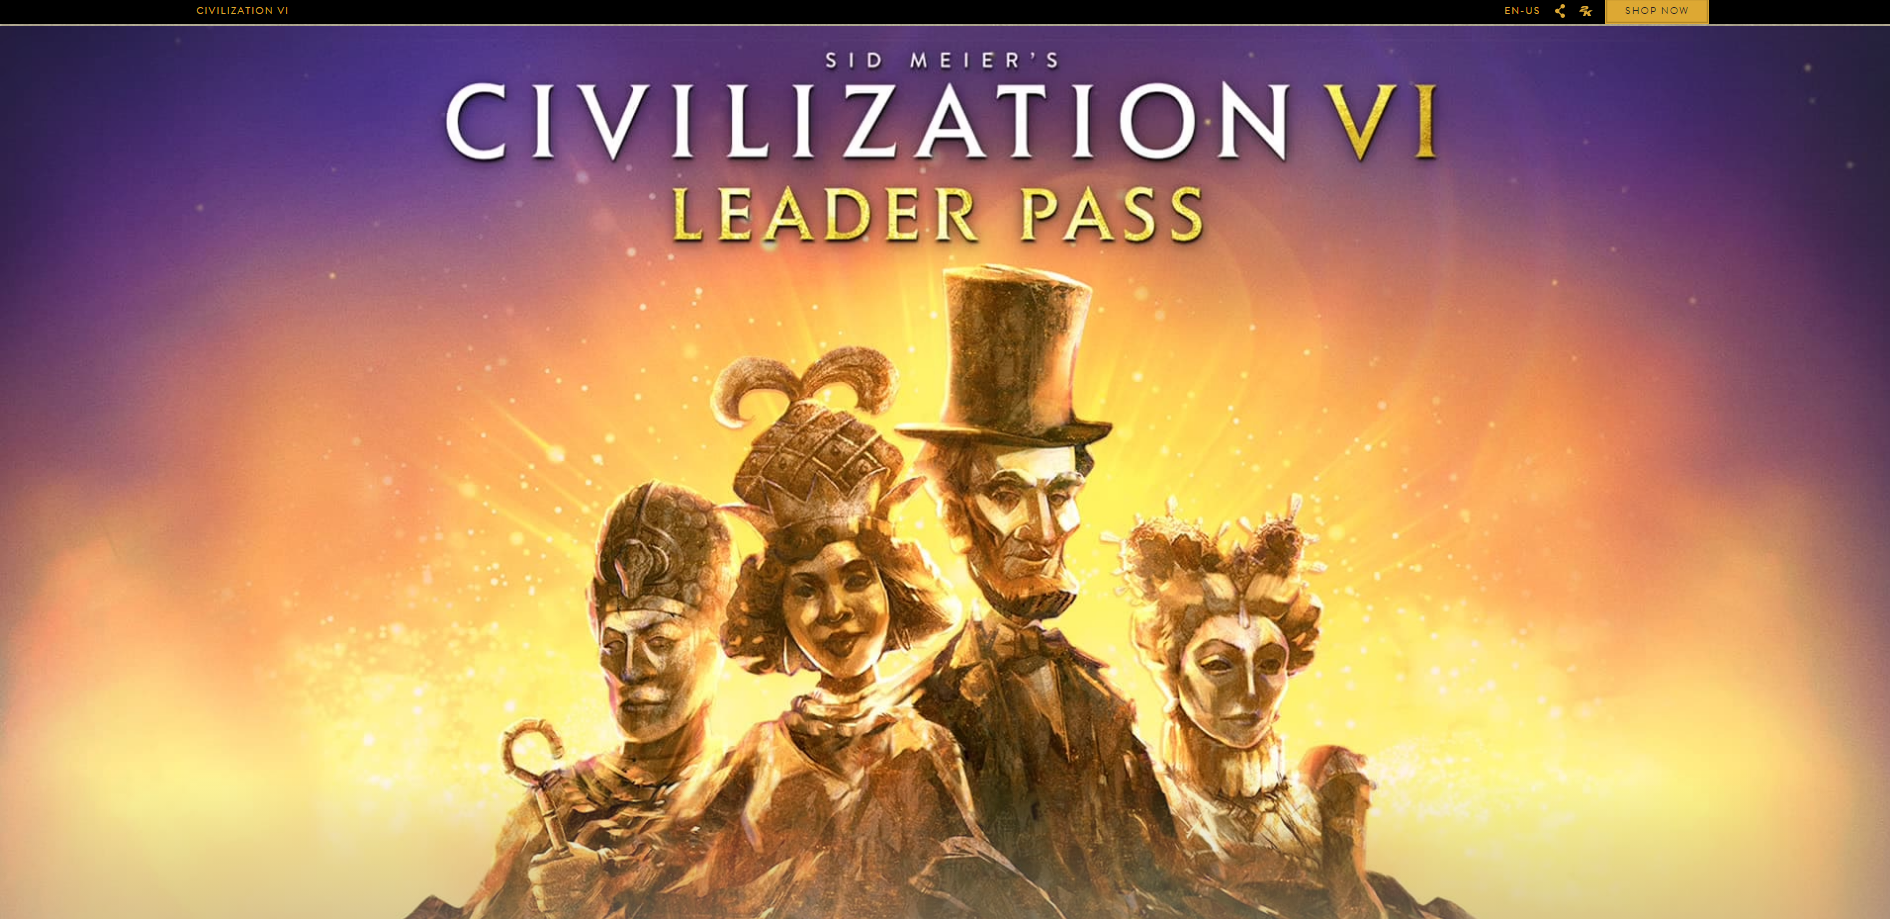
Civilization VI
The strategy game “Civilization VI” has found favor among Linux platform users. Players are drawn into a compelling narrative, where they have the power to construct their own empires, strategize, and unearth new territories. Intricate mechanics and immersive graphical delight provide endless fun and increase the strategic stakes against opponents.
The game promotes diplomatic interaction, allowing players to form alliances and negotiate with other civilizations. This enriching and enchanting strategic experience keeps Linux-based gamers loyal to “Civilization VI”.
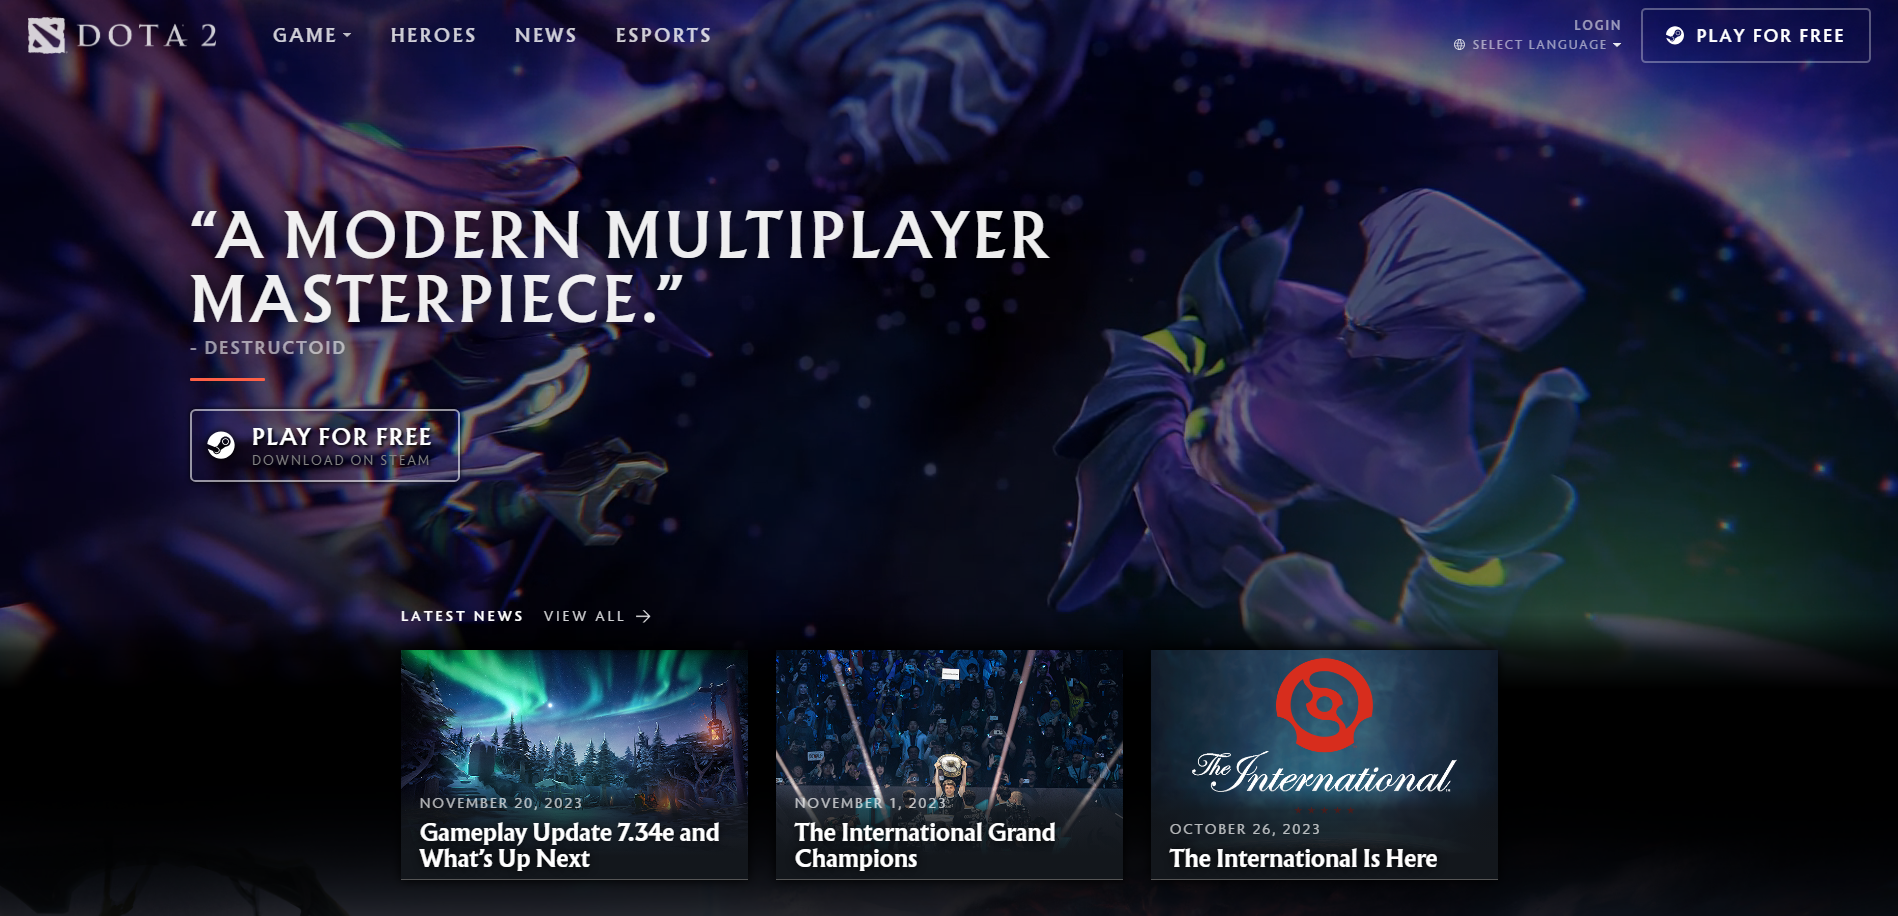
Dota 2
Another crowd-pleaser on the Linux platform is Dota 2. The complexity of the game mechanics and strategic elements make it an alluring choice for seasoned gamers. Dota 2 presents an array of playable characters, with unique abilities and gameplay styles.
Catering to both casual and professional gamers, the competitive spirit of Dota 2 rewards teamwork, proficiency, and prudent decision-making. Its active community and steady stream of updates keep Dota 2 dynamic and engaging for Linux users.
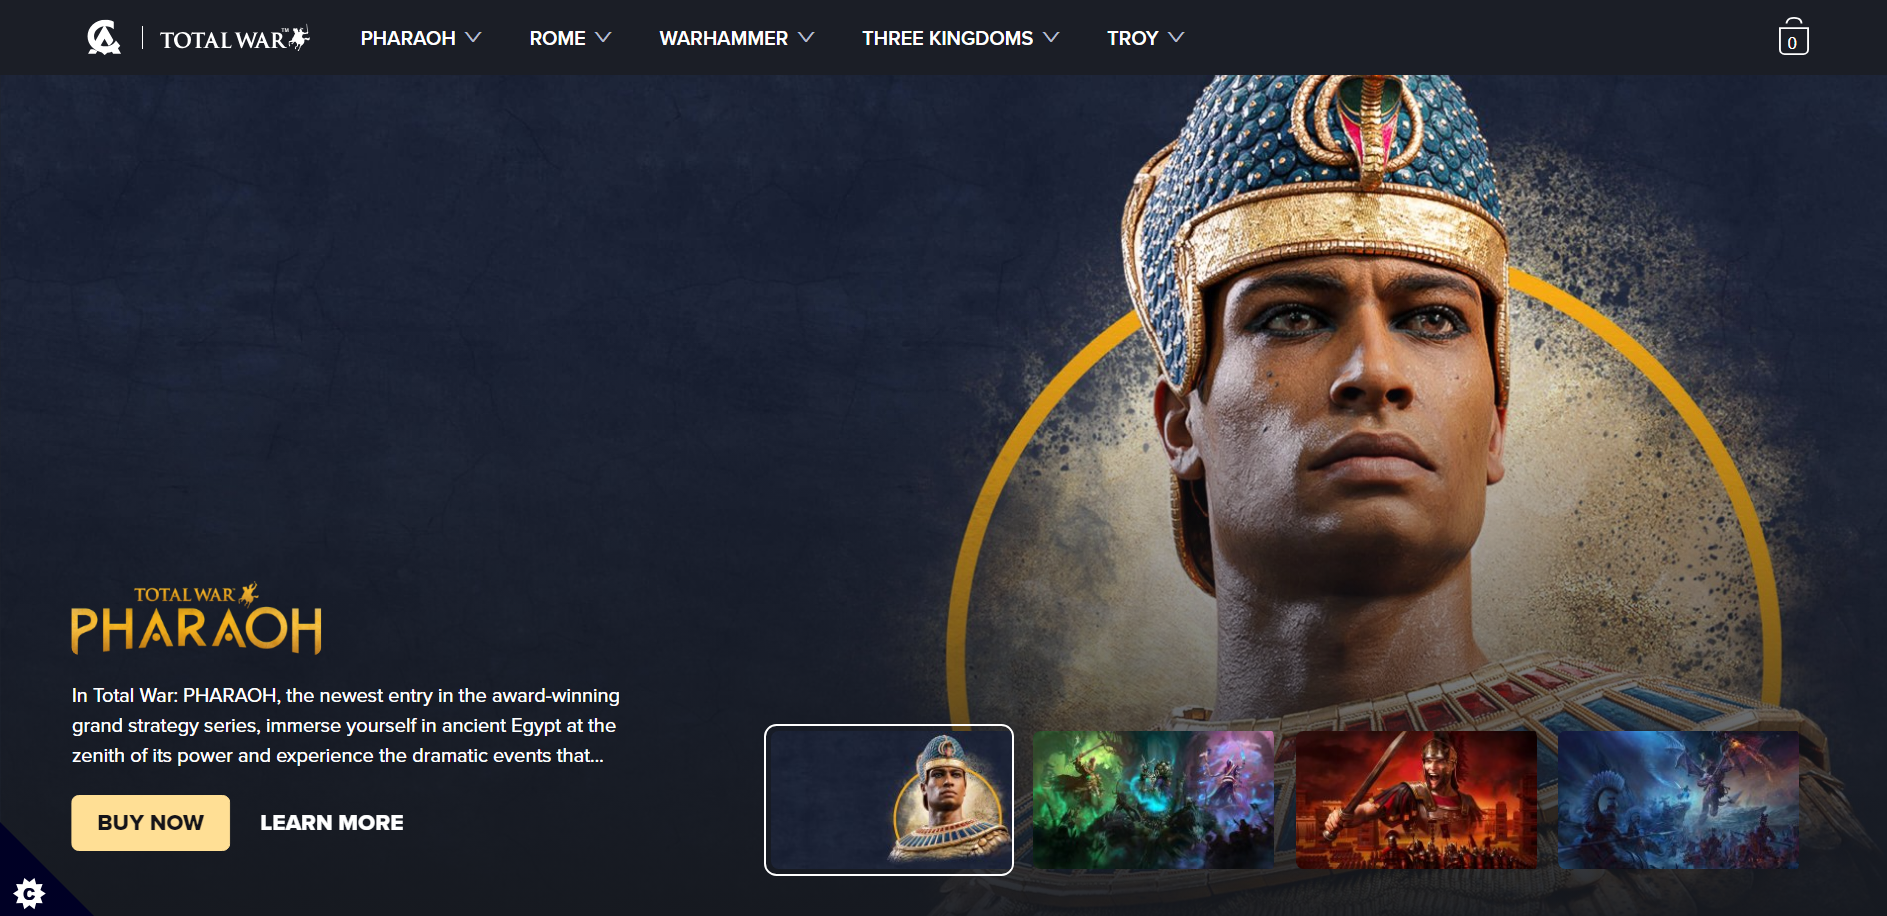
Total War: Warhammer II
“Total War: Warhammer II” is an exciting game that has found a home in the Linux gaming community. The strategic gameplay and stunning visuals captivate players. Gamers revel in the opportunity to command large armies and participate in epic battles, testing their strategic skills in a fantasy environment. The seamless integration with Linux systems assures a hassle-free and enjoyable gaming adventure.
Its enthusiastic reception and active community underscore the game’s popularity and success within the Linux gaming scene.
Rocket League
Rocket League, another top choice for Linux enthusiasts, is known for its adrenaline-packed gameplay and competitive multiplayer features. With a unique fusion of soccer and vehicular combat, the game offers a dynamic and thrilling experience. Players can personalize their vehicles with a range of cosmetic enhancements and unlockable content, enhancing their sense of progress.
The intuitive interface and cross-platform compatibility make Rocket League an enticing gaming experience that keeps Linux users hooked.

Minecraft
Minecraft, developed by Mojang Studios, is an iconic sandbox game that has captured the hearts of gamers across various platforms. With its limitless creativity, immersive world, and addictive gameplay, Minecraft continues to captivate players of all ages worldwide.
The game offers a unique blend of exploration, building, and survival elements. It allows players to unleash their imagination and create their own virtual worlds. From constructing elaborate structures to embarking on thrilling adventures, Minecraft offers endless possibilities and encourages players to think outside the box.
Whether you’re a seasoned player or new to the game, Minecraft offers an immersive and rewarding experience. It has always been that keeping players coming back for more. Its endless possibilities, engaging gameplay, and thriving community make it a must-play game for anyone seeking a truly unique and captivating gaming experience.

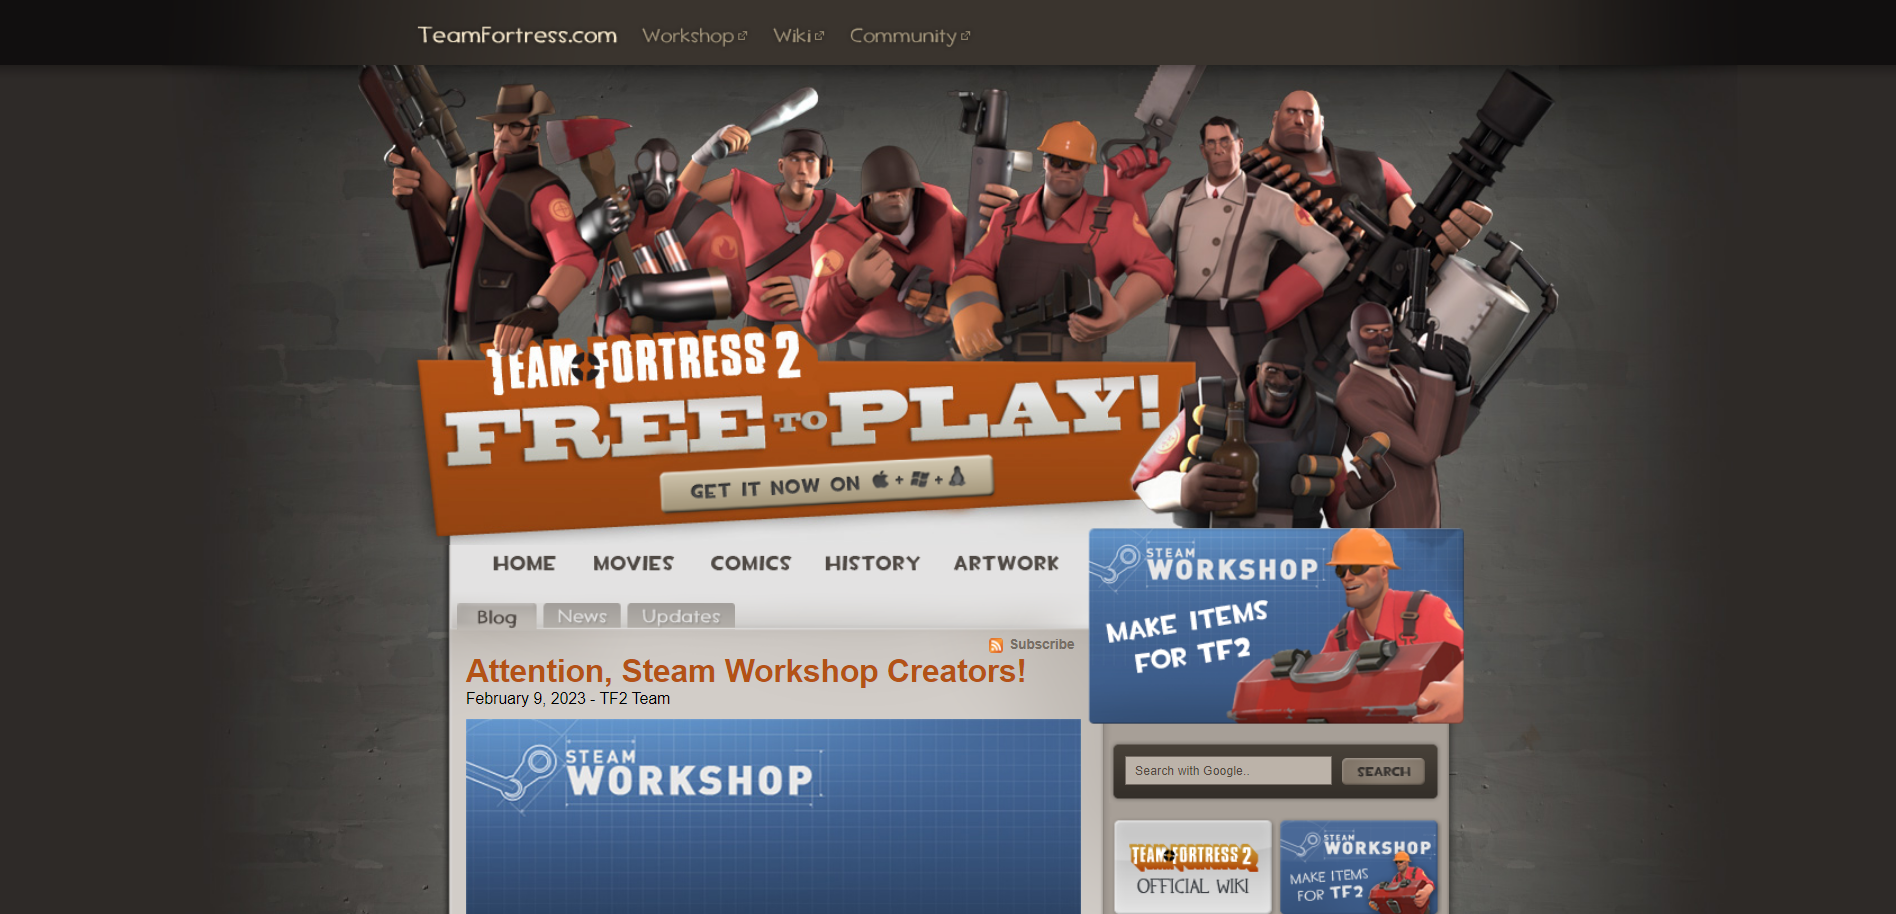
Team Fortress 2
Team Fortress 2, developed by Valve, is an iconic first-person shooter game that has gained immense popularity among Linux gamers. With its unique blend of fast-paced action, distinctive characters, and engaging gameplay, Team Fortress 2 continues to captivate players worldwide.
The game offers a diverse selection of brilliantly designed classes, each with their own strengths and abilities, allowing players to find their preferred playstyle. Whether you’re the cunning spy, the explosive demoman, or the steadfast heavy, there’s a class that will suit your preferences.
Additionally, constant updates and a vibrant online community ensure that there is always something exciting happening in Team Fortress 2.
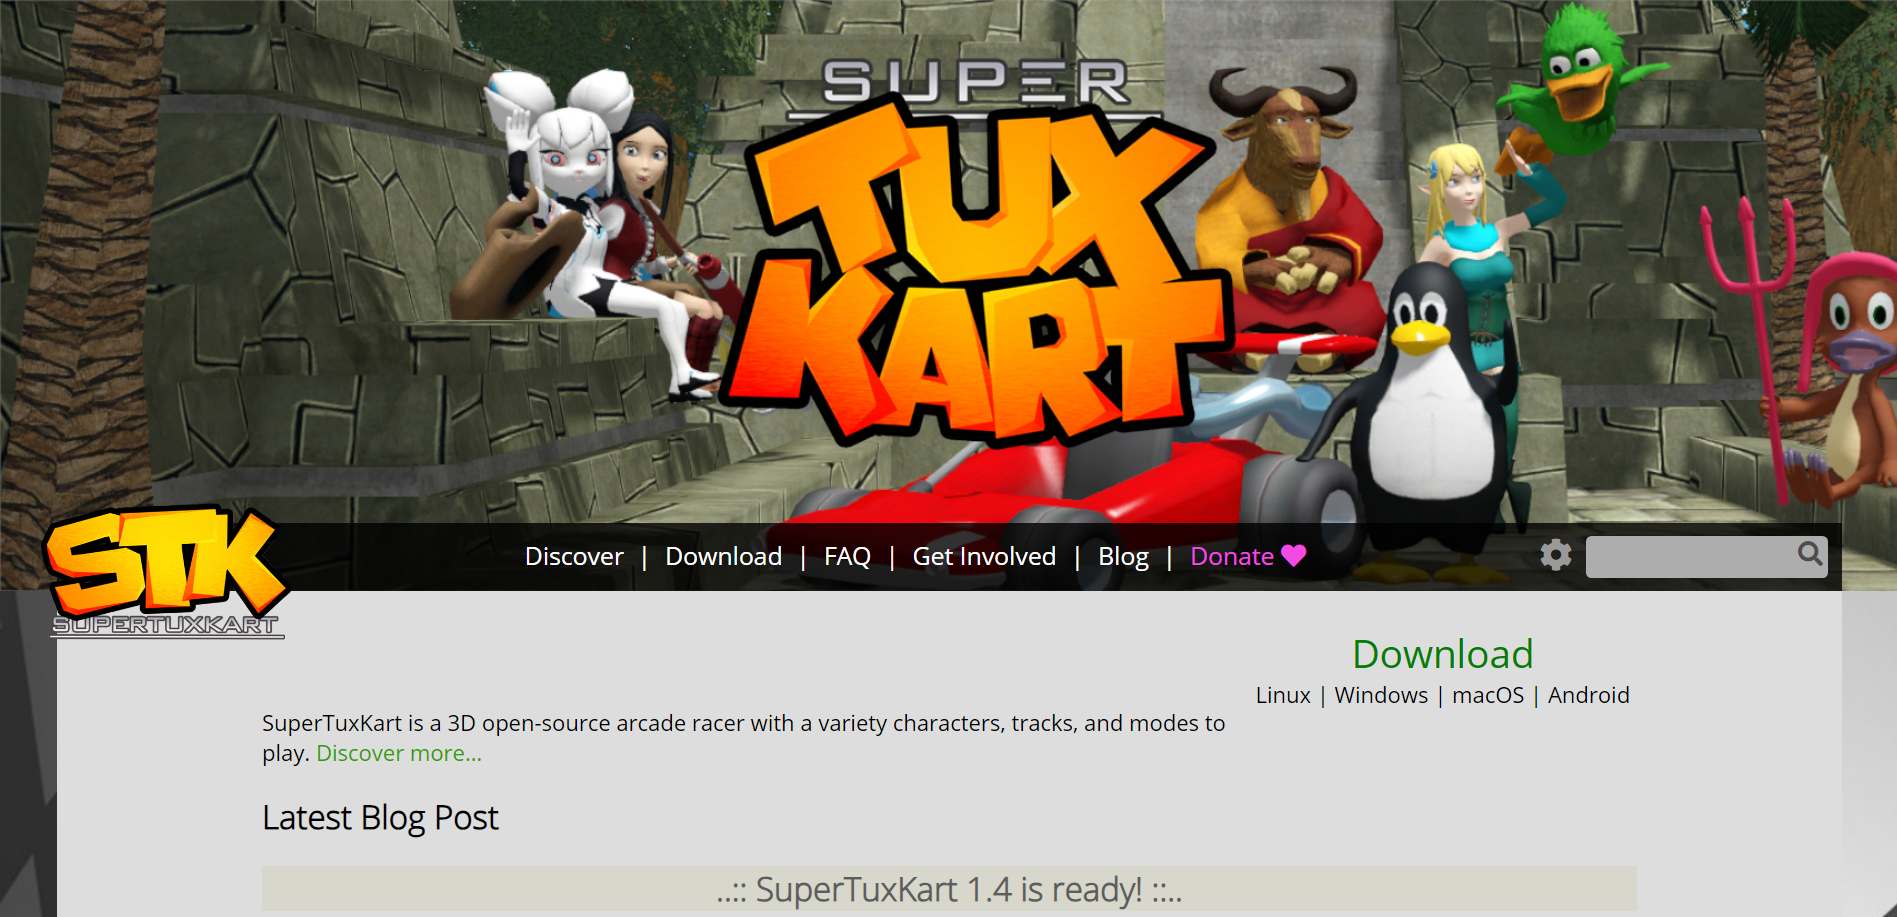
Super Tux Kart
Super Tux Kart is a delightful and fun-filled racing game that fans of the popular Super Mario Kart series will instantly fall in love with. The game features adorable characters from the Linux mascot, Tux, to a variety of open-source mascots. With its colorful graphics and smooth gameplay mechanics, Super Tux Kart offers a highly enjoyable experience for players of all ages.
It also provides a range of single-player modes, including championship mode and time trials, as well as exciting multiplayer options for you to compete against your friends and family.
Counter-Strike 2
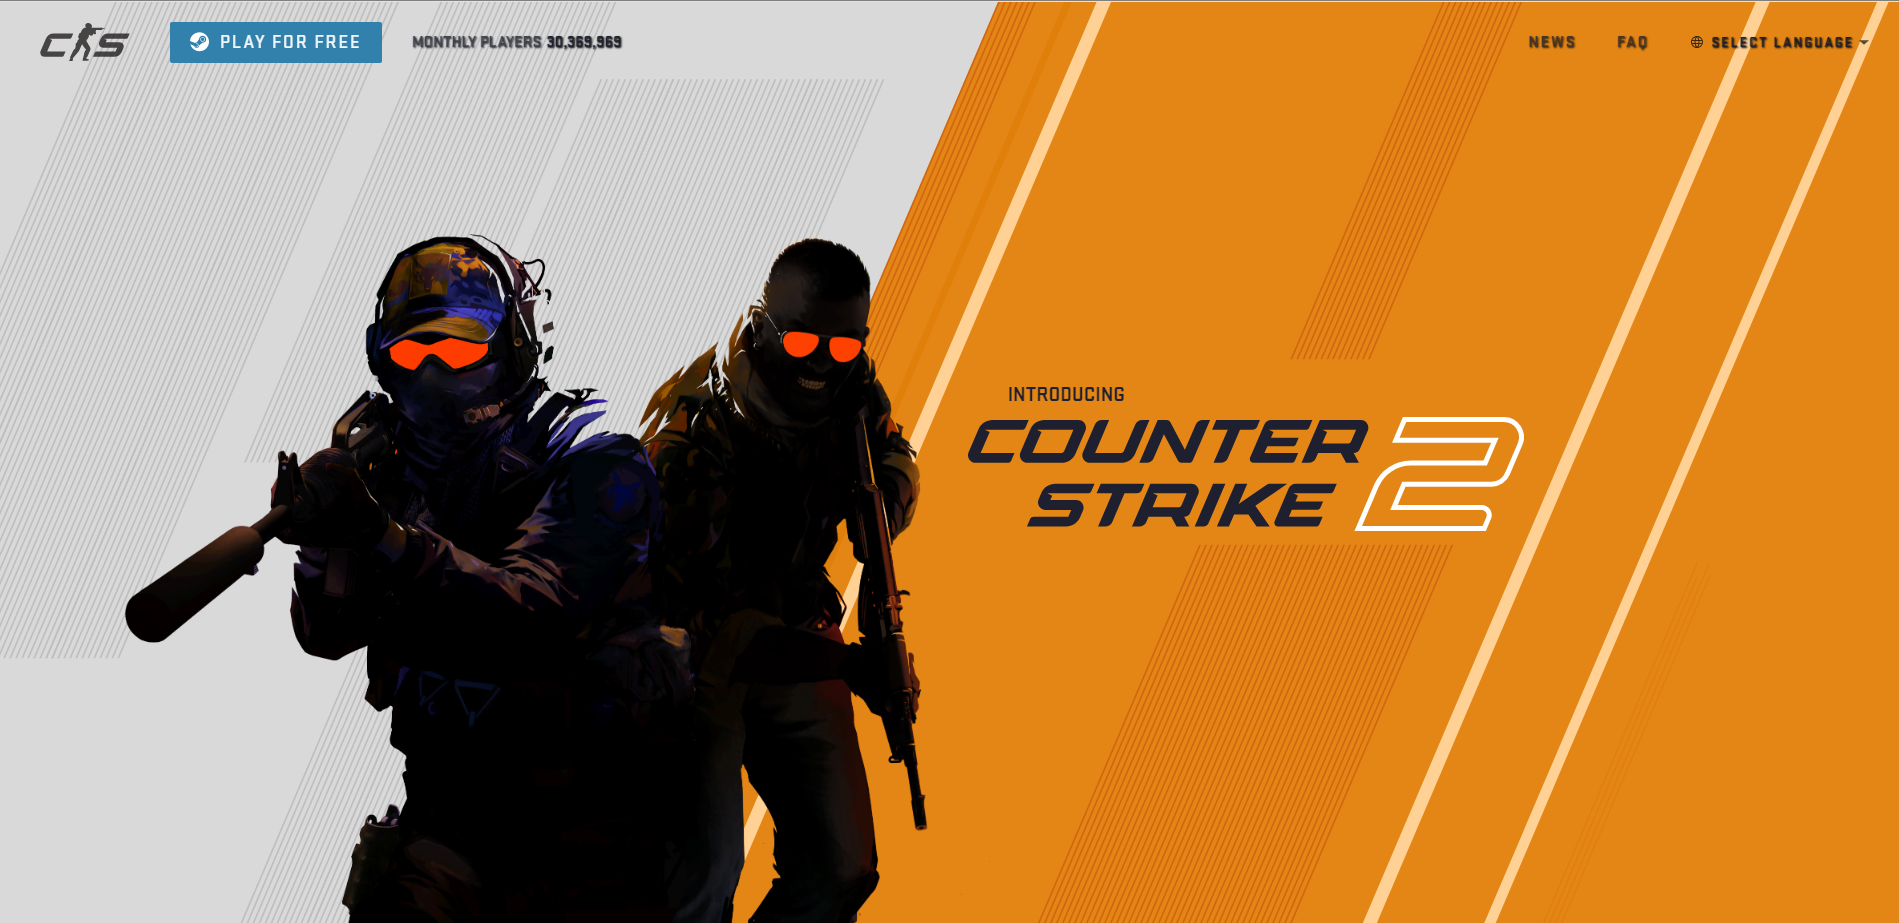
This one is very fresh! Released on September 2023, Counter Strike 2 is a successor to Counter Strike: Global Offensive (CS:GO). As the fifth entry of the beloved Counter Strike series, Counter Strike 2 manages to gain the popularity level of its successors. With a Metacritic score of 82, it’s evident that Counter Strike 2 is a game of exceptional quality.
The score not only reflects the high standards set by the previous entries in the Counter Strike series but also showcases the dedication and skill that went into creating this new installment. From its stunning graphics to its immersive gameplay, Counter Strike 2 delivers an unparalleled gaming experience. It surely has been keeping players coming back for more.
Now with the new version available on Linux operating systems, members of this large community can also enjoy this incredible game.
War Thunder
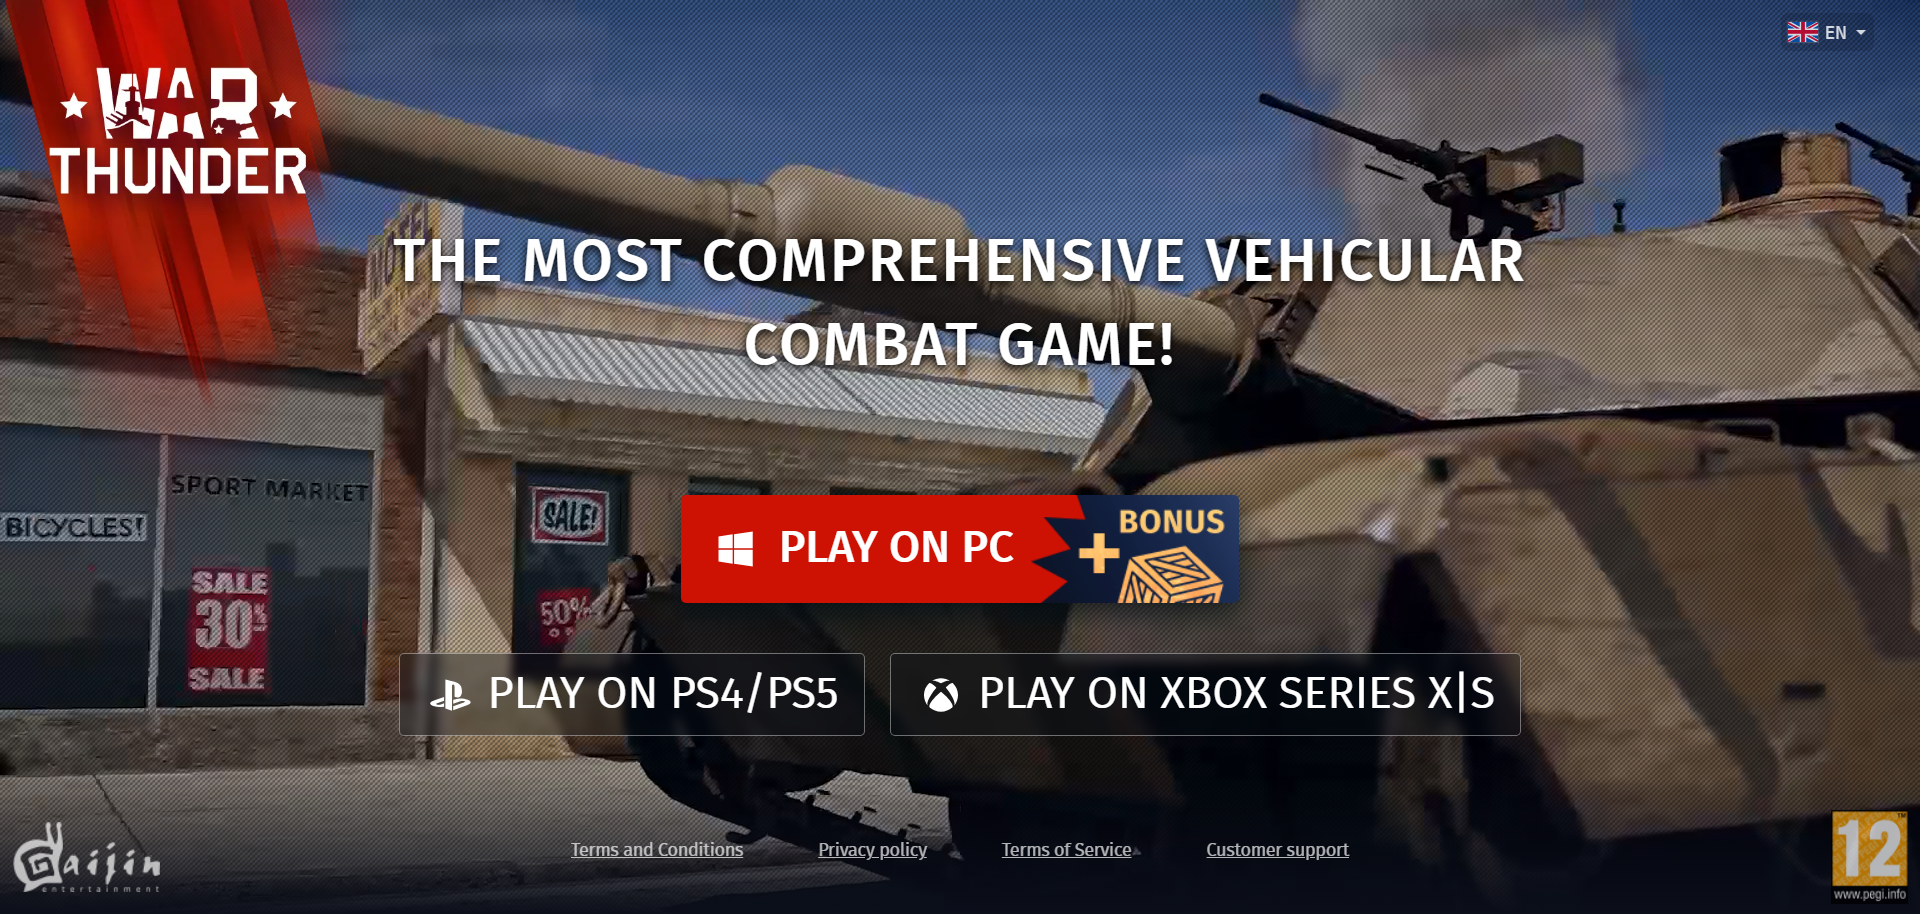
War Thunder, developed by Gaijin Entertainment, is a critically acclaimed online multiplayer combat game that transports players into the thrilling world of military conflicts. This action-packed title offers a wide range of vehicles, including tanks, aircraft, and warships from various historical eras. Whether you’re engaging in intense dogfights in the skies or commanding tanks on the ground, War Thunder delivers an immersive experience with its detailed graphics and realistic physics.
The game features an extensive progression system, allowing players to unlock new vehicles and upgrade their arsenal as they climb the ranks. With a dedicated player base and regular updates, War Thunder ensures an ever-evolving and engaging gameplay experience.
No More Room in Hell
No More Room in Hell is an adrenaline-pumping cooperative first-person survival horror game set in a post-apocalyptic world infested with hordes of undead. Developed by independent studio Lever Games, this game puts players in a desperate struggle for survival against overwhelming odds. By collaborating with other players, you must scavenge for weapons and resources to fight off the unrelenting zombies and navigate through eerie, atmospheric environments.
What sets this game apart is its intense focus on teamwork and communication, making it a thrilling experience when working together to overcome waves of terrifying enemies. No More Room in Hell perfectly captures the tension and fear of a zombie apocalypse. It’s must-play title for Linux gamers seeking a spine-chilling challenge.

Final Thoughts
Although many people may think that Linux is not the most ideal operating system for gaming and this may be partially right, but we see that some developers still prefer to release their product on Linux too. Linux community is a fierce and dedicated one, and Linux users usually feel a sense of belonging to this operating system! So I guess it’s no wonder that the gaming on Linux is still pretty relevant and alive!


![Top 10 Programming Languages 2023 [Infographic]](https://blog.neuronvm.com/wp-content/uploads/2023/12/index-Top-10-popular-programming-languages-in-2023-770x465.webp)


![Cloud Computing Structure [Infographic]](https://blog.neuronvm.com/wp-content/uploads/2023/11/Cloud-Computing-Structure-770x465.webp)