


Linux Mint, a free and open-source operating system, is built upon the Linux kernel and the Ubuntu operating system. It has been specifically developed to be accessible and intuitive for Linux beginners. Linux Mint features various desktop environments such as Cinnamon, MATE, and Xfce, ensuring diverse user experiences to meet individual preferences. Additionally, it comes with pre-installed applications for web browsing, document editing, and multimedia playback among other functionalities. The primary objective of Linux Mint is to deliver a dependable, robust, and high-performing operating system for personal computers. In the continuation of this article, learn the best installation method with the tutorial on Installing Linux Mint from a USB Drive.
The prerequisites to install Linux Mint are:
1. A computer with at least:
– 1 GHz CPU
– 1 GB of RAM (Recommended: 2 GB or more)
– 20 GB of free disk space (Recommended: 40 GB or more)
– A USB of at least 4 GB in size.
2. A stable internet connection (recommended for downloading updates during installation)
Before we start the installation process, we recommend you to visit the Linux VPS server plans offered on our website and use them if you wish.
To install Linux Mint from a USB drive, follow the steps below:
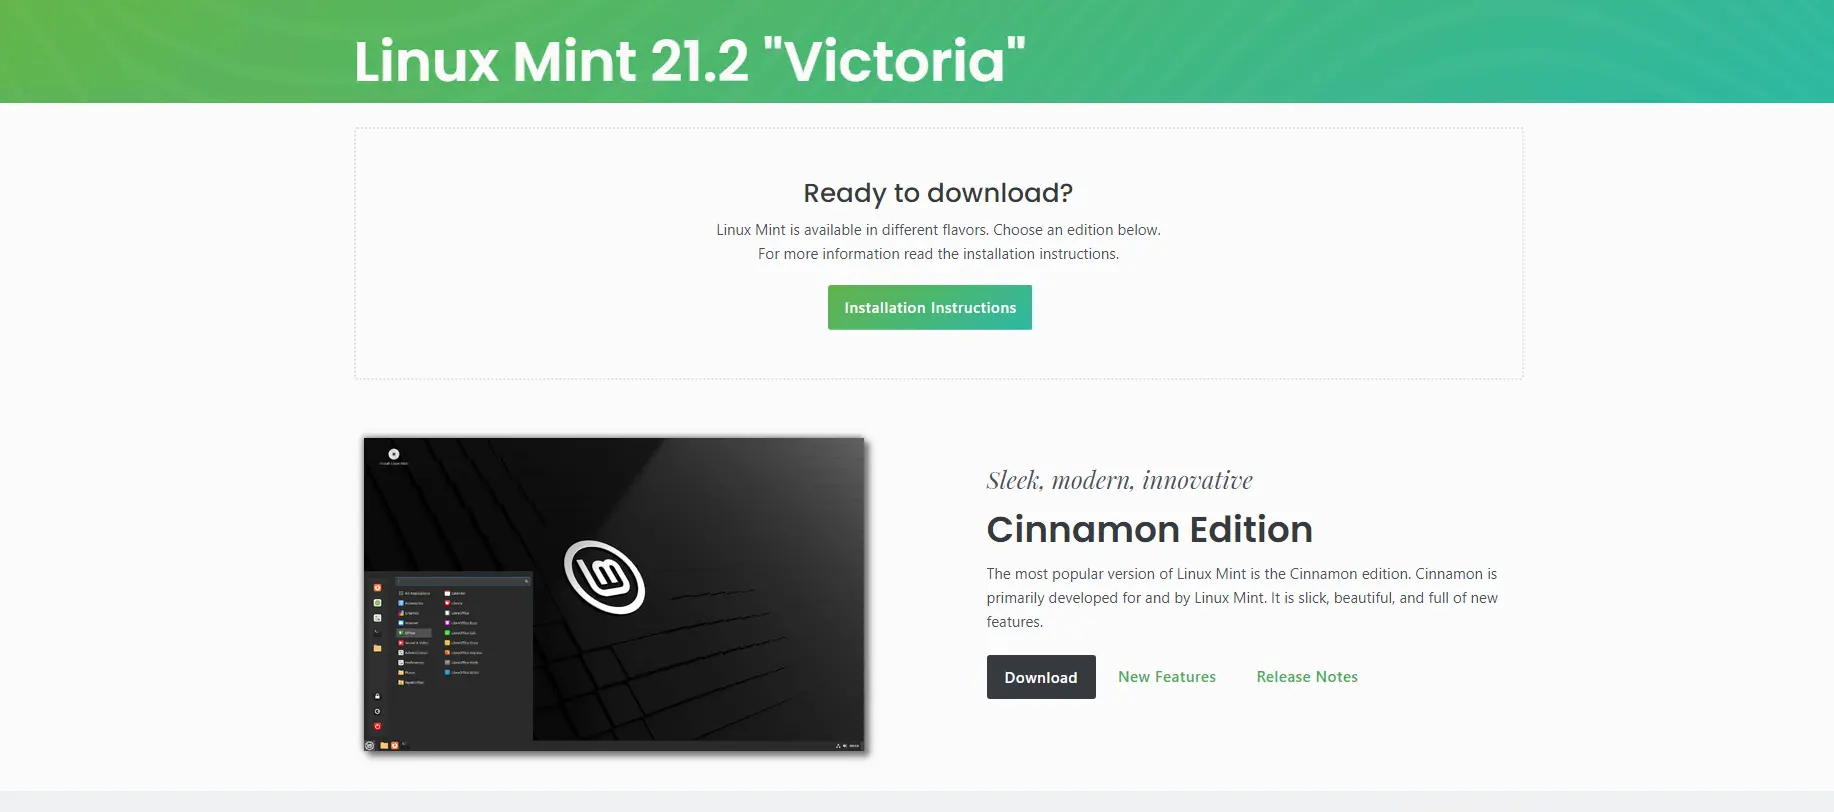
Step1: Download the Linux Mint ISO file from the official website. Make sure to choose the correct architecture and edition for your system:
Step2: Insert a USB drive with at least 4GB of storage into your computer.
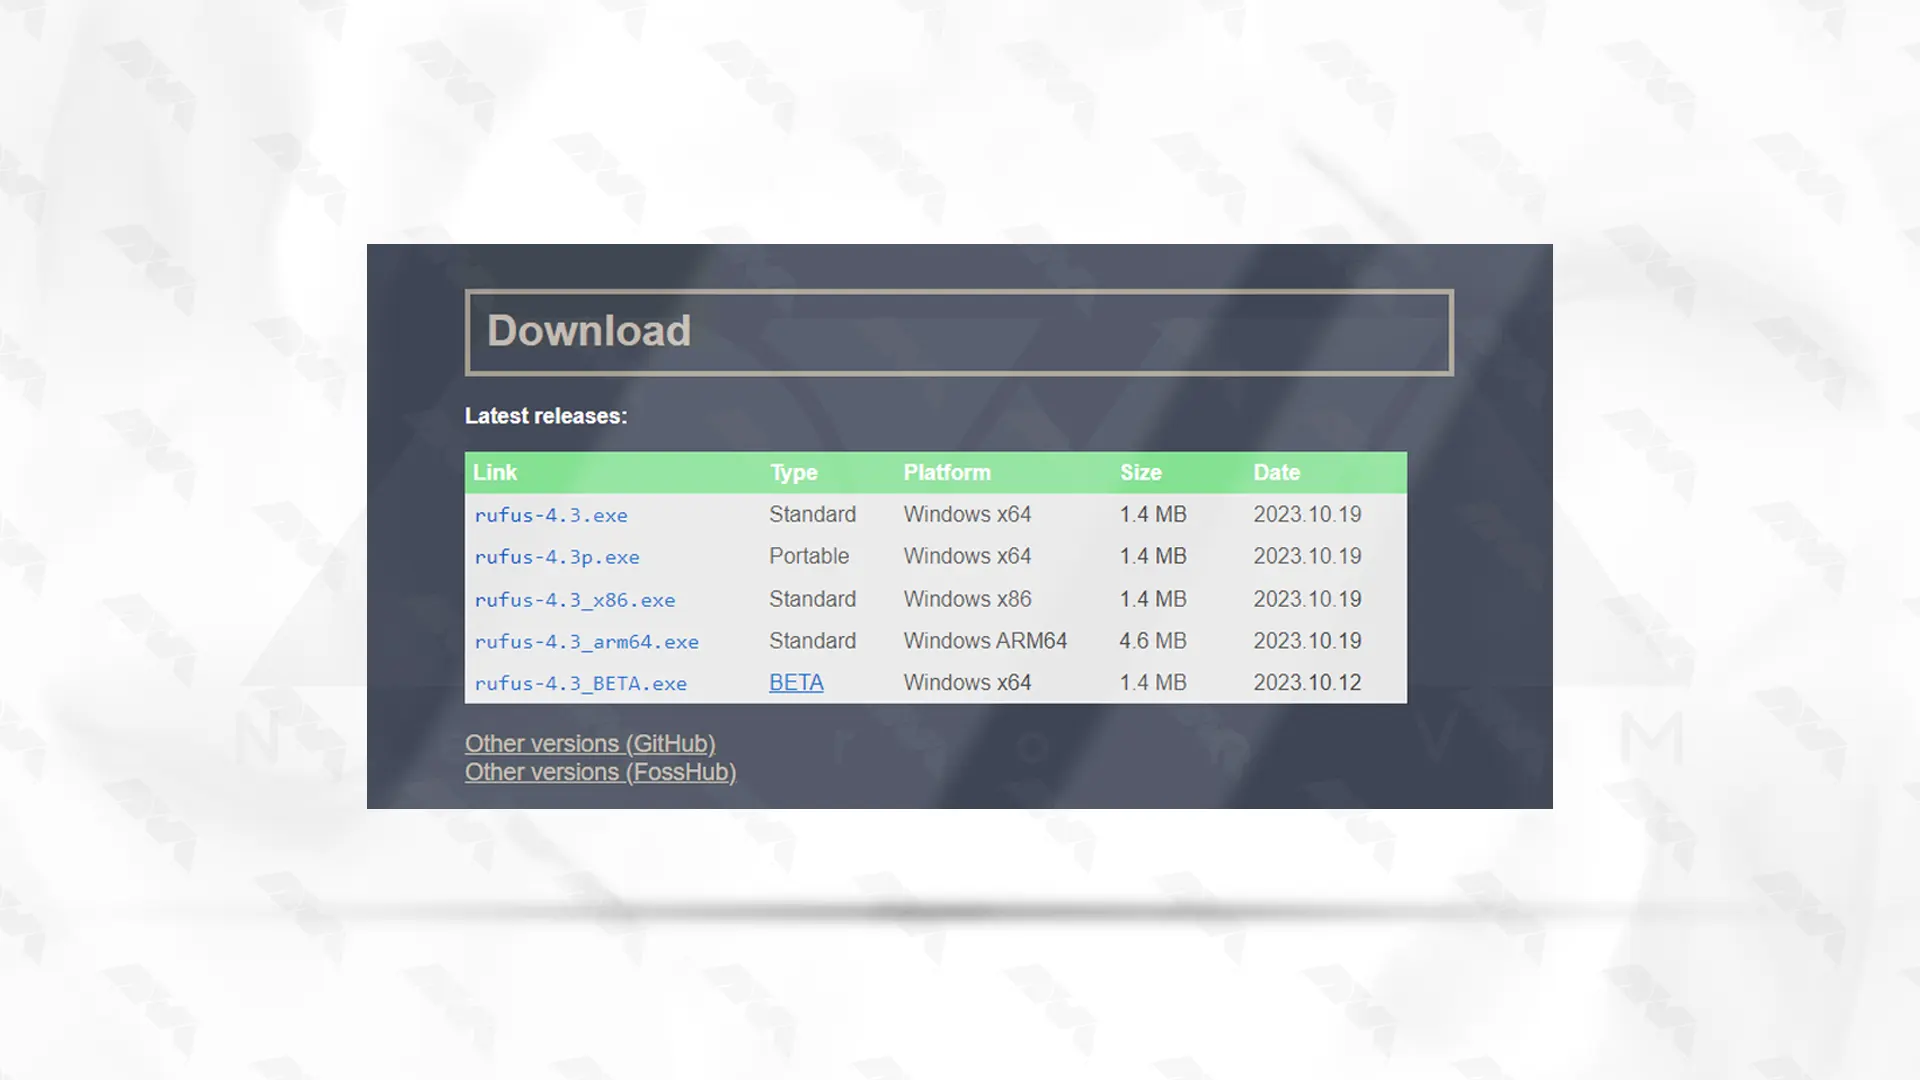
Step3: Download and install a utility called “Rufus” from the official website. Rufus is used to create a bootable USB drive:
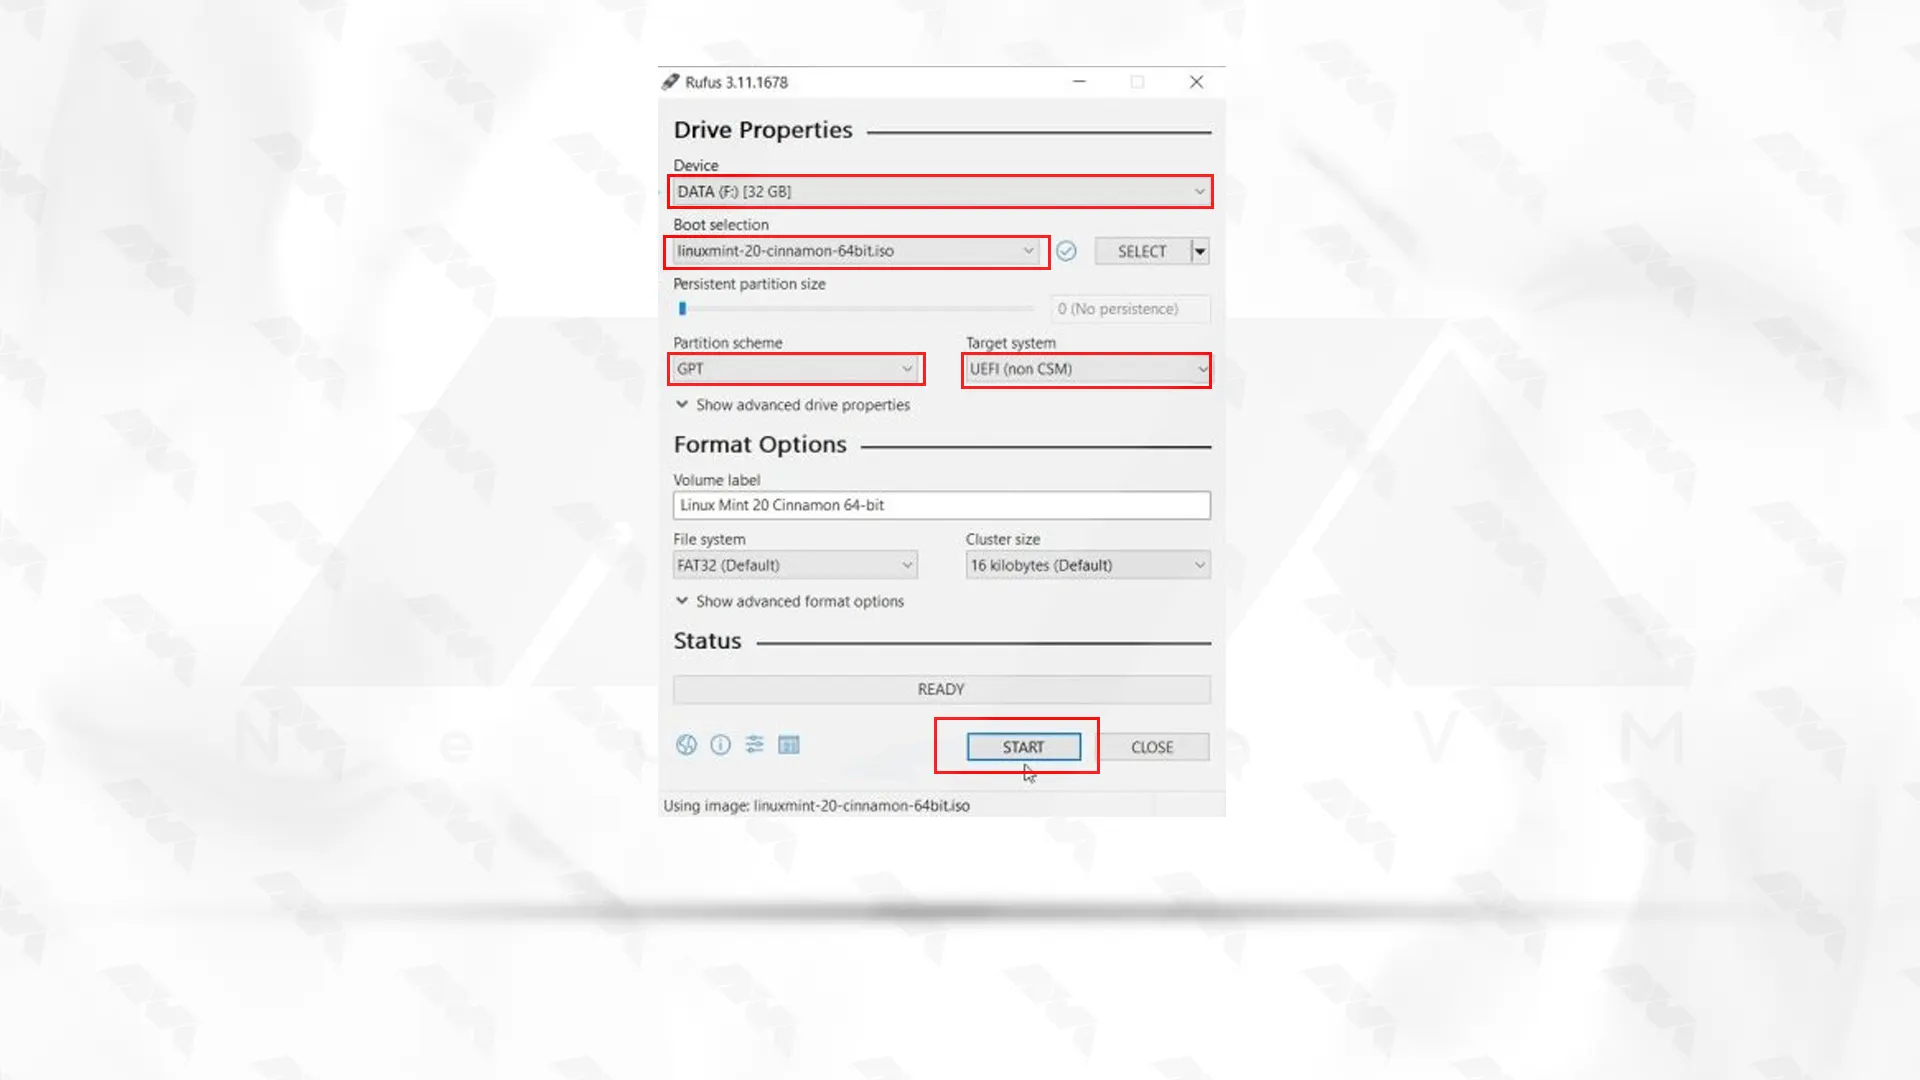
Step4: Open Rufus and select your USB drive from the “Device” drop-down menu.
Under the “Boot selection” section, click on the “Select” button and locate the Linux Mint ISO file you downloaded earlier:
Leave the other settings as default unless you have specific requirements.
Click on the “Start” button to begin creating the bootable USB drive. Rufus will erase all data on the USB drive before copying the Linux Mint ISO file onto it:
Tip: Once Rufus finishes creating the bootable USB drive, safely remove the USB drive from your computer.
Step5: Restart your computer and access the boot menu. The key to access the boot menu may vary between computers, but it is typically F12, F10, or Esc.
Step6: Select the USB drive from the boot menu to boot into the Linux Mint live environment.
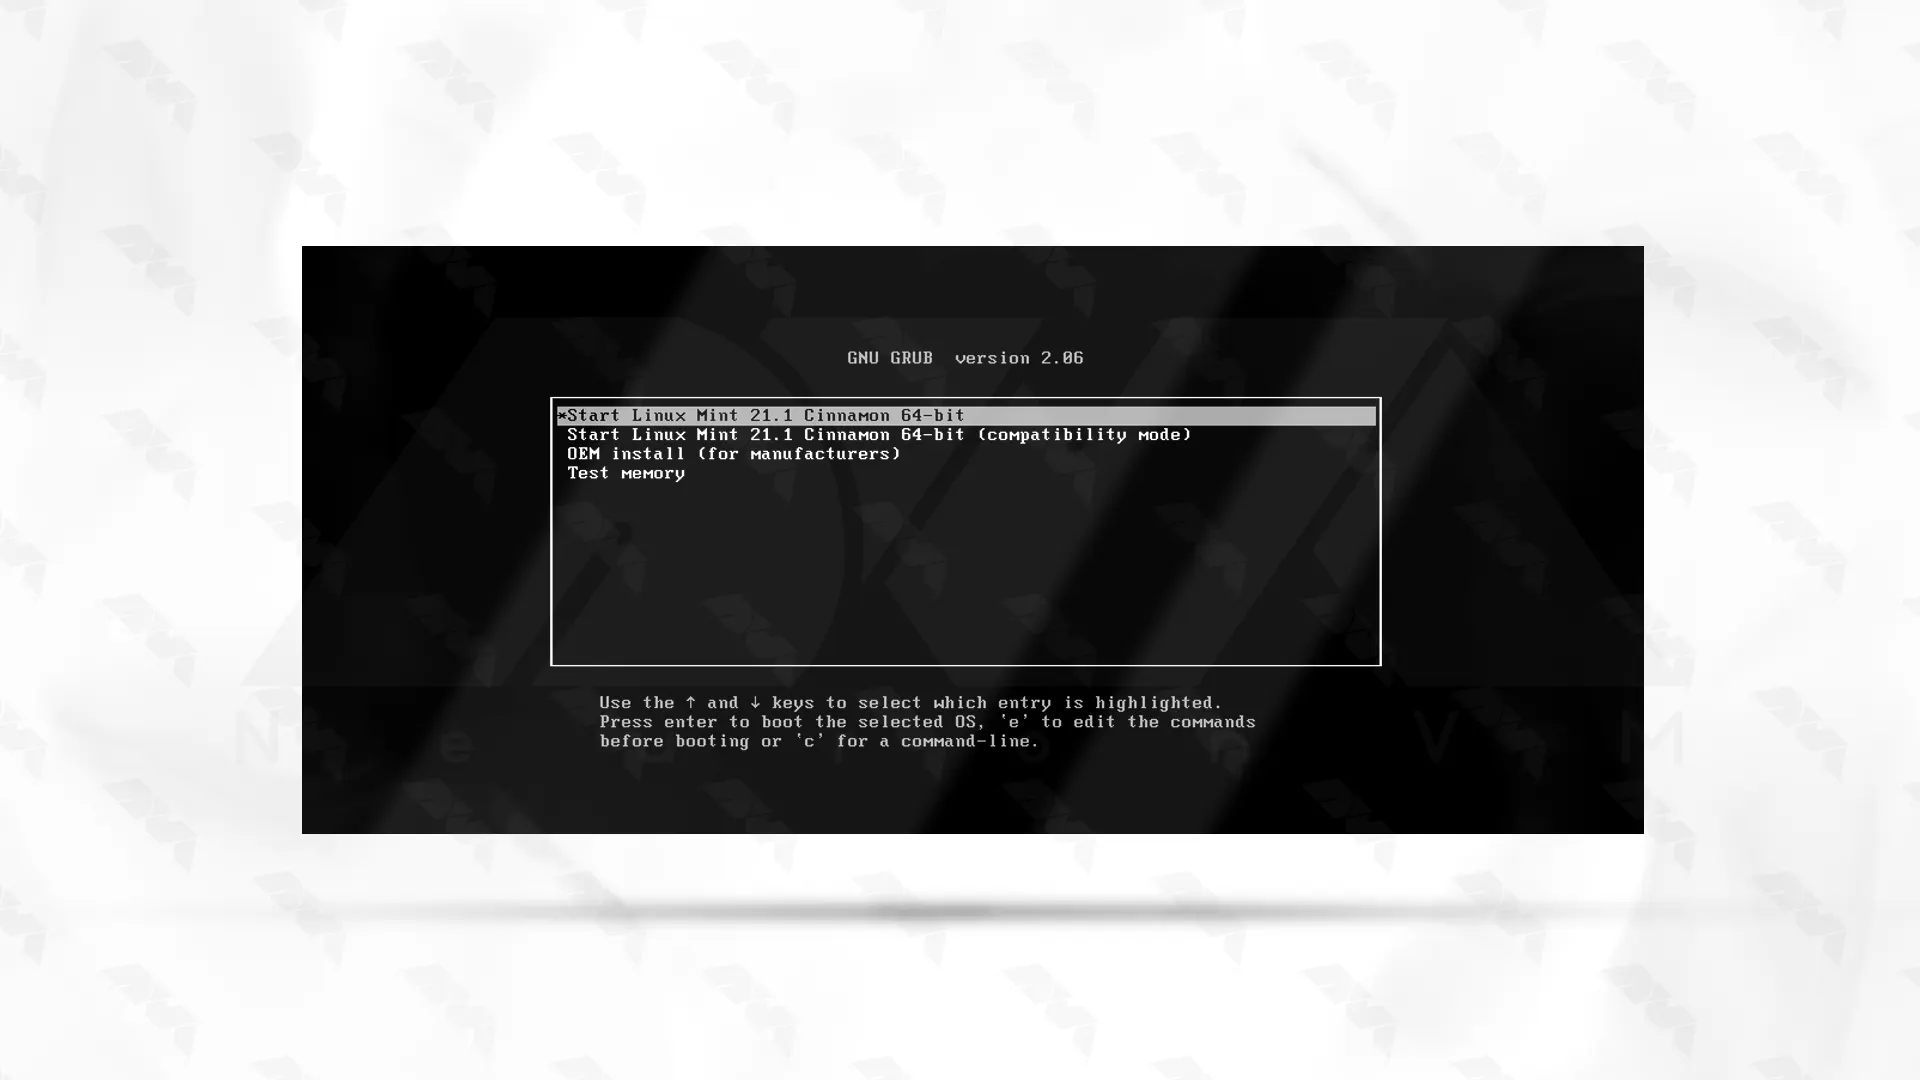
Step7: Click on Start Linux Mint 21.1 Cinnamon 64-bit as shown below:
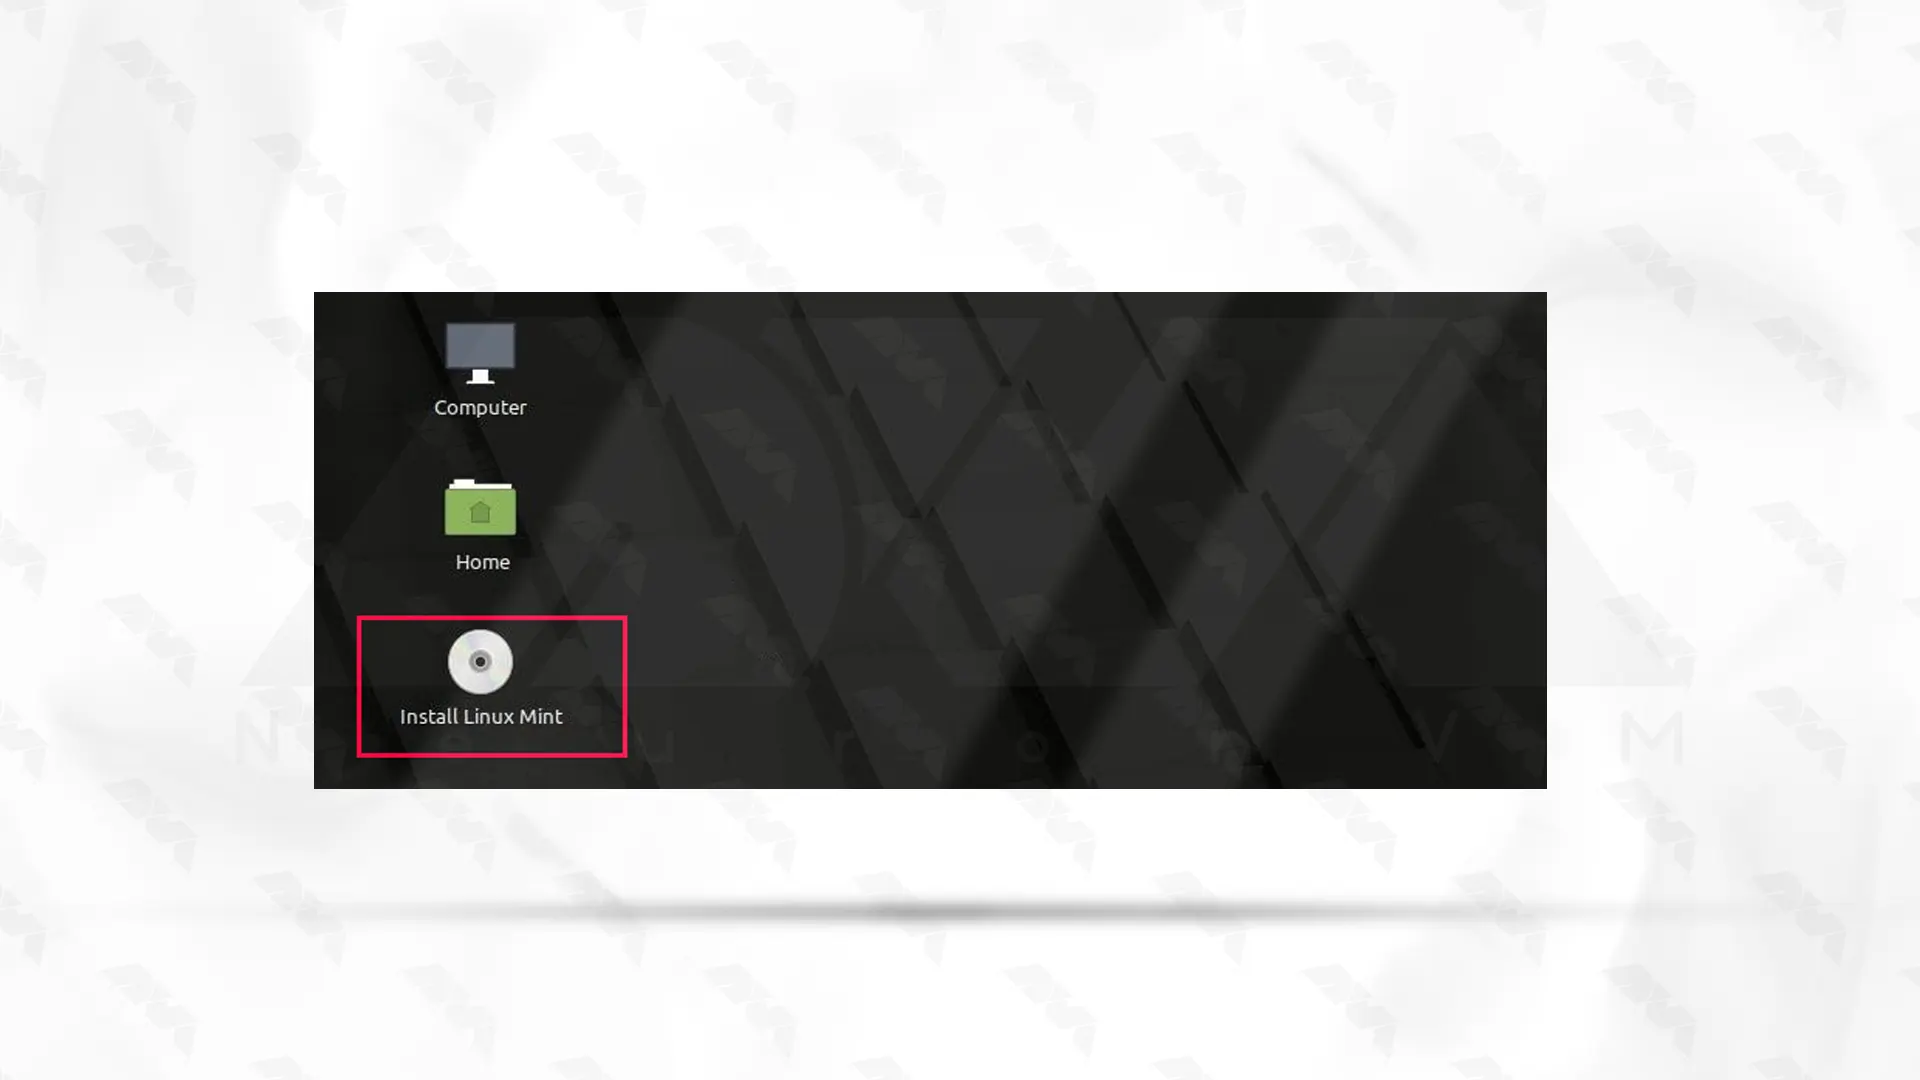
Step8: Once inside the live environment, double-click on the “Install Linux Mint” icon on the desktop:
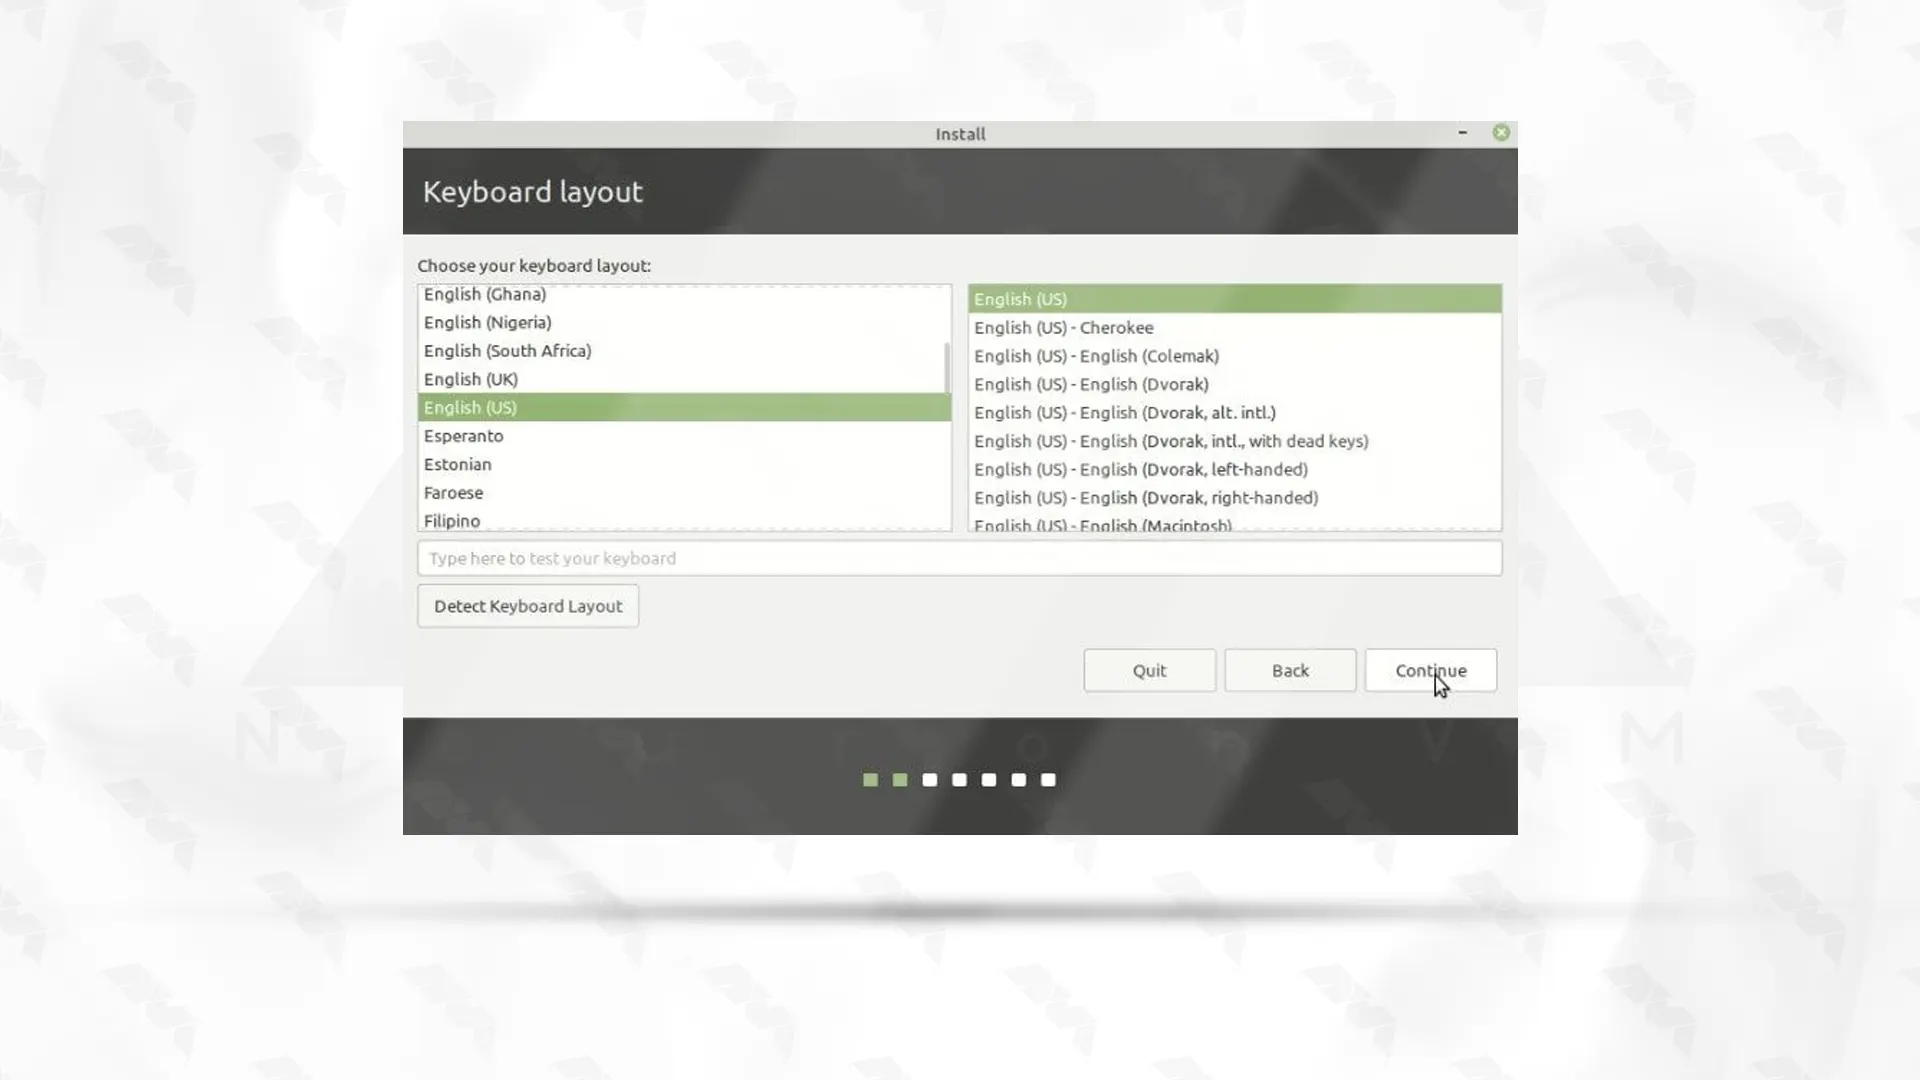
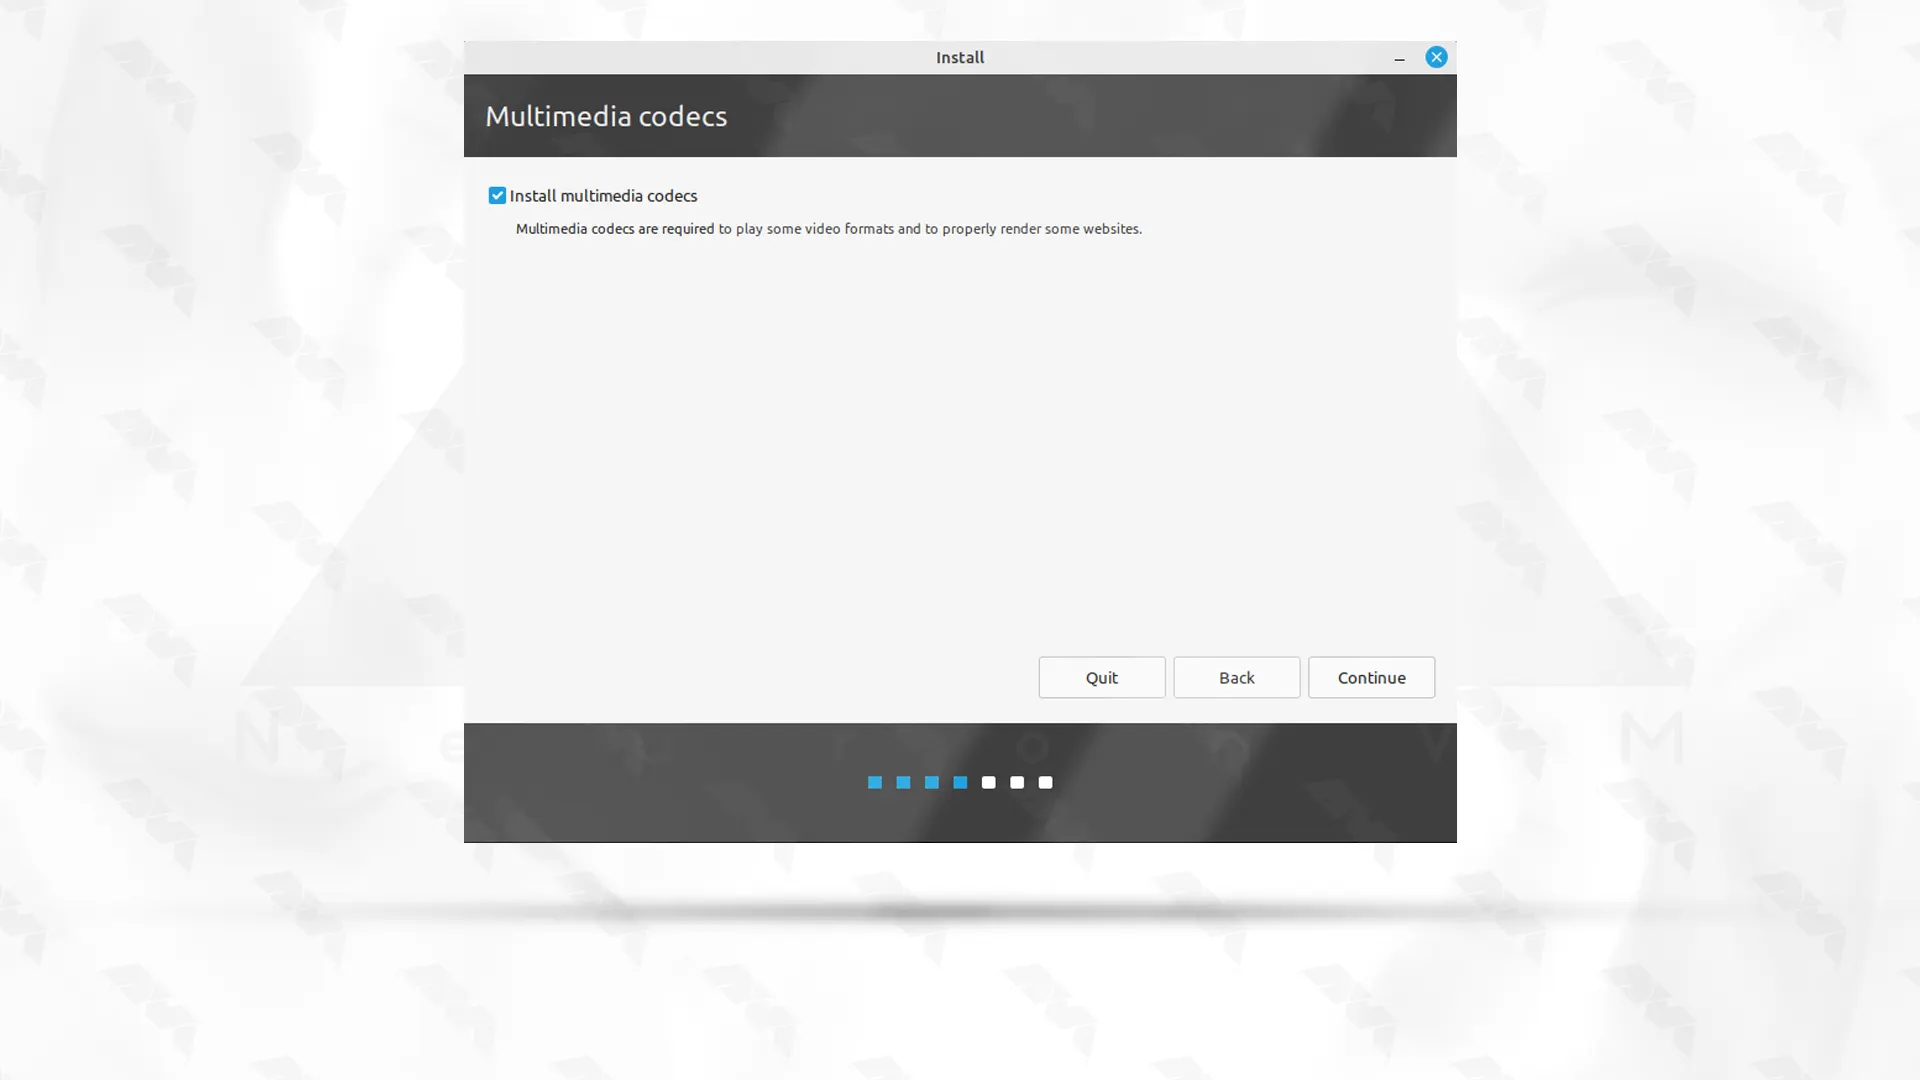
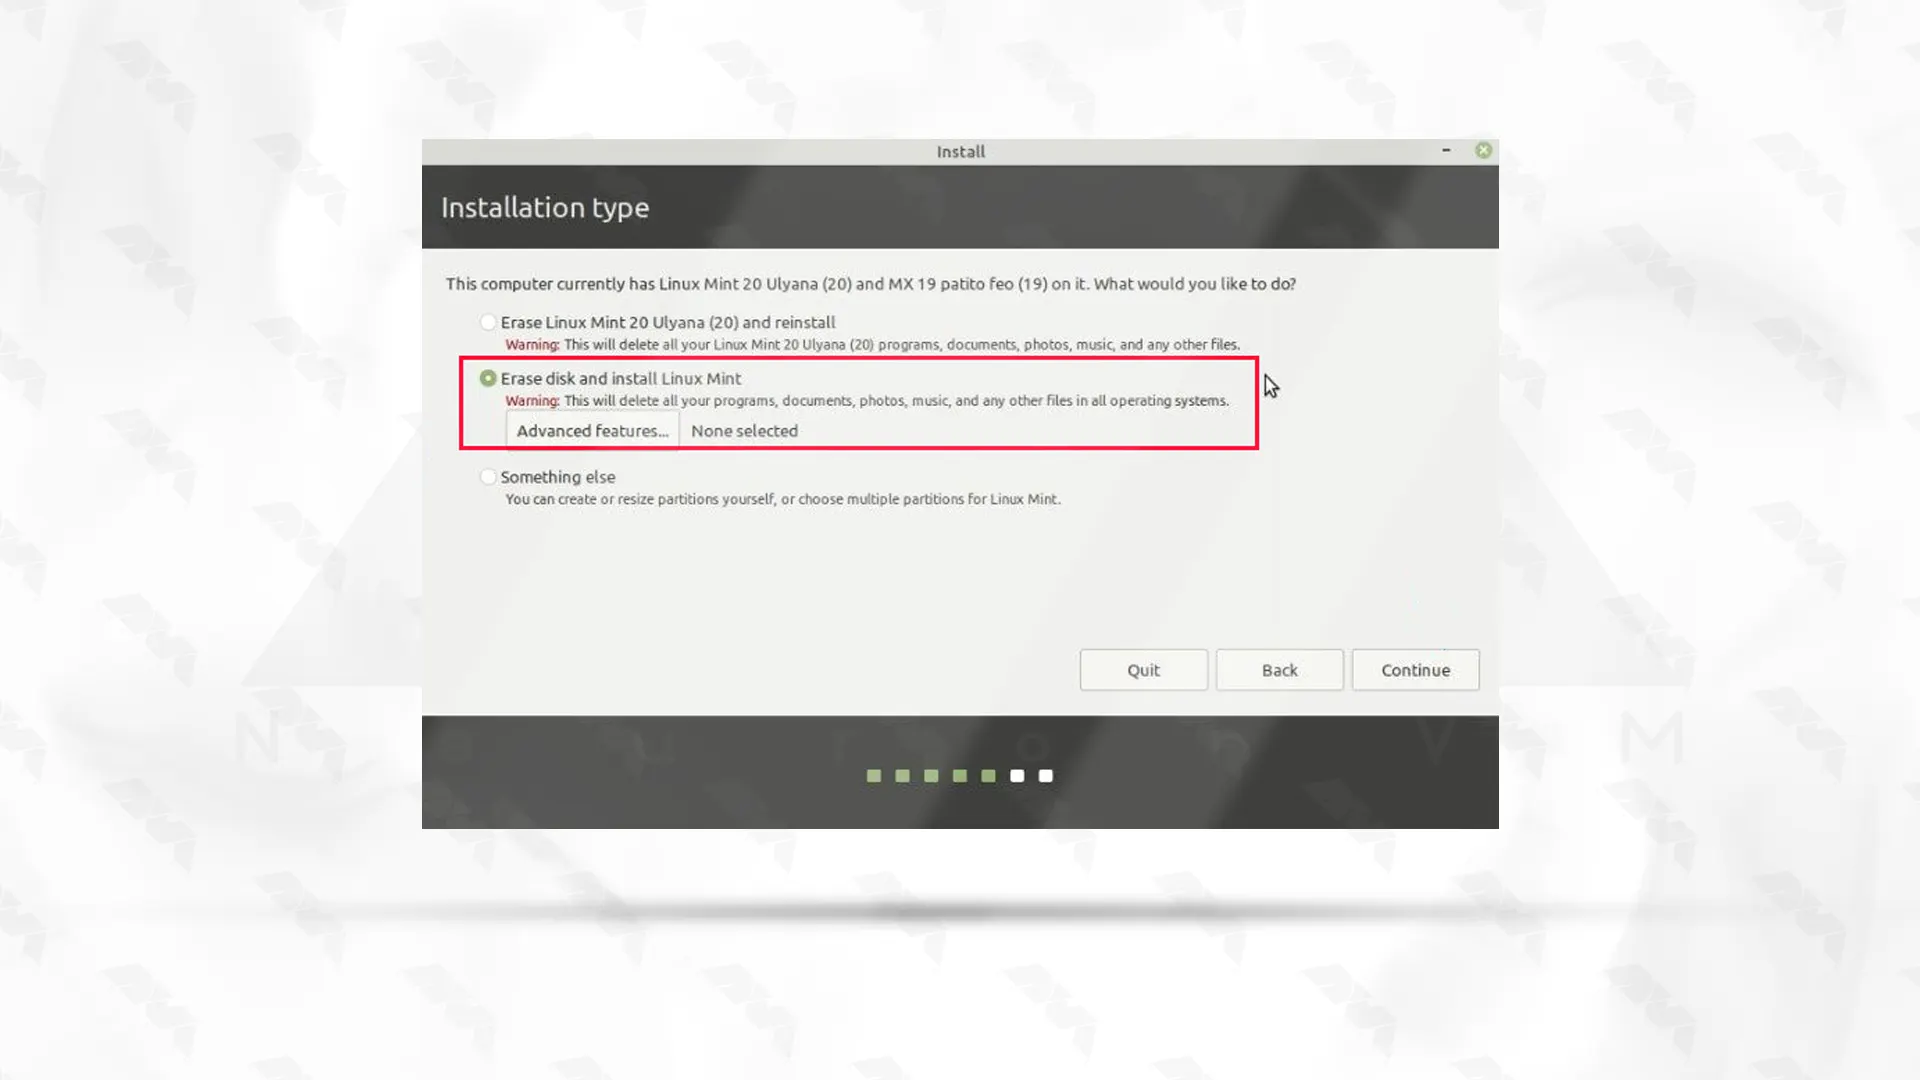
Step9: Follow the on-screen instructions to choose the language, keyboard layout, and installation options:
*
**
***
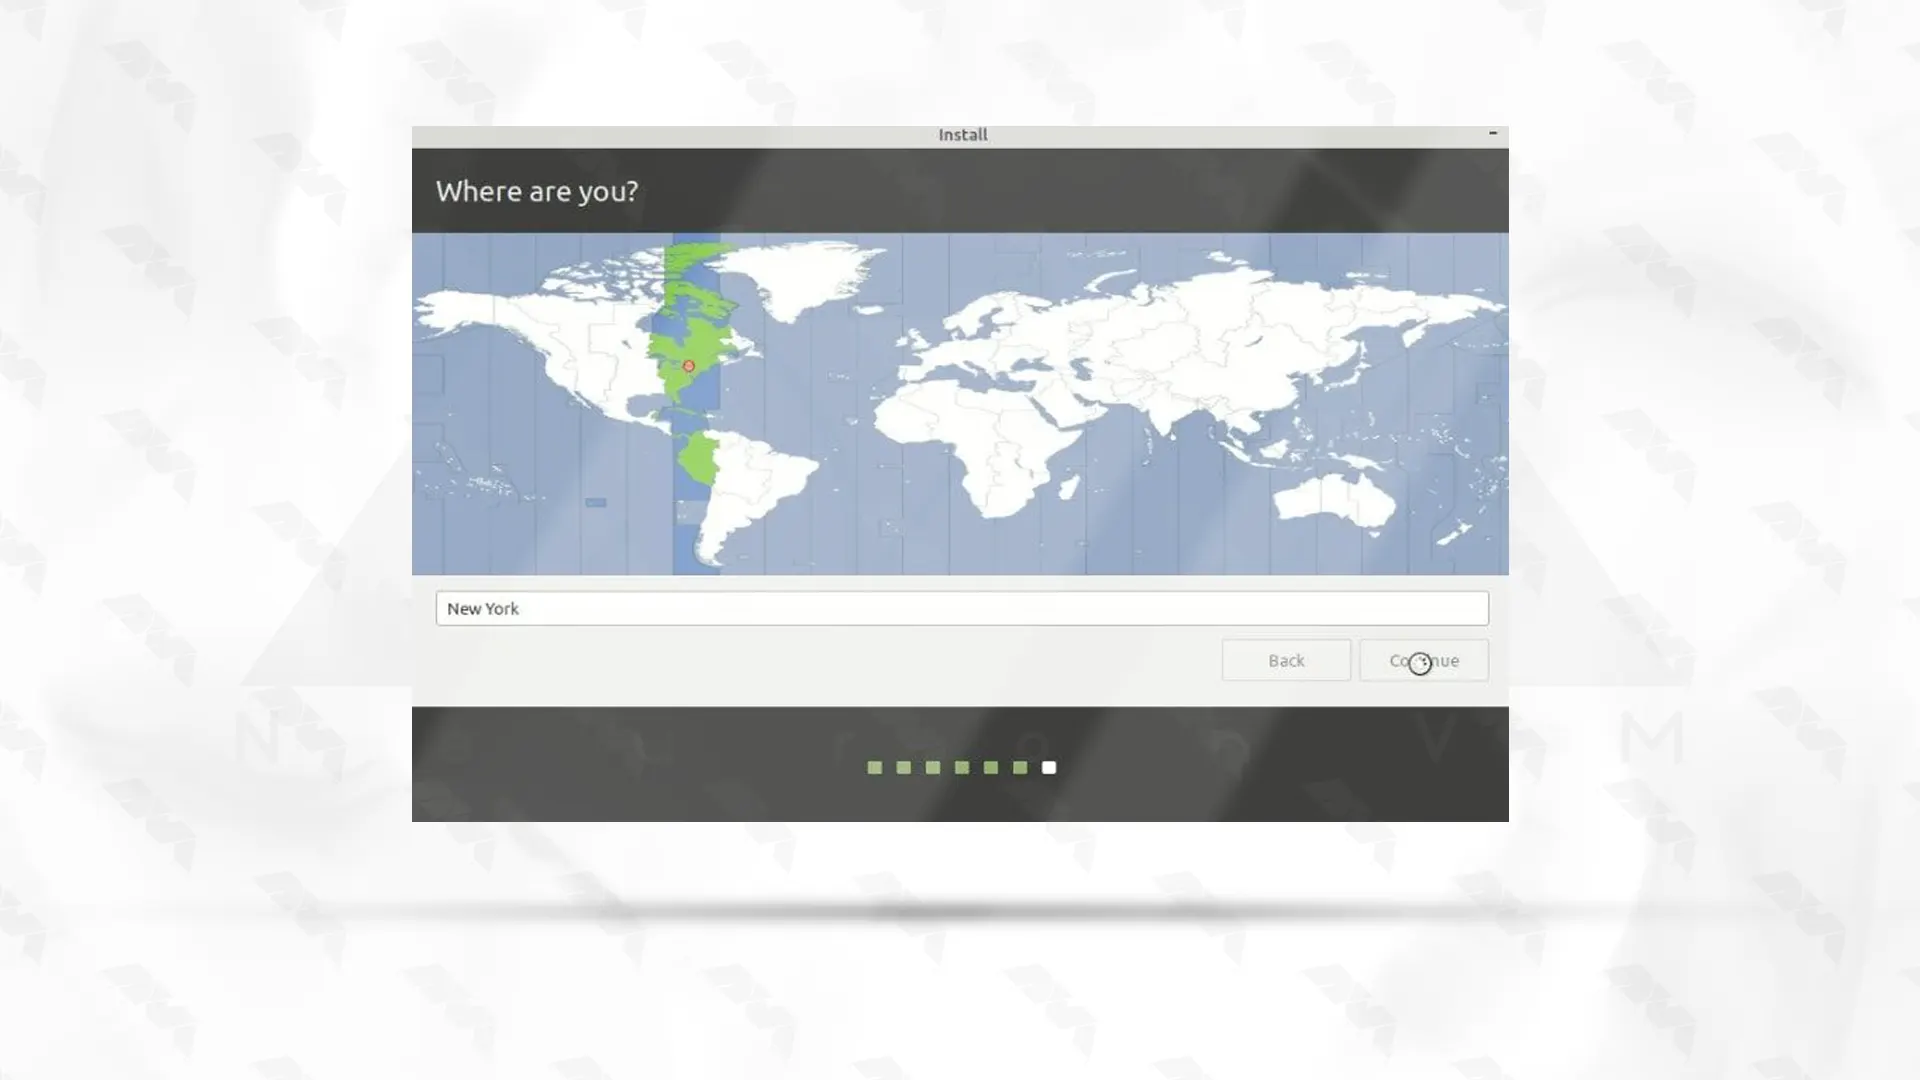
Tip: When prompted, select the option to install Linux Mint alongside your existing operating system or choose the custom partitioning option if you want to manually partition your hard drive.
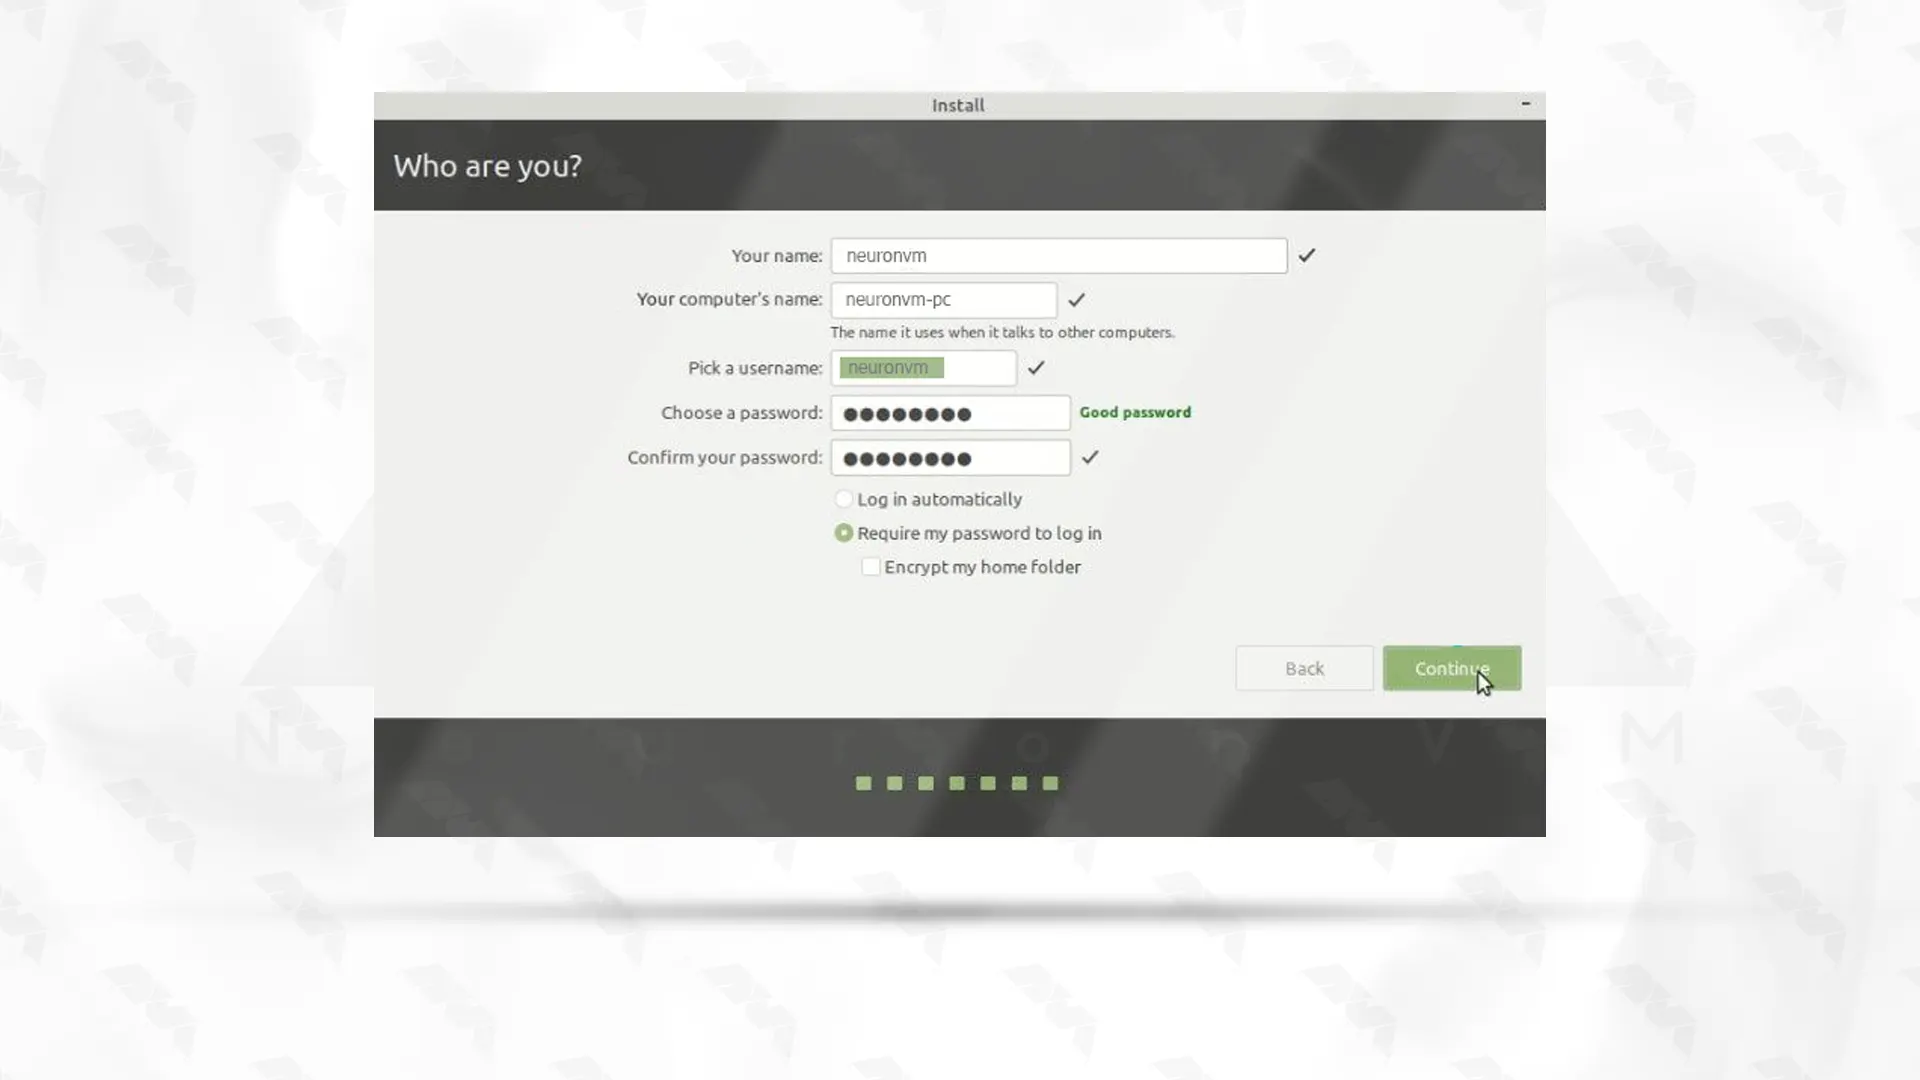
Step 10: Set a username and password for your Linux Mint installation:
Wait for the installation process to finish.
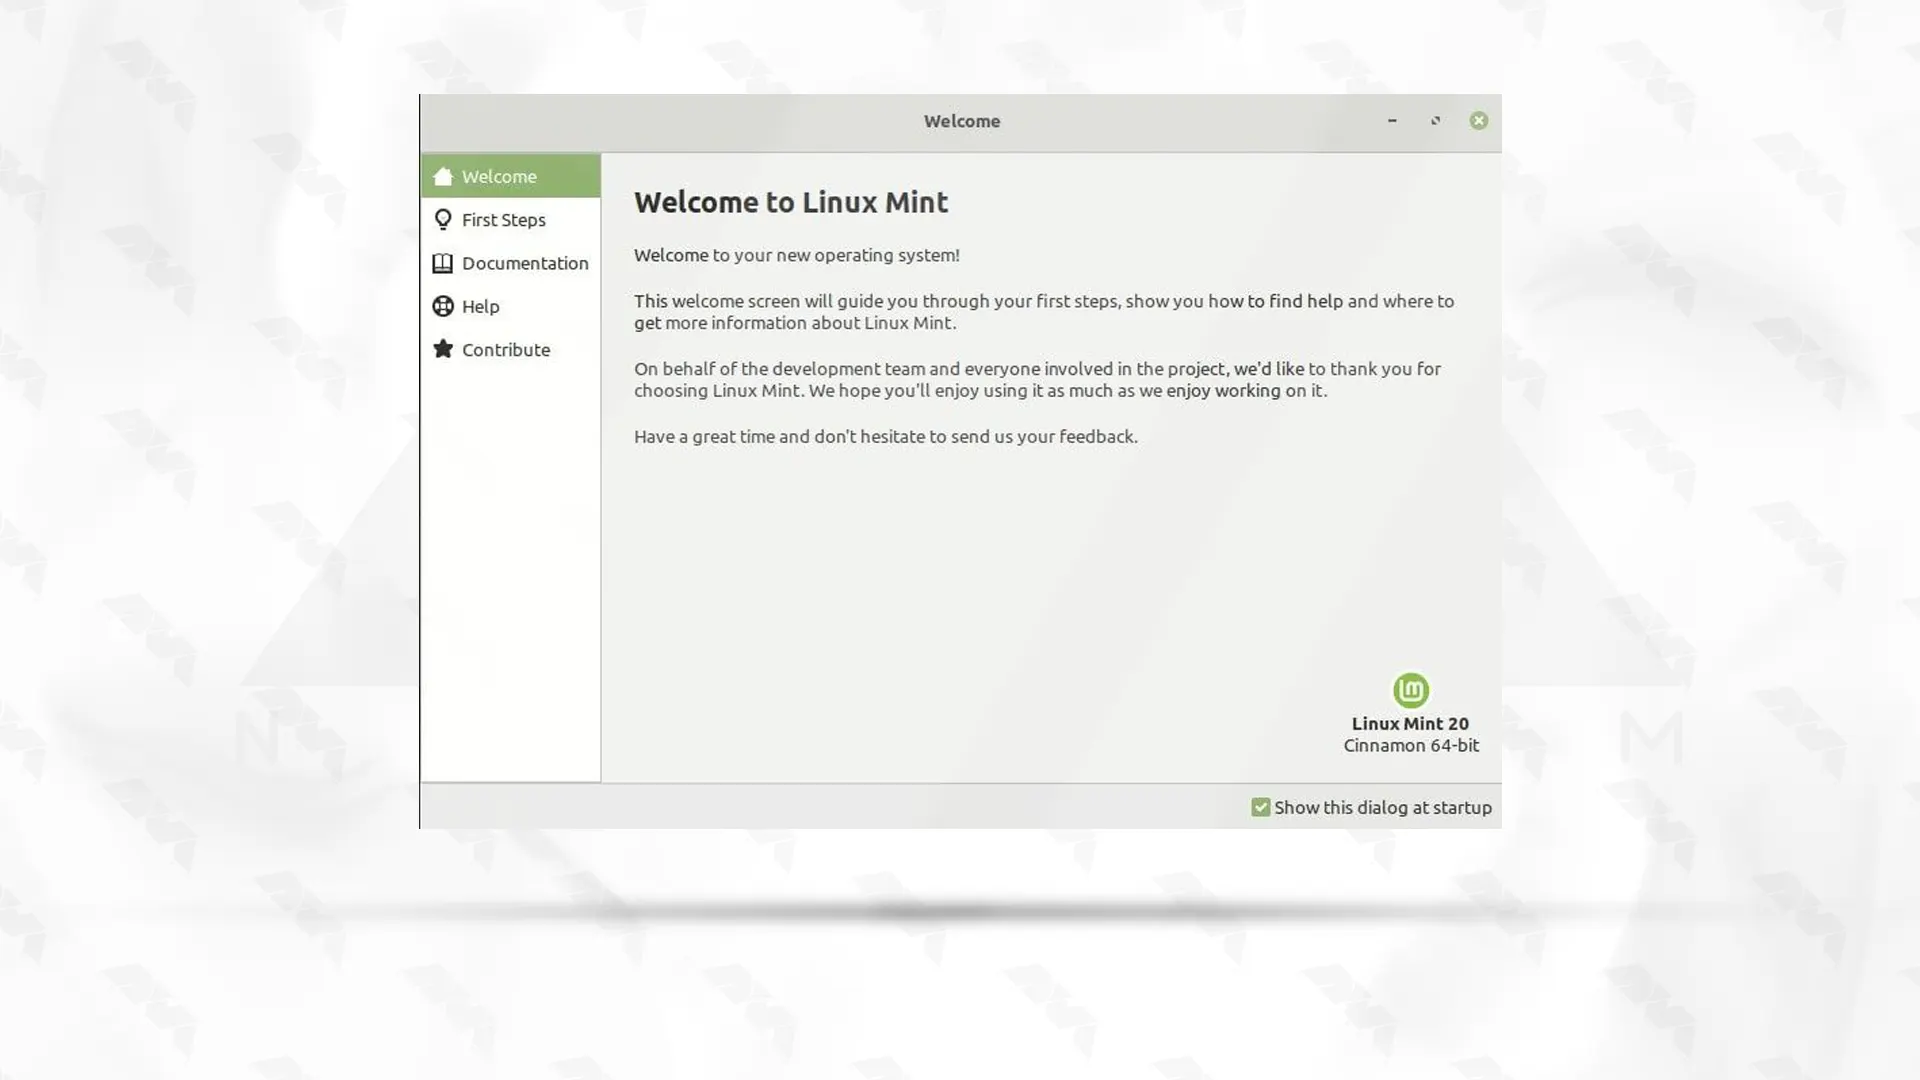
Congratulations, you have successfully installed Linux Mint from a USB drive!
If you are experiencing issues while installing Linux Mint, here are some troubleshooting steps you can try:
1- Check your hardware compatibility
2- Check the installation media
3- Try a different installation method
4- Disable Secure Boot
5- Check the BIOS/UEFI settings
6- Try different installation options
7- Check for hardware issues
8- Update firmware and drivers
If you encounter any problem while installing Linux Mint, ask us about it in the comments section below this post.
In conclusion, installing Linux Mint from a USB drive is a straightforward and convenient process. It allows users to take advantage of the benefits of Linux Mint without altering their existing operating system. With its user-friendly interface and abundance of features, Linux Mint is an excellent choice for both beginners and experienced users.
How useful was this post?
Click on a star to rate it!
Average rating 3 / 5. Vote count: 2
No votes so far! Be the first to rate this post.
 Tags
Tags

Windows VPS and Bitcoin have become increasingly popular in recent years, as both offer unique advan...


 Tags
Tags

In today's digital age, Remote Desktop Protocol (RDP) solutions have become increasingly essent...


 Tags
Tags
What is your opinion about this Blog?


