


One of the most popular web hosting control panels in Linux is Cpanel, Which uses a graphical interface to manage and host websites on a server. So you can easily control your website. Follow the instructions to have this useful web server. After reading this post, if you follow all the mentioned steps carefully, you will learn how to Install WHM/Cpanel on Rocky Linux.
Let’s see how you can do the installation step by step to have WHM then access to management part and manage your website.
_ A Linux VPS with Rocky Linux OS
_1.1 GHz processor and 2 GB RAM (1 is also fine)
_ Having a license for the cpanel web server (go to the Cpanel Store to provide a license)
_ A valid static IP address
_ Configuration of your Ethernet device with a static IP address and fully qualified hostname
_ Disabling the Linux OS firewall before the installation process
Follow the commands to have a successful installation process for Cpanel.
1- Update your exciting package to the latest version:
yum update
yum upgrade
2- As Cpanel is written in Perl, install the Perl command and install curl to download Cpanel installation script:
yum install perl curl
3- use the command below to start the automatic installation of WHM/cpanel:
cd /home && curl -o latest -L https://securedownloads.cpanel.net/latest && sh latest
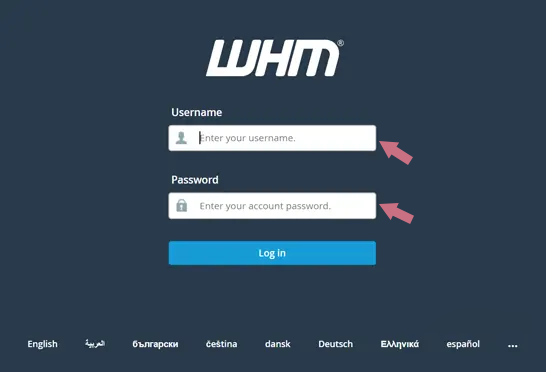
4- Now you should log into WHM. So enter (https://Server_IP:2087) in your browser’s address bar. Then enter your Rocky Linux root user and password to access data and confirm the terms and conditions:
5- Here, you can get the license on Cpanel Store or use the free 15-day trial to create an account with the WHM service by clicking the Log in button:
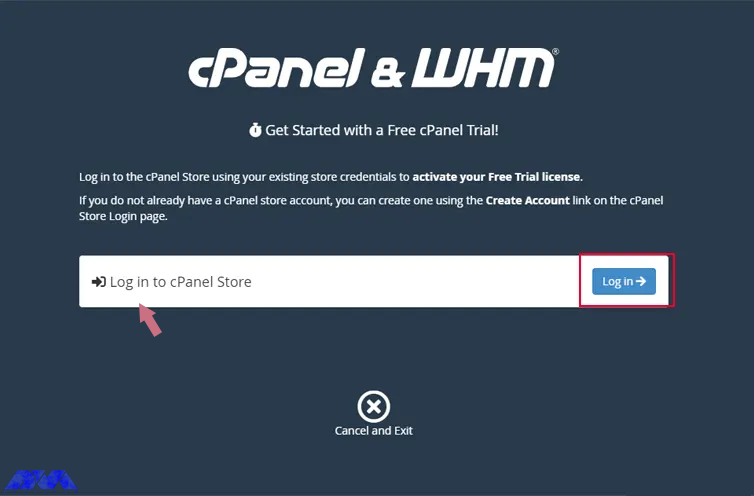
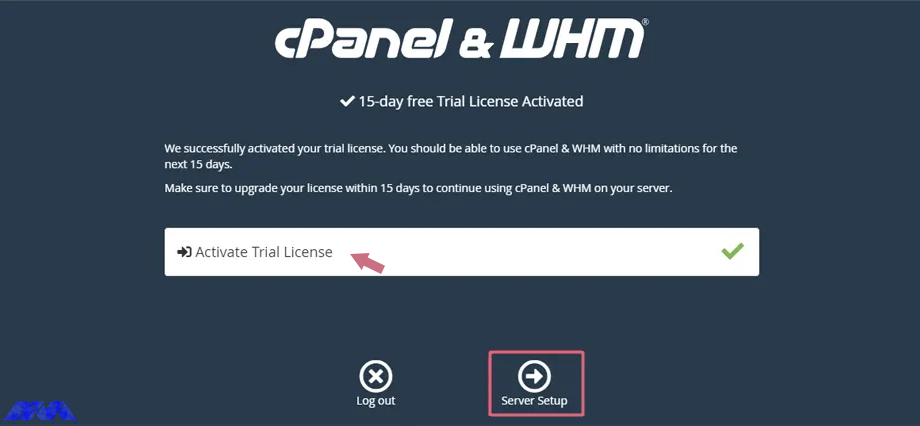
After visiting the Cpanel store, you can buy the license you want. You can also activate it for free testing and use it for 15 days. Here we use a free license.
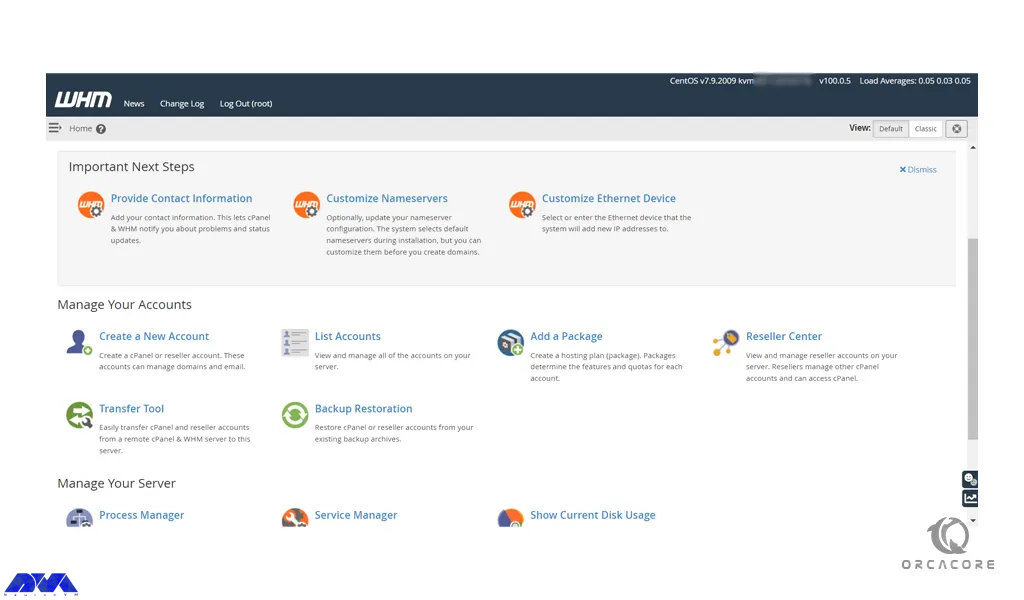
In case you need to access different parts of Cpanel, you can go through the directories for Cpanel installed stuff, here are some of the directories:
_ The pass for Cpanel directories: /usr/local/cpanel
_ Cpanel binaries: /usr/local/cpanel/bin/
_ Third-party tools: /usr/local/cpanel/3rdparty/
_ Cpanel add-ones or directories: /usr/local/cpanel/addons/
_ WHM files: /usr/local/cpanel/whostmgr/
_ CGI files: /usr/local/cpanel/cgi-sys/
_ Basic files and themes: /usr/local/cpanel/base/
_ The configuration part for Apache: /etc/httpd/conf/httpd.conf
_ The configuration directory for Exim mail server: /etc/exim.conf
_ Configuration files for named: /etc/named.conf/
_ Cpanel user files: /var/cpanel/users/username
_ Cpanel configuration files: /var/cpanel/cpanel.config
_ Directory for configuration files Proftp and pure ftpd: /etc/proftpd.conf and /etc/pure-ftpd.conf
_ Cpanel update files: /etc/cpupdate.conf
_ Configuration files for MySQL: /etc/my.cnf
_ Configuration files for PHP.ini: /usr/local/lib/php.ini
Here, we tried to show how you can install WHM/Cpanel on Rocky Linux. Then we showed you some directories to access different parts of Cpanel. Also, you can find out what is needed before installation. We hope you enjoy this article. For any questions or ideas, just leave a comment.
20-40 GB of disk space is suitable for cpanel.
Yes, it does. Cpanel supports all of the official product release kernels for the Rocky Linux.
How useful was this post?
Click on a star to rate it!
Average rating 5 / 5. Vote count: 2
No votes so far! Be the first to rate this post.
 Tags
Tags

DirectAdmin helps you manage your web server and website easily. Also, this control panel manages fi...


 Tags
Tags

Accurate timekeeping is a critical component in the deployment of modern software. On the other hand...


 Tags
Tags
What is your opinion about this Blog?


