
Installing Ubuntu on a USB drive allows you to have a portable and independent operating system that can be run on any computer. It provides flexibility and convenience, making it a useful tool for troubleshooting, testing, or simply having your own customized system. This article will take you through the step-by-step how to install Ubuntu on a USB drive.
We suggest you, fans of the popular Ubuntu operating system, use the various and attractive plans on our website if you want to use a Linux VPS server.
Prerequisites:
– A USB drive with a capacity of 8GB or more.
– The Ubuntu ISO file.
– Rufus, a free and open-source tool for creating bootable USB drives.
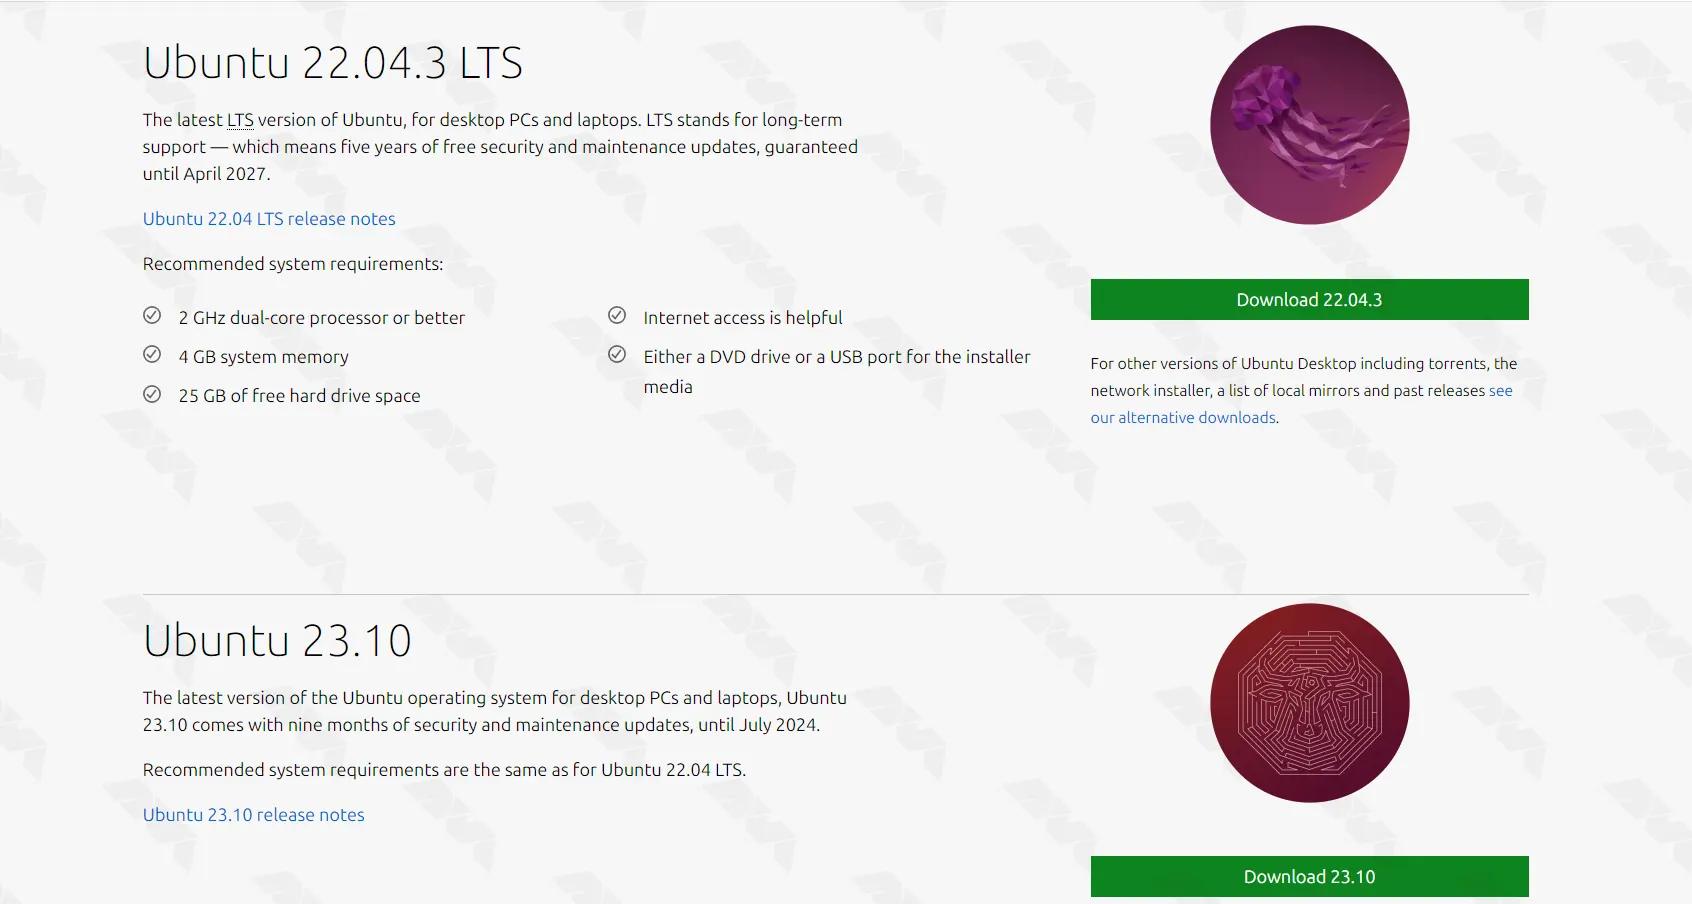
Download the Ubuntu ISO file
Visit the official Ubuntu website and navigate to the “Download” section.
Choose the version of Ubuntu you wish to install and download the corresponding ISO file:
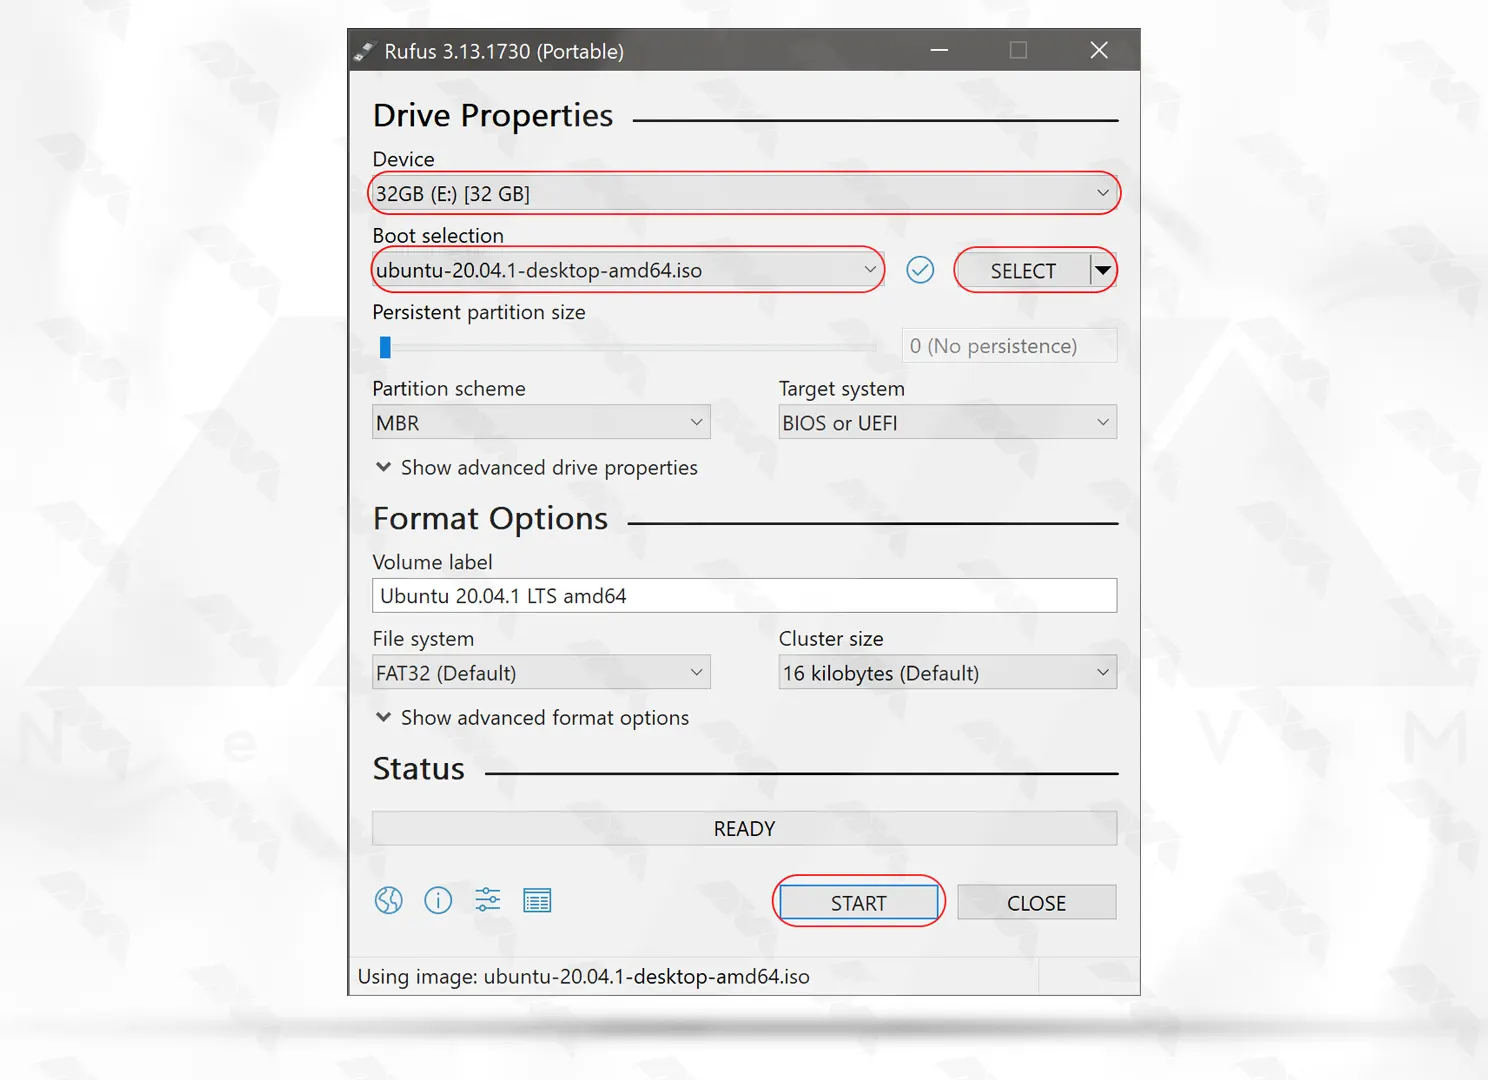
Prepare the USB Drive to Install Ubuntu
– Connect the USB drive to your computer and ensure that it is recognized.
– Launch Rufus and select the USB drive from the “Device” dropdown menu.
– Under “Boot selection” click on the “Select” button and browse to the location where you downloaded the Ubuntu ISO file.
– Click on “Start” to begin creating the bootable USB drive. Rufus will format the USB drive and copy all the necessary files.
Boot from the USB drive
Restart your computer and enter the BIOS or UEFI settings by pressing the designated key (e.g., F2, Del, F12) during startup.
– In the BIOS/UEFI settings, go to the “Boot” or “Startup” section and set the USB drive as the primary boot device. Save the changes and exit.
– The computer will now reboot and boot from the USB drive.
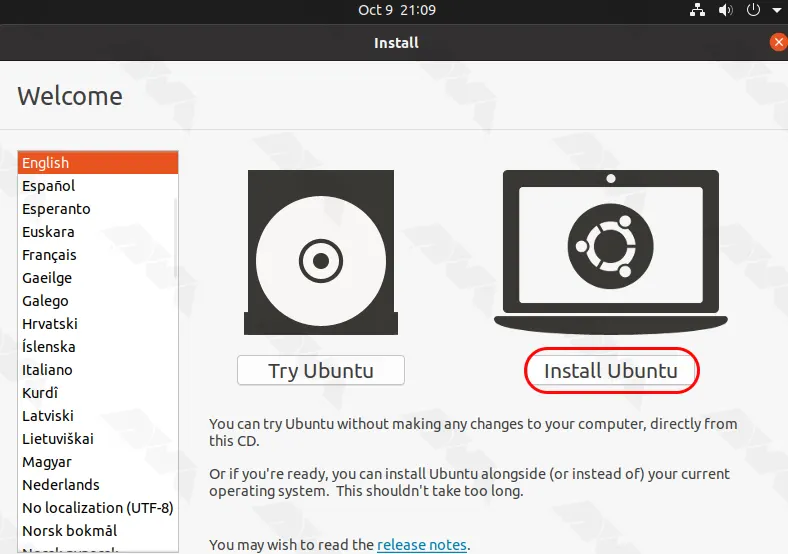
Install Ubuntu on a USB Drive
The Ubuntu installation wizard will open. Select your preferred language and click on “Install Ubuntu“:
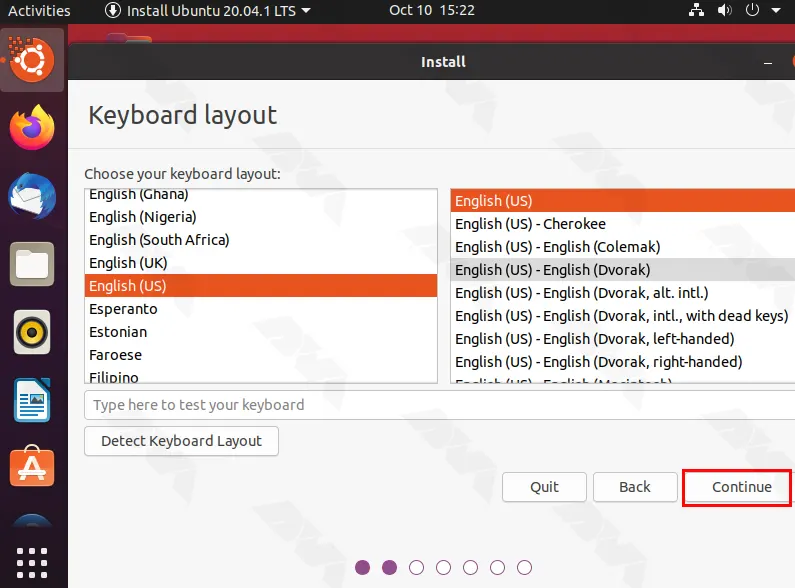
Follow the on-screen instructions to set your keyboard layout and other preferences:
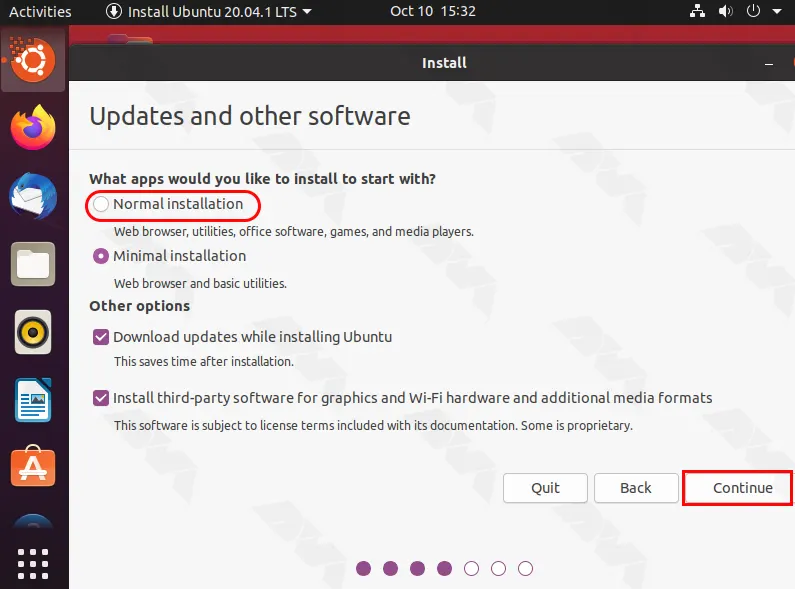
As you can see in the picture below, depending on the storage capacity of the USB flash drive, you may want to choose “Normal installation” or “Minimal installation“. After choosing one of these options, click on continue:
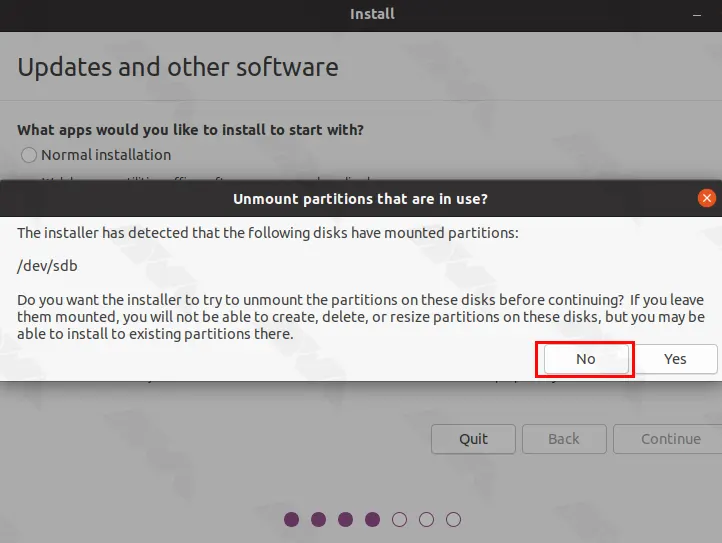
If you see the following message, click “No” and continue the installation:
When prompted to choose the installation type, select “Something else” for advanced partitioning options.
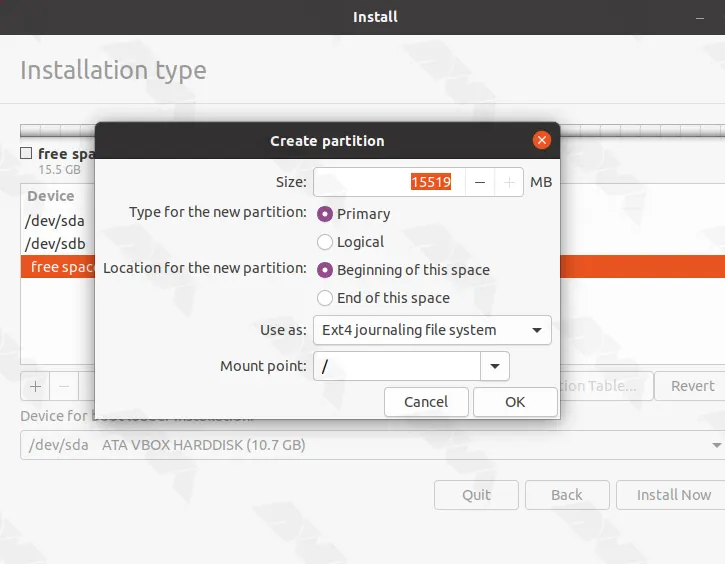
Select the USB drive from the list of available drives and click on the “+” button to create a new partition.
Allocate the desired amount of disk space for the Ubuntu installation. It is recommending to have a root partition (“/“) and a swap partition:
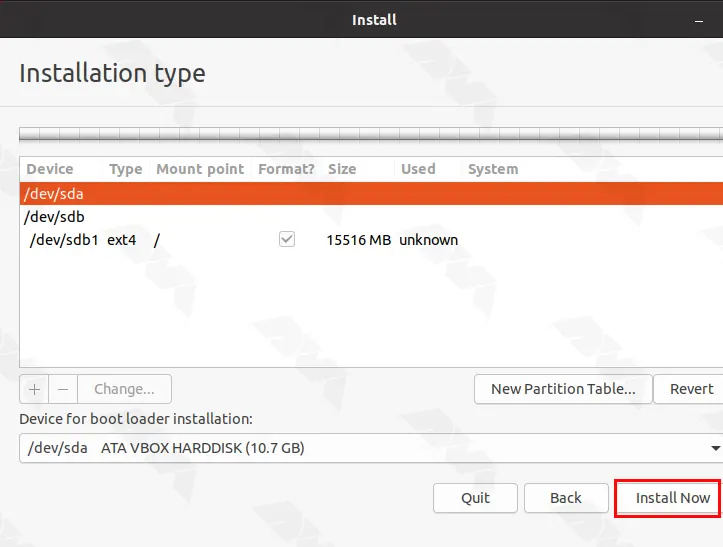
Select the newly created partition as the installation location and then click on “Install Now“:
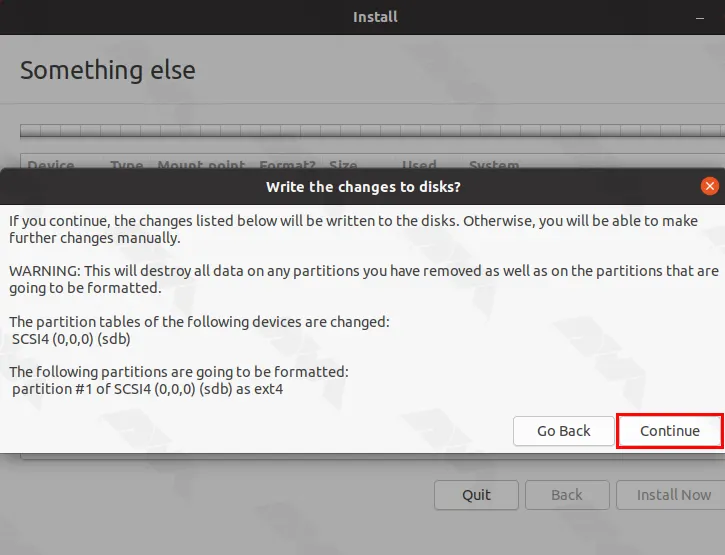
Once you see the following message, click Continue to continue installing Ubuntu:
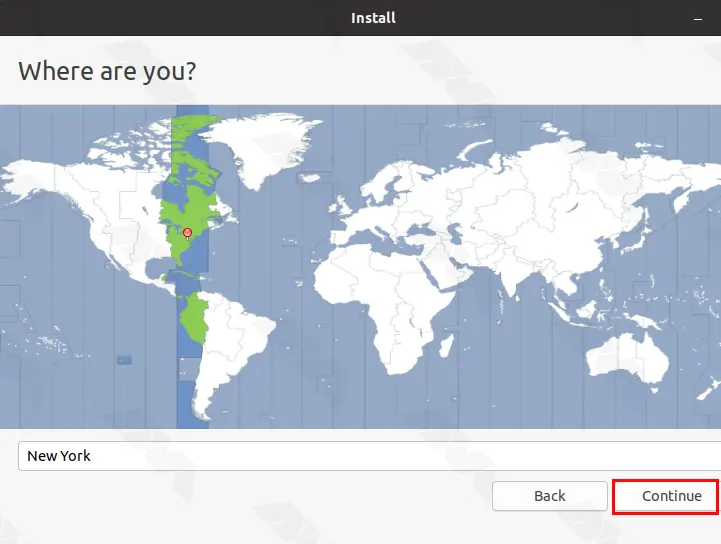
In the next section, you must choose your time zone and click on continue:
Note: Follow the remaining on-screen instructions to set up your username, password, and other system settings.
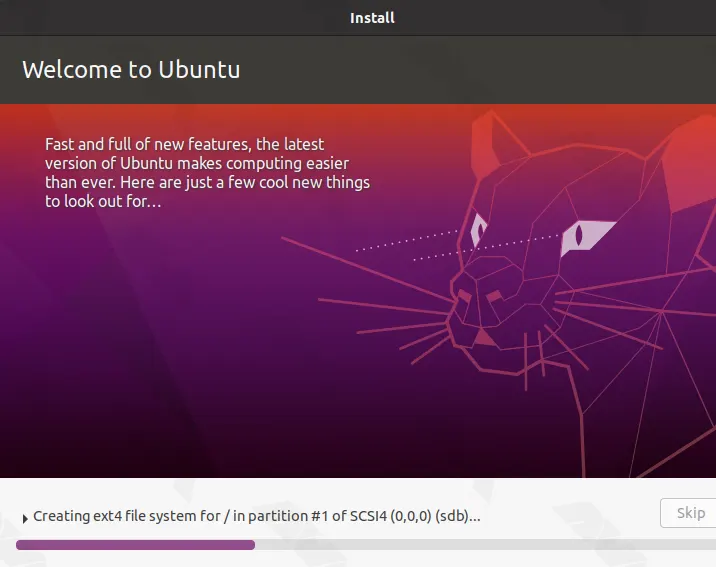
You have to wait a few minutes for Ubuntu to finish installing on a USB drive.
Finally, click on Restart Now:
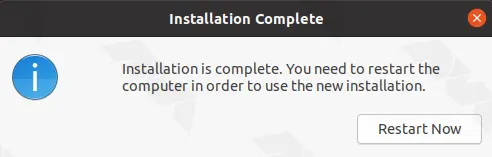
Congratulations! You have successfully installed Ubuntu on a USB Drive.
Conclusion
By following this guide, you have successfully installed Ubuntu on a USB drive. You now have a portable operating system that can be booted on any computer. Remember to keep your USB drive safe and take advantage of Ubuntu’s features, flexibility, and customization options in your portable setup.
Leave a Reply