
Mikrotik is a powerful and versatile operating system that can be installed on various hardware platforms, including a Linux-based VPS. In this guide, we will provide a step-by-step tutorial on how to install Mikrotik on a Linux VPS. By following these instructions, you will be able to leverage the full potential of the Mikrotik software suite for networking and administration.
First method: Installing Mikrotik on Linux VPS
The first method to install Mikrotik involves setting up the Mikrotik RouterOS on a VPS running Linux. In the following, we will teach you this method.
Step 1: Connect to the VPS
Once you have rented a Linux VPS, you will need to connect to it.
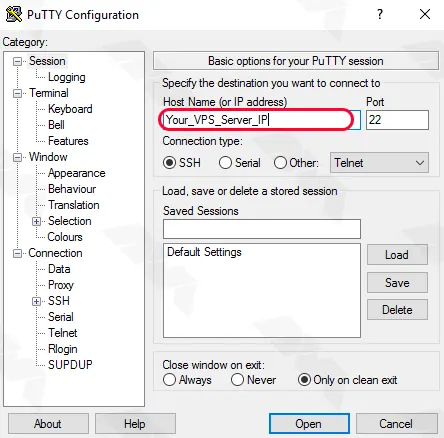
Use an SSH client like PuTTY (for Windows) or the Terminal (for Linux/Mac). Enter the IP address of your VPS, along with the provided username and password, to establish an SSH connection:
Step 2: Update System Packages
Before proceeding with the installation, it is essential to update the system packages to ensure that you have the latest software versions. Run the following commands:
sudo apt update
sudo apt upgrade
Step 3: Find the Storage Name
You may need to know some parameters about your server. One of these parameters is the storage name. You can find and see the storage name by executing the below command:
lsblk | grep disk | cut -d ' ' -f 1 | head -n 1
Step 4: Find the Ethernet Name
You can also see the ethernet name by running the following command:
ip route show default | sed -n 's/.* dev \([^\ ]*\) .*/\1/p'
Step 5: Find the IP Address Name
To view the IP address, run the following command:
ip addr show $ETH | grep global | cut -d' ' -f 6 | head -n 1
Step 6: Find the Gateway Name
To view the Gateway name, run the following command:
ip route list | grep default | cut -d' ' -f 3
Step 7: Installing Mikrotik on a VPS
Finally, you can easily install Mikrotik on your server using the following command. Note that in this command we will install version 7.10.2. Therefore, if you wish, you can replace the latest version of Mikrotik in the following command:
bash -c "$(curl -L https://raw.githubusercontent.com/azadrahorg/Install-MikroTik-CHR-on-VPS/main/mik78.sh)"
Step 8: Access the Mikrotik Web Interface
Once the VPS has restarted, you can access the Mikrotik Web Interface by opening a web browser and entering the IP address of your VPS. Alternatively, you can use the Winbox utility provided by Mikrotik for a more advanced configuration.
On the login page, you can enter admin:
admin
Be careful to only press Enter when prompted for a password.
Now you can easily change your password because RouterOS prompts you to request a password change.
Second method: Buy Mikrotik VPS from NeuronVM
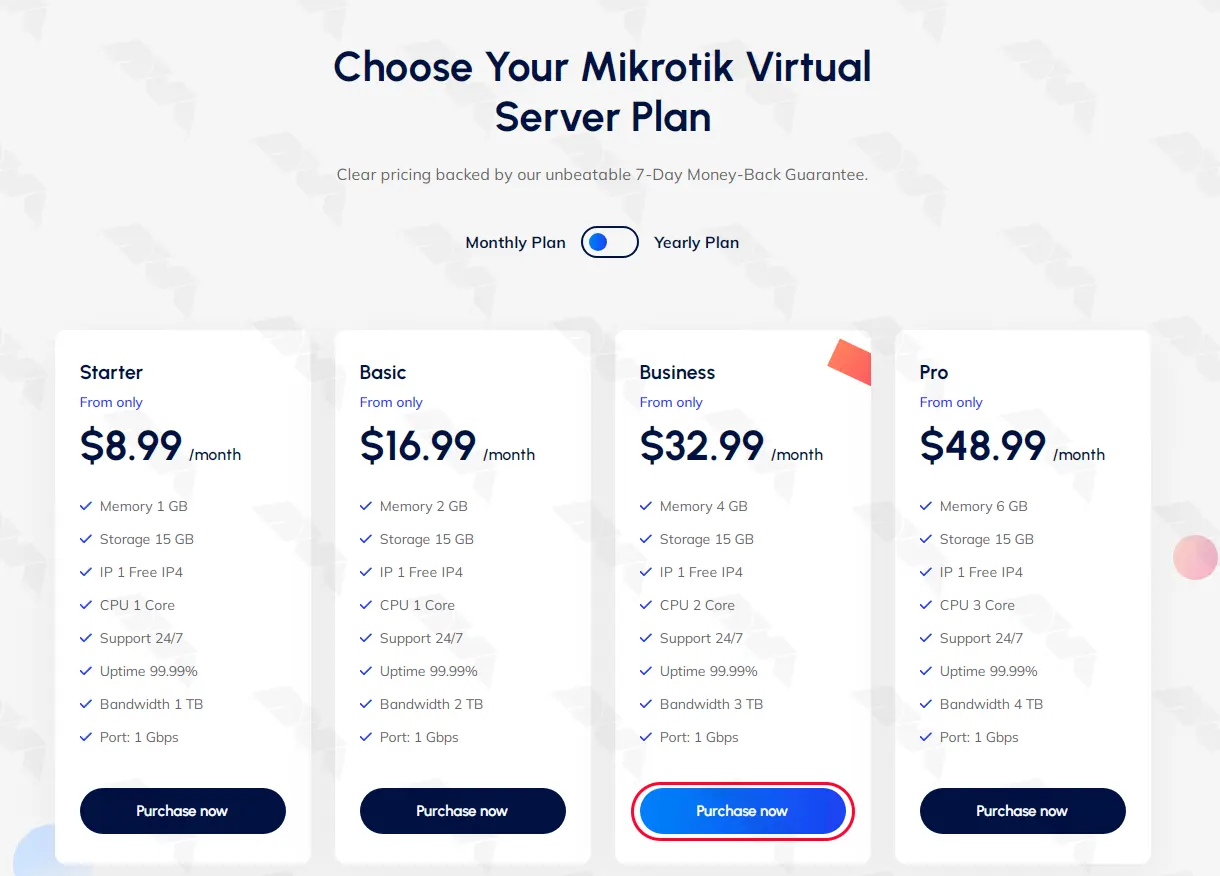
Open the NeuronVM Mikrotik VPS page. Choose your desired plan and click on “Purchase Now“:
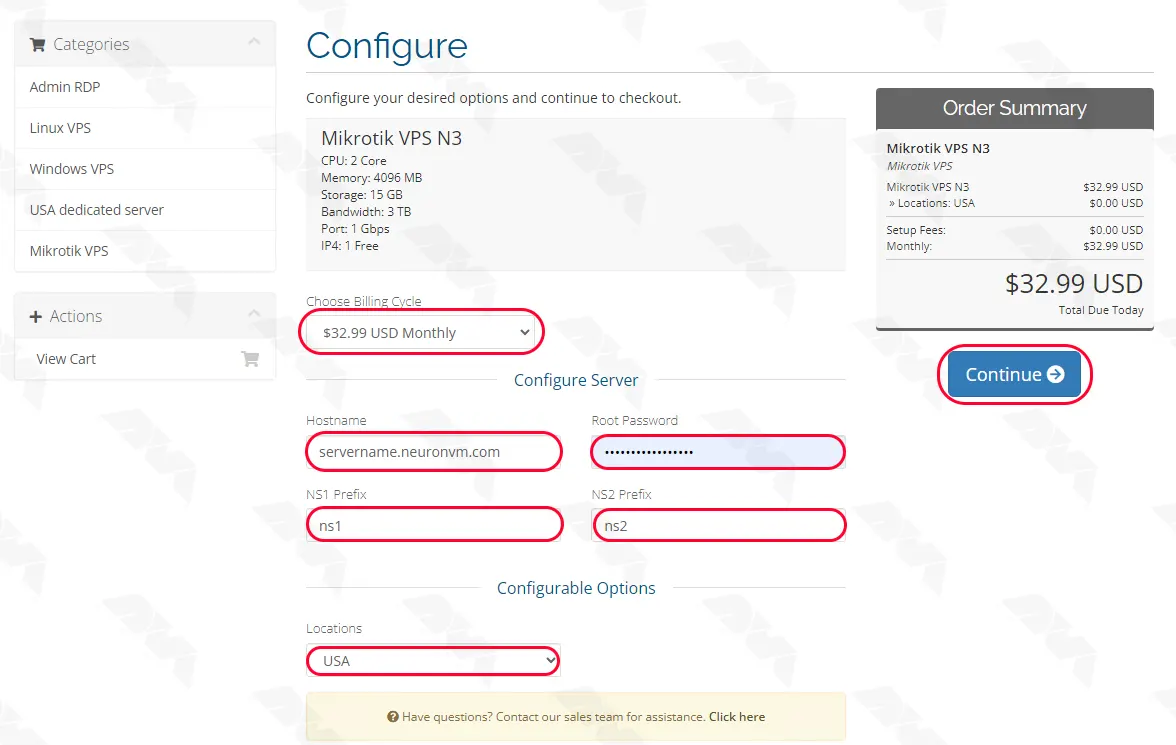
In the next section, fill in the available fields with the required information. These fields are Billing cycle, Hostname, Root password, NS prefixes, and location. Then click on Continue:
Do you have a discount code? If yes, enter it and click on Validate Code to apply. Click on Checkout to continue shopping:

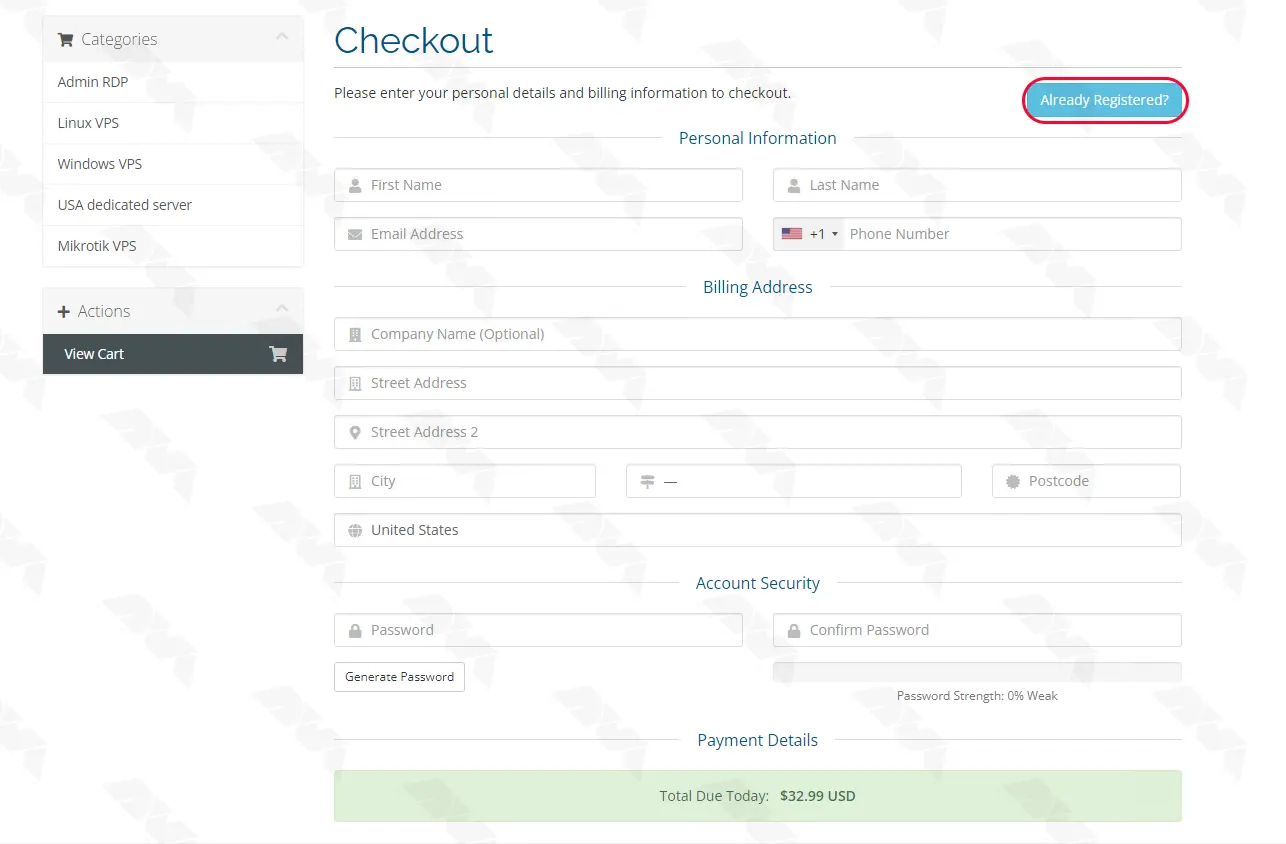
Have you registered on the site? If not, enter the required information in the requested fields and register. If you are already registered, click on Already Registered and enter your account:
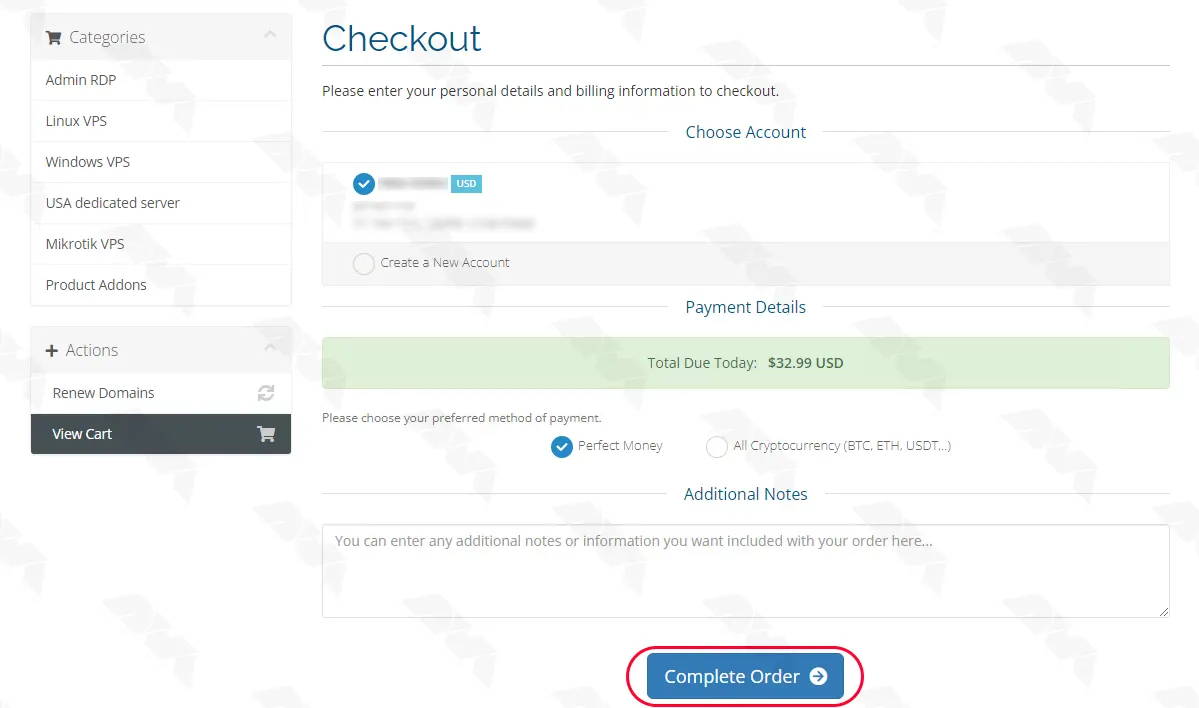
In this step, you can choose your preferred payment method. After that click on Complete Order:
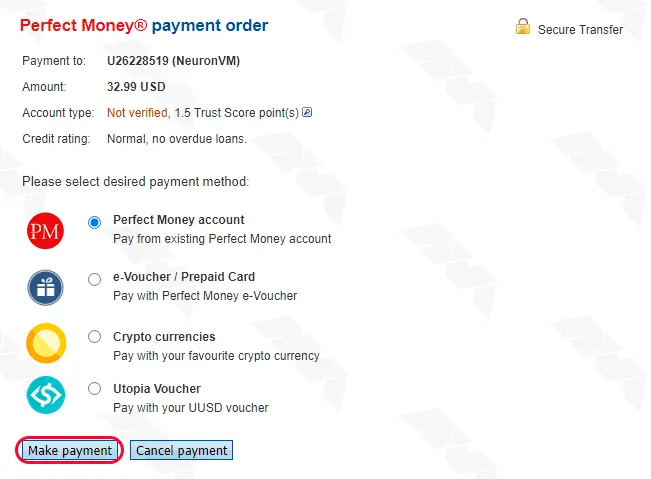
Click on Make Payment and enter your card information to complete the purchase. Your server information will be sent to your email address as soon as possible.
***

Conclusion
Setting up Mikrotik on a VPS is a convenient solution for network management. By purchasing a Mikrotik VPS from the reliable NeuronVM website, one can easily deploy and utilize the powerful features of Mikrotik RouterOS. This enables efficient control and administration of networks, ensuring enhanced performance and security.
Leave a Reply