



Multicraft is a powerful and versatile control panel software for managing and managing game servers. It is specifically designed to host multiple Minecraft servers, but can be used for other types of game servers as well. We recommend that you read this article, an Easy Guide to Install Multicraft on Windows.
Multicraft is a popular game server control panel that allows users to easily manage and configure game servers. It supports various games such as Minecraft, Rust, Ark: Survival Evolved, and more.
With Multicraft, server owners have full control over their game servers, allowing them to modify settings, install mods and plugins, create and manage game worlds, and monitor server performance. The control panel provides an intuitive and user-friendly interface, making it accessible for both beginners and experienced server administrators.
One of the key features of Multicraft is its extensive support for customization. Users can access a wide range of configuration options, enabling them to tailor their game server to their specific preferences. Additionally, Multicraft supports automatic server backups, making it easier to restore data in case of any issues.
Multicraft also provides tools for server owners to interact with their player base. Through the control panel, admins can manage player permissions, ban players, and monitor server chat. It also offers a web-based console, allowing server owners to execute commands and troubleshoot any issues without launching the game client.
We recommend you to use our Windows VPS plans to better understand the high speed, great performance and 24/7 support.
– CPU: A multi-core CPU with at least 2 cores, but more is better for better performance.
– RAM: At least 2GB of RAM is recommended for the VPS, but you may need more if you plan to host multiple servers or have a large number of players. Consider allocating more RAM to each Minecraft server as well.
– Storage: Sufficient storage space to store the Multicraft application files and any Minecraft server data.
– Network: A stable and fast internet connection is essential to ensure smooth gameplay and reduce latency. A minimum of 100Mbps dedicated bandwidth is recommended.
To install Multicraft on Windows, you can follow these steps:
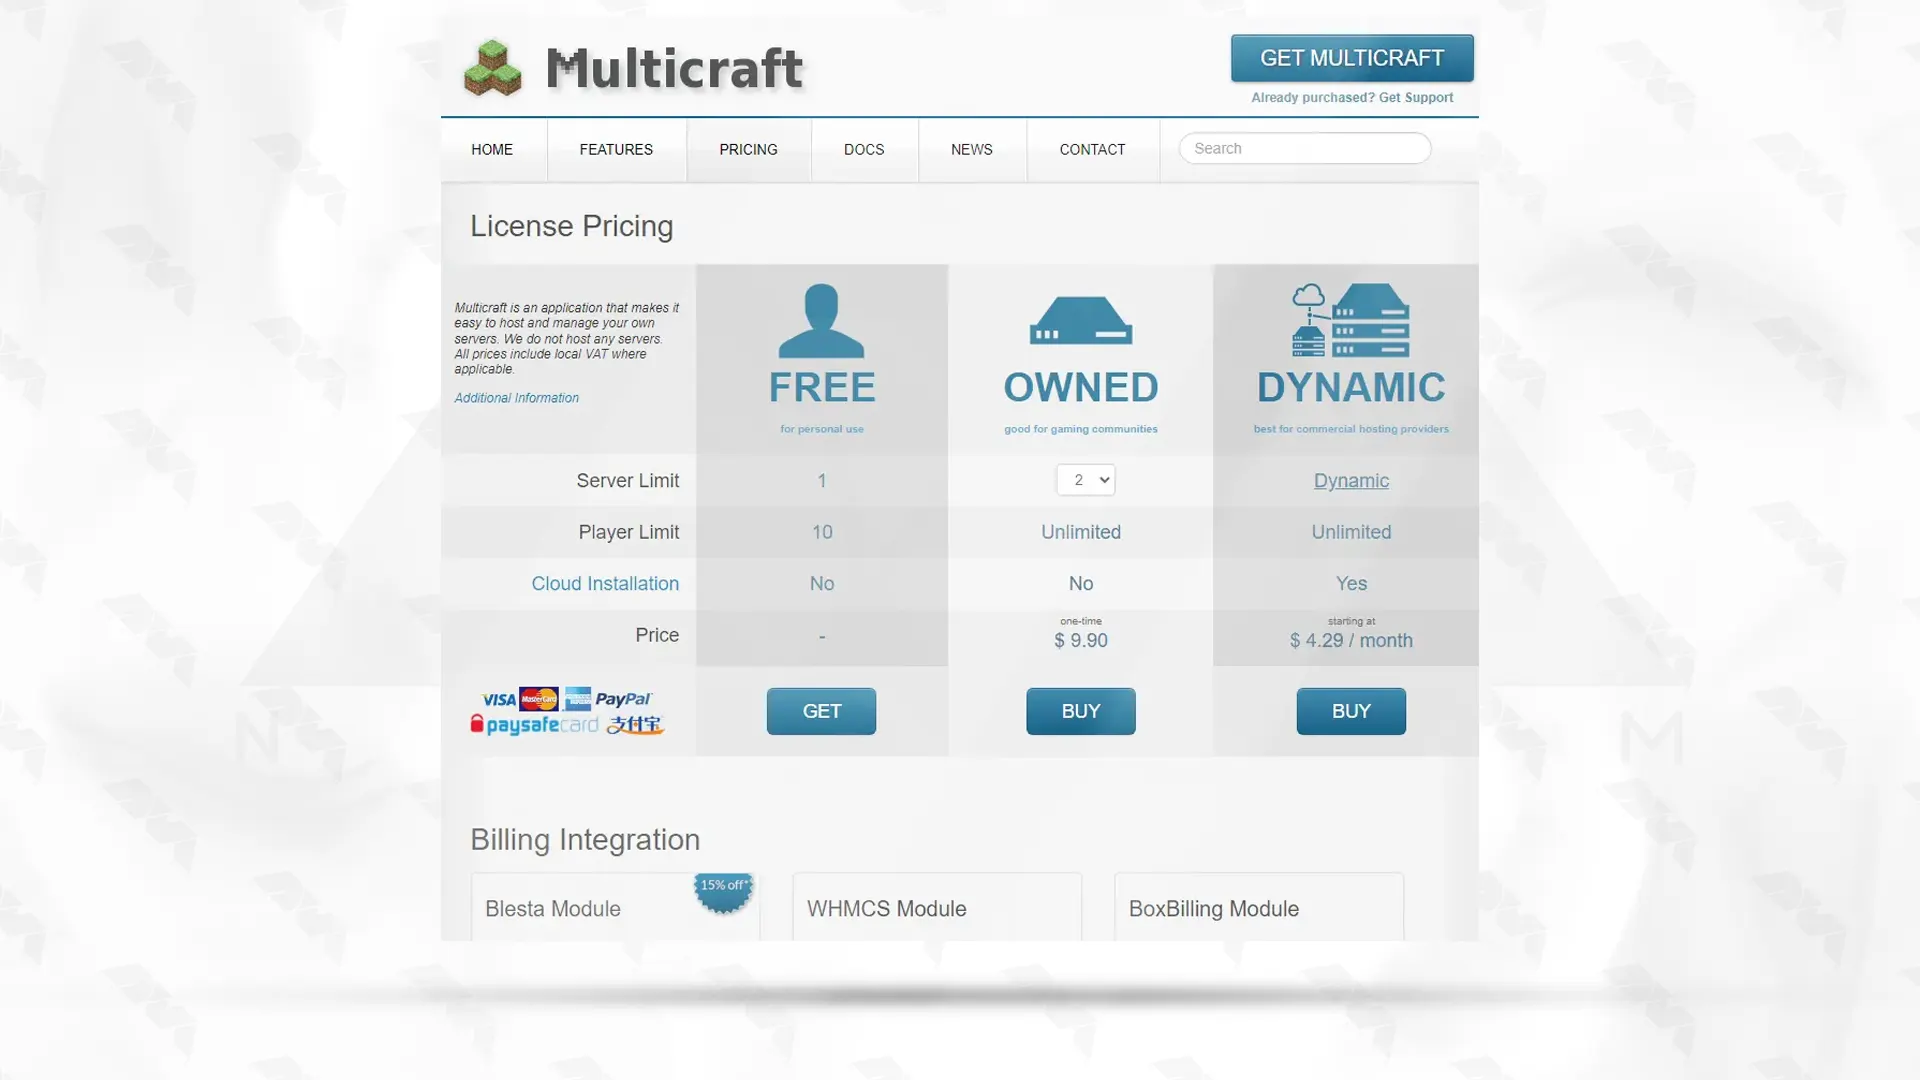
Open your desired web browser and open Multicraft website. Then, Click on Pricing from the menu. Here you can choose the plan you want and buy it. We choose the free plan:
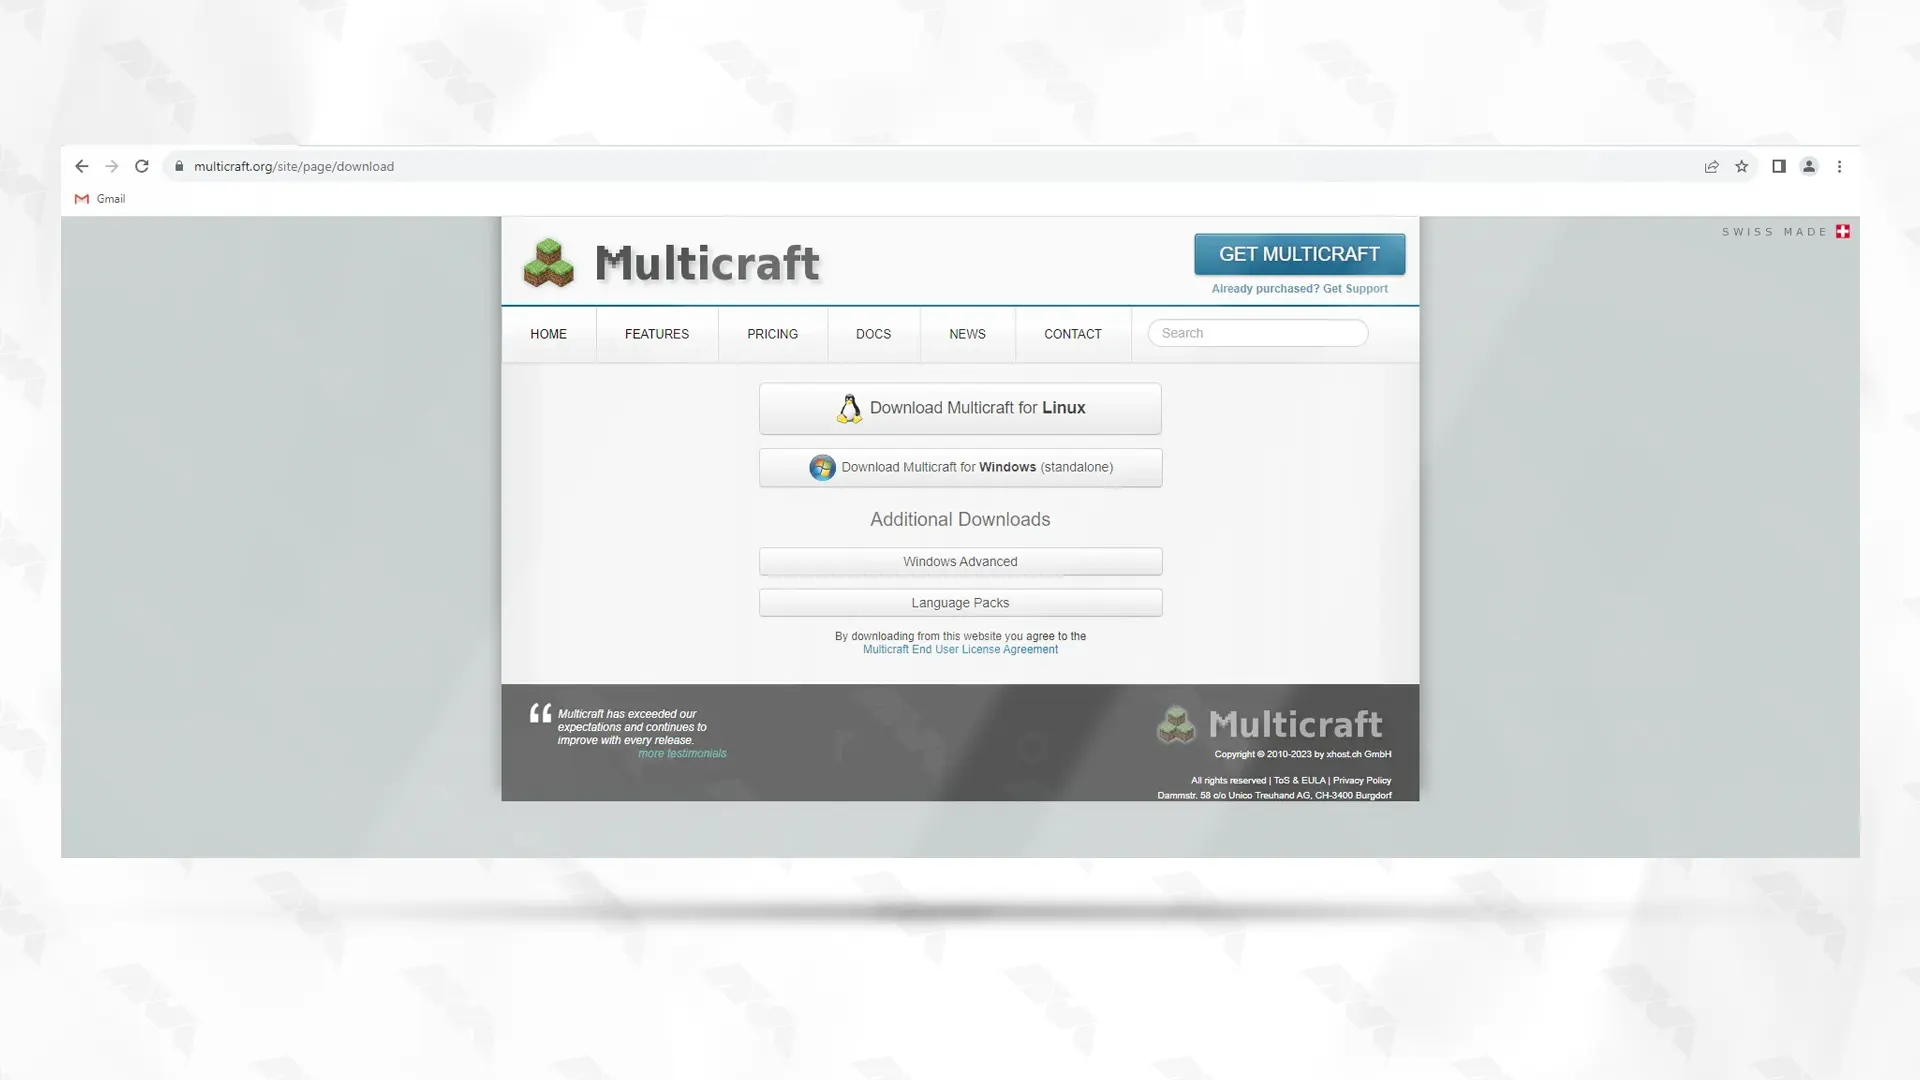
Download the latest version of Multicraft from the official website. Make sure to download the Windows version:
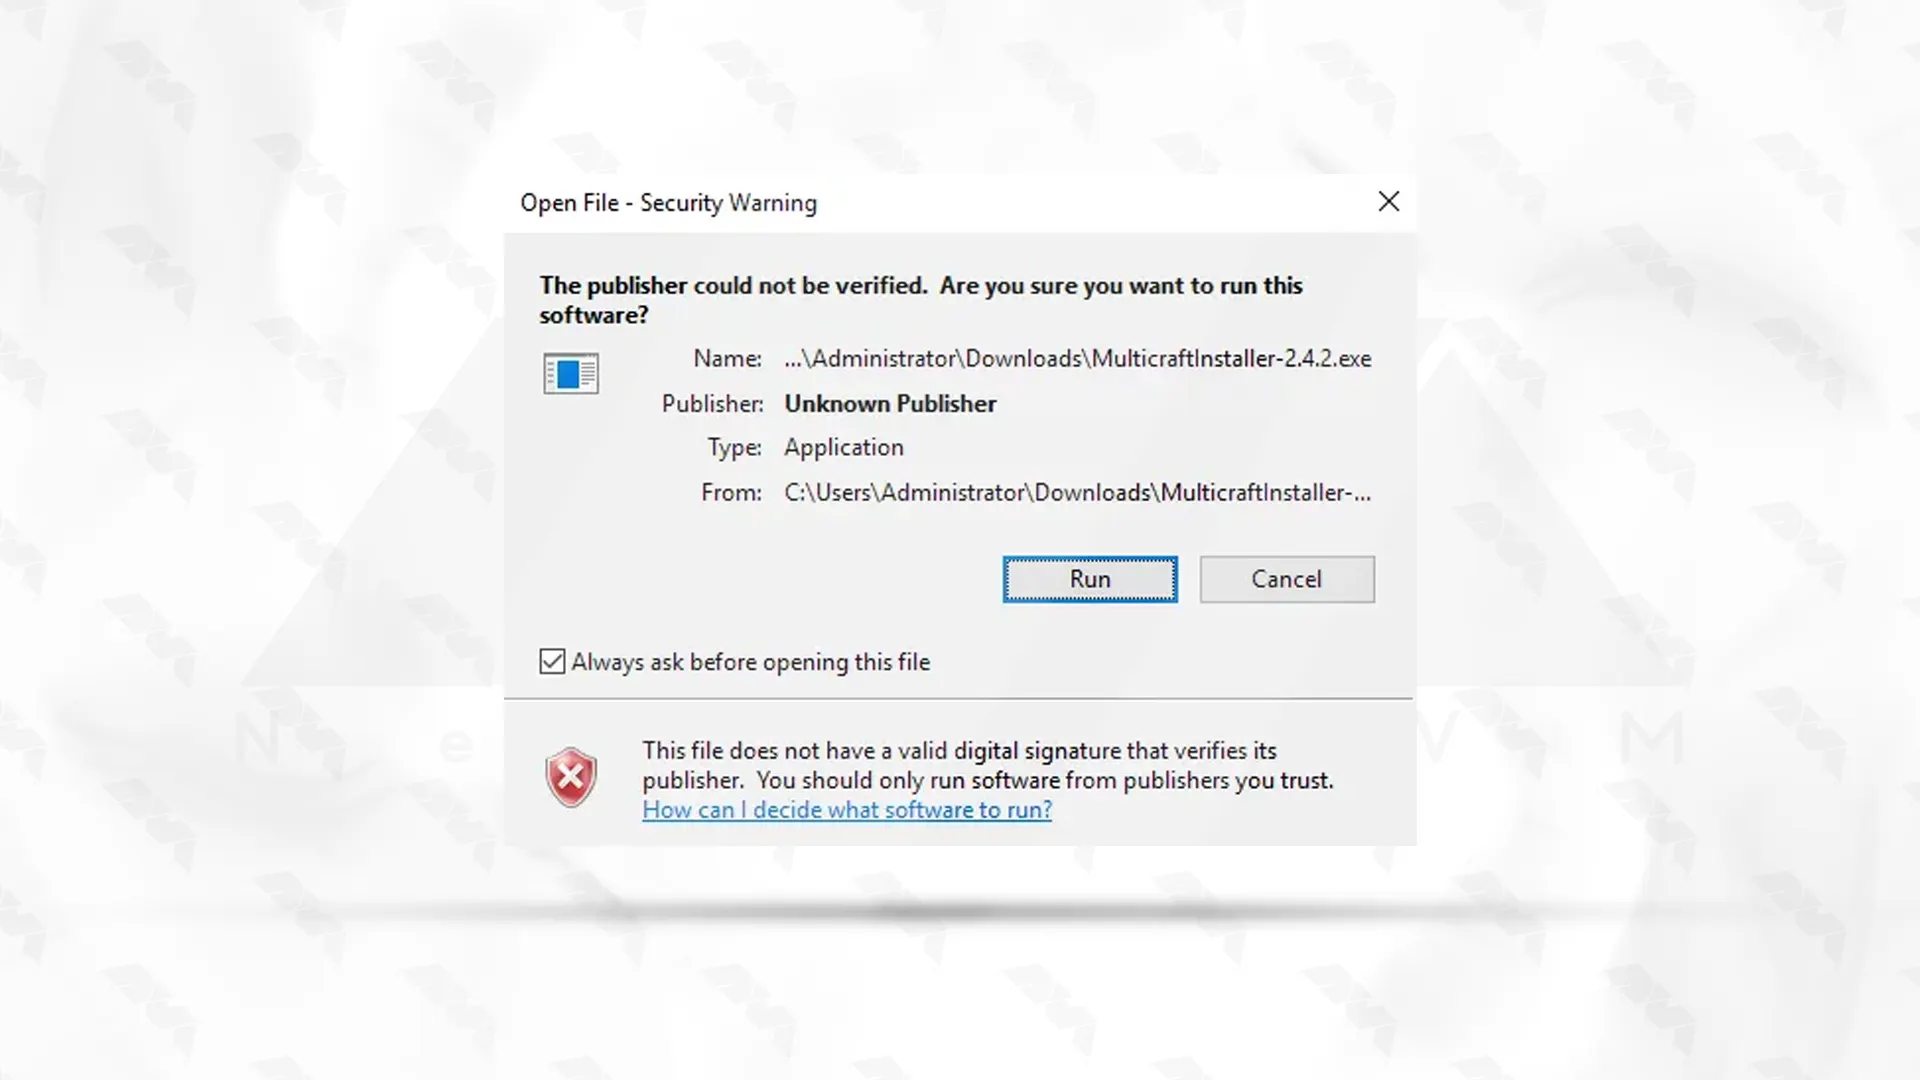
Once the download is complete, navigate to the folder where the Multicraft installation file is located:

Double-click the installation file to start the installation process:
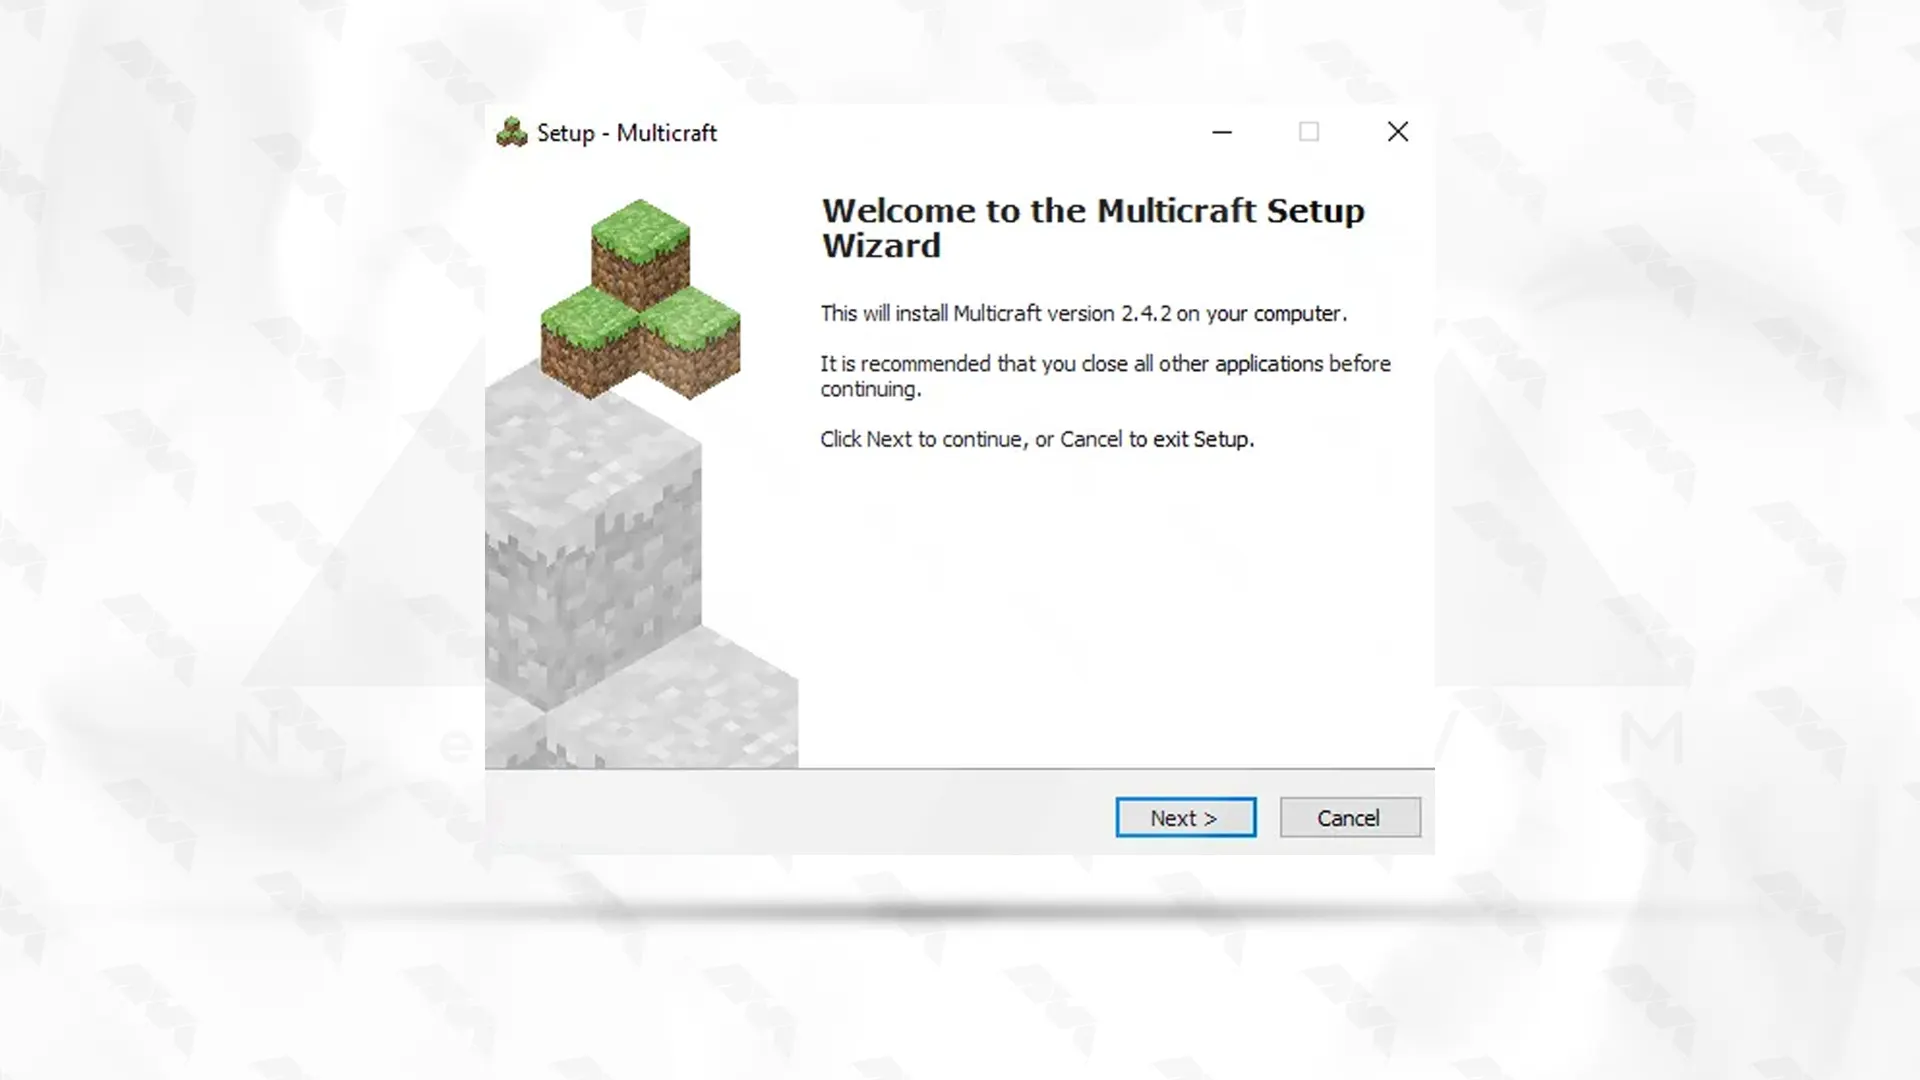
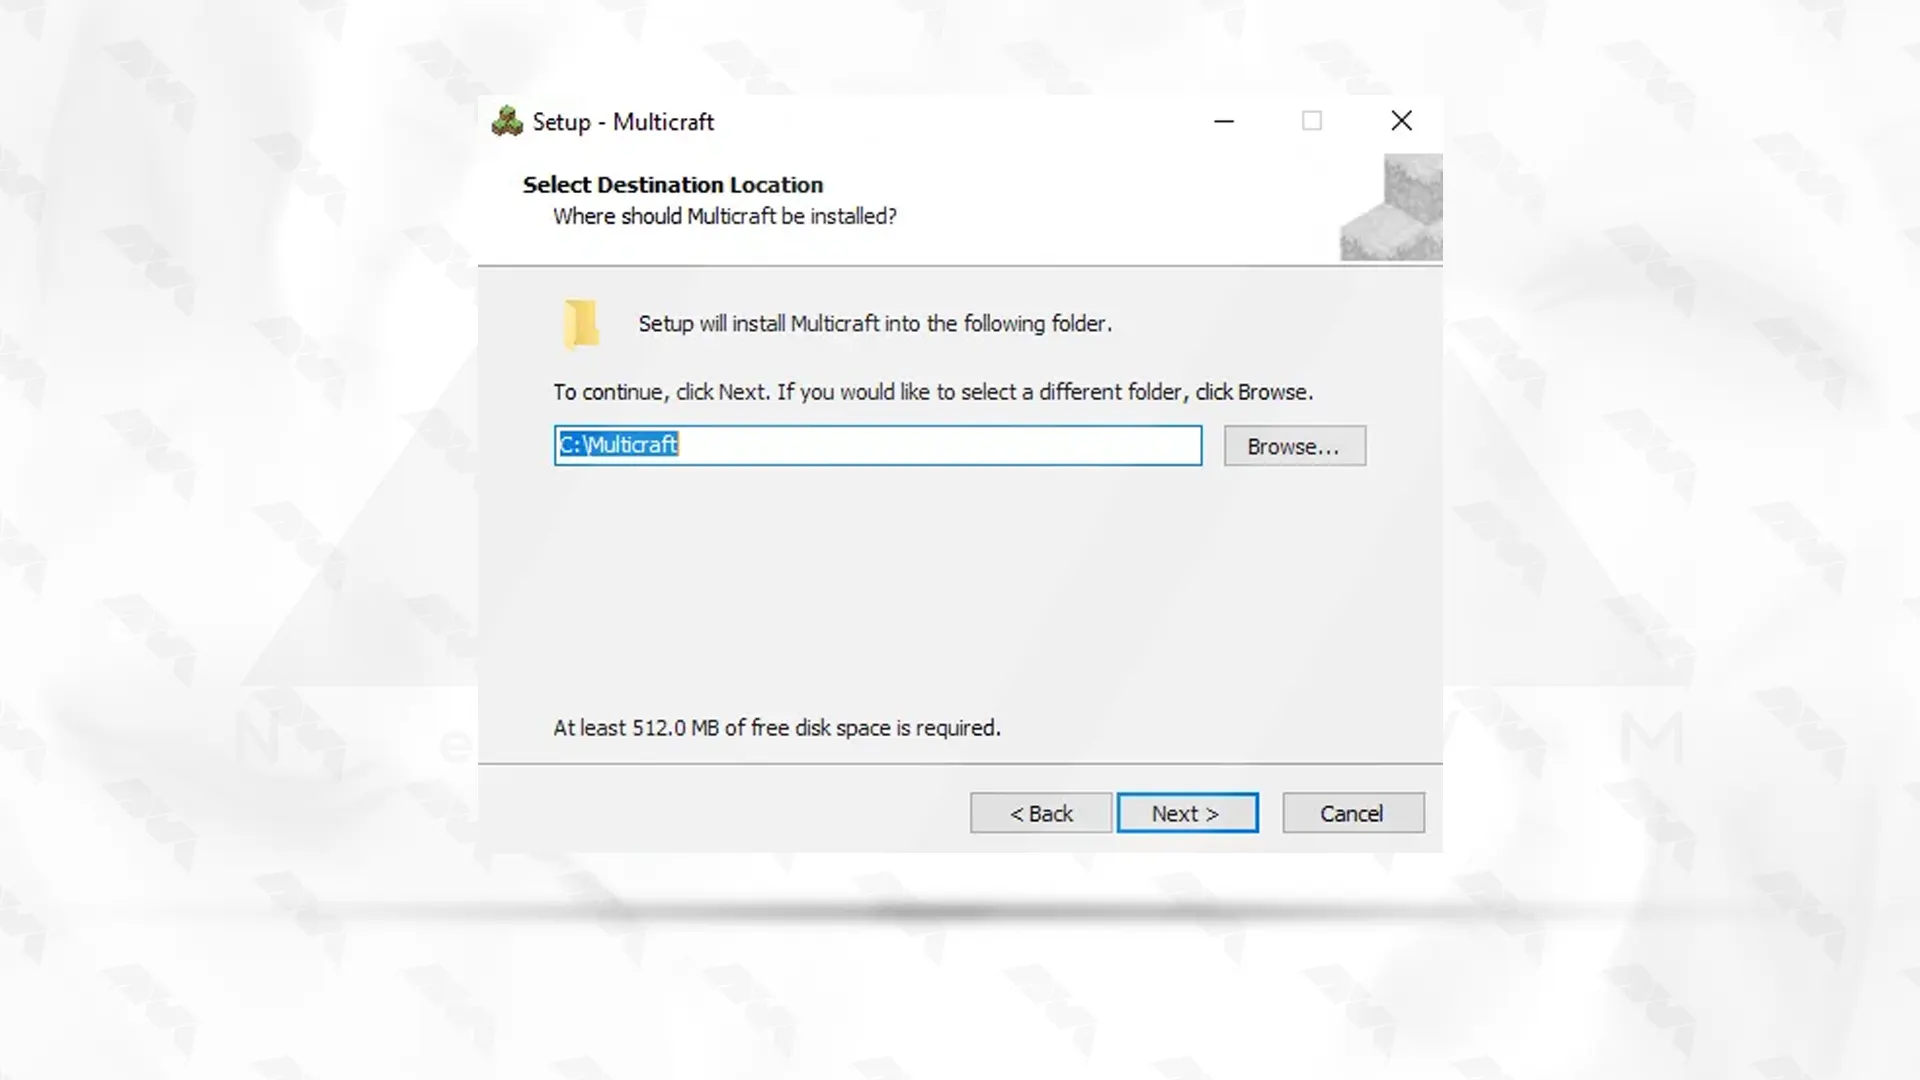
Follow the on-screen instructions to proceed with the installation. You will be prompted to choose the installation directory. It’s recommended to keep the default directory, but you can choose a different one if needed:
To confirm the agreement, click I accept and then click Next:
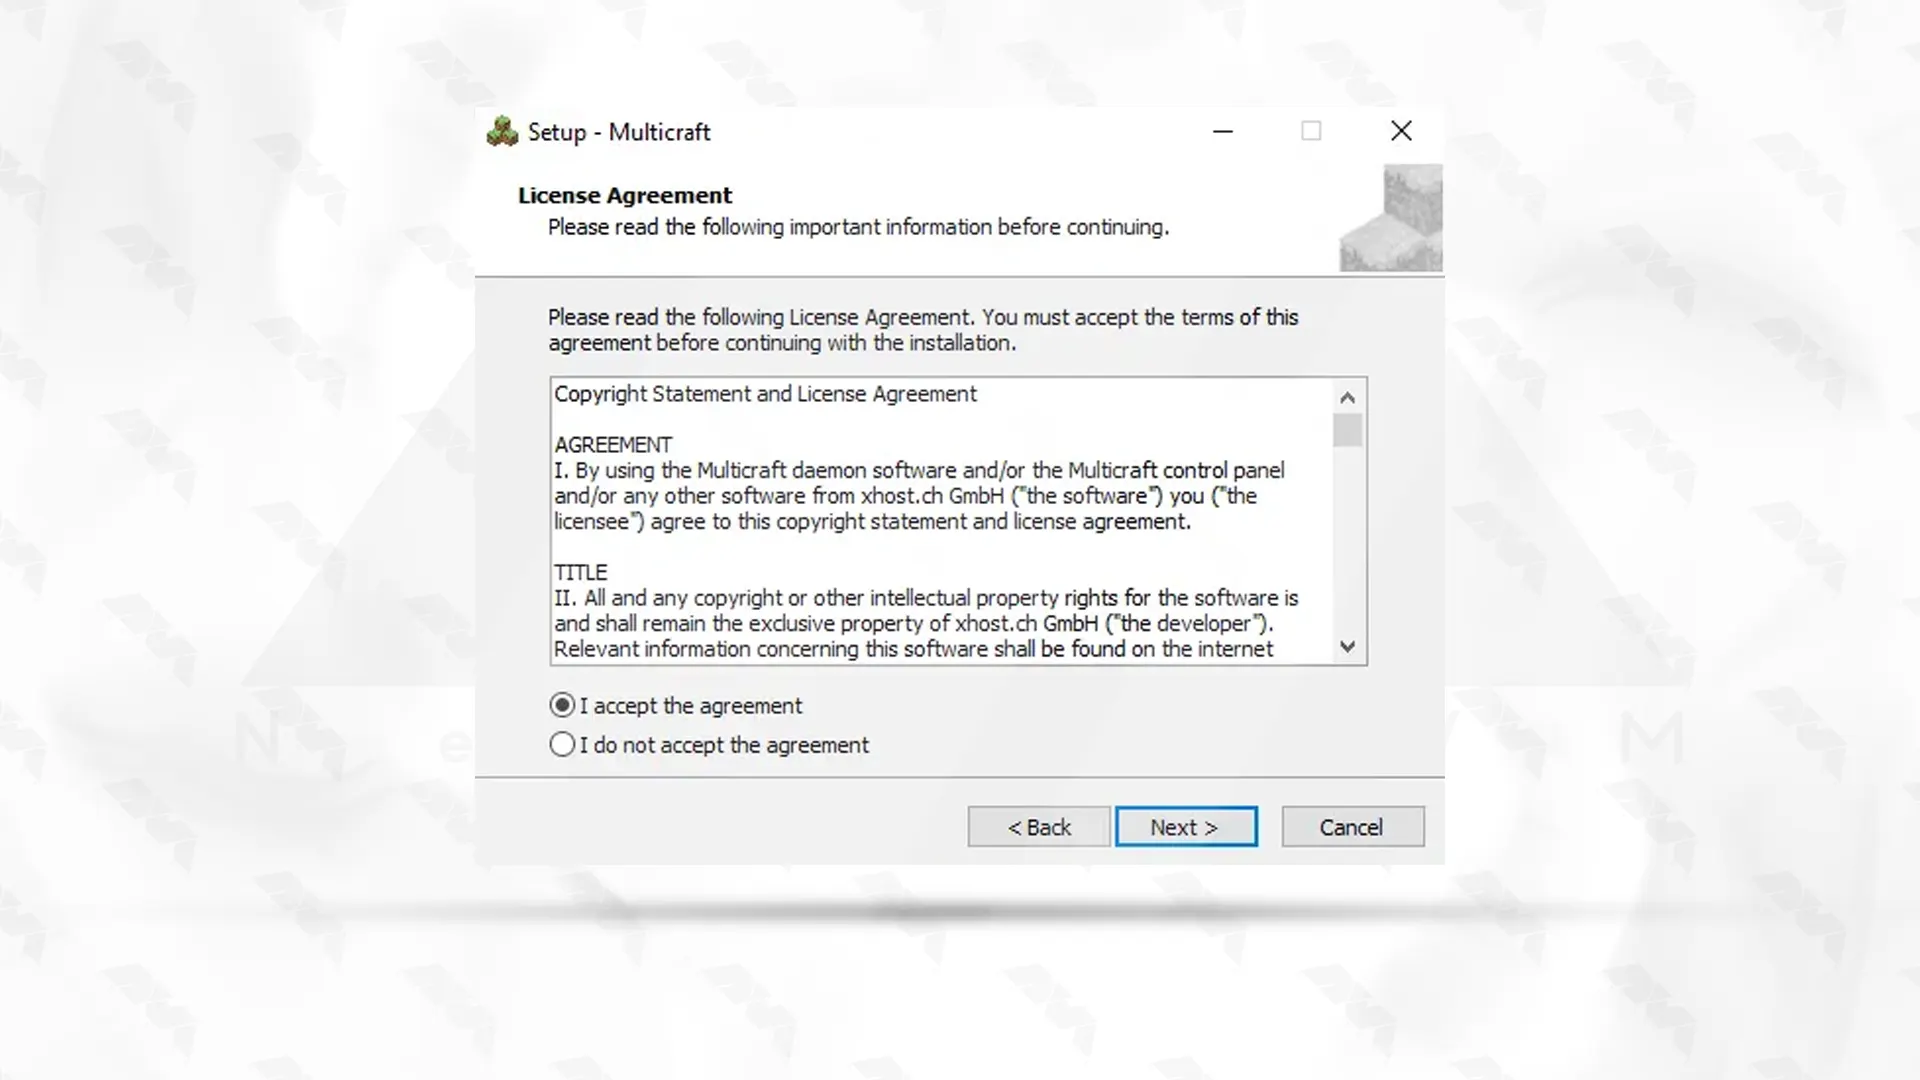
Click Next:
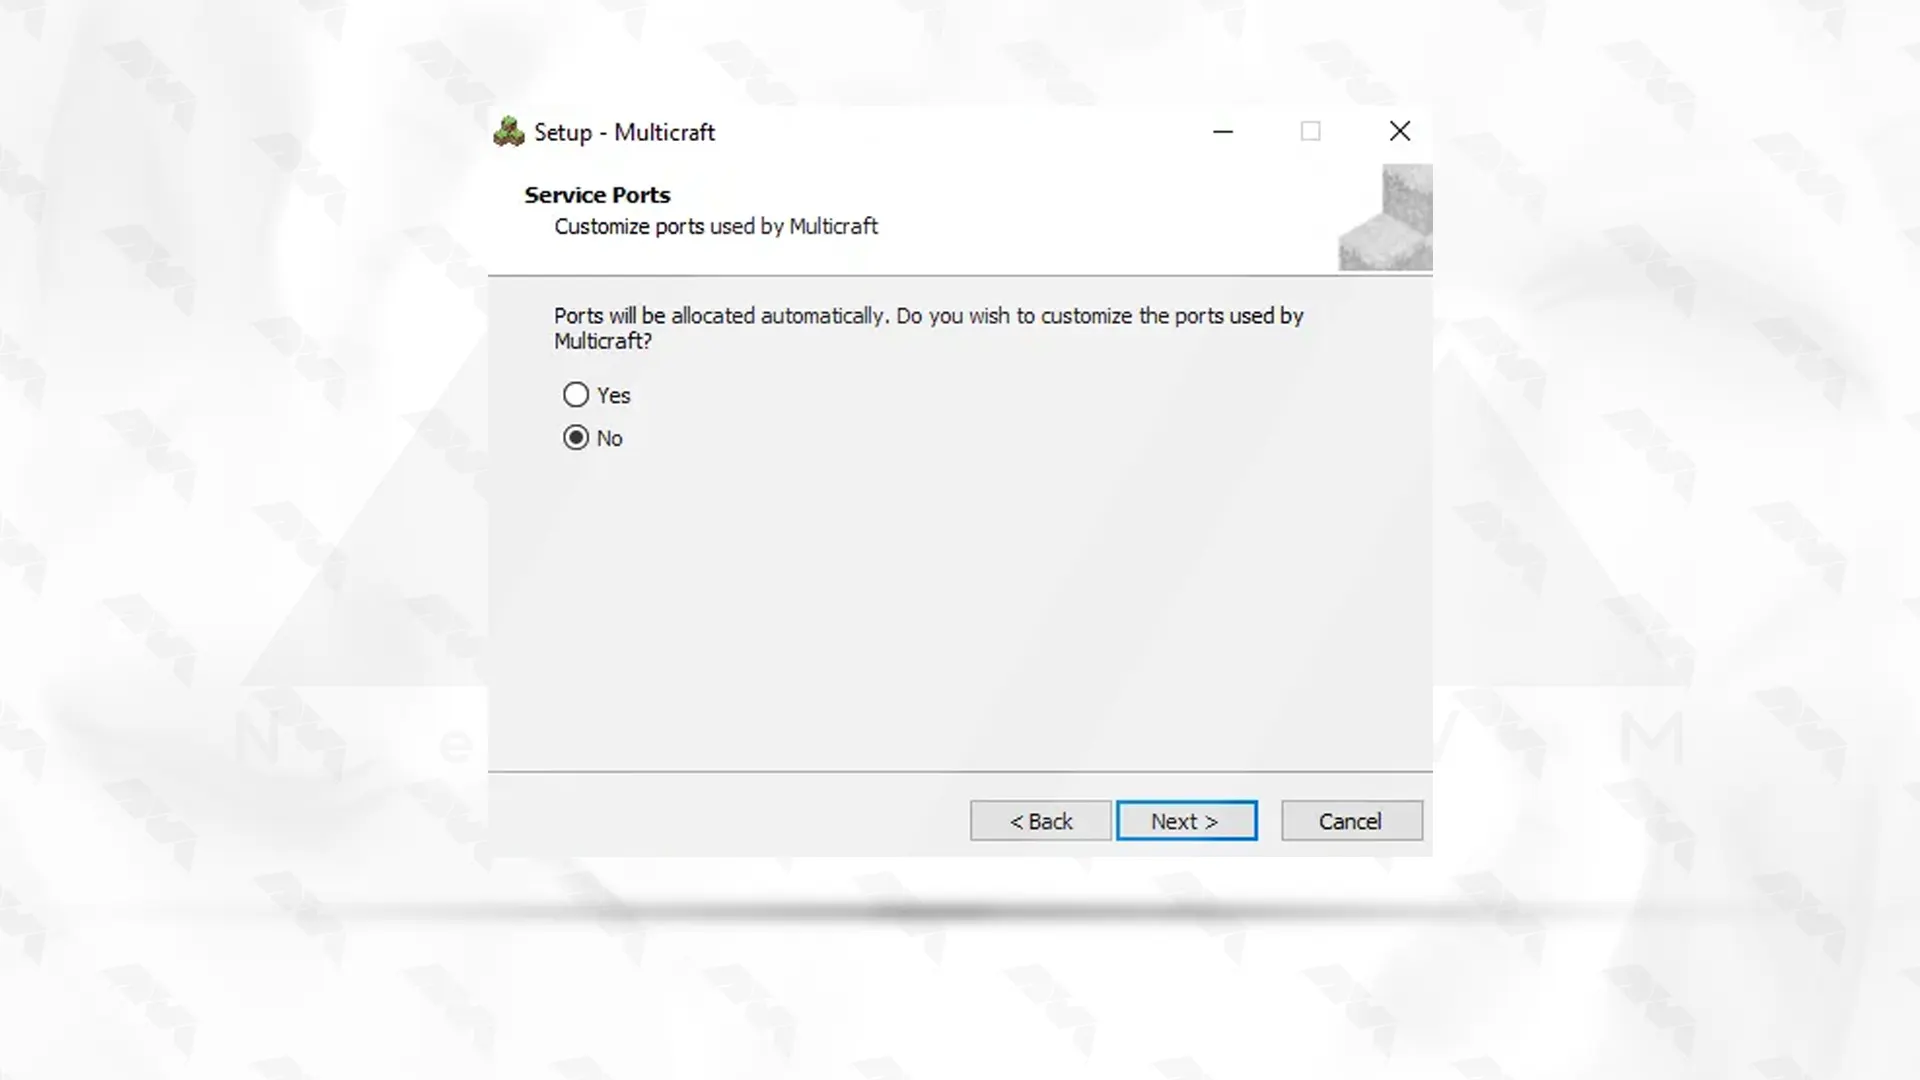
If you want to enter the desired port, click on Yes and select it. Otherwise, click No:
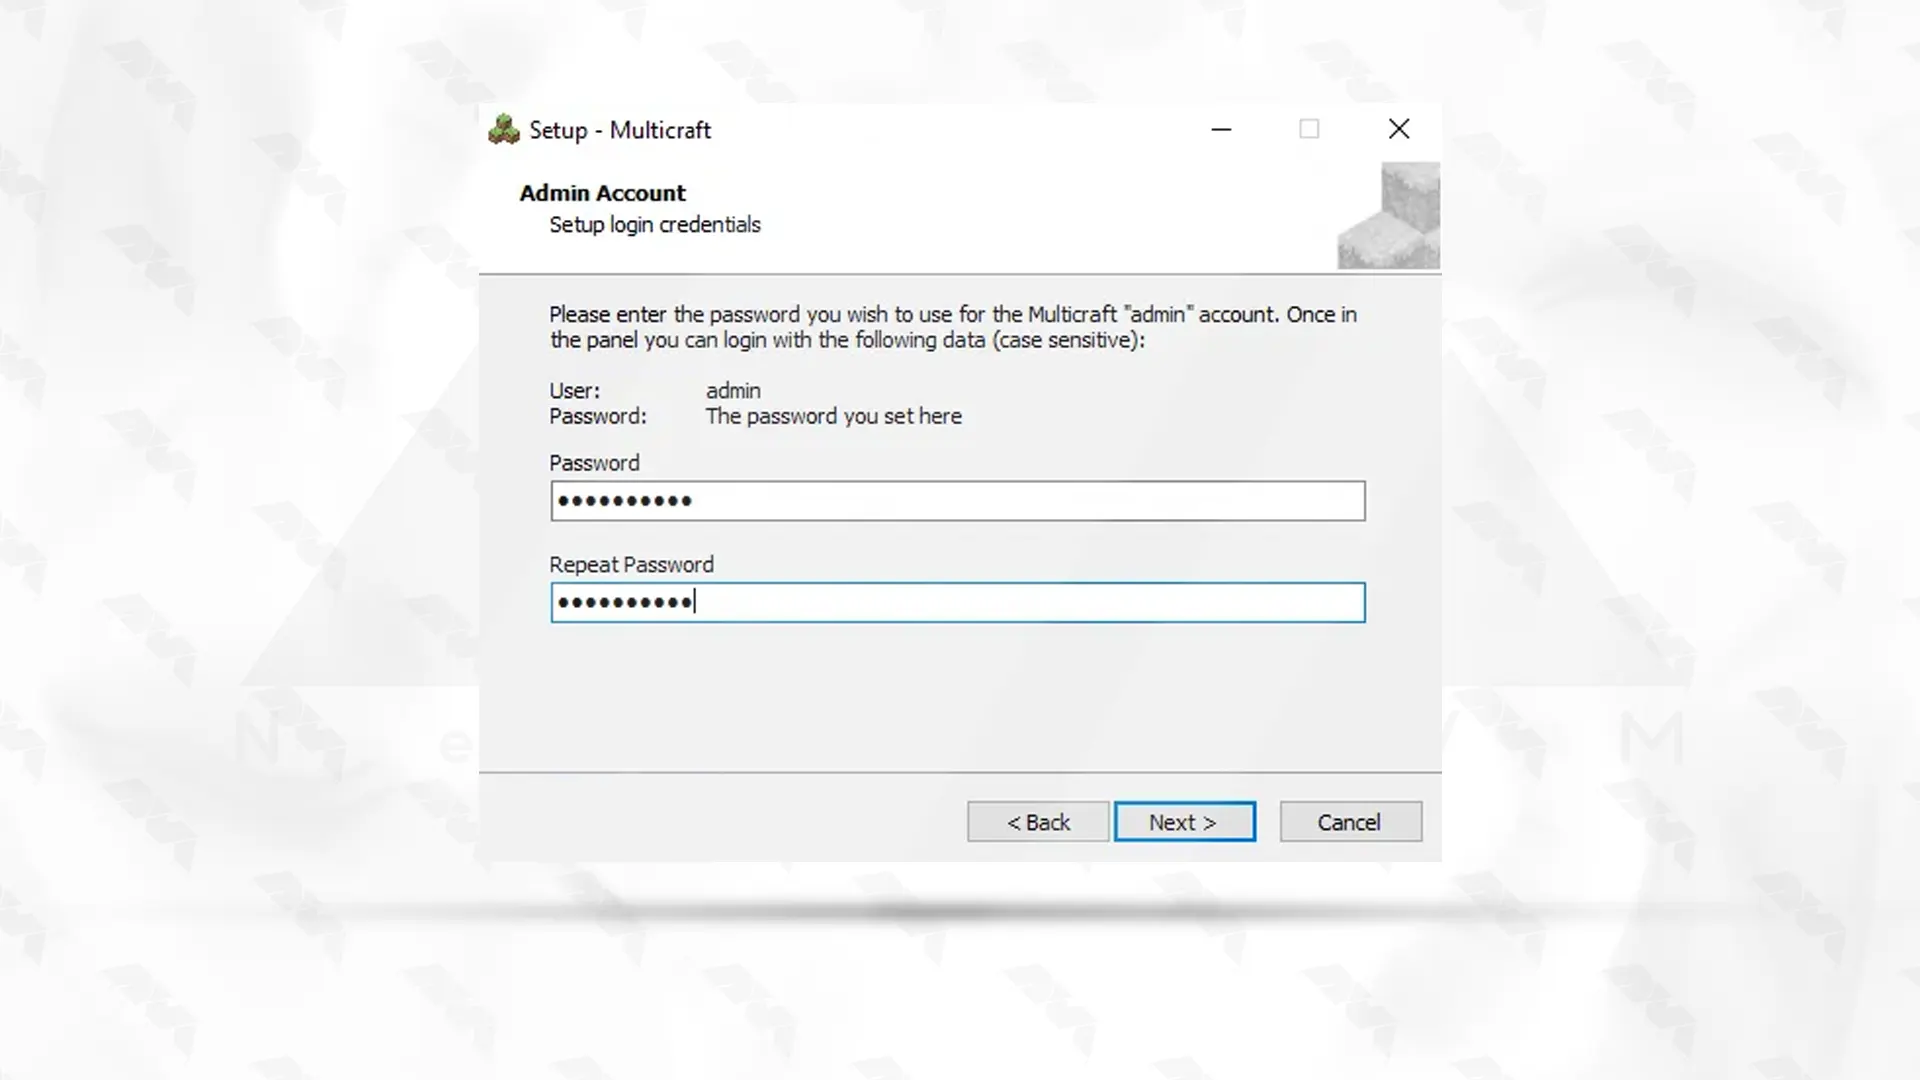
Enter the desired password in the first field and repeat it in the second field:
Enter the license key you purchased and click Next:
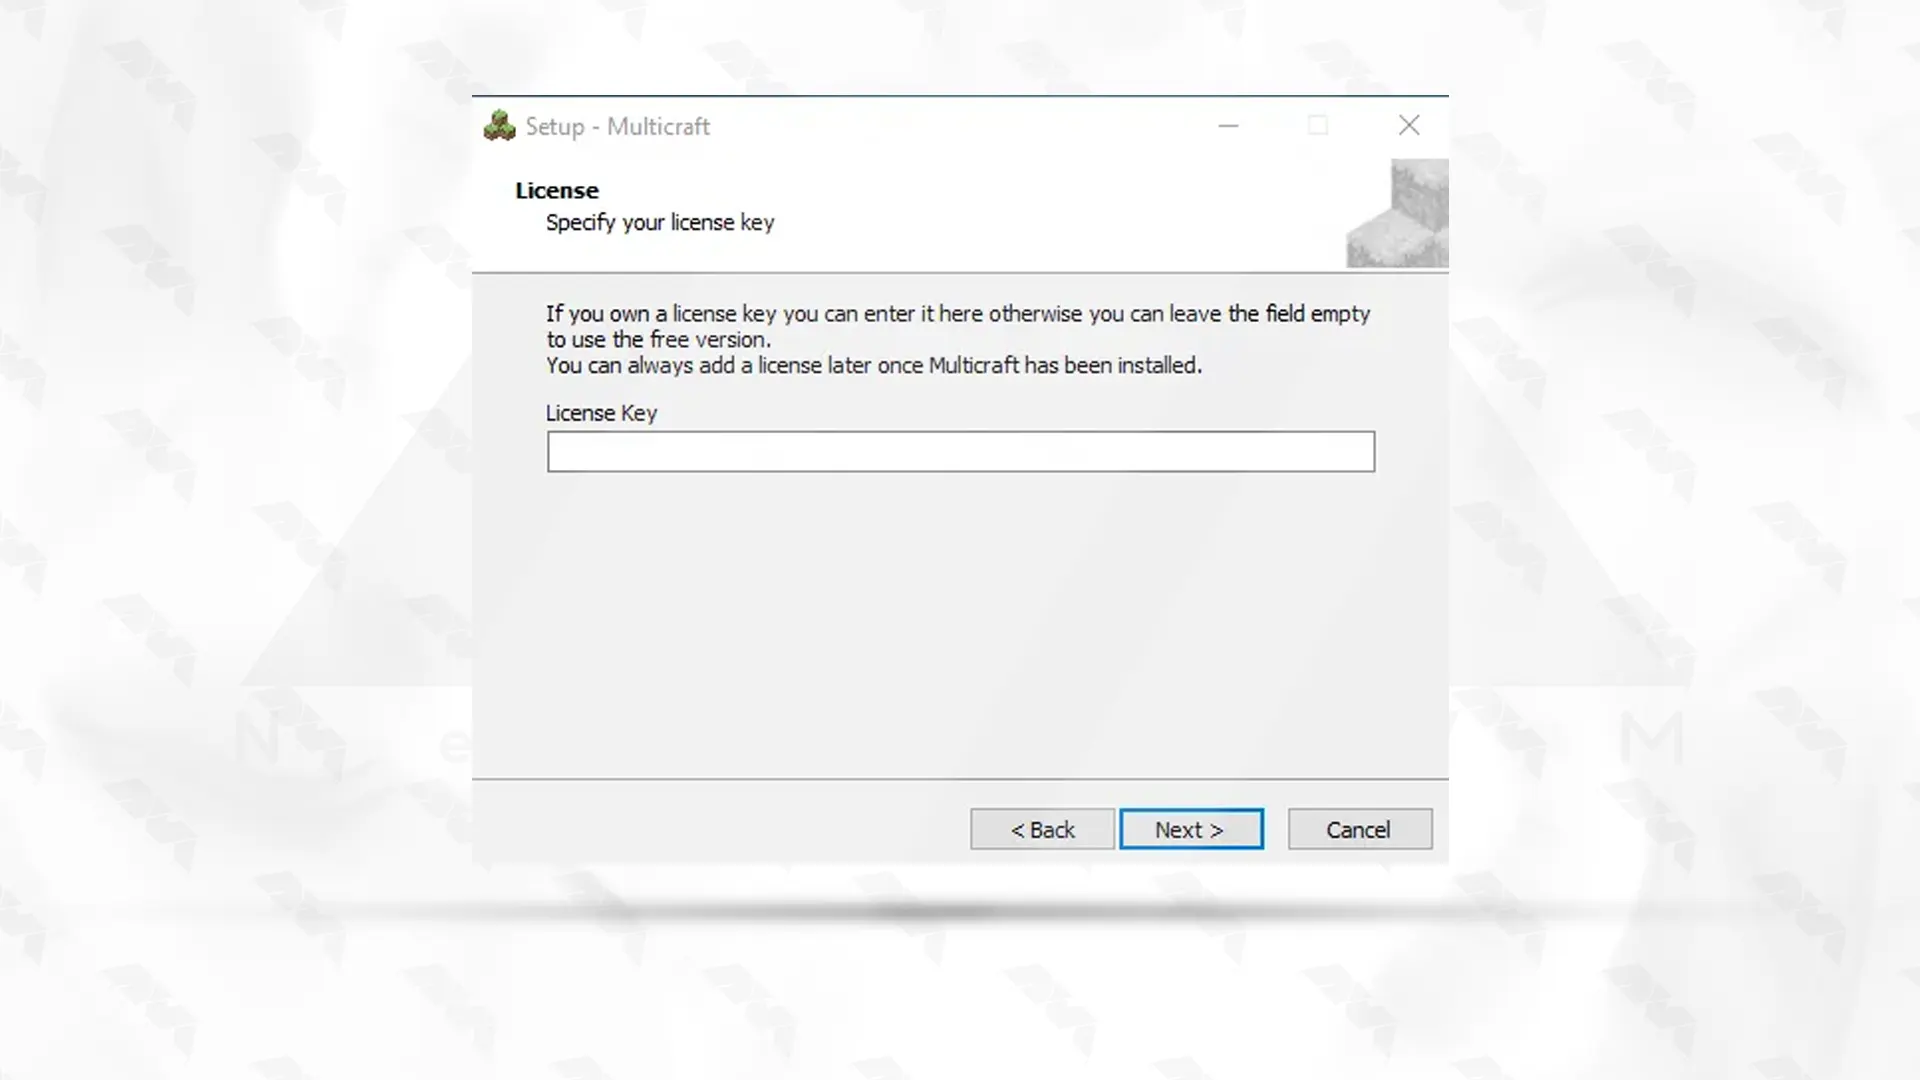
Click on Next:
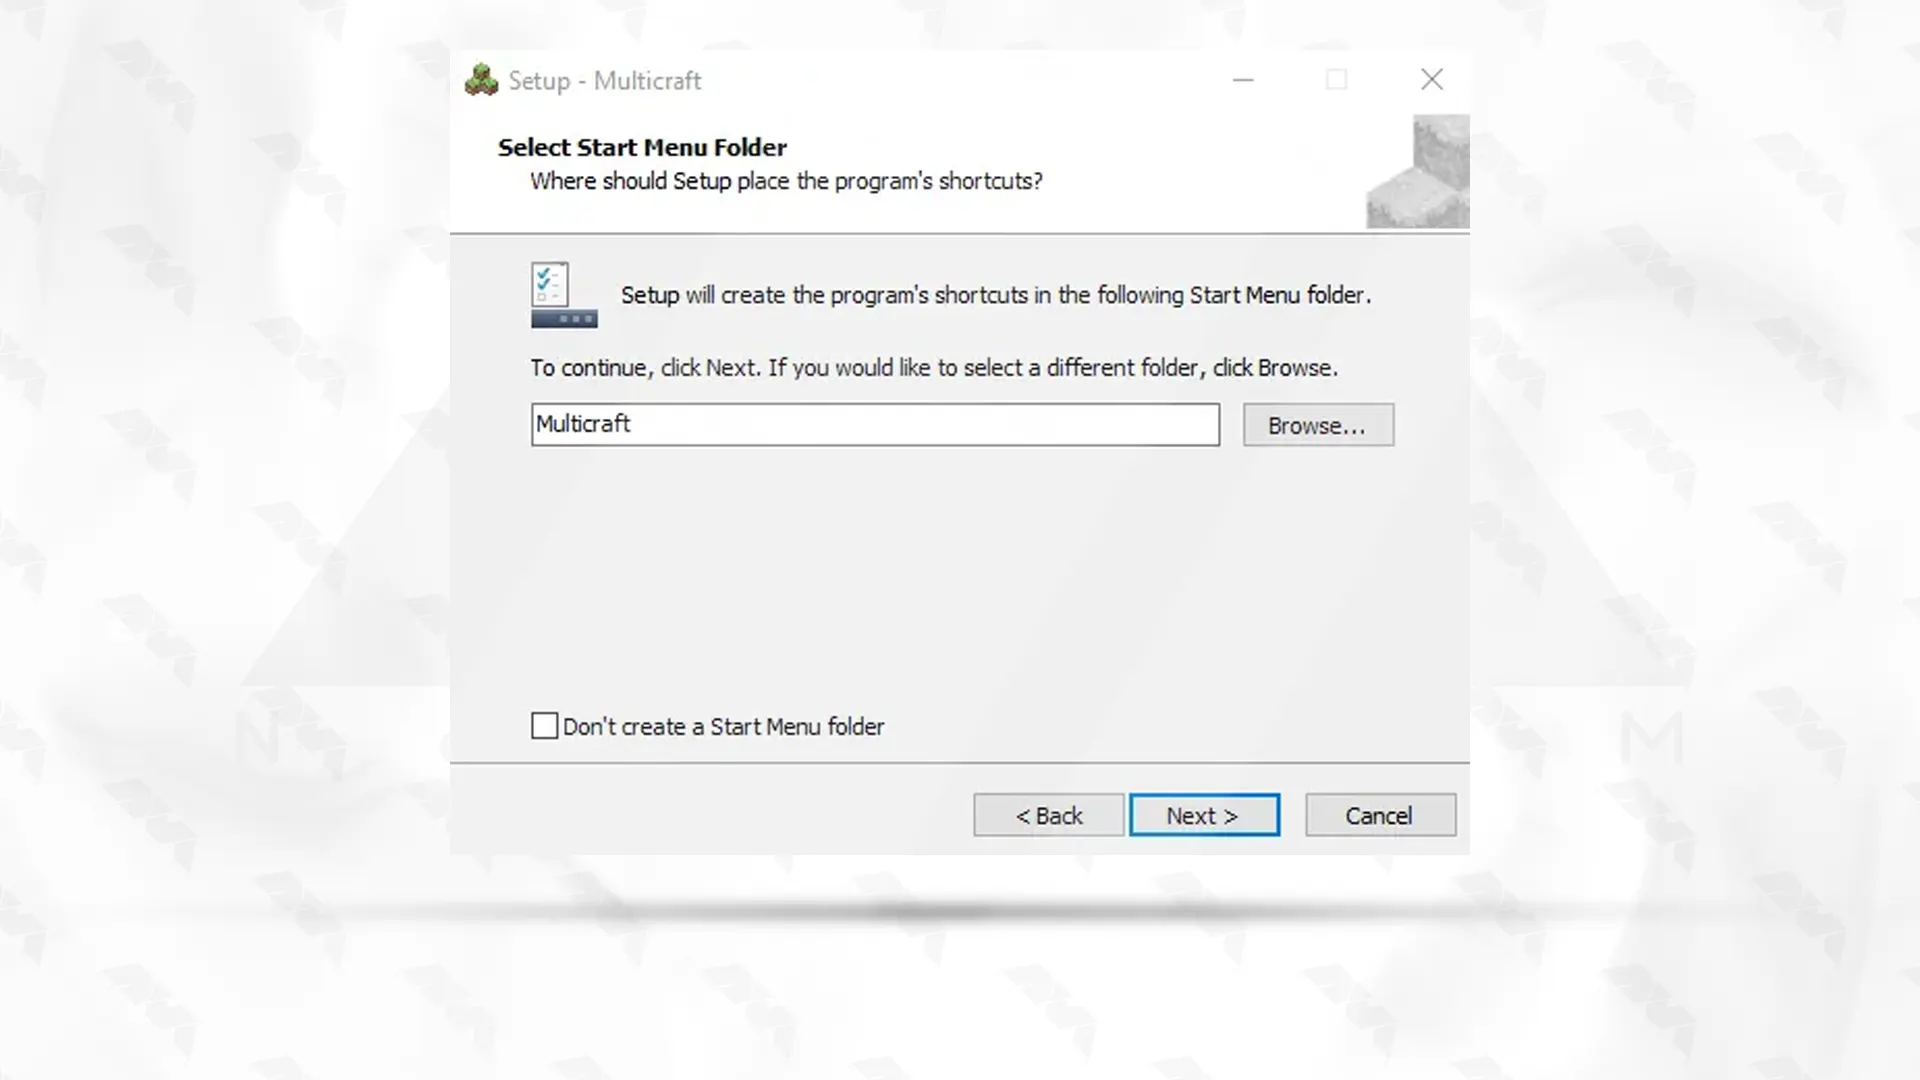
***
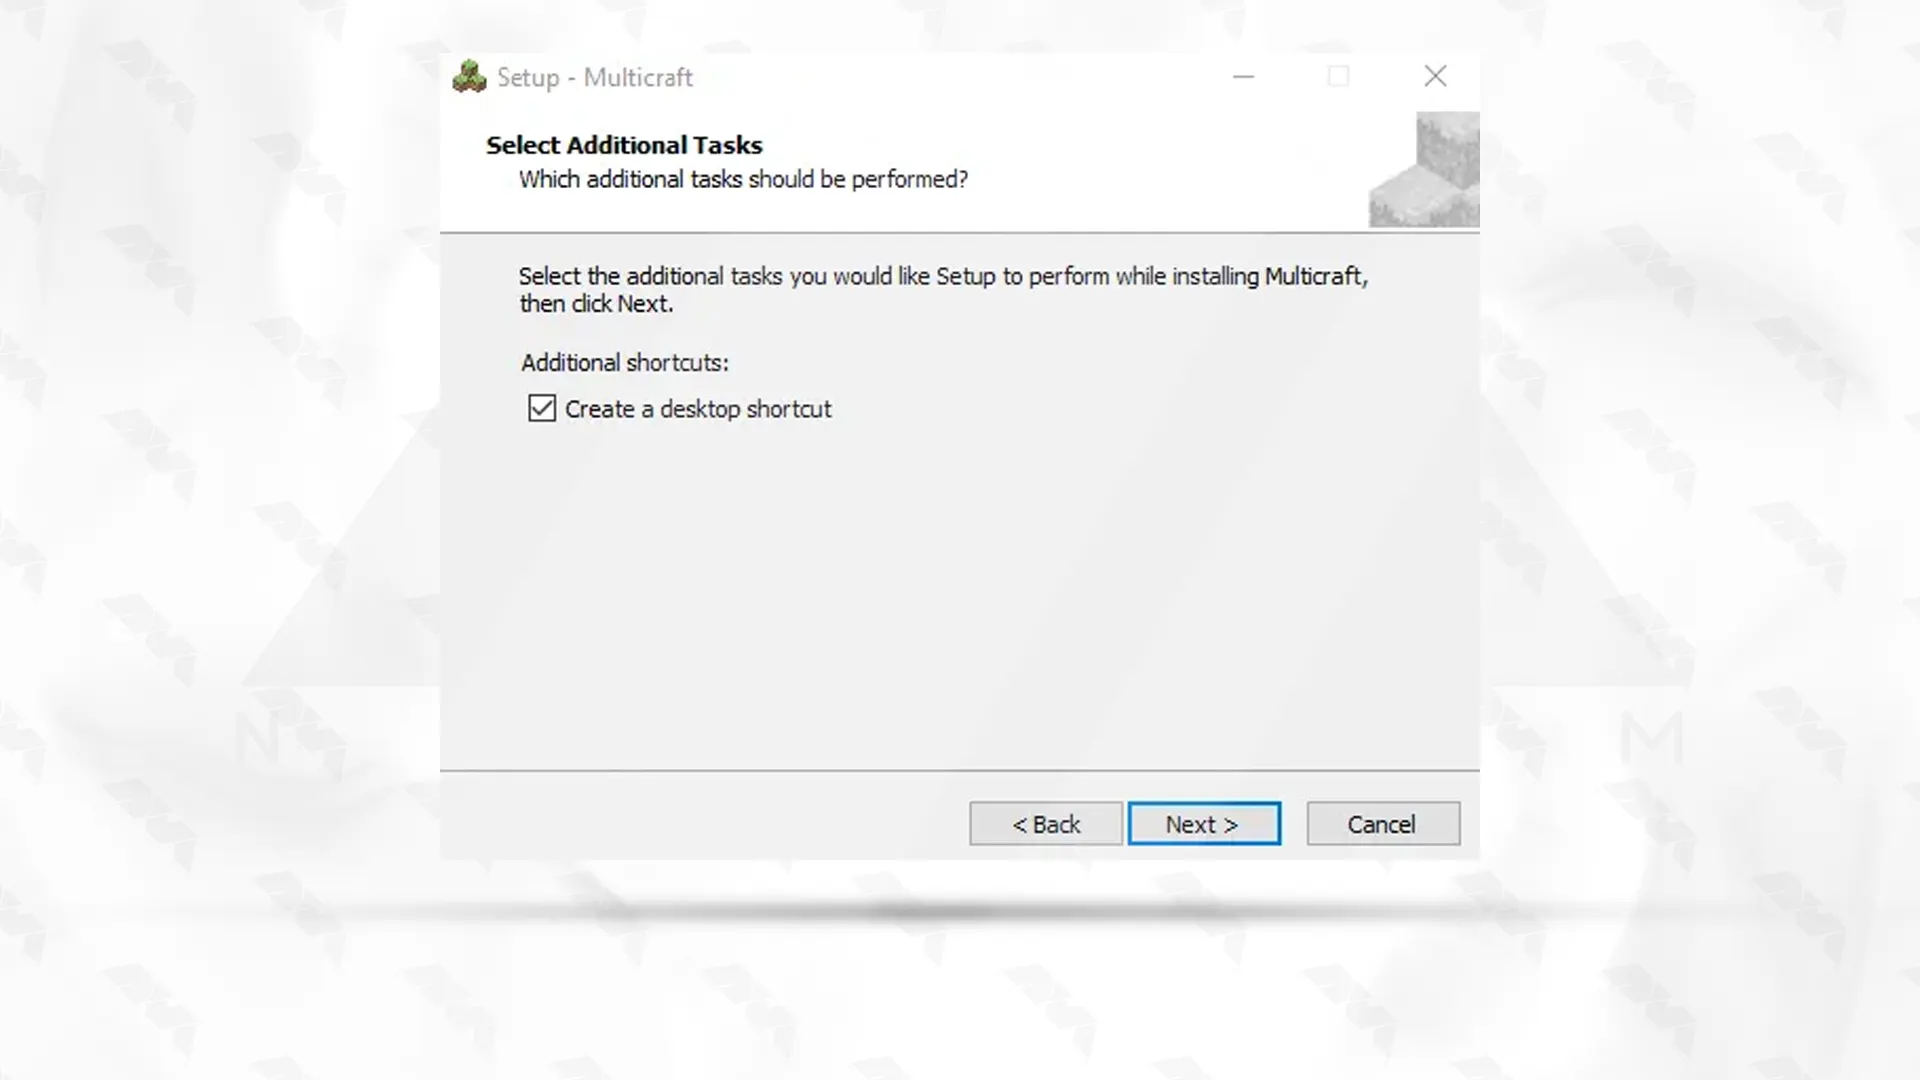
Click on Install to start Multicraft installation:
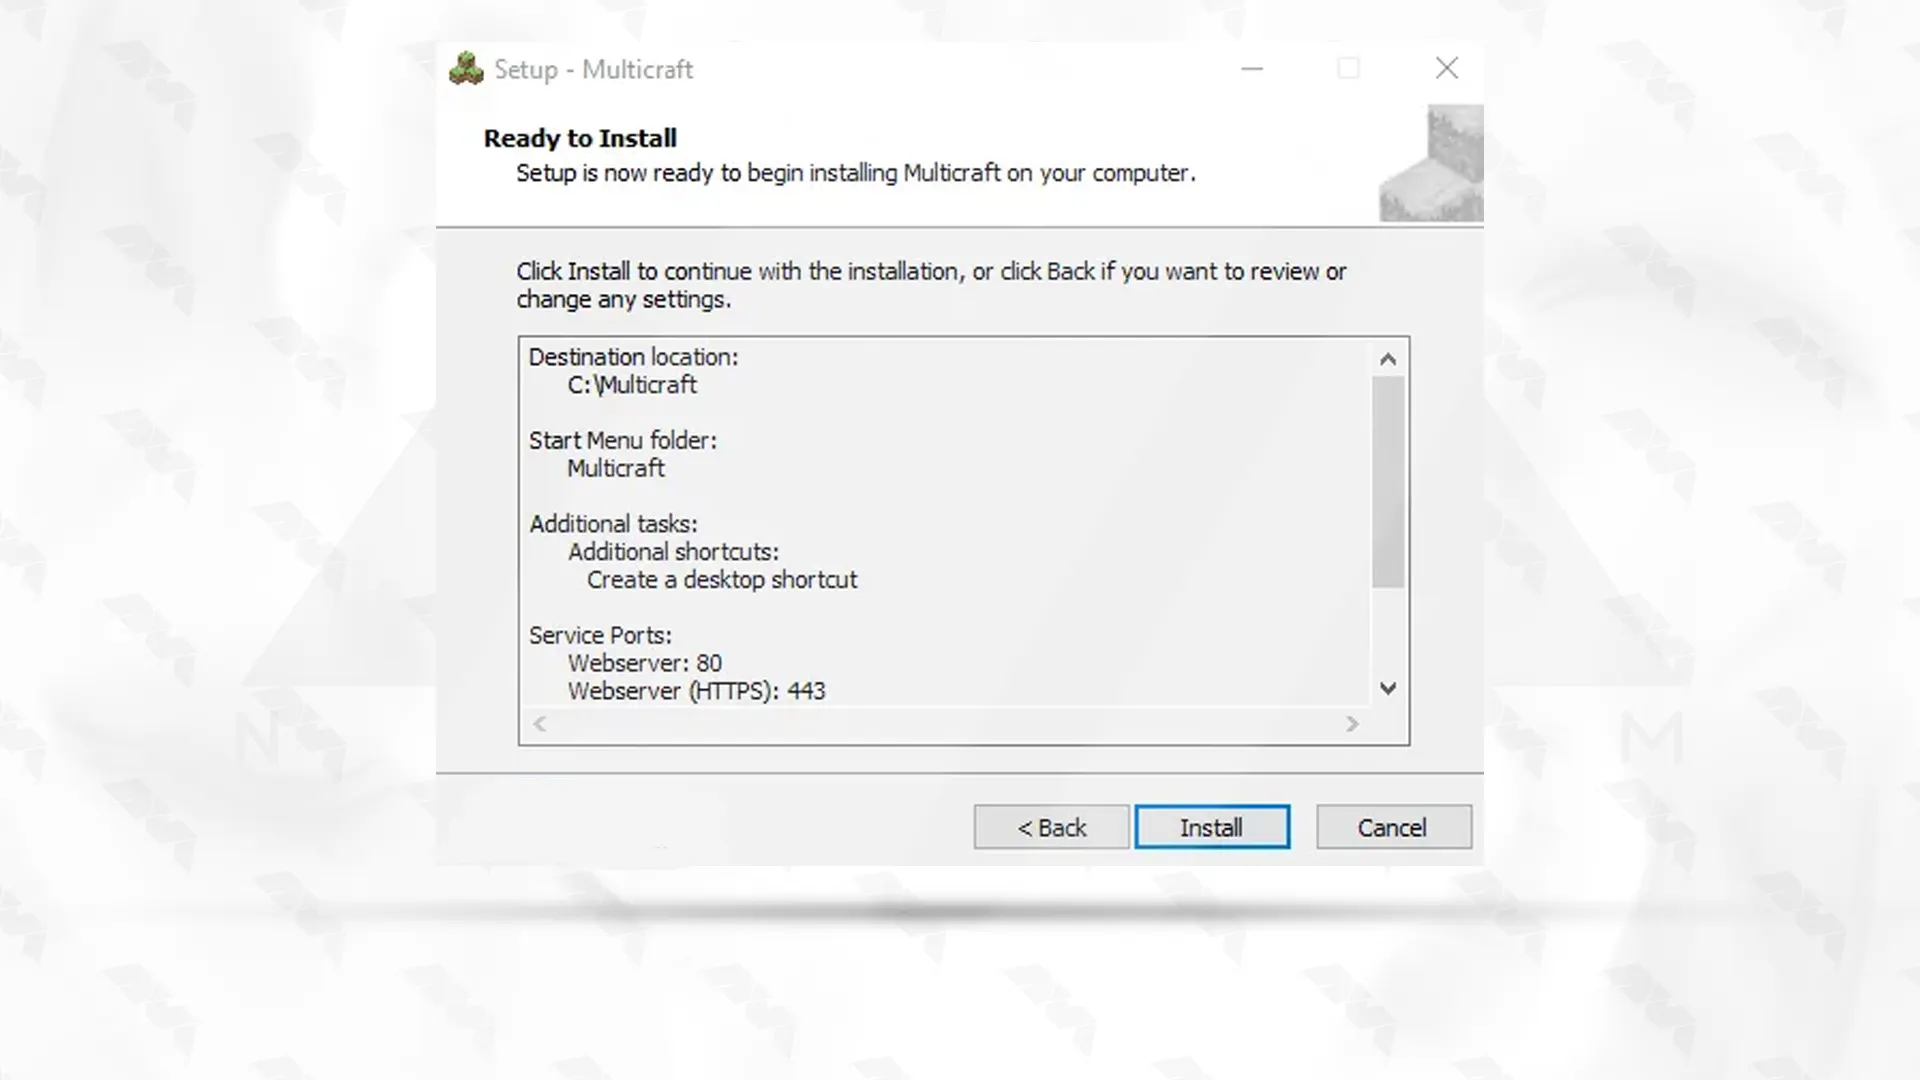
***
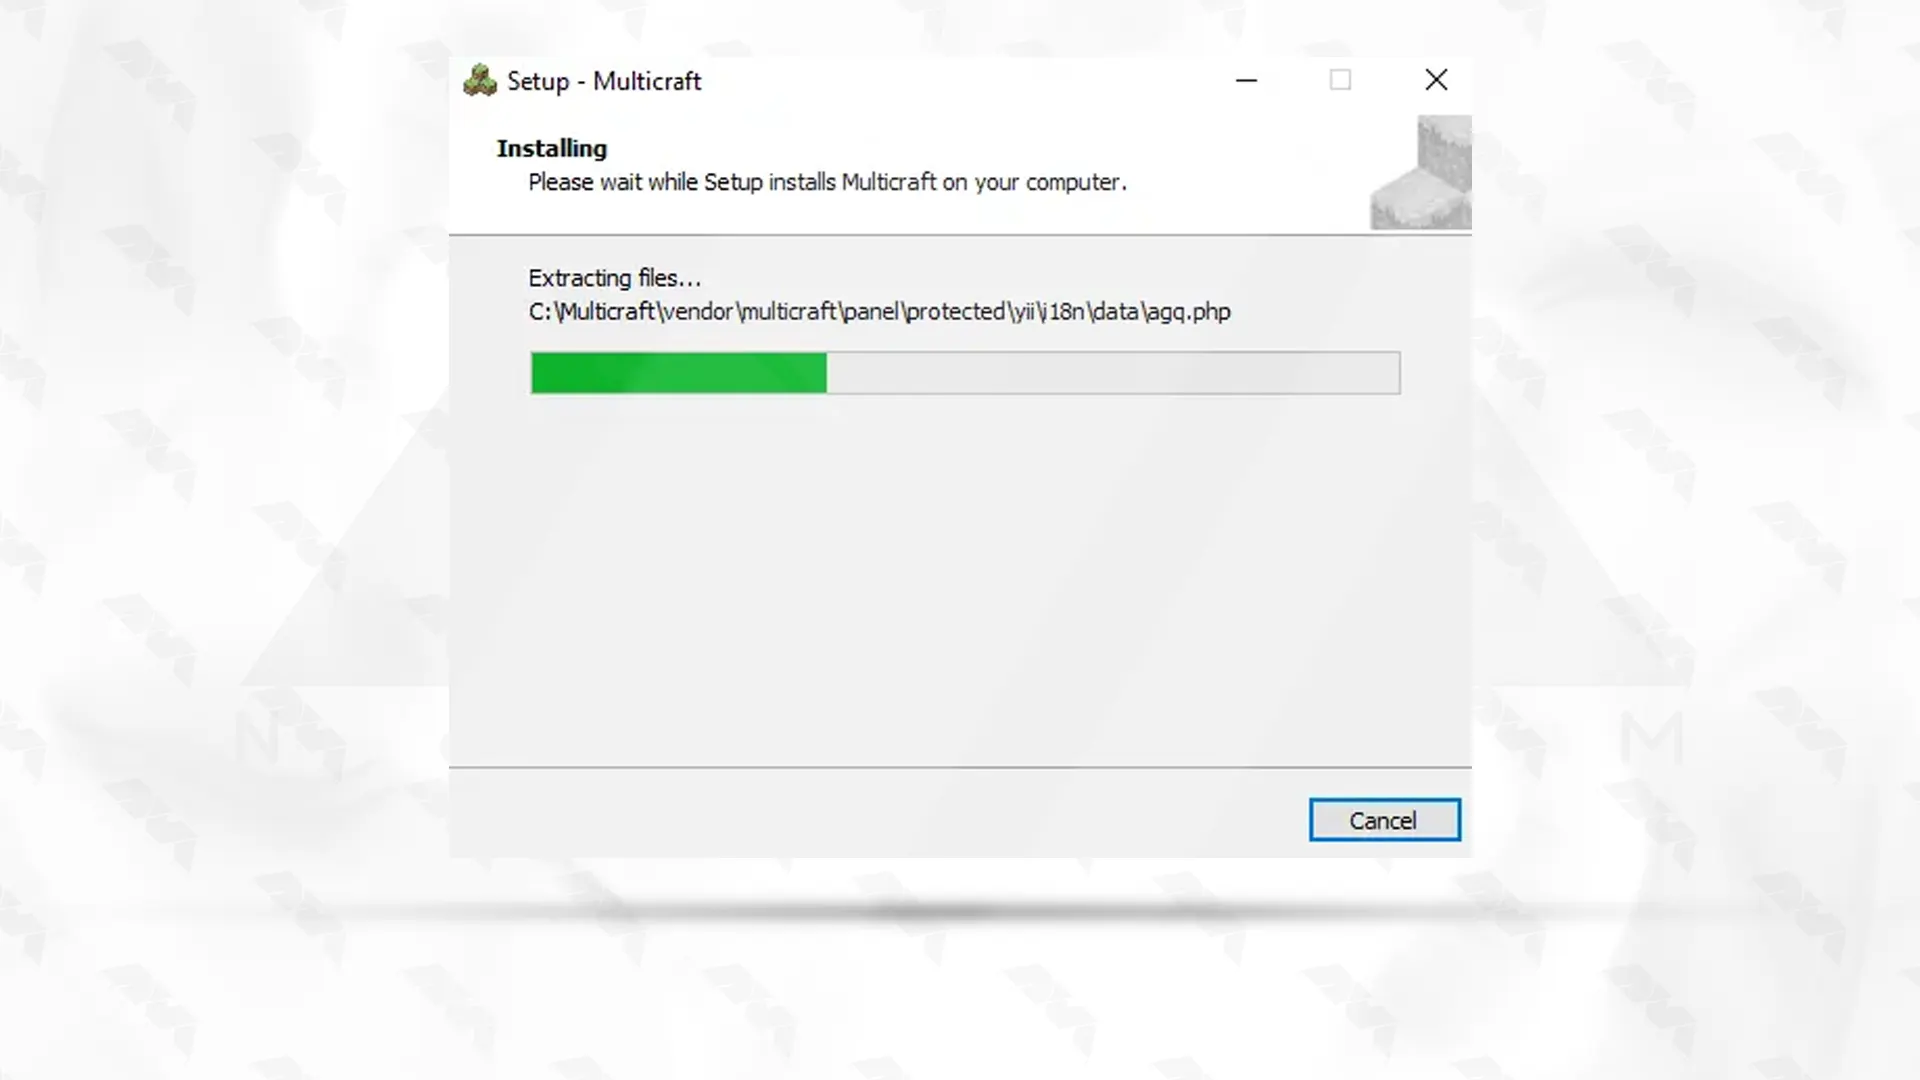
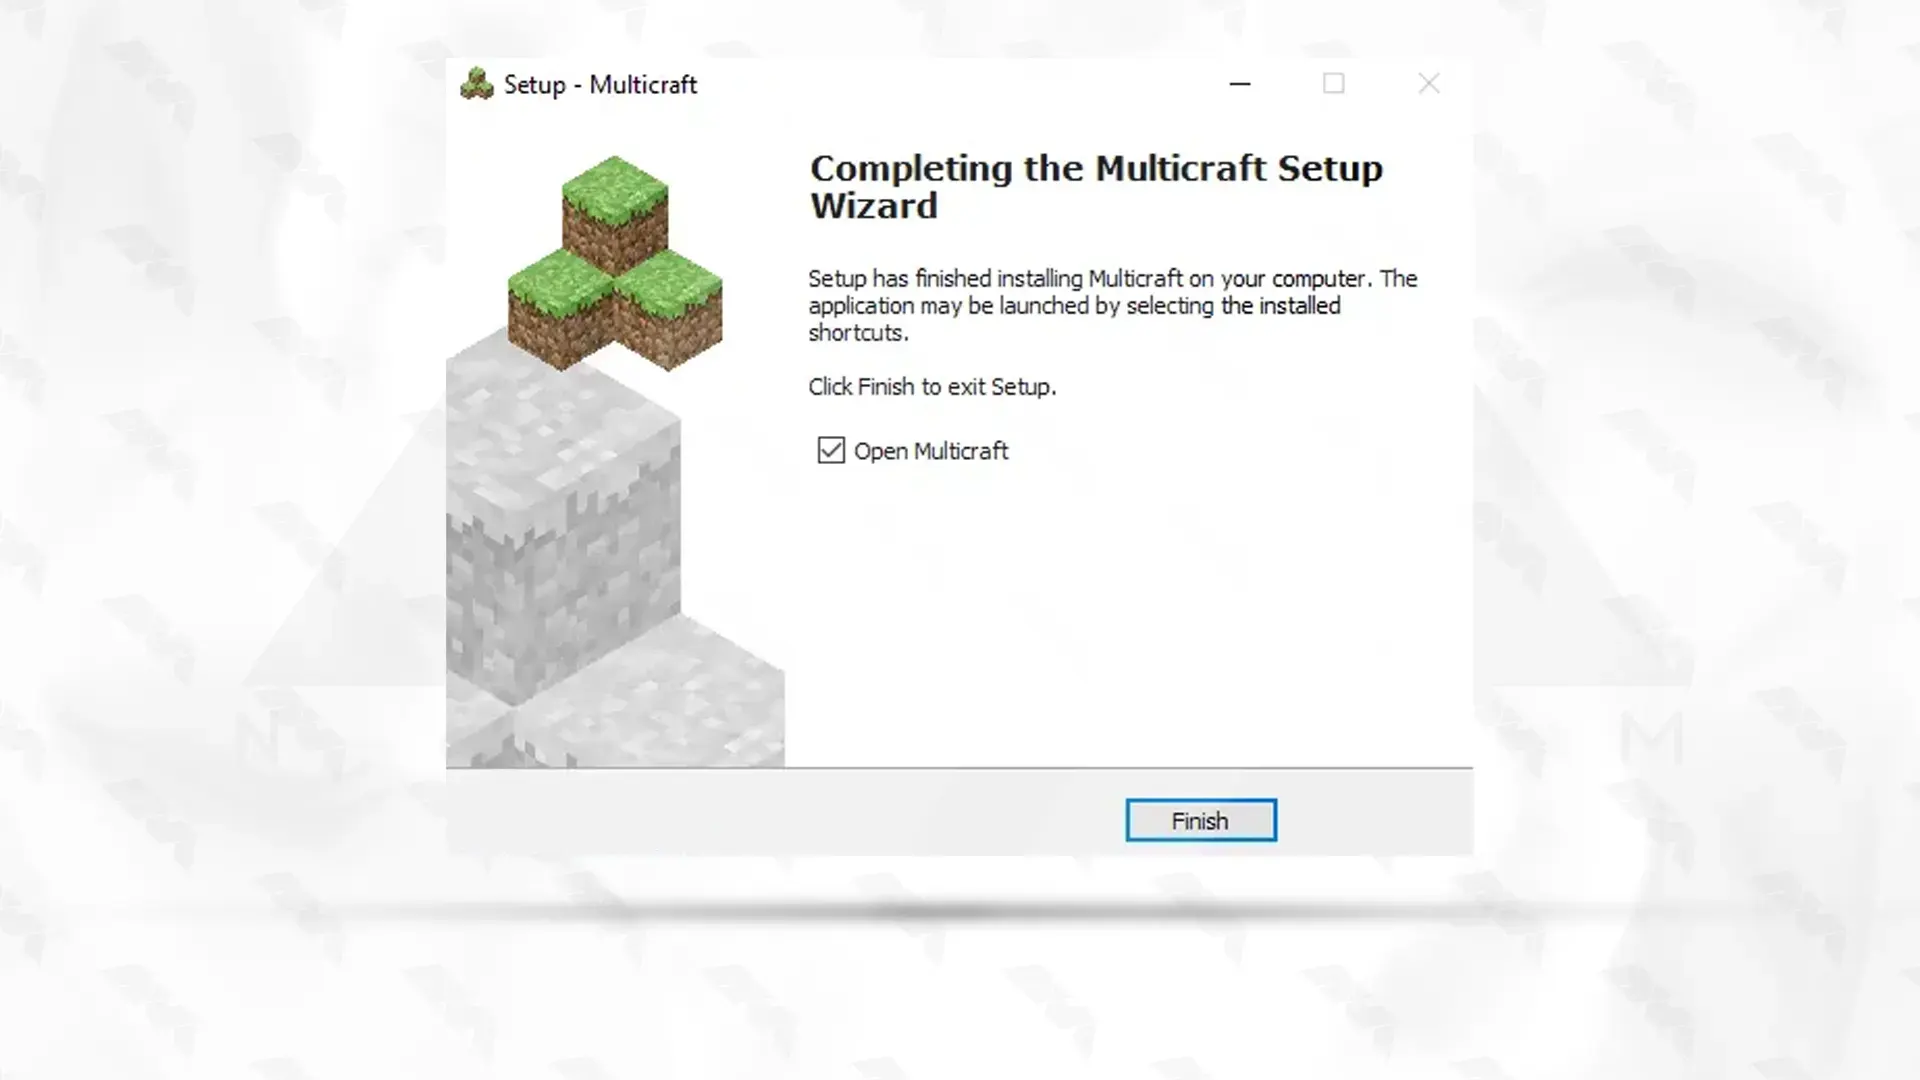
Finally, click on Finish:
After the installation is complete, open your web browser and enter the IP address of your VPS followed by “:8080“:
http://your-server-ip:8080
The Multicraft web installer will open in your browser. Follow the on-screen instructions to setup your Multicraft server:
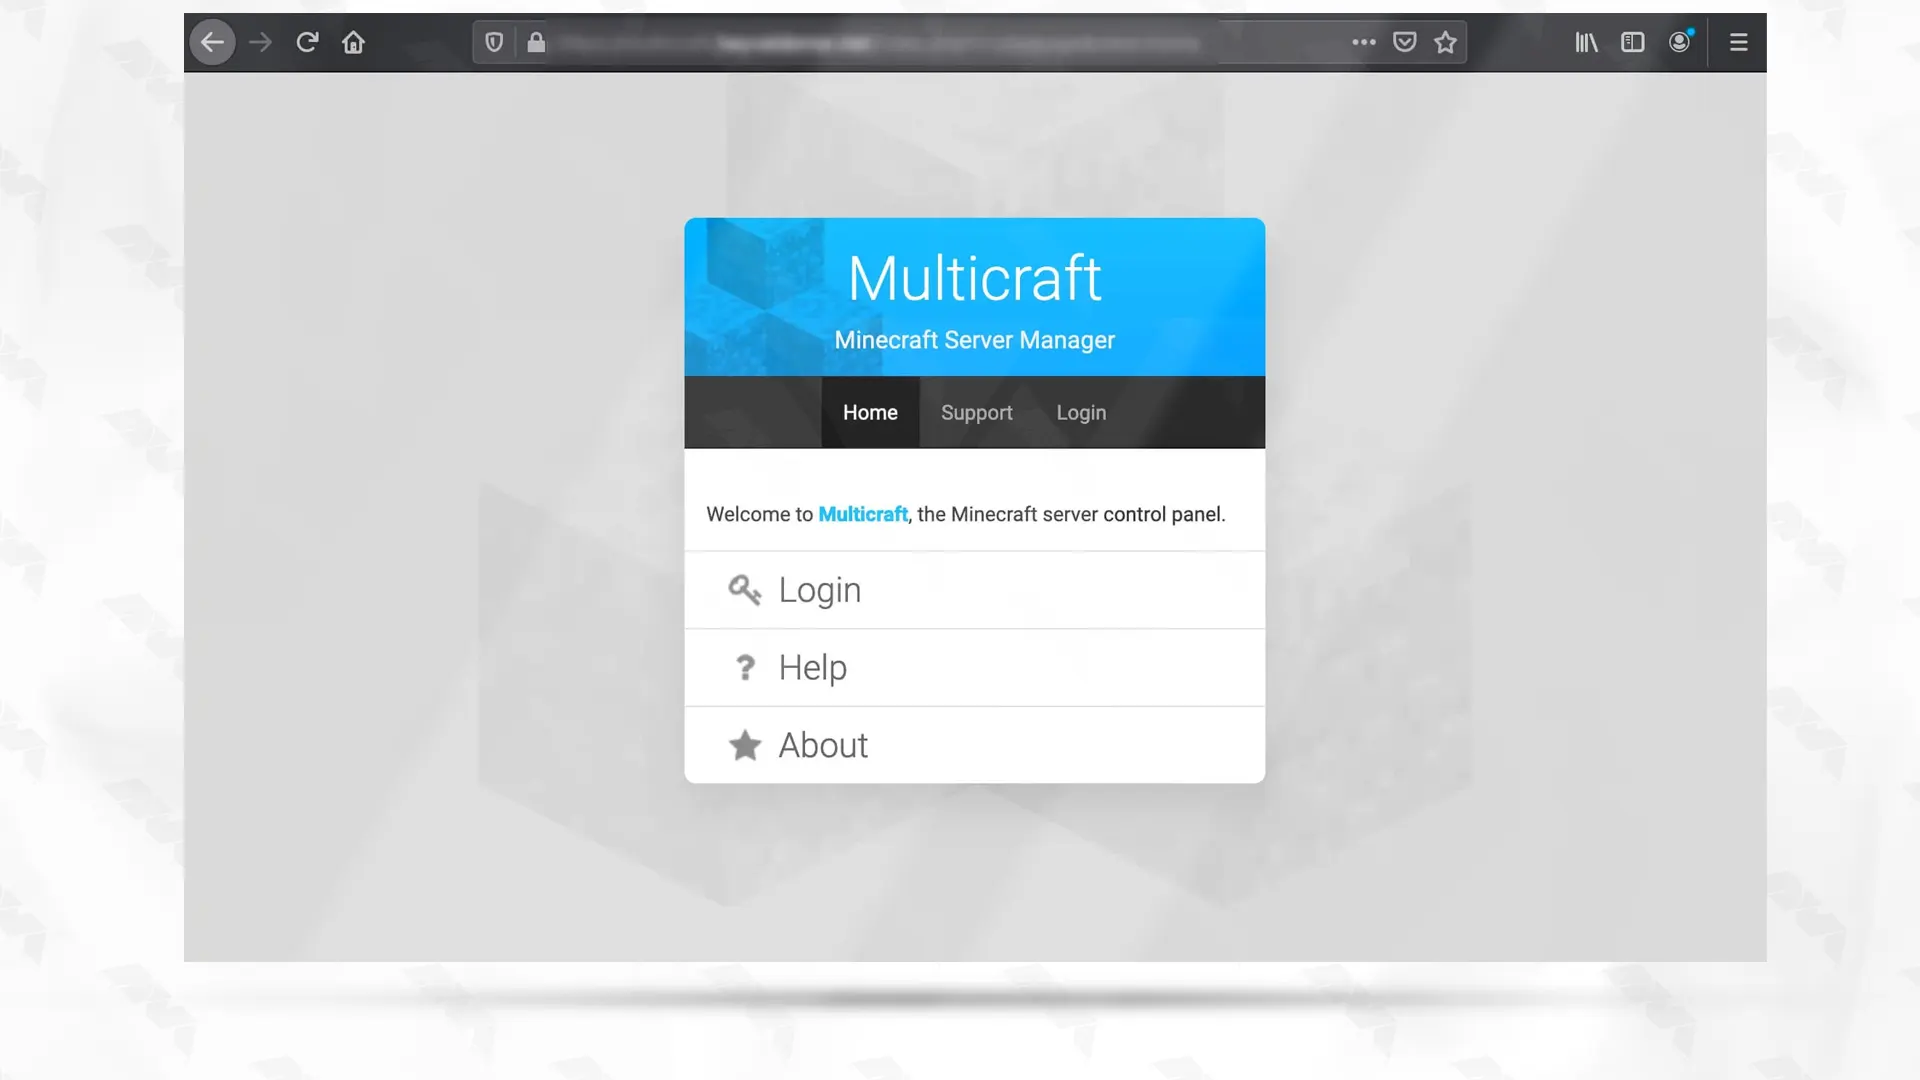
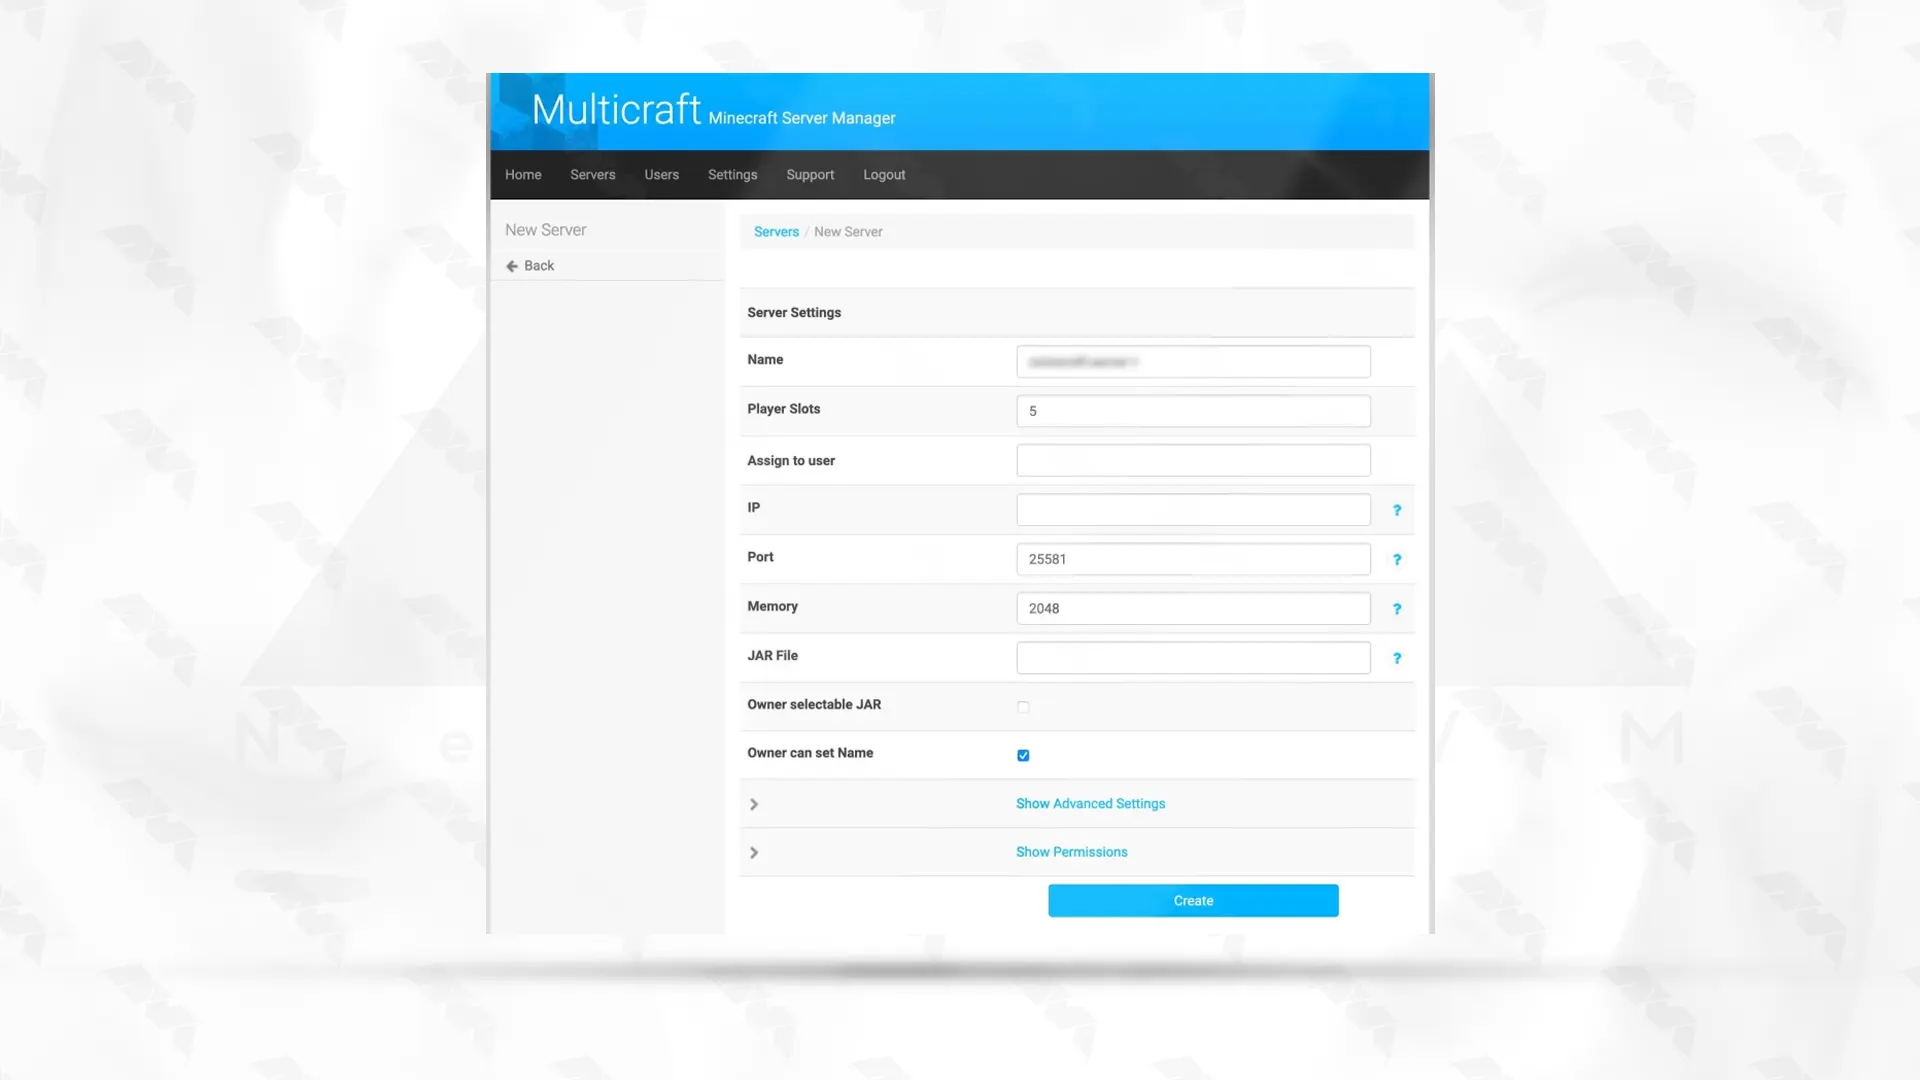
To create a new server and start working, it is necessary to click on Create Server from the Servers menu:
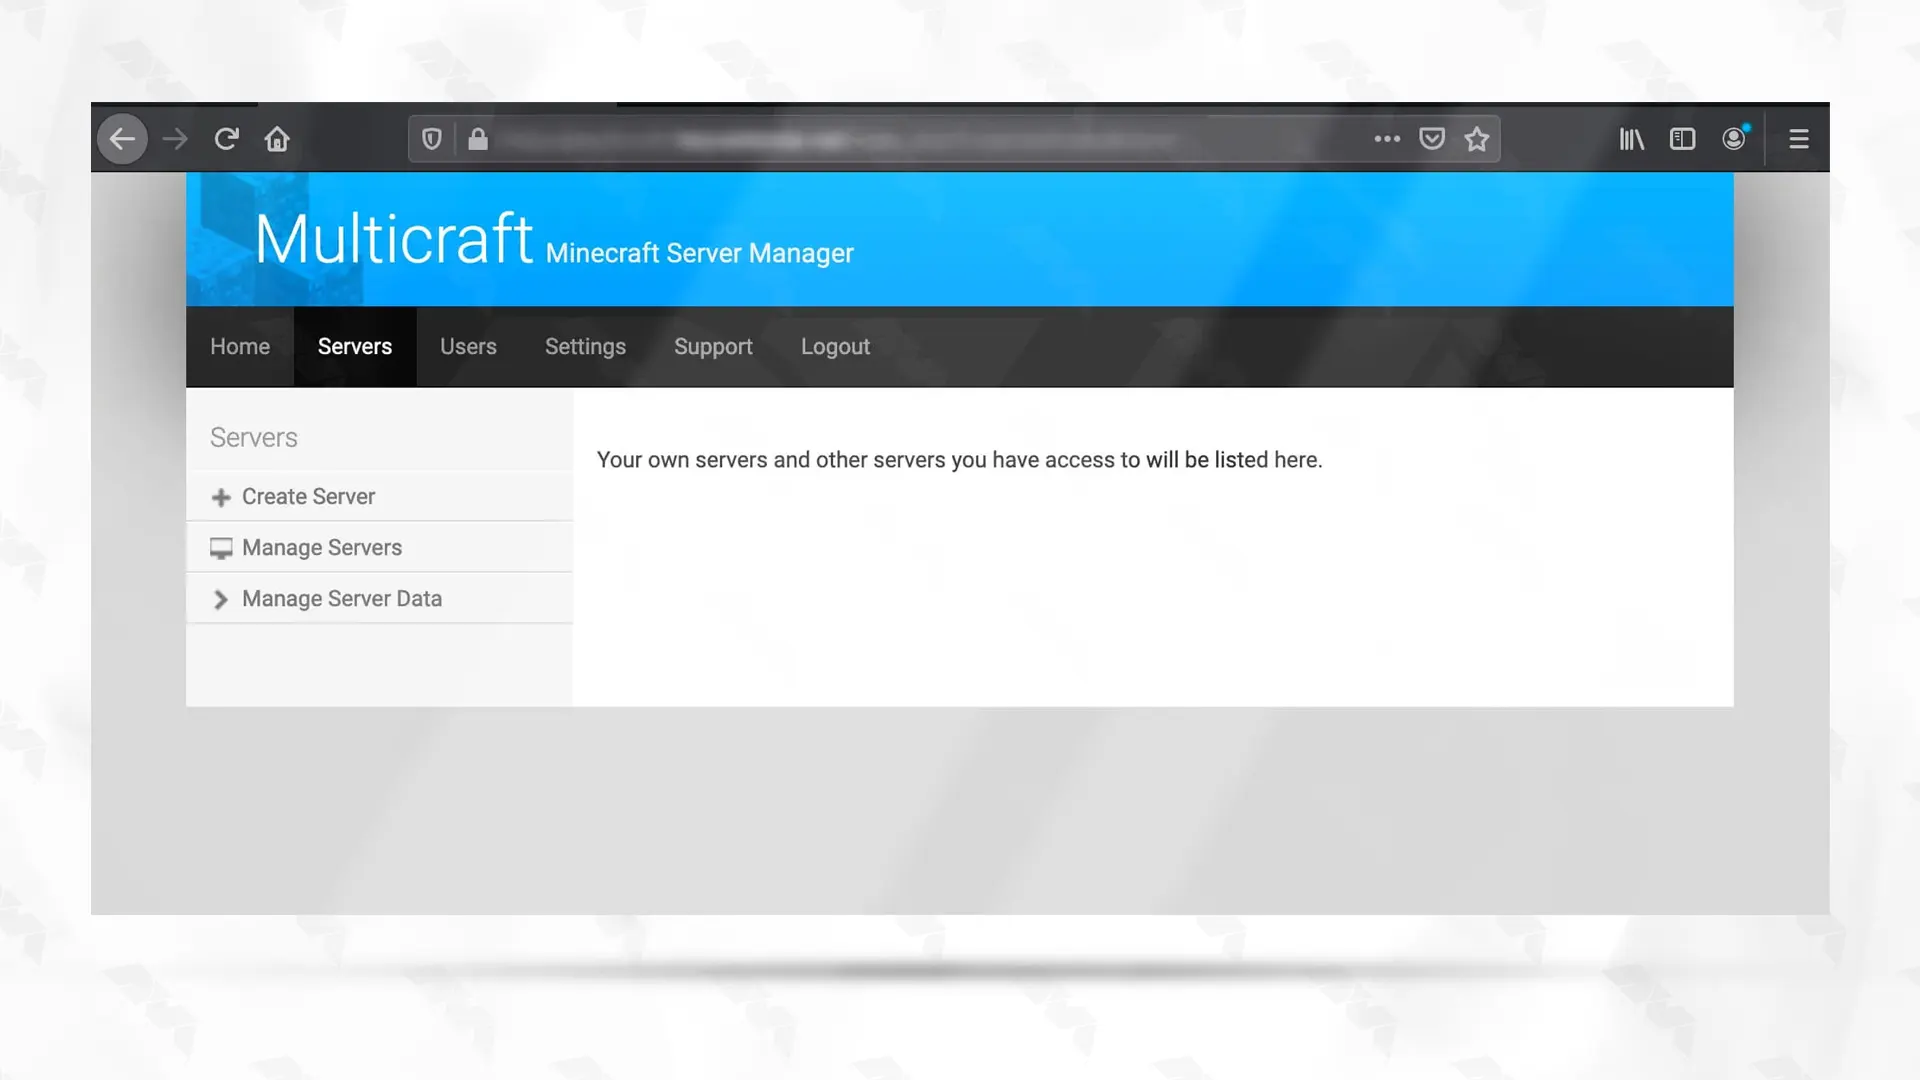
In the next section, you need to configure your server as shown below:
“Name”: The name of the new server
“Slots Player”: Maximum number of slots for players
“Port”: The port required by the client to access the Minecraft server must be specified. (Port 25565 is used by default.
“Memory”: Maximum allowed RAM size
Finally, click on the “Create” button.
To troubleshoot the setup of Multicraft on a Windows, you can follow these steps:
Verify System Requirements:
Install Required Software:
Firewall and Network Configuration:
Verify Installation and Setup Steps:
Test Multicraft Functionality:
In, installing Multicraft on a Windows provides a user-friendly control panel for managing a Minecraft server. It allows for easy configuration, monitoring, and control of various server settings. The installation process involves downloading and running the setup file, following step-by-step instructions, and providing necessary information. Once installed, Multicraft enhances the server management experience and enables efficient administration of Minecraft servers on a Windows platform.
How useful was this post?
Click on a star to rate it!
Average rating 5 / 5. Vote count: 1
No votes so far! Be the first to rate this post.
 Tags
Tags

Advantages of Windows VPS (Virtual Private Server) are countless. There is a world of benefits for i...


 Tags
Tags

Nowadays, businesses are constantly seeking ways to stand out from the competition and enhance their...


 Tags
Tags
What is your opinion about this Blog?


