


Installing Windows on a Mac can allow users to use both operating systems on one device. This guide aims to provide a comprehensive step-by-step process to install Windows on a Mac, allowing users to take advantage of both Mac OS and Windows applications without needing separate devices. Whether you’re a student, professional, or an avid gamer, this guide will help you seamlessly run Windows on your Mac.
Before proceeding with the installation, it is important to ensure that your Mac meets the following hardware requirements:
– Intel-based Mac.
– At least 64GB of free Disk Space.
– A minimum of 8GB of RAM.
– A stable internet connection is needed to download and install Windows and related drivers.
If you want to use Windows Server, we recommend you to use the various Windows VPS plans offered on our website and enjoy the high quality of this service.
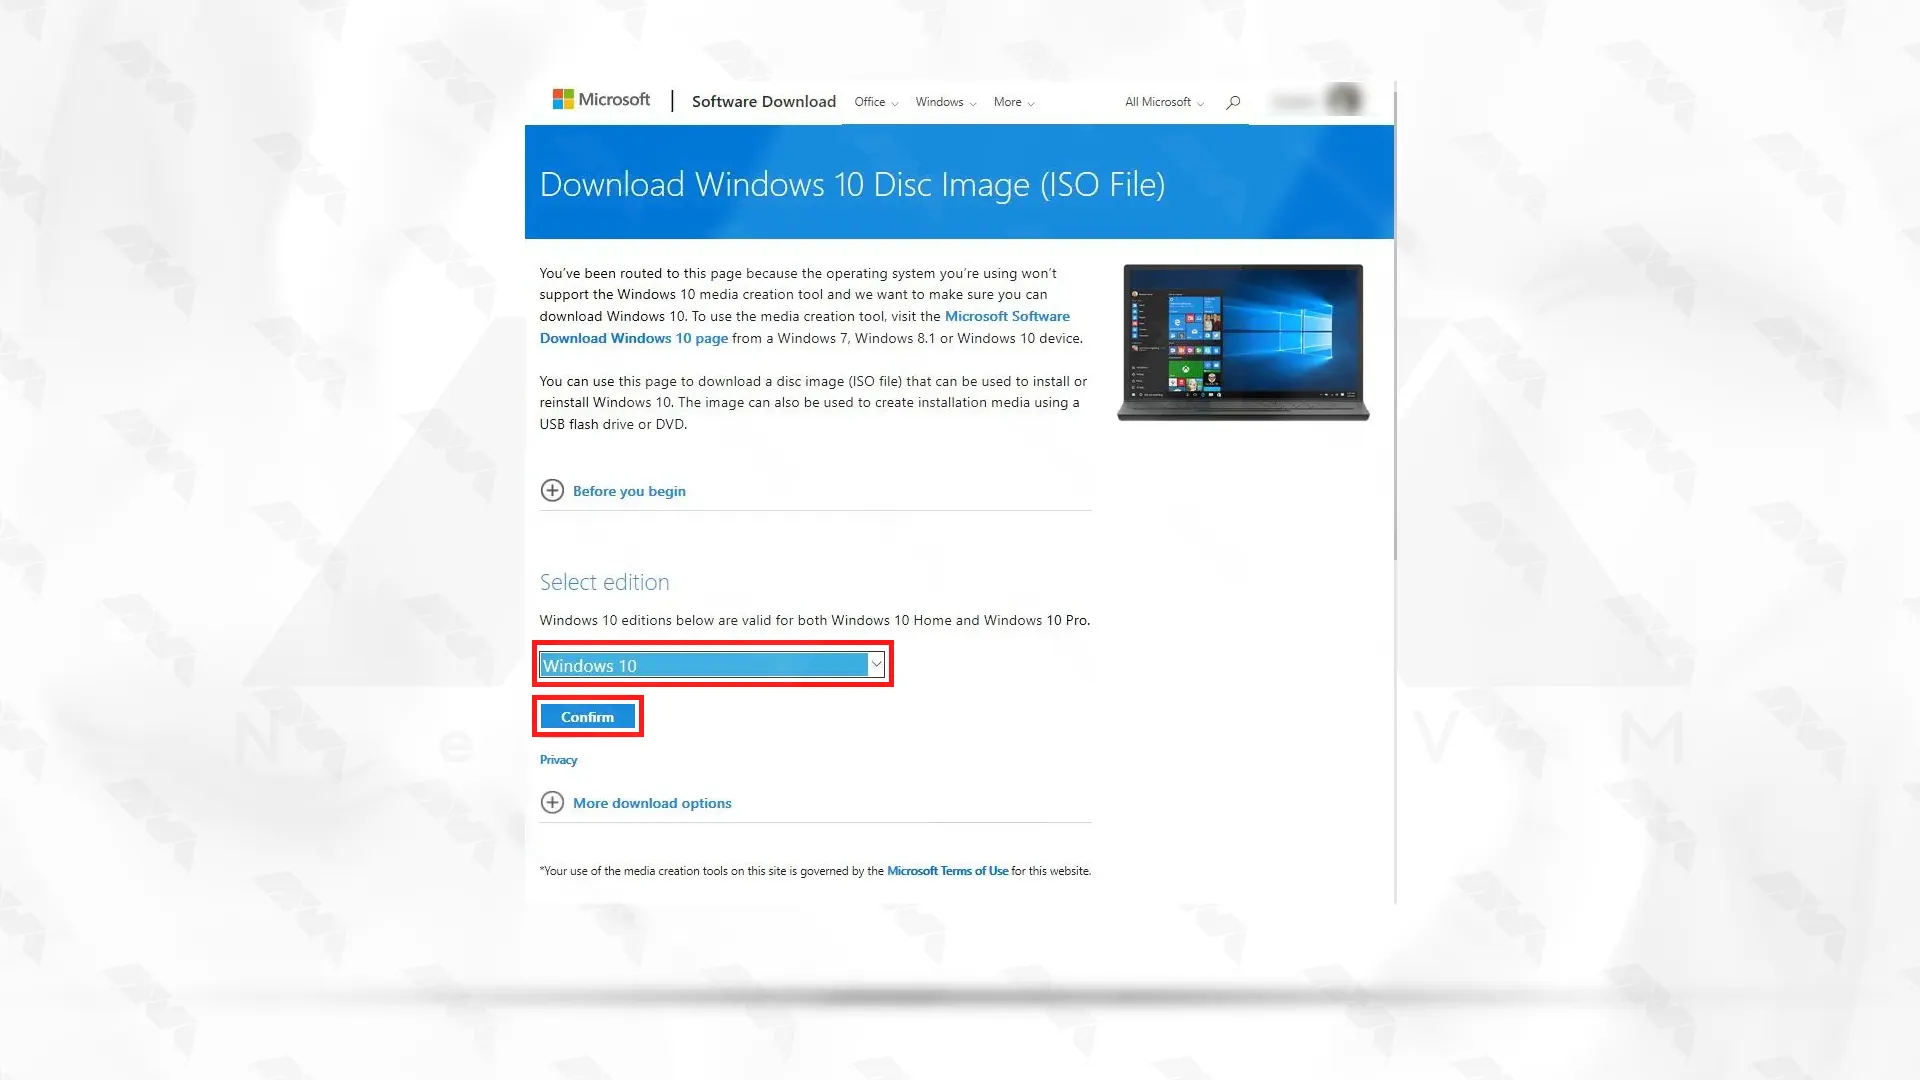
You will need a Windows ISO file to install the operating system on your Mac. Purchase a license from Microsoft or utilize an existing one. Download the corresponding ISO file from the official Microsoft website. Go to the Windows software download page on your Mac.
Select Edition by clicking on it, and opt for Windows 10 (multi-edition ISO).
Click on Confirm, and patiently await the verification of your request.
After the completion of the previous step, select your preferred language and hit Confirm.
Lastly, initiate the download of the Windows 10 ISO file by clicking on 64-bit Download:
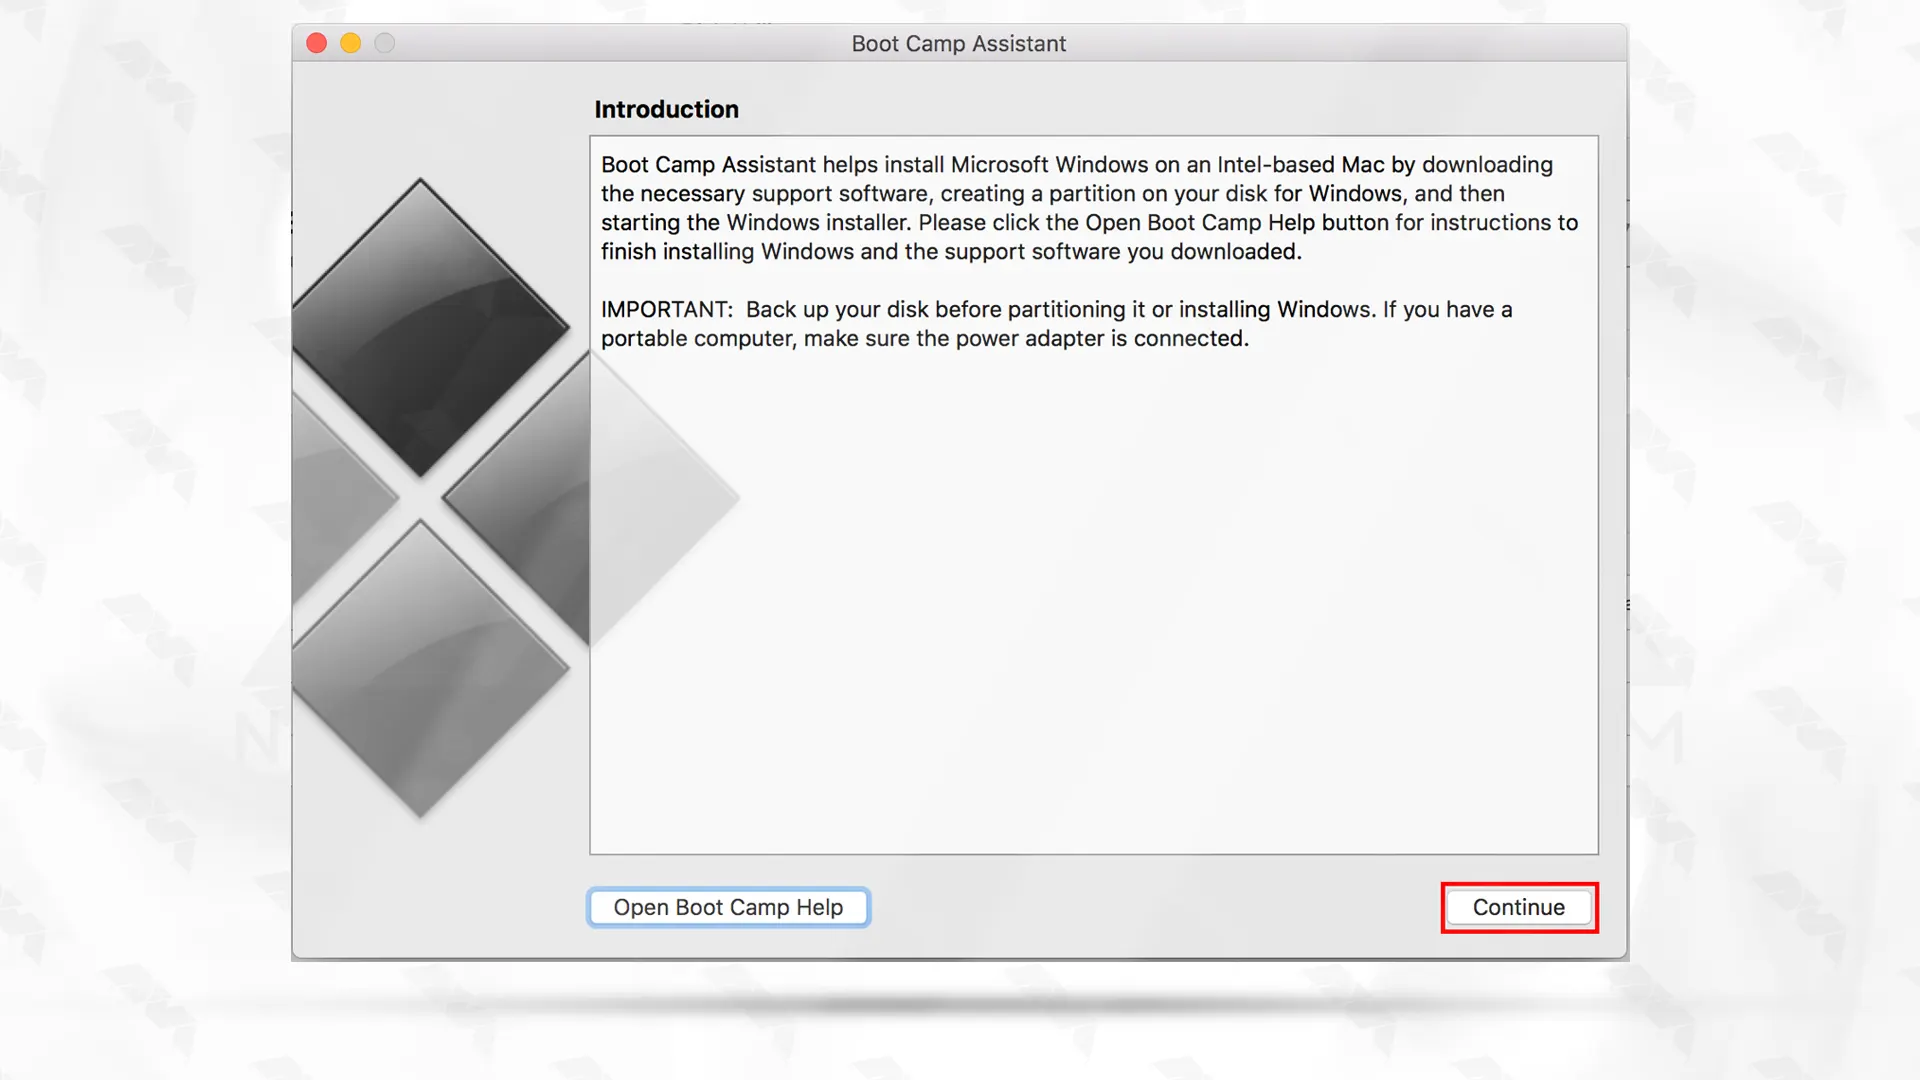
Boot Camp Assistant is a built-in application in macOS that allows users to install and run Microsoft Windows on their Mac computers, enabling them to dual-boot between macOS and Windows operating systems.
To start, open Boot Camp Assistant on your Mac. Once accomplished, proceed by selecting “continue“:
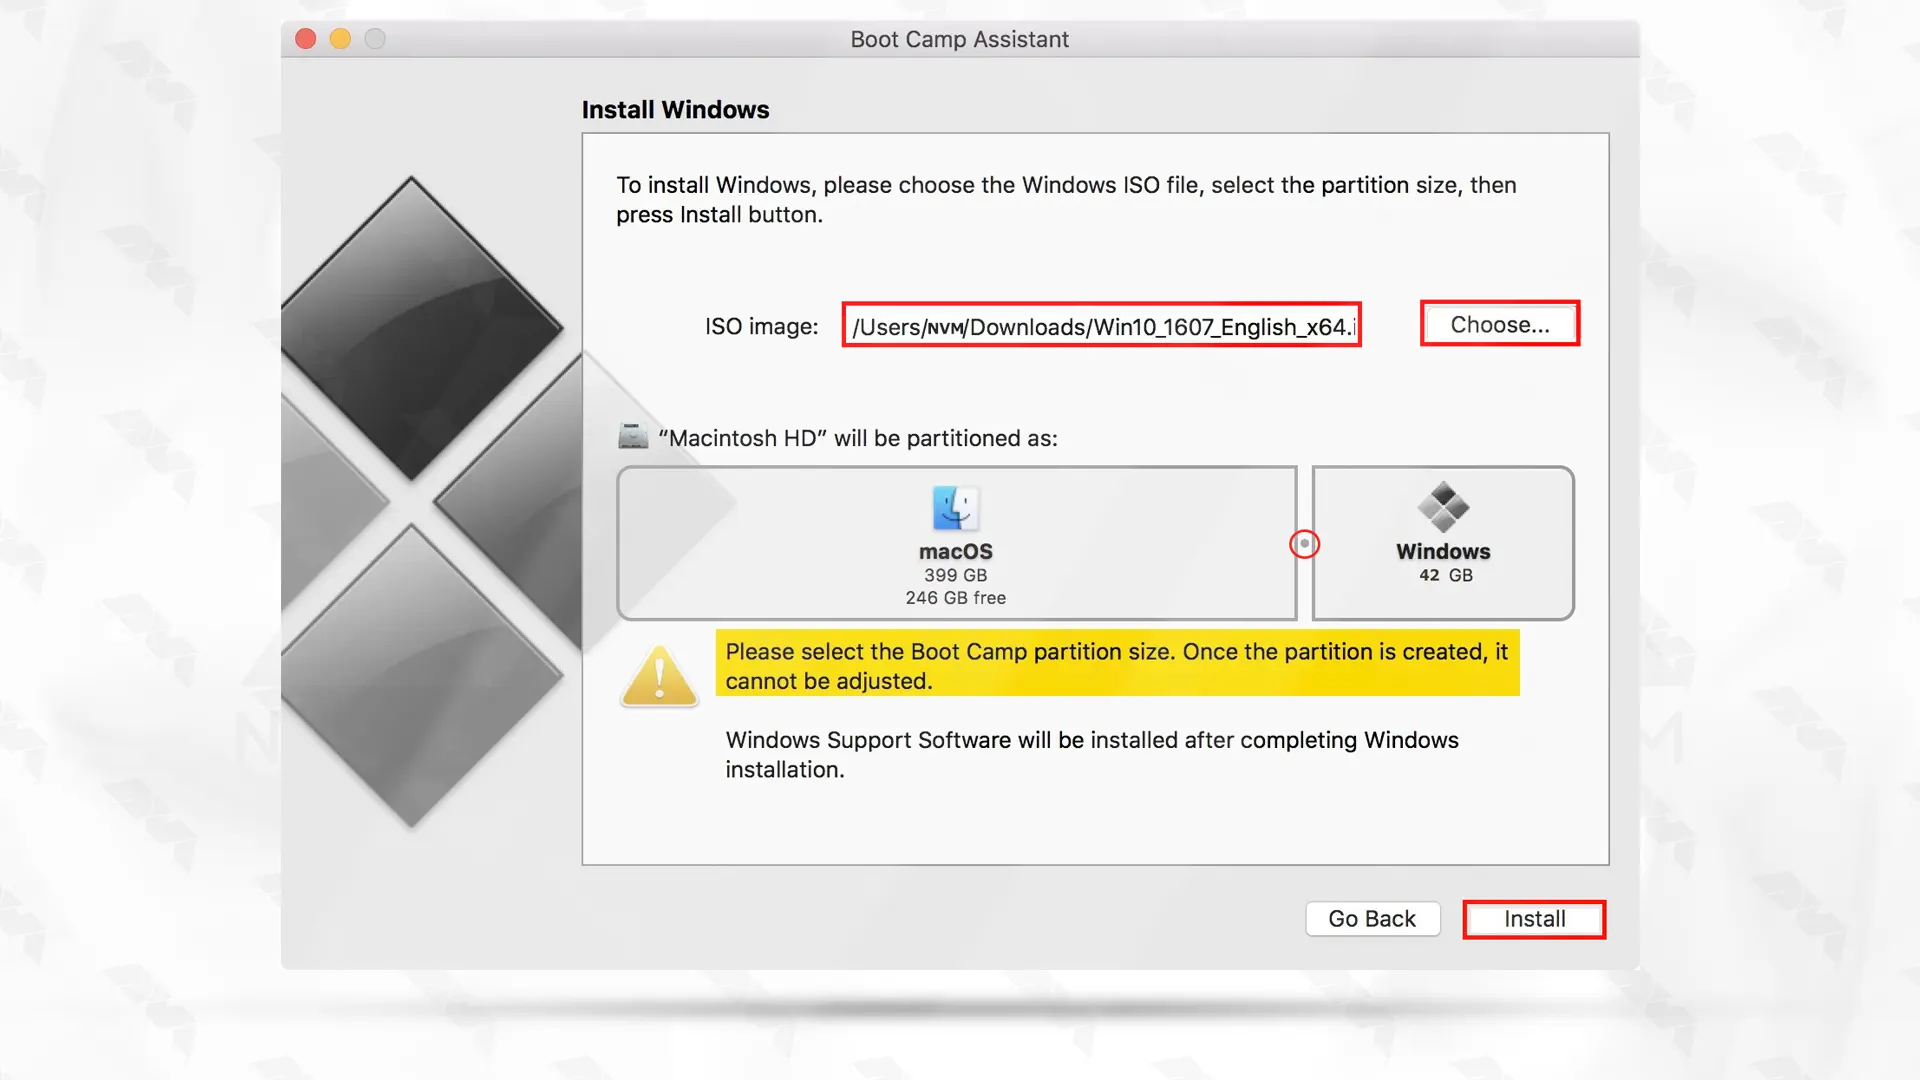
To proceed further, click on the option for selecting a Windows 10 ISO file, and then load the file accordingly:
In this step, you can determine the size of your Windows disk partition. We recommend you to give at least 42 GB of dedicated space:
Finally, click on “Install“:
***
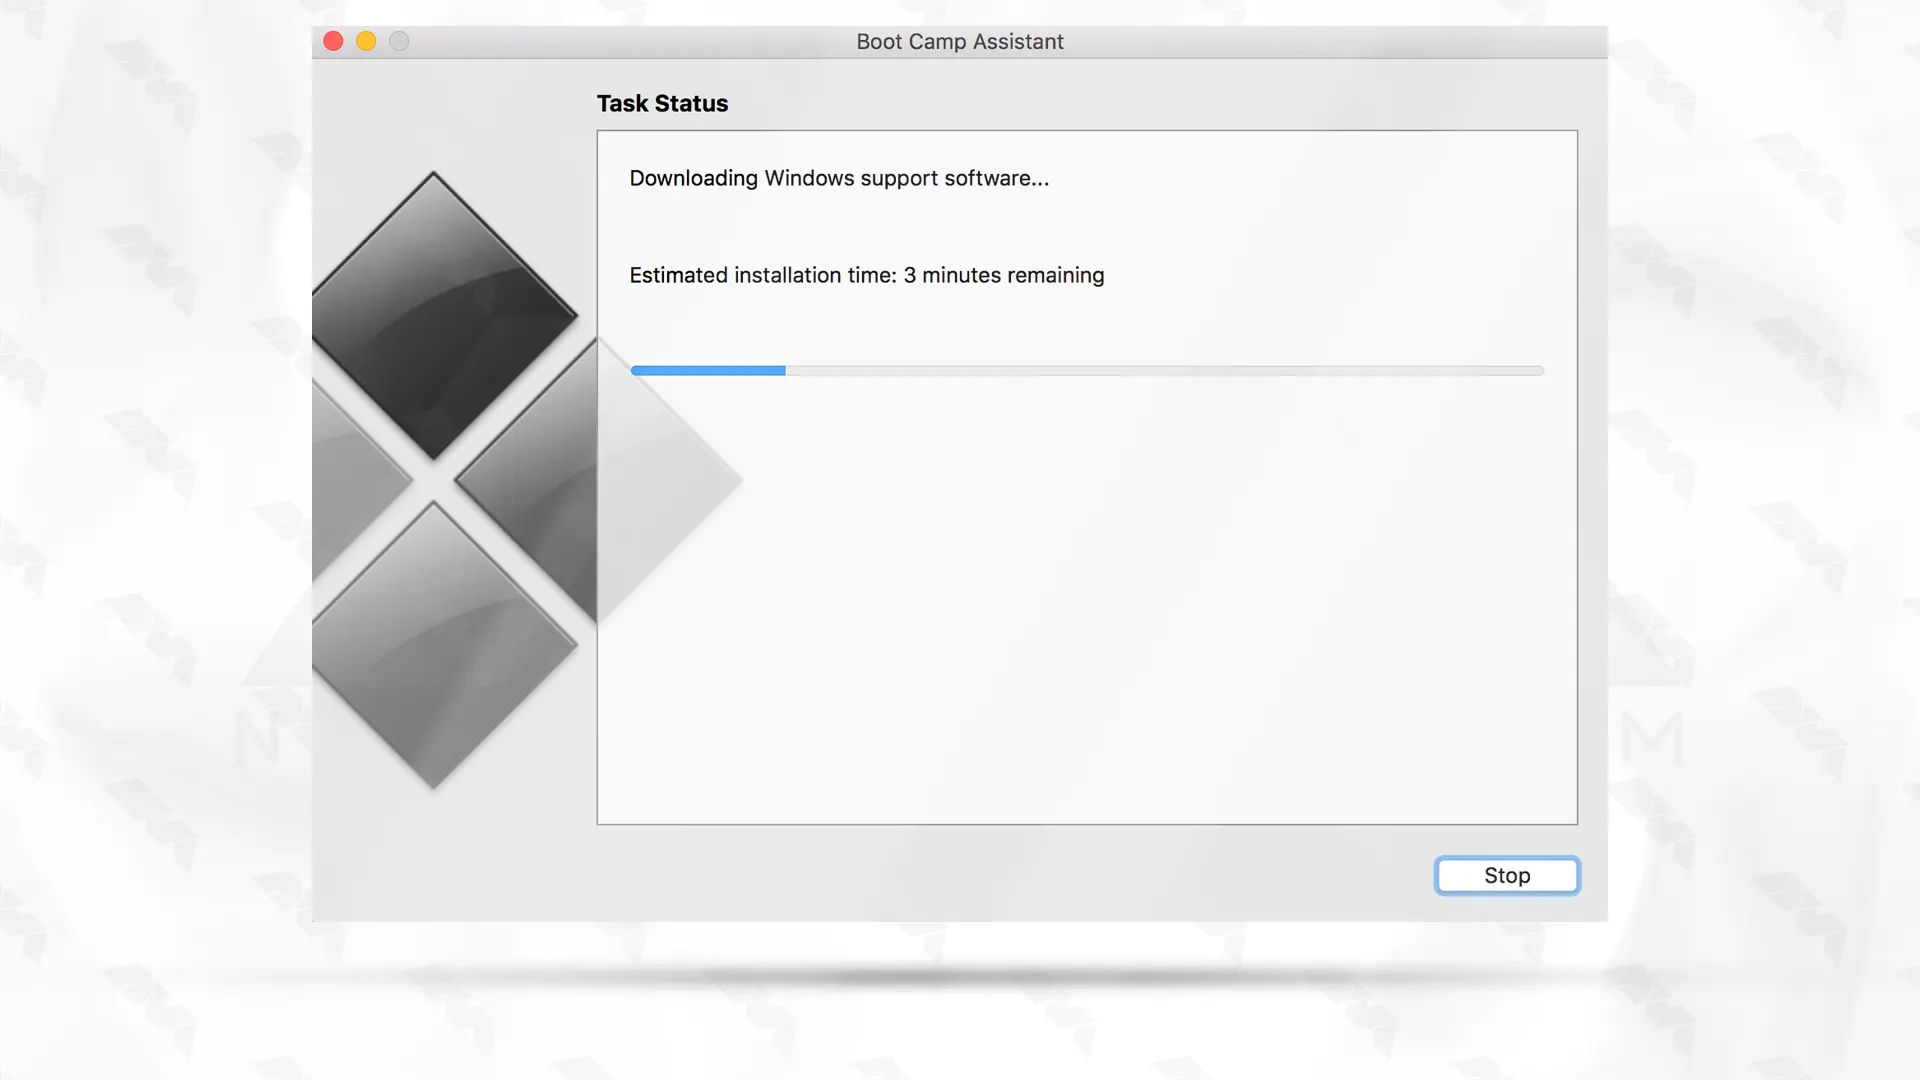
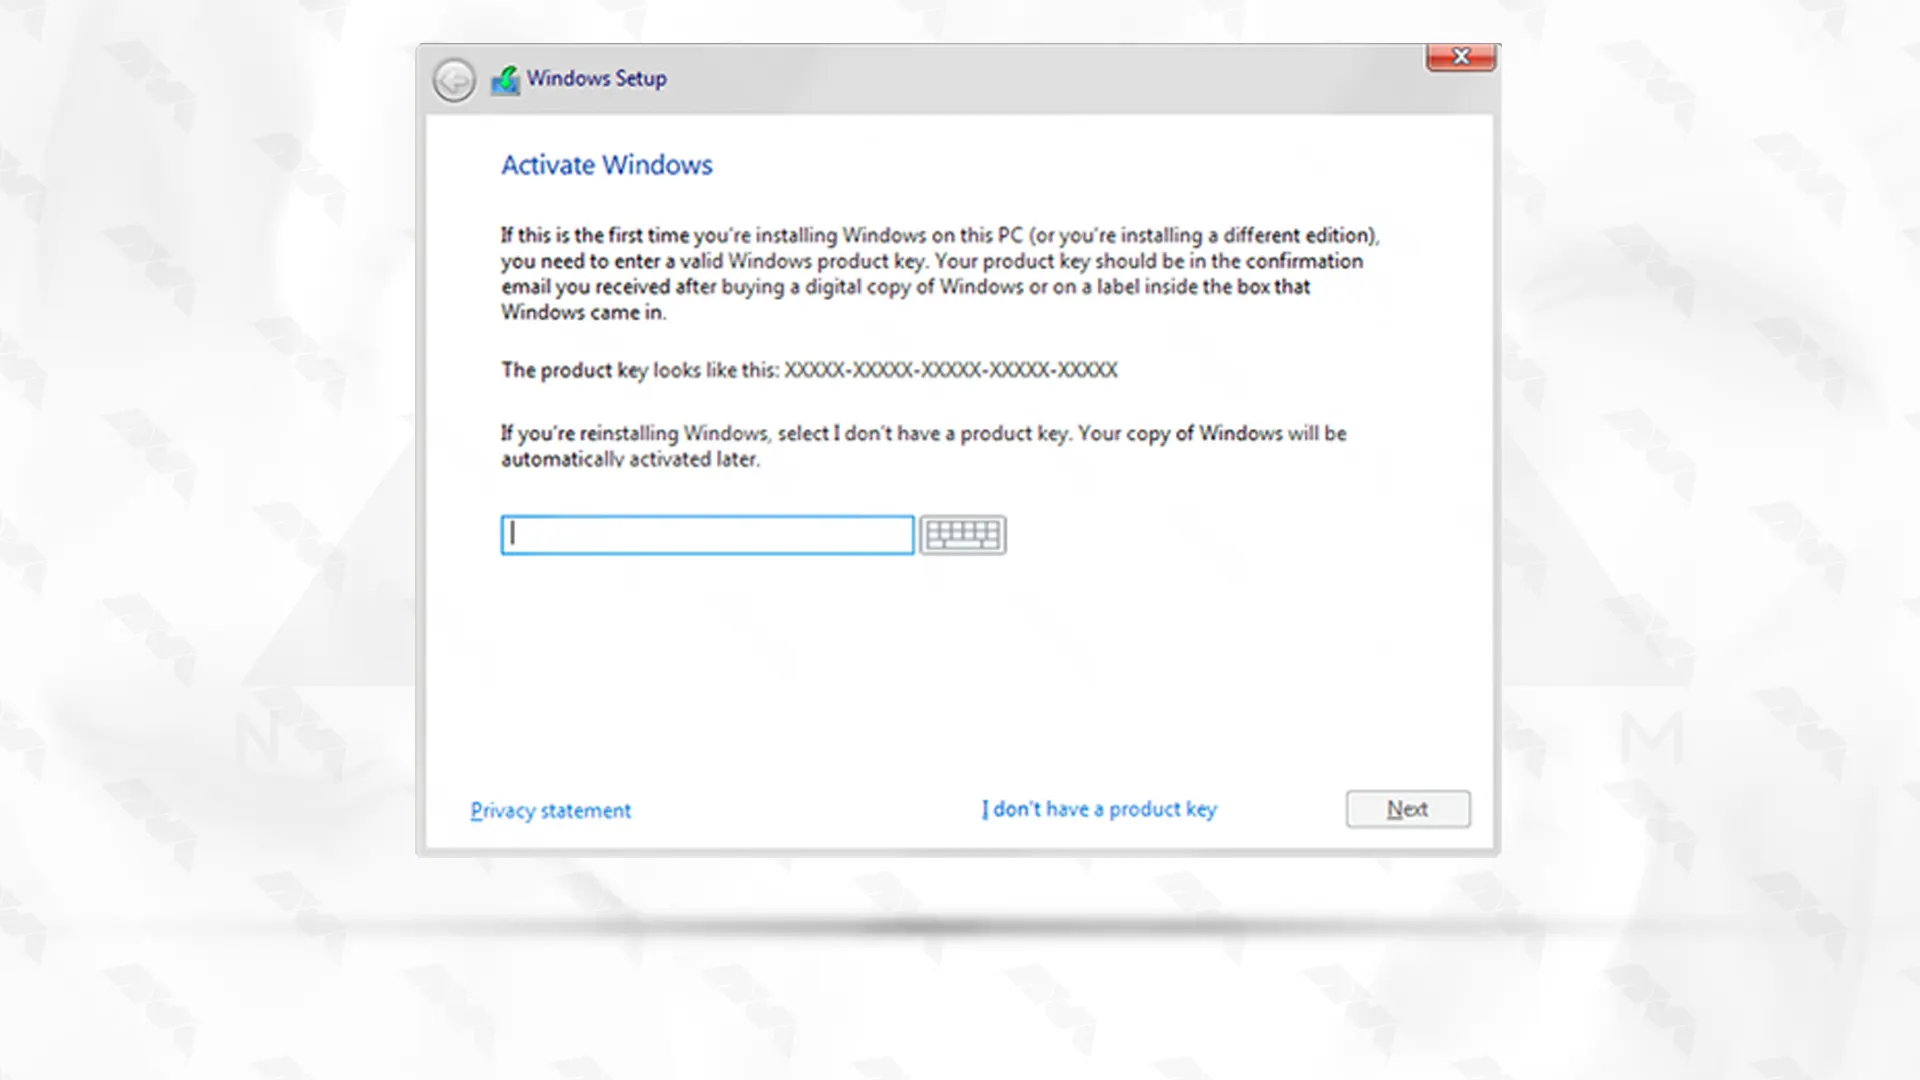
In the previous step, after clicking on install, the system will restart, and you can see the blue Windows logo. Now, you should go through the Windows setup.
If you have a product key, please input it. Otherwise, feel free to proceed without one. Kindly wait until the installation process is finished:
Your Mac will restart, and this time you will receive a prompt to initiate Windows.
– Follow the next steps to configure settings, including language, keyboard layout, Wi-Fi, and more.
– Once you have made the necessary changes, restart Windows.
– After Windows has finished booting, you will be prompted to create a password for enhanced security. We recommend doing this to safeguard your Windows system.
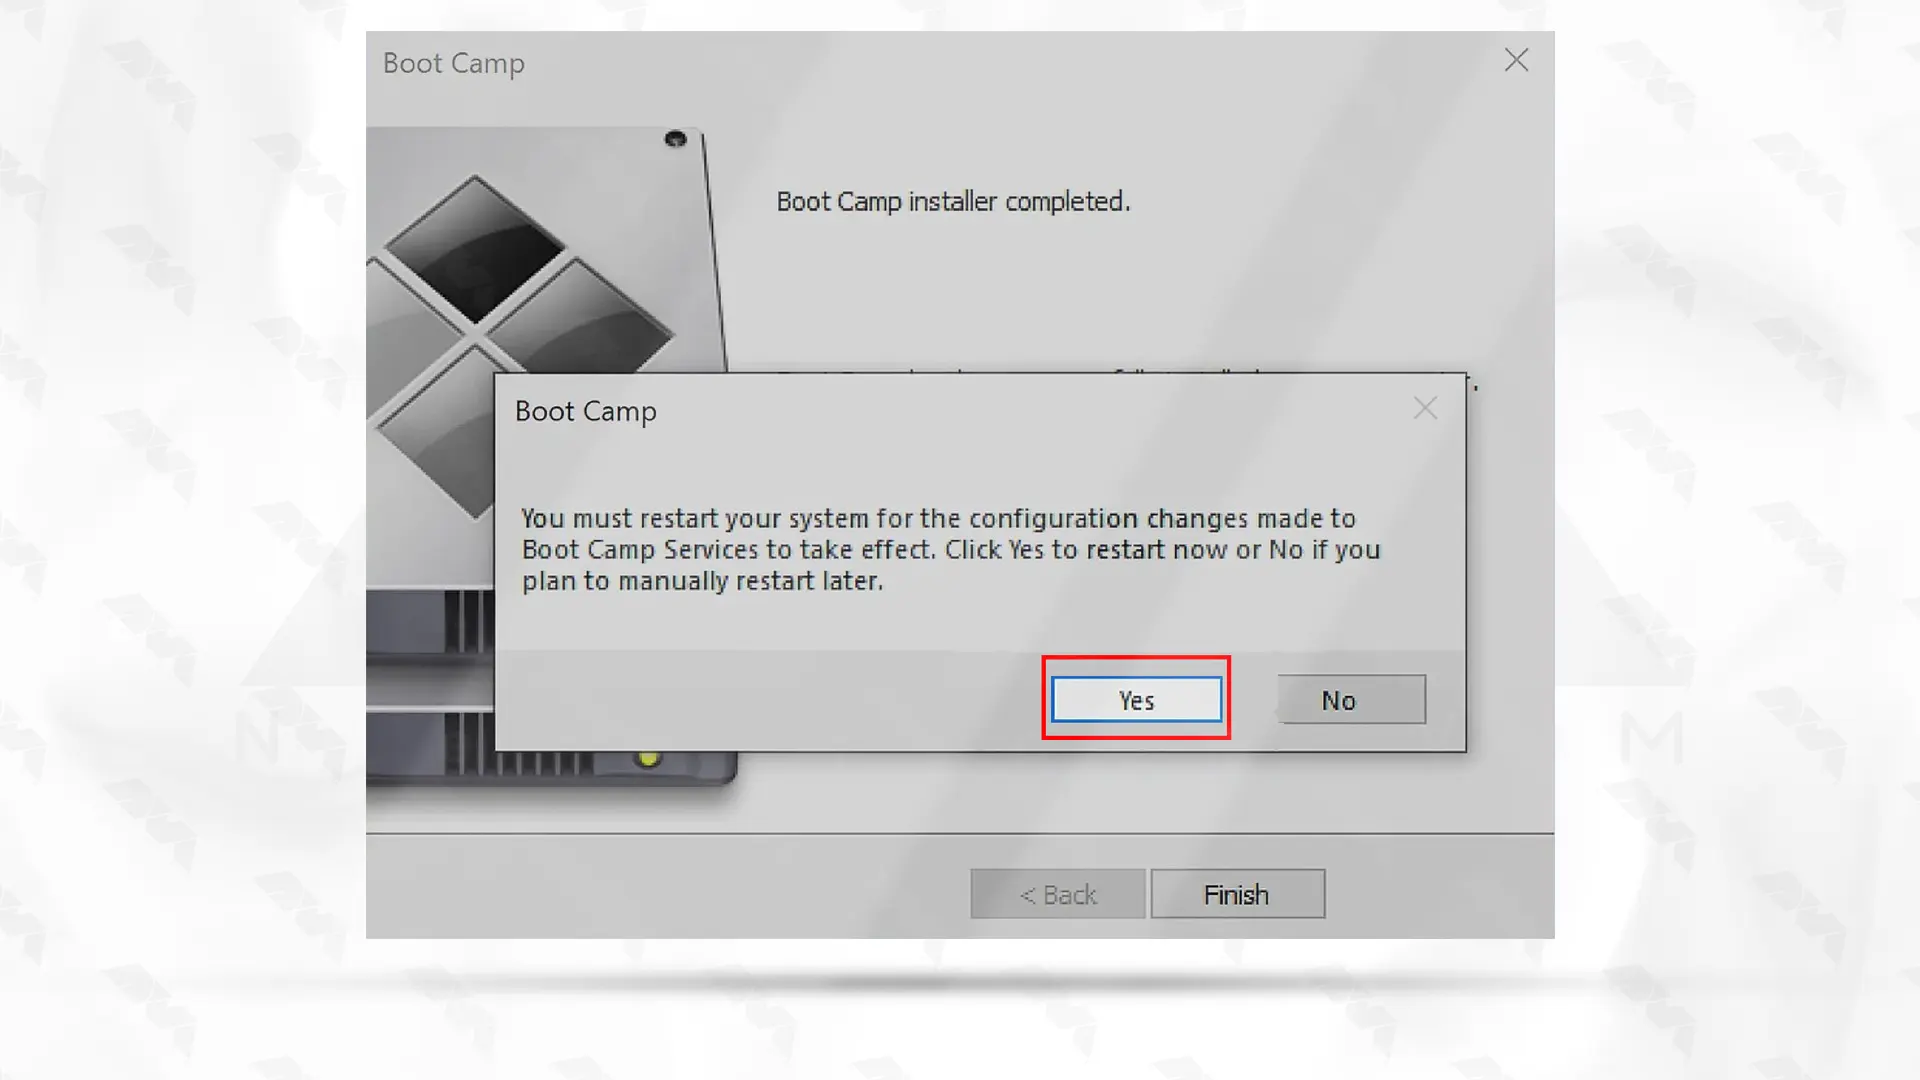
After completing the Windows installation, you need to install Boot Camp drivers to ensure proper functionality of hardware components like the keyboard, trackpad, and graphics. But you should note that when you access Windows for the first time, you should receive a notification to install Boot Camp.
Installing Windows on your Mac can open up a world of possibilities and allow you to use the best of both operating systems. By following this comprehensive guide, you can successfully install Windows on your Mac without hassle. Always remember to back up your data, ensure compatibility with hardware requirements, partition your disk, create a bootable USB drive, and install Boot Camp drivers to ensure a smooth experience. Enjoy the power of having Windows and macOS running side by side on your Mac.
How useful was this post?
Click on a star to rate it!
Average rating 5 / 5. Vote count: 1
No votes so far! Be the first to rate this post.
 Tags
Tags

In online businesses, maintaining customer security and brand reputation is very important, So these...


 Tags
Tags

Have you ever heard about Android emulators? This emulator is a software program that simulates an A...


 Tags
Tags
What is your opinion about this Blog?


