


Ubuntu, one of the most popular Linux distributions, offers a versatile platform for users to experience the benefits of open-source software. Whether you prefer a graphical interface or the command line, Ubuntu provides multiple ways to install software. In this article, we will explore how to install six different software applications in Ubuntu using both the terminal and the graphical user interface (GUI). This step-by-step guide will teach you about installing software in Ubuntu system.
If you want to buy a Linux VPS server and run Ubuntu on it, you can see the plans provided on our website.
To install VLC using a terminal, you can follow these steps:
Open the Terminal by pressing Ctrl+Alt+T.
Update the package list by running the following command:
sudo apt update
Install VLC by running the following command:
sudo apt install vlc
Note: Enter your password when prompted and press Enter.
You can now check the version of VLC and make sure it is installed correctly by running the following command:
vlc --version
Simply run VLC by typing the following command in the terminal:
vlc
Open the Ubuntu Software Center:
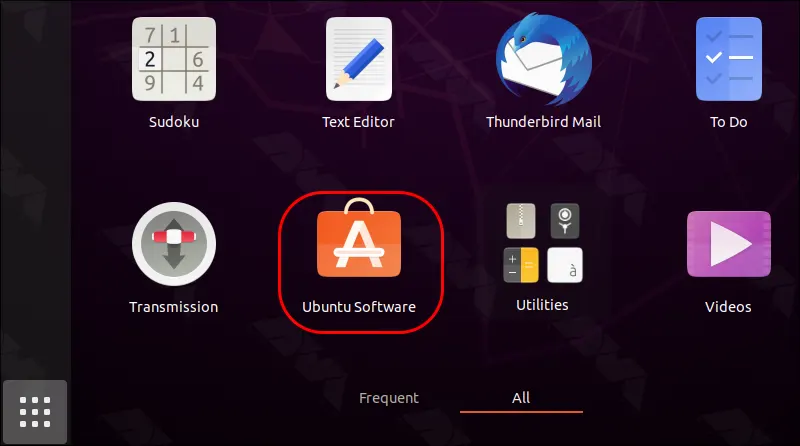
Once the Software Center is open, type “VLC” in the search bar located at the top right of the window.
Find the VLC media player in the search results and click on it:

You will be directed to the VLC media player’s software page. Click on the “Install” button:
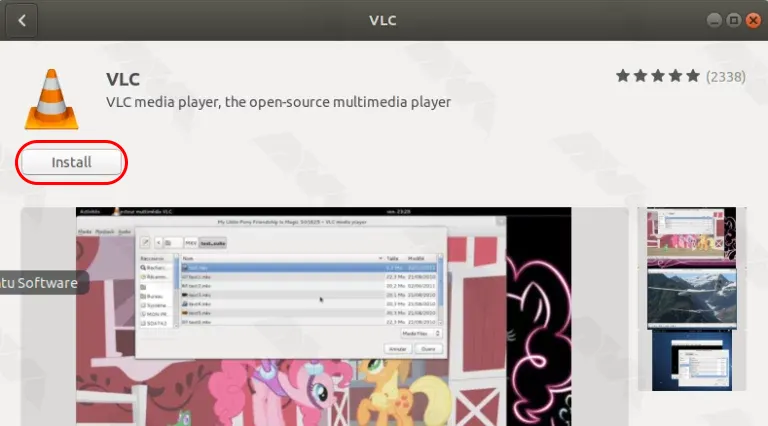
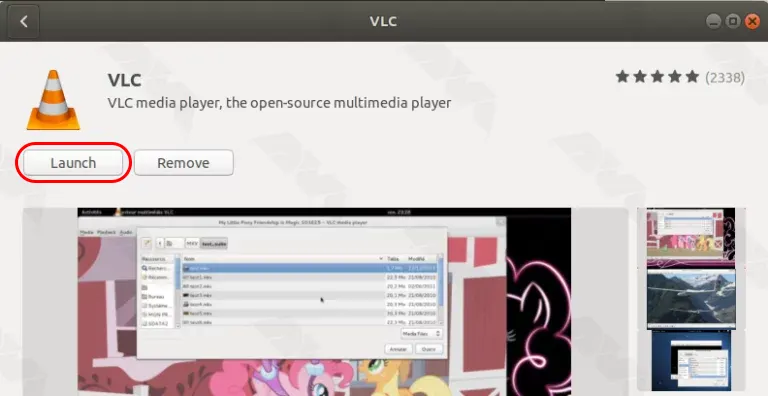
Wait for the installation to complete. Once it is finished, you will see a green checkmark next to the “Installed” label on the software page.
You can now close the Ubuntu Software Center and launch the VLC media player from the Applications menu, or by searching for “VLC” in the Ubuntu Dash:
Open the terminal by pressing Ctrl+Alt+T or by searching for “Terminal” in the applications menu.
Add the Stacer repository to your system by running the following command:
sudo add-apt-repository ppa:oguzhaninan/stacer
Update your package list by running:
sudo apt update
Finally, install Stacer by running the following command:
sudo apt install stacer
Once the installation is complete, you can launch Stacer either by searching for “Stacer” in the applications menu or by running the following command in the terminal:
stacer
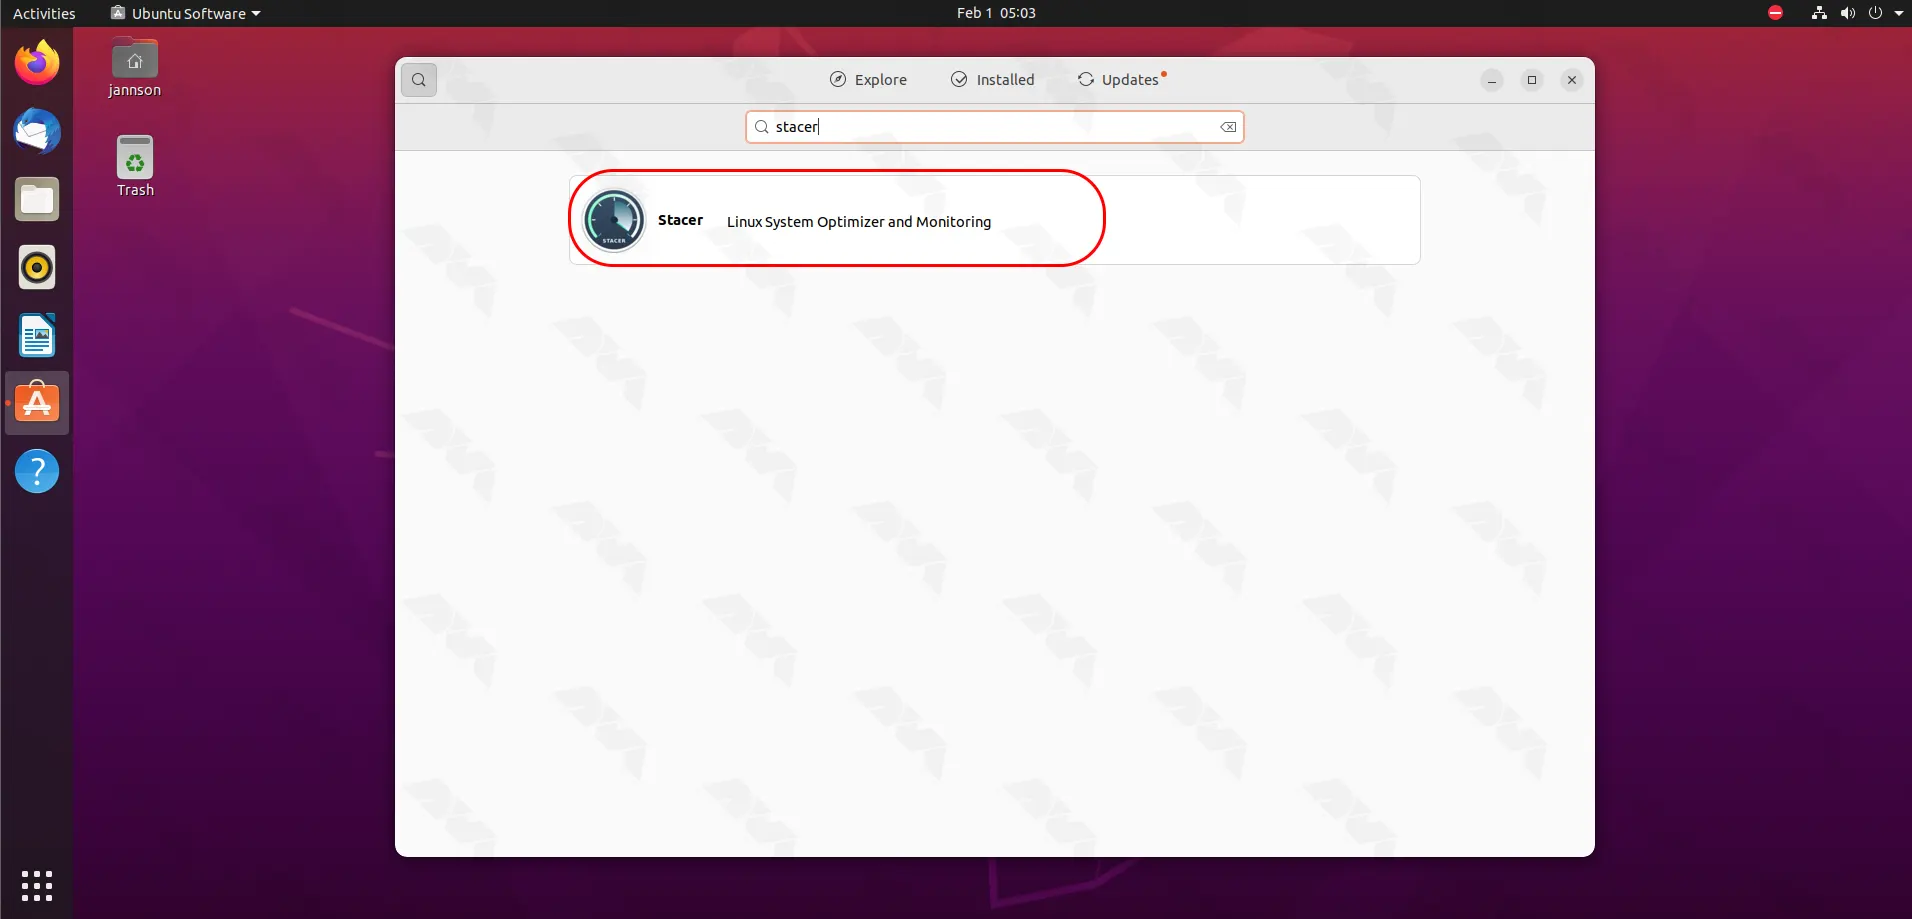
Open the Ubuntu Software Center:

Once the Software Center opens, type “Stacer” into the search bar. Then, select the Stacer application from the search results:
On the application page, click on the “Install” button:
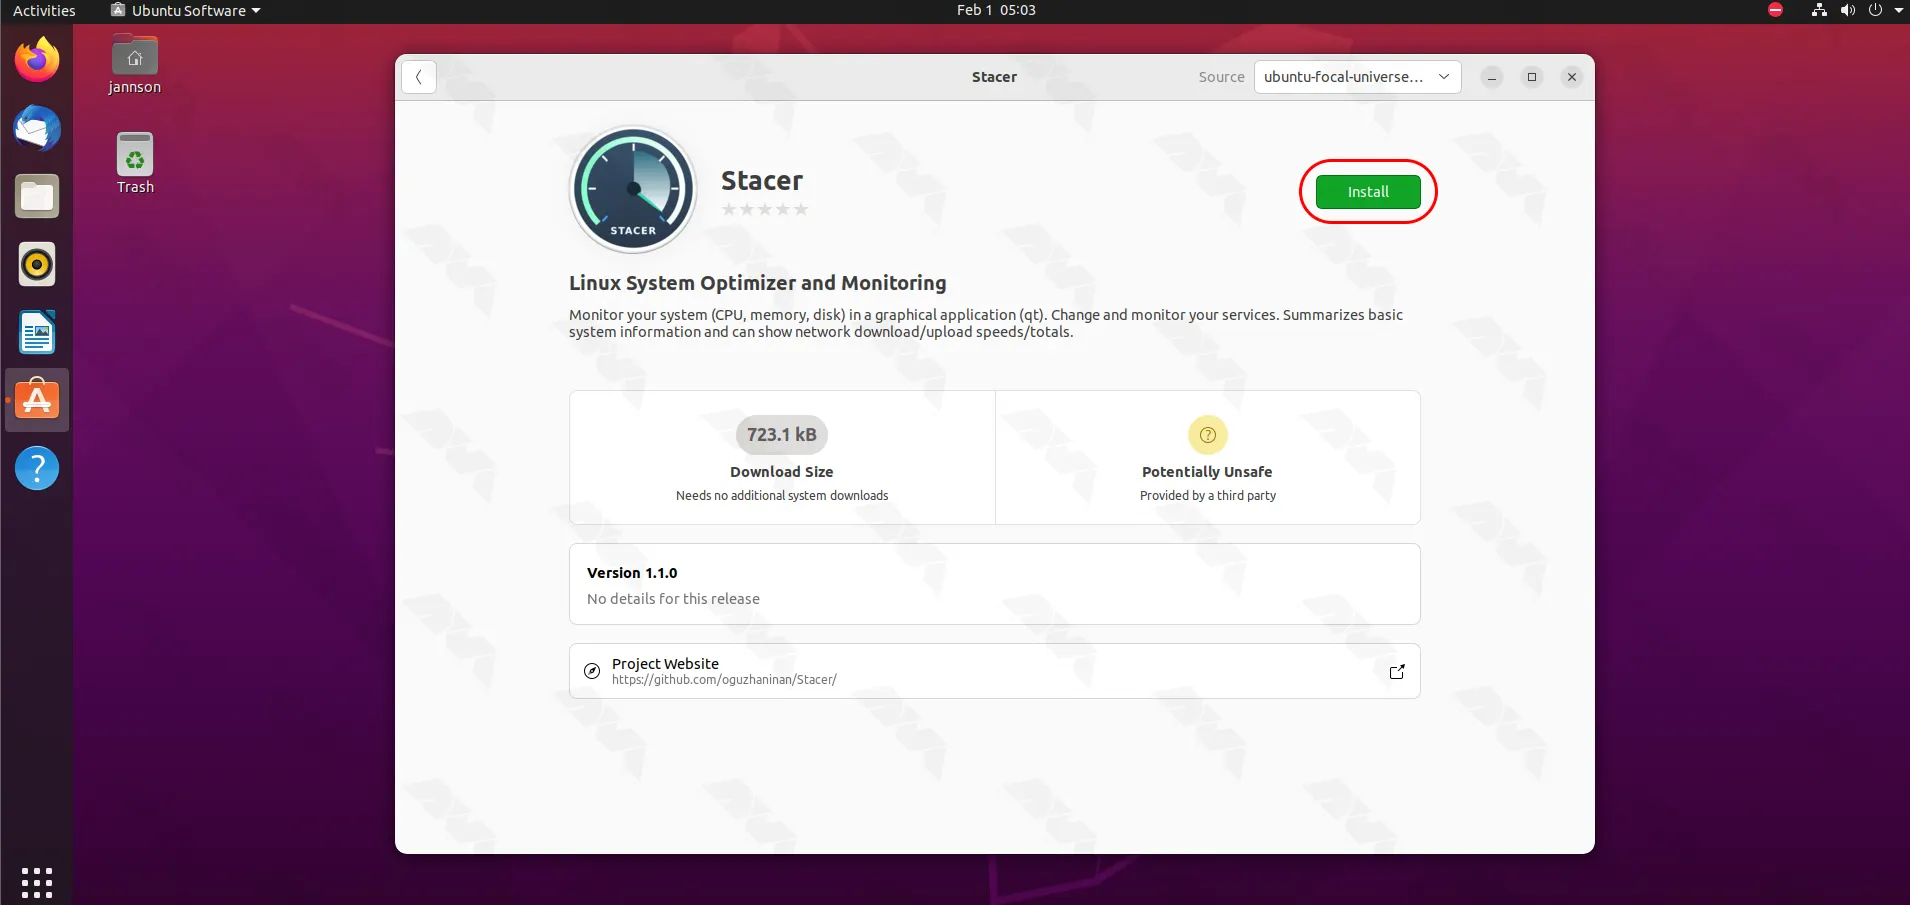
Wait for the installation to complete. Once the installation is finished, you can launch Stacer by clicking on the “Launch” button on the application page, or you can search for “Stacer” in the Activities search bar:

Update the package list by running the following command:
sudo apt update
Install FileZilla by running the following command:
sudo apt install FileZilla
Enter your password and click on “Authenticate” to confirm the installation.
Wait for the installation to complete. Once it is finished, FileZilla will be installed on your system. You can now open FileZilla from the Applications menu or by typing Filezilla in the Terminal:
filezilla
Open the Ubuntu Software Center:

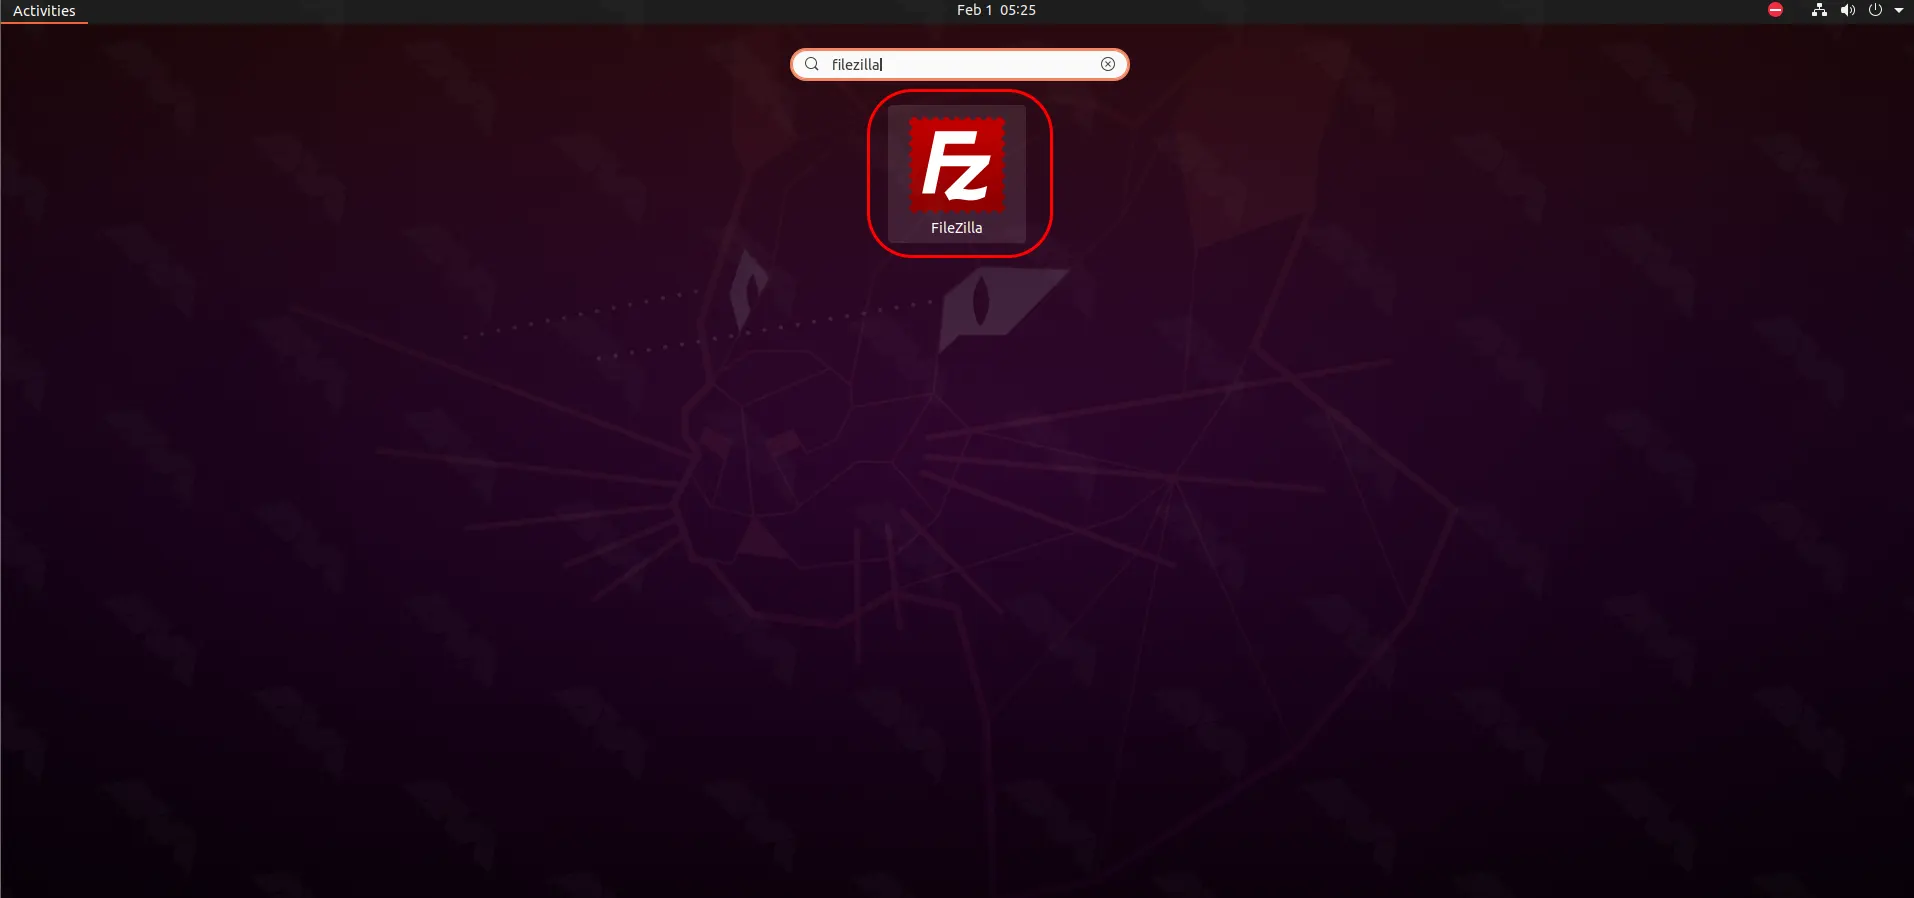
In the Software Center, click on the search bar and type “FileZilla“. From the search results, click on the FileZilla application:
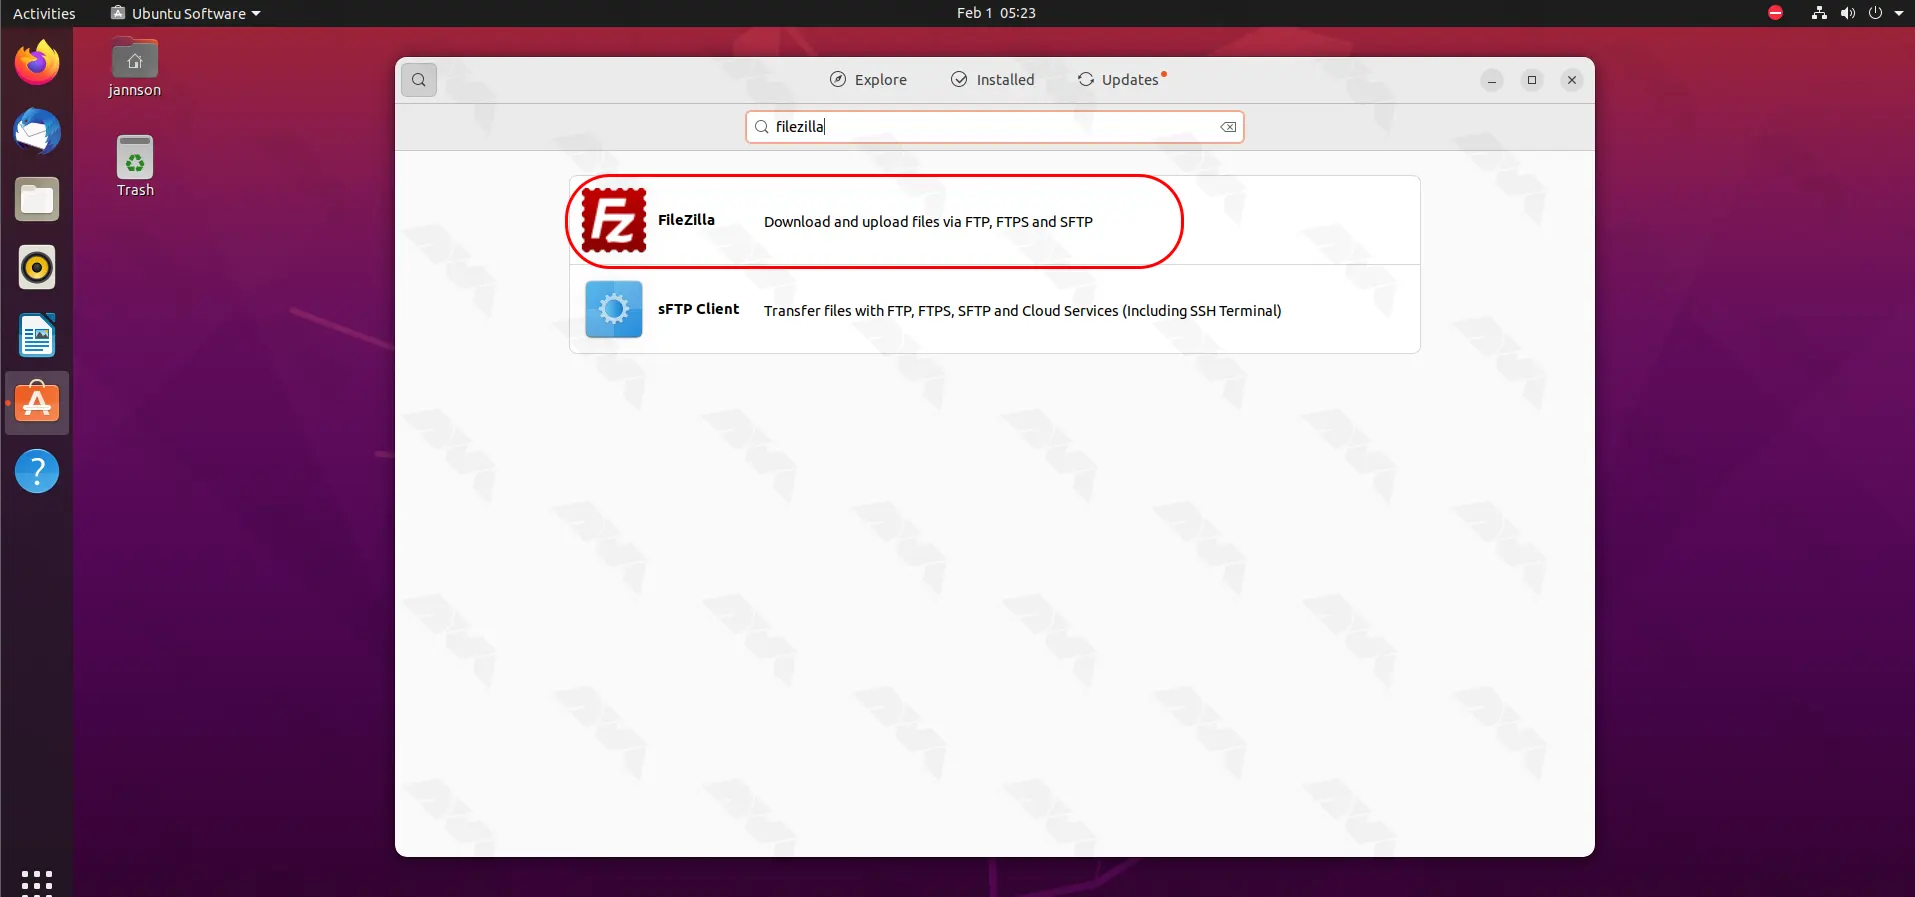
On the FileZilla application page, click on the “Install” button:
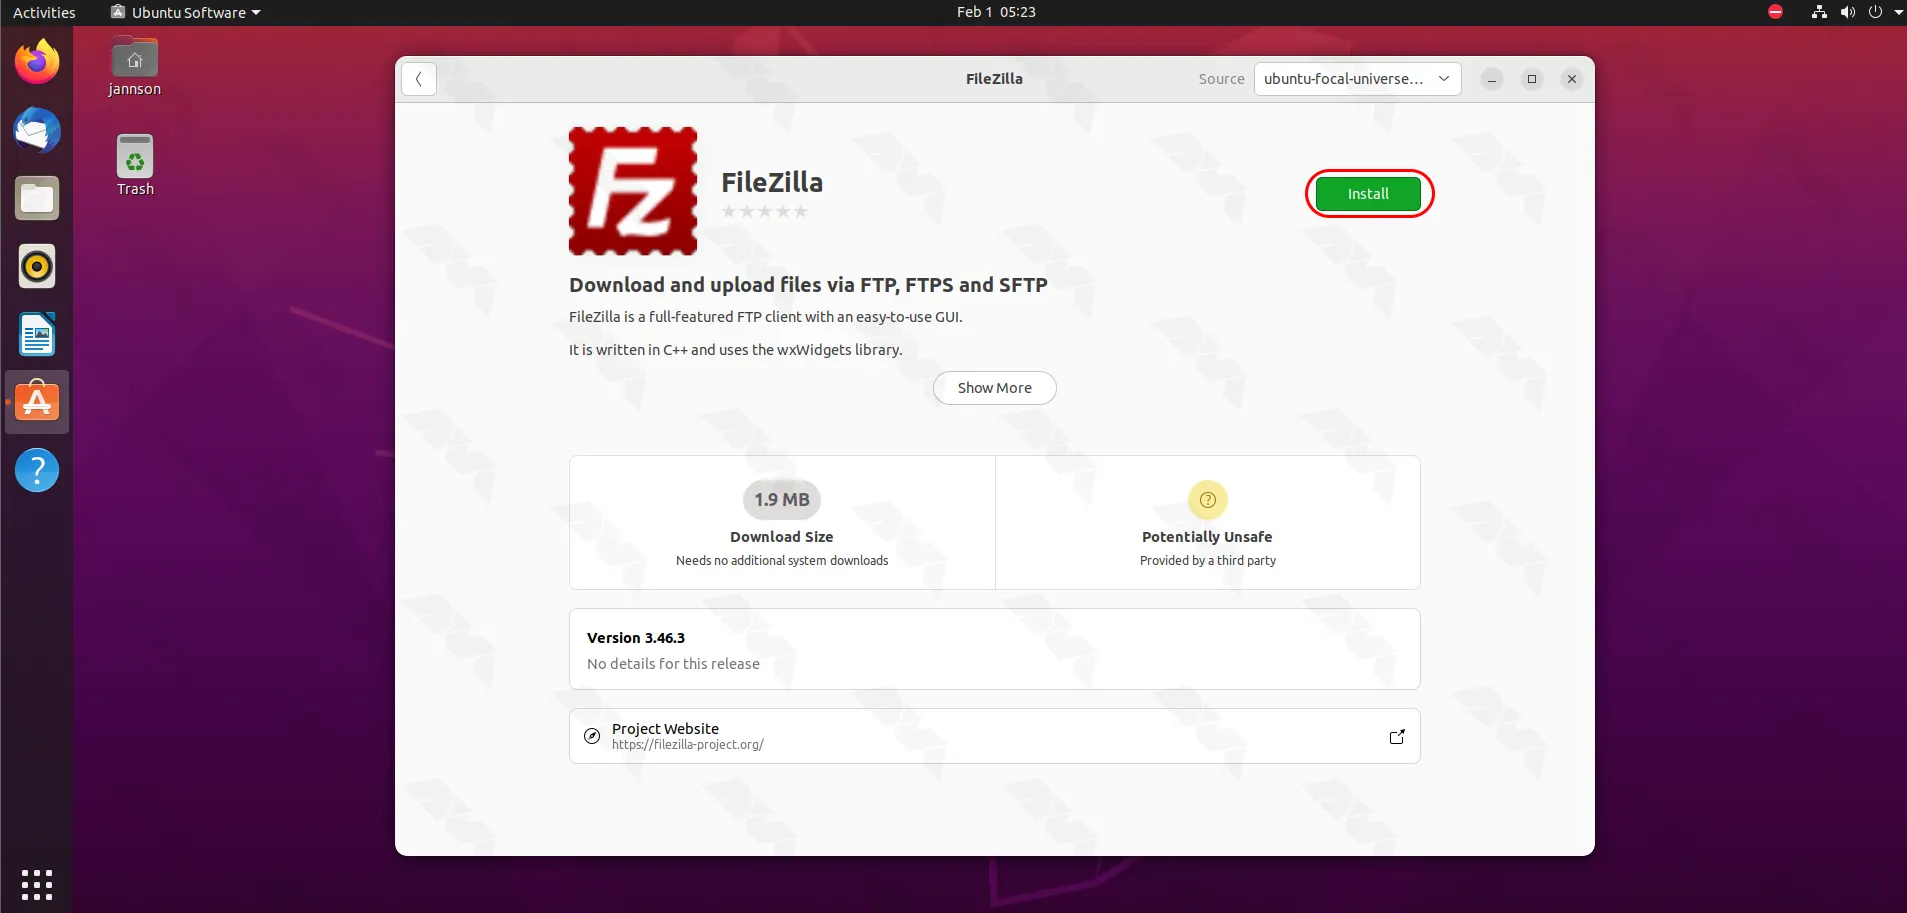
To authorize the installation, you may be asked to enter your administrator password. Enter your password and click “Authenticate“:
To launch FileZilla, you can either search for “FileZilla” in the Ubuntu Dash or go to the Applications menu, navigate to the “Internet” category, and click on the FileZilla icon:
Use the update command update the package list:
sudo apt update
After the update is complete, run the following command to install GNOME Tweaks:
sudo apt install gnome-tweaks
Once done, you can open GNOME Tweaks by searching for “Tweaks” in the Activities overview or by running the following command in the Terminal:
gnome-tweaks
Open the Ubuntu Software Center or the Snap Store. You can find these applications in your Activities menu or by searching for “Software” in the overview:

Once the software center is opened, click on the search bar at the top and type “Gnome Tweaks“. From the search results, locate the “Gnome Tweaks” application and click on it.
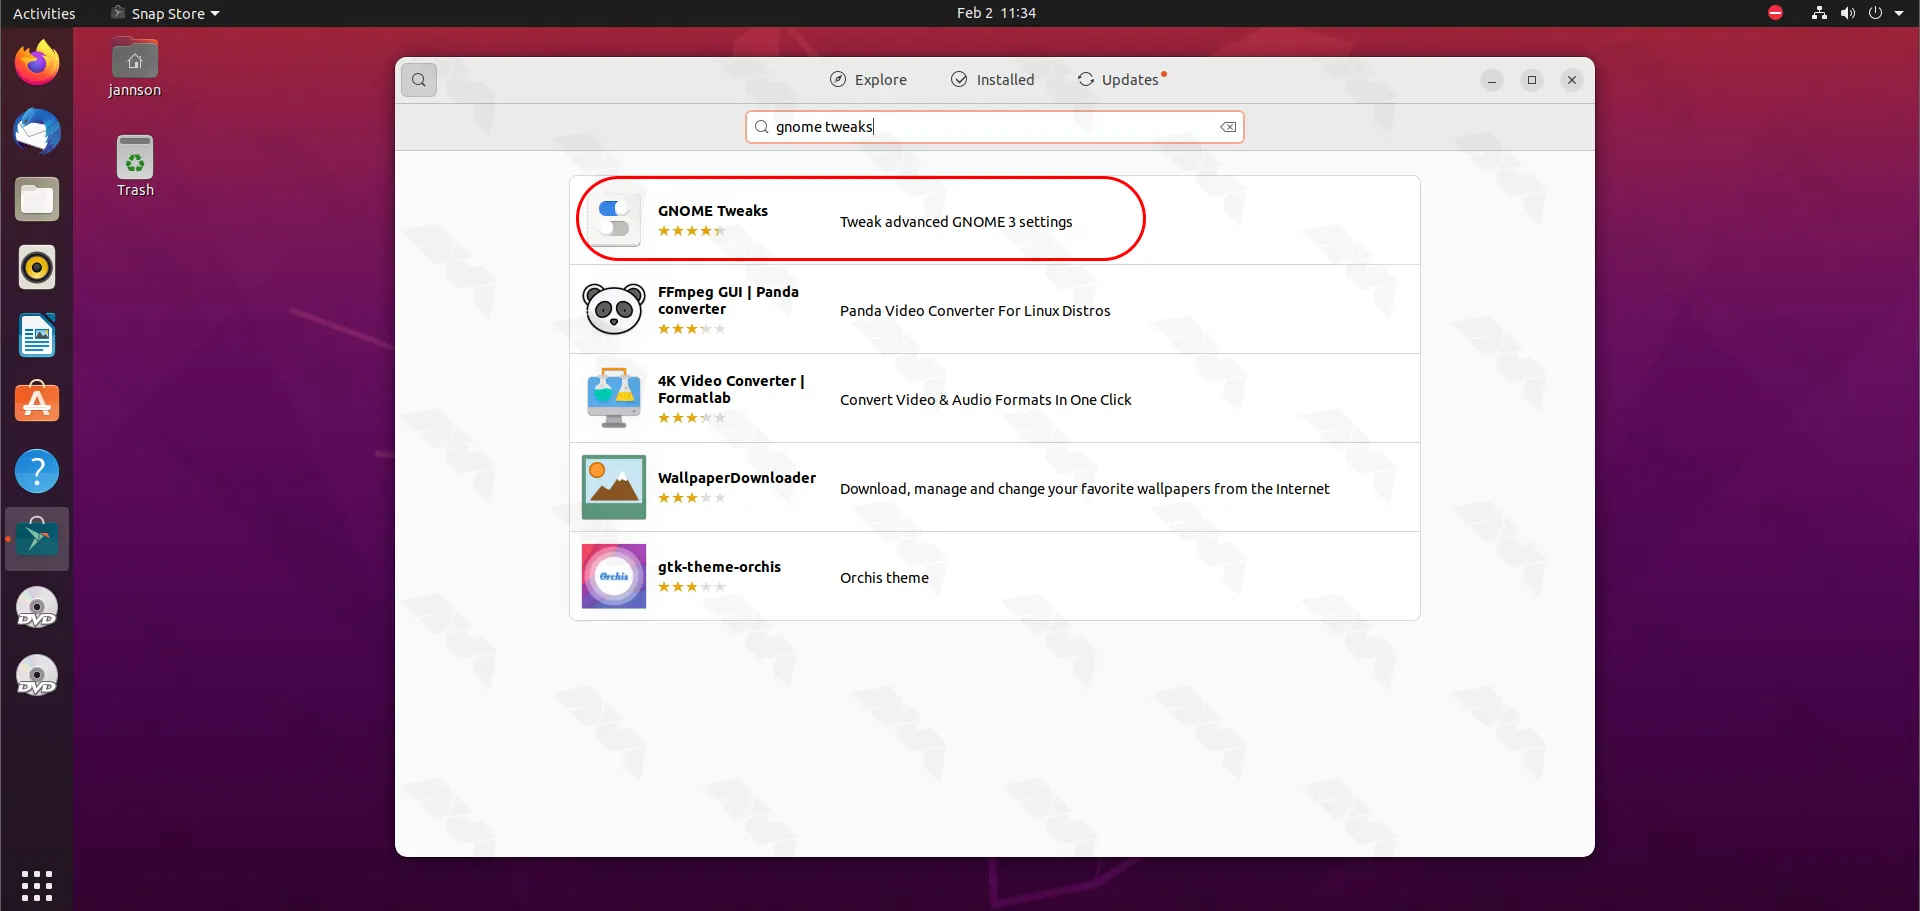
On the Gnome Tweaks application page, click on the “Install” button:
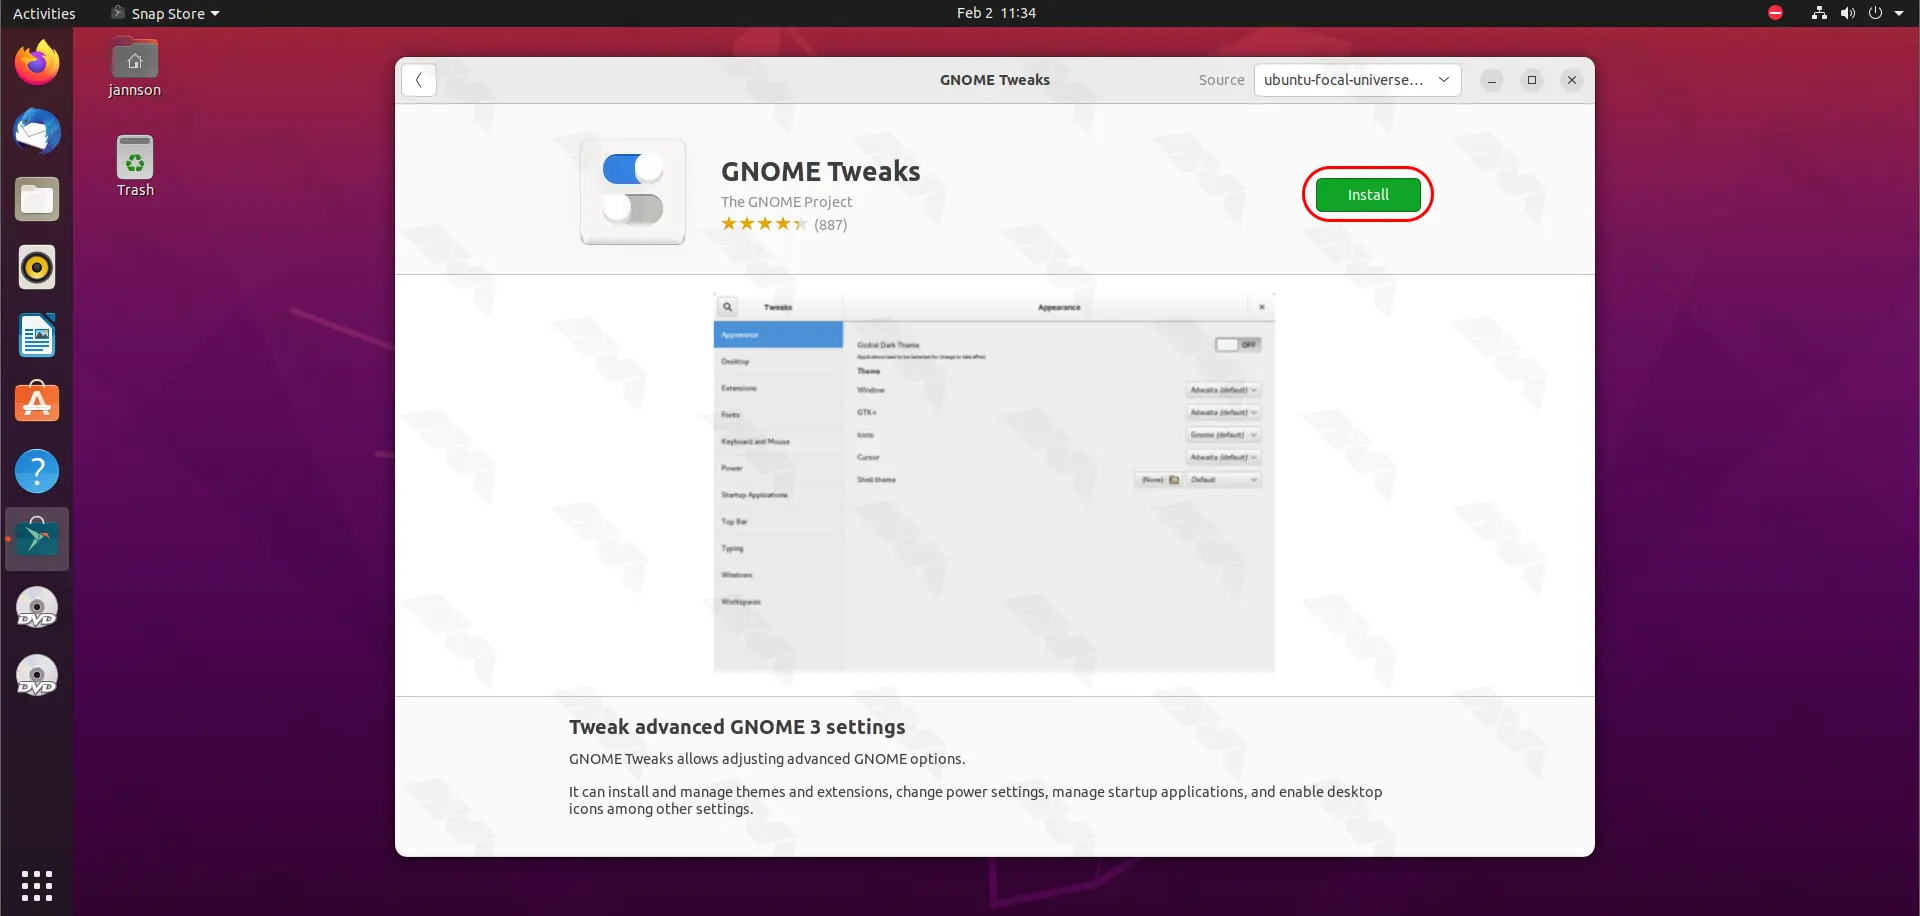
Ubuntu will prompt you for your password to authenticate the installation. So, click on “Authenticate“:
The Gnome Tweaks application will now be installed on your system. You can access it by searching for “Tweaks” in the Activities overview or by going to the Applications menu and looking under the Utilities category:

Add the Microsoft GPG key to your system using the following command:
wget -q https://packages.microsoft.com/keys/microsoft.asc -O- | sudo apt-key add -
Enable the Visual Studio Code repository by running the following command:
sudo add-apt-repository "deb [arch=amd64] https://packages.microsoft.com/repos/vscode stable main"
Update the package list by executing the update command:
sudo apt update
Finally, install Visual Studio Code by running the following command:
sudo apt install code
After the installation process is completed, you can launch VSCode by searching for it in the Applications menu or by running the code in the terminal:
code
Open the Ubuntu Software Center by clicking on the “Show Applications” button located at the bottom-left corner of the screen:

In the Software Center, type “VScode” in the search bar and press Enter. From the search results, click on “Code” to open the application’s page:
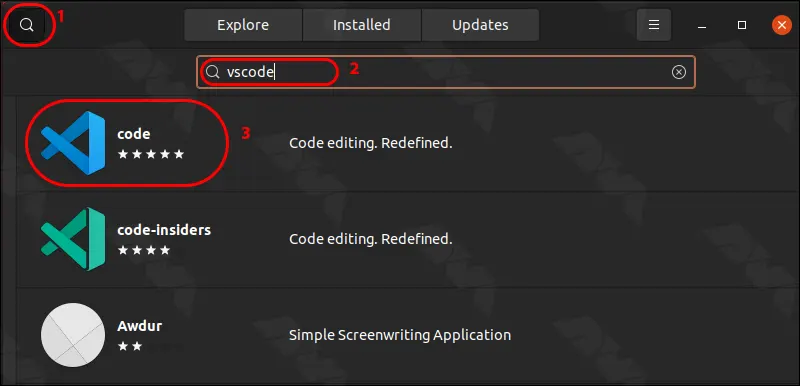
On the page, click on the “Install” button to start the installation process:
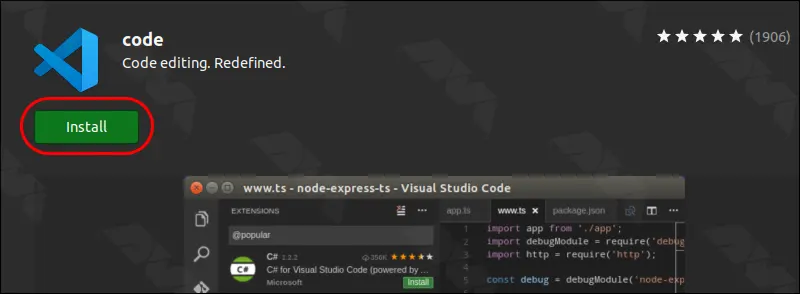
Once the installation is complete, you will see a “Launch” button. Also, you can search for “Visual Studio Code” from among the applications as shown in the image below and click on it to run:
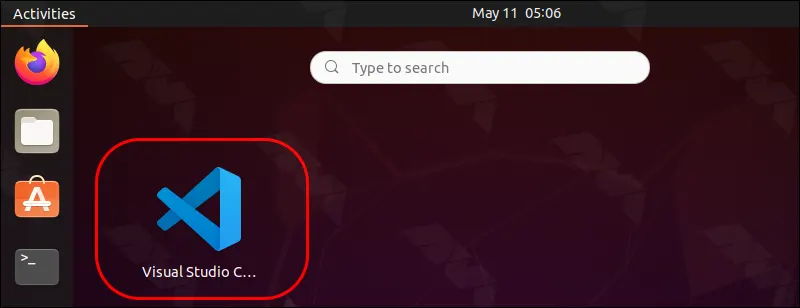
In the terminal, run the following command to download the Google Chrome installation package:
wget https://dl.google.com/linux/direct/google-chrome-stable_current_amd64.deb
Once the download is complete, run the command below to install it using the package manager (dpkg):
sudo dpkg -i google-chrome-stable_current_amd64.deb
The installation may prompt you about missing dependencies. If so, run the following command to fix them:
sudo apt --fix-broken install
After the dependencies are resolved, you can now run Google Chrome by searching for “Chrome” in the Applications menu or running the command:
google-chrome-stable
Open the default web browser in Ubuntu (usually Firefox).
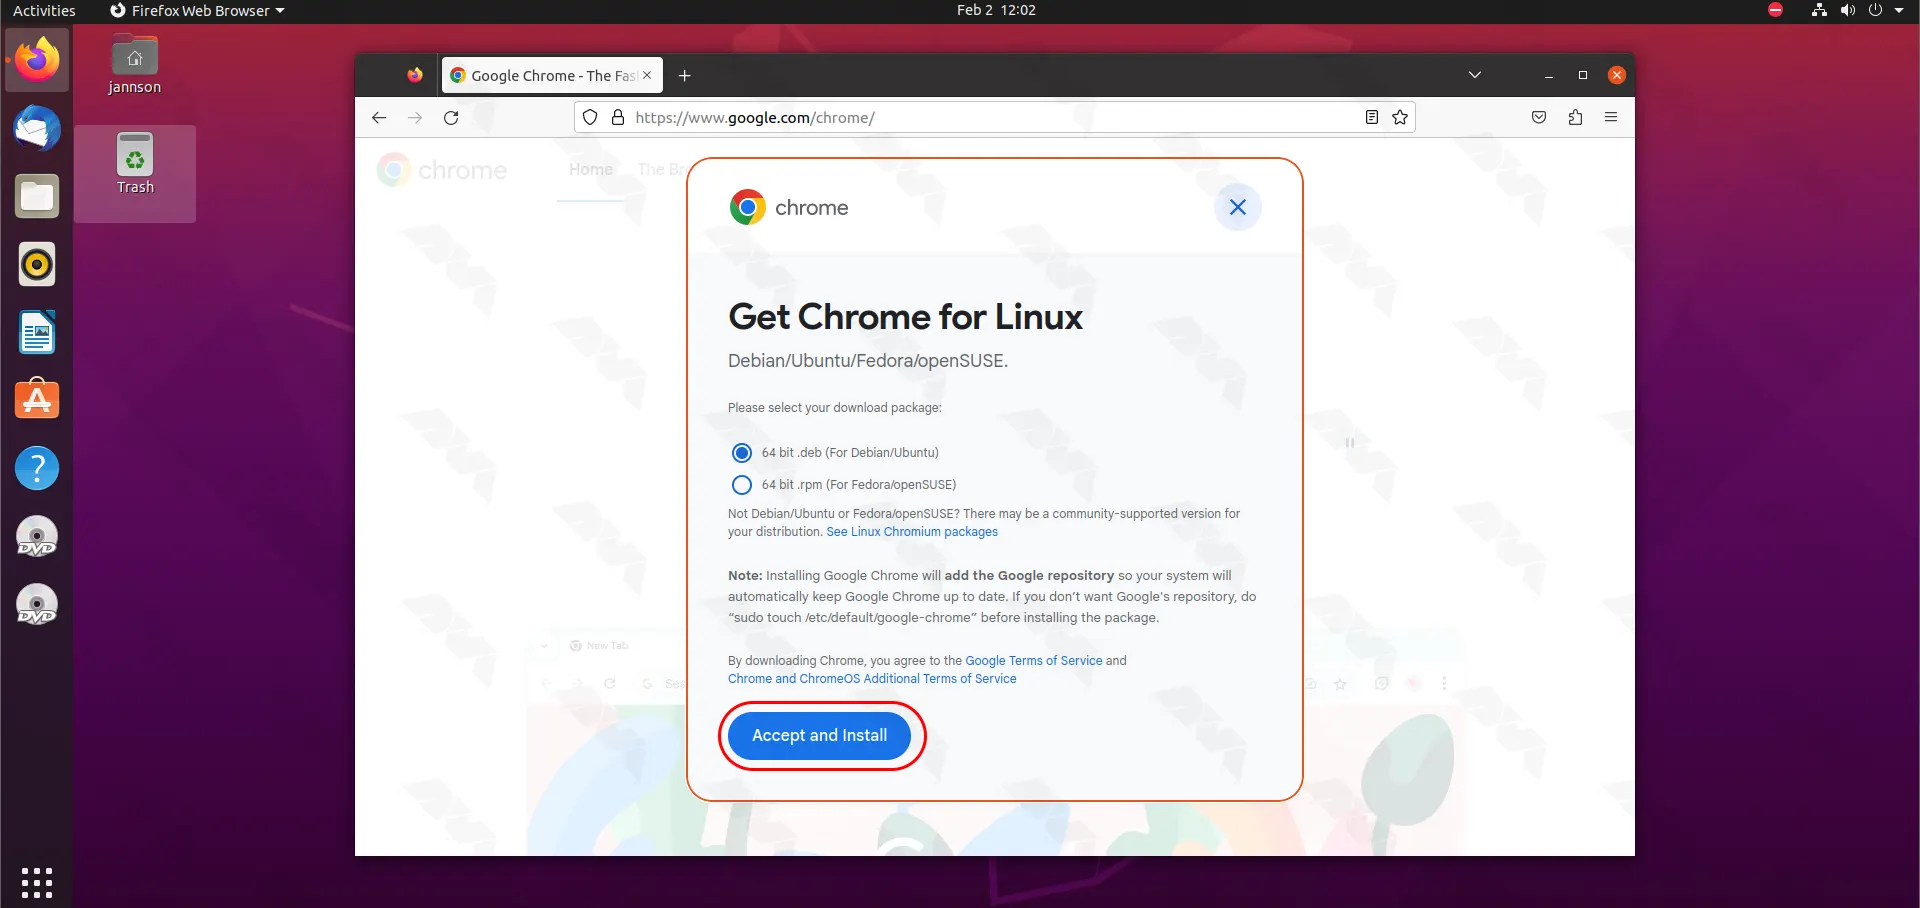
Visit the Google Chrome website and click on the “Download Chrome” button:
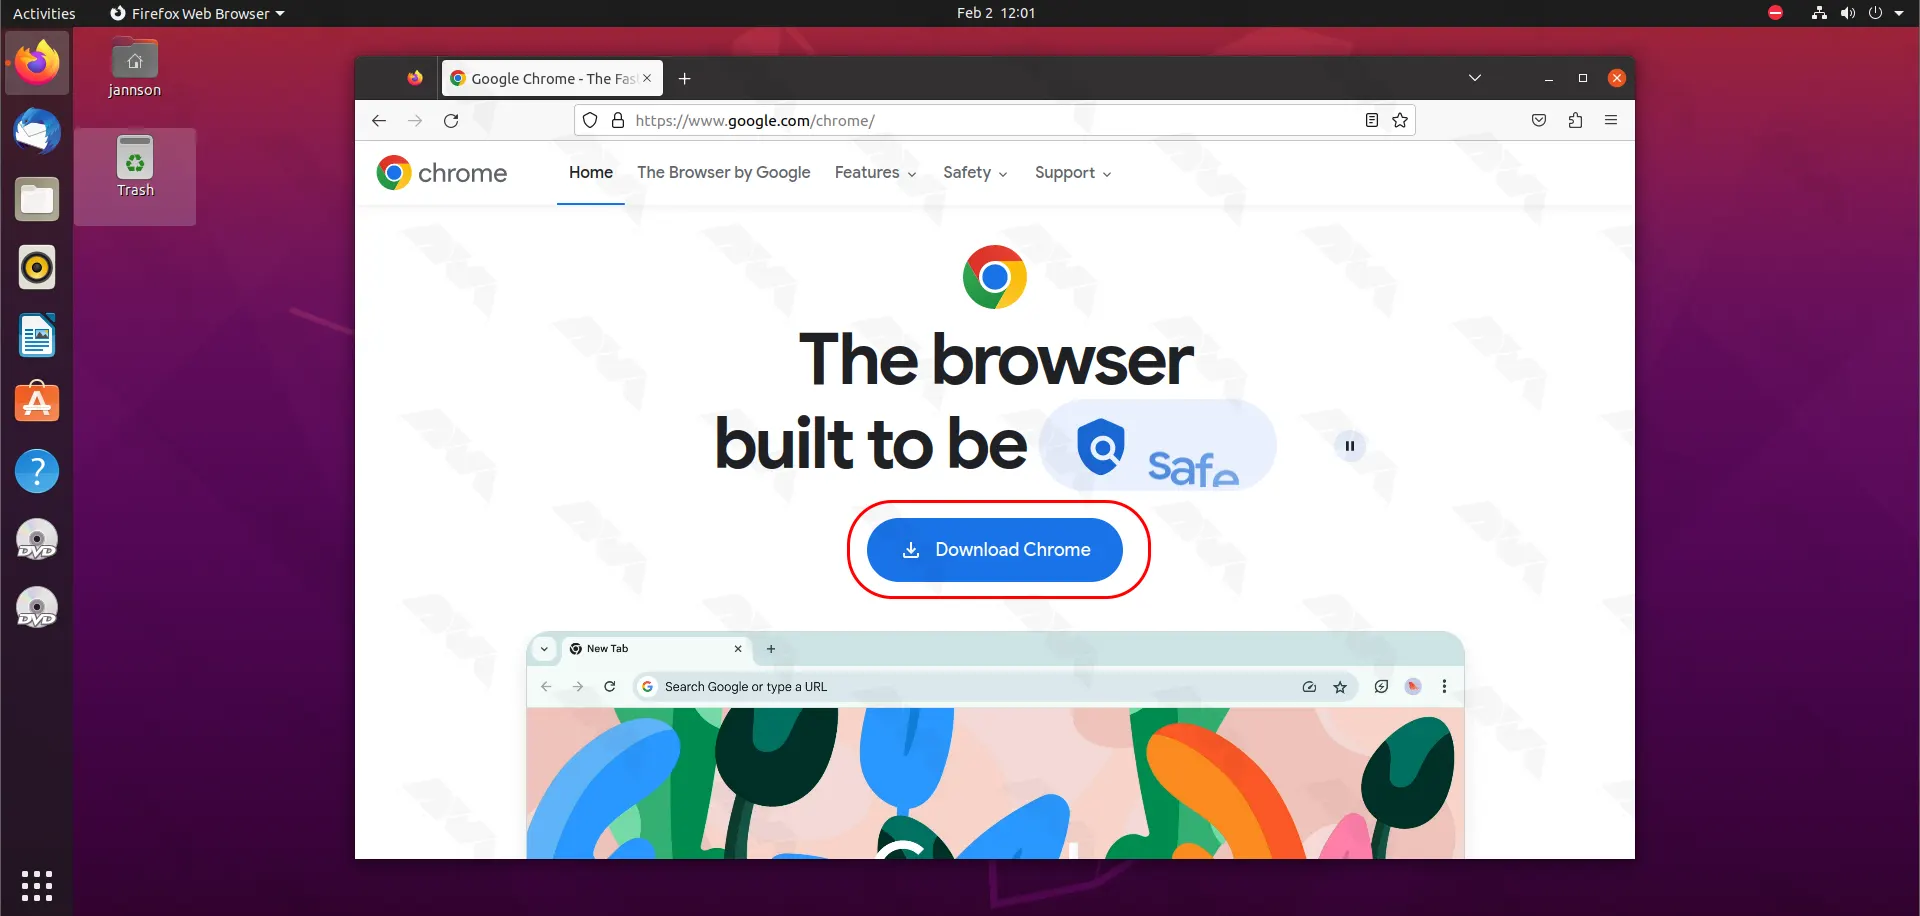
On the download page, select the “64-bit .deb (For Debian/Ubuntu)” option and click on “Accept and Install“:
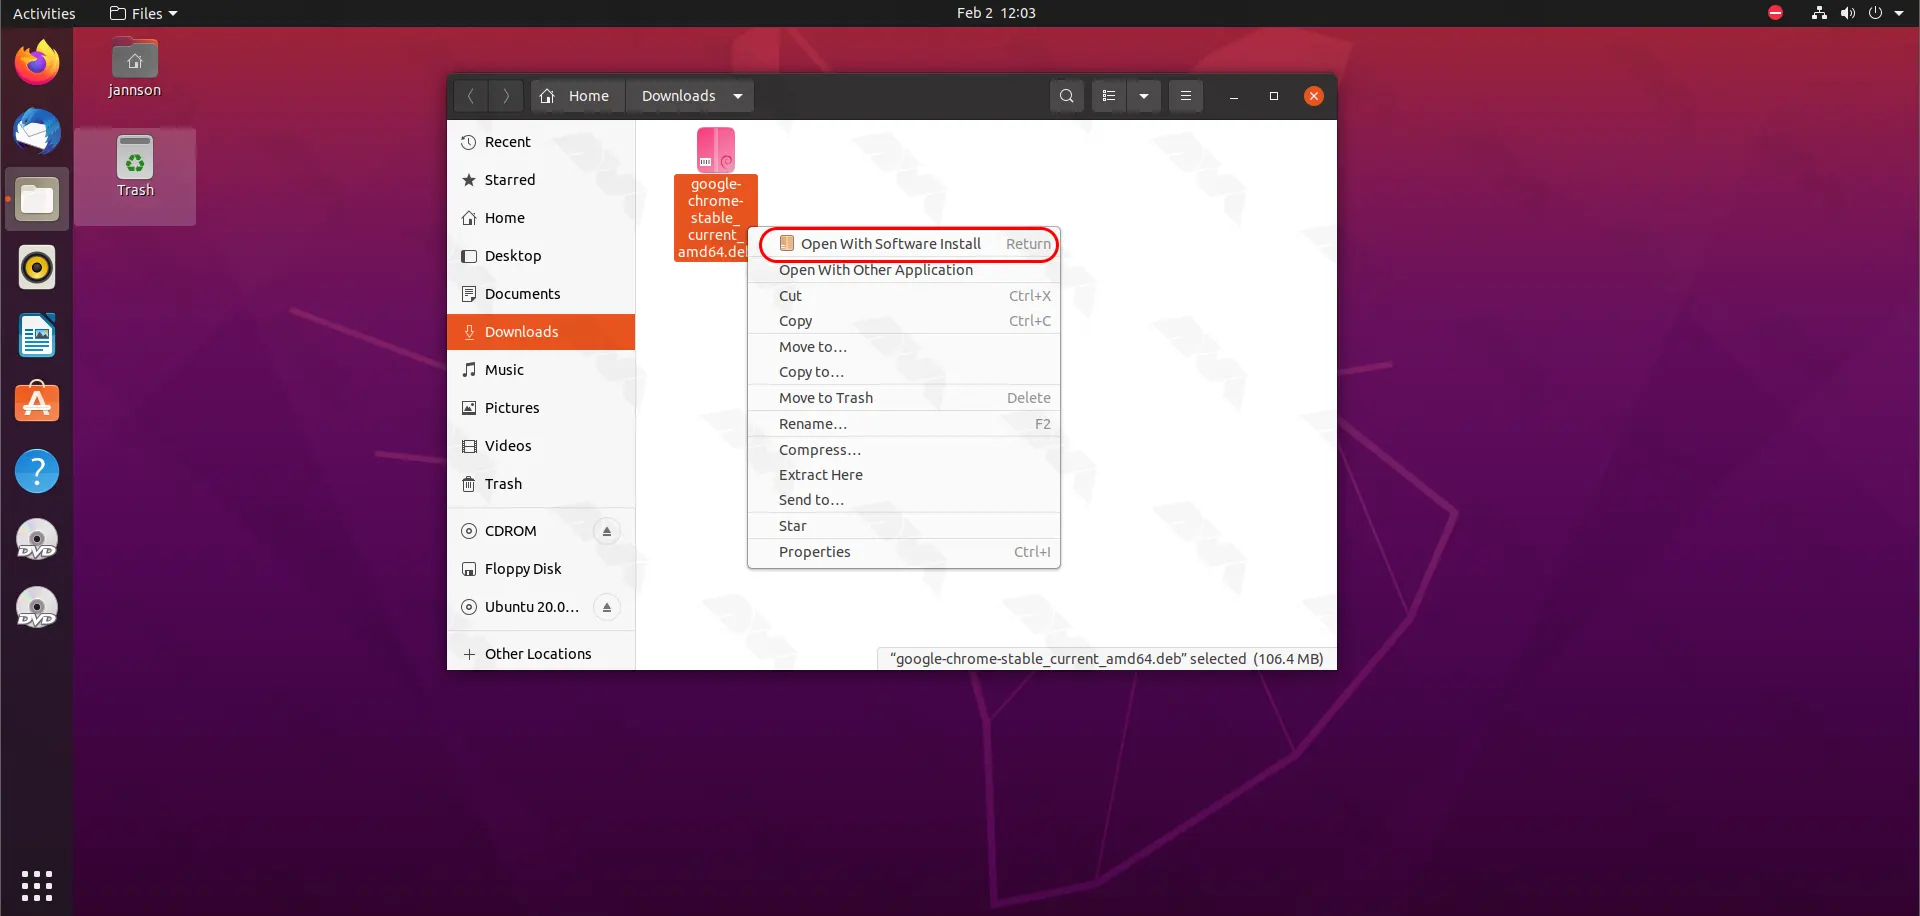
Note: Once the file is downloaded, open the file manager and navigate to the location where you saved the .deb file.
Right-click on the .deb file and select “Open with Software Install” or “Open with GDebi Package Installer” (depending on your Ubuntu version):
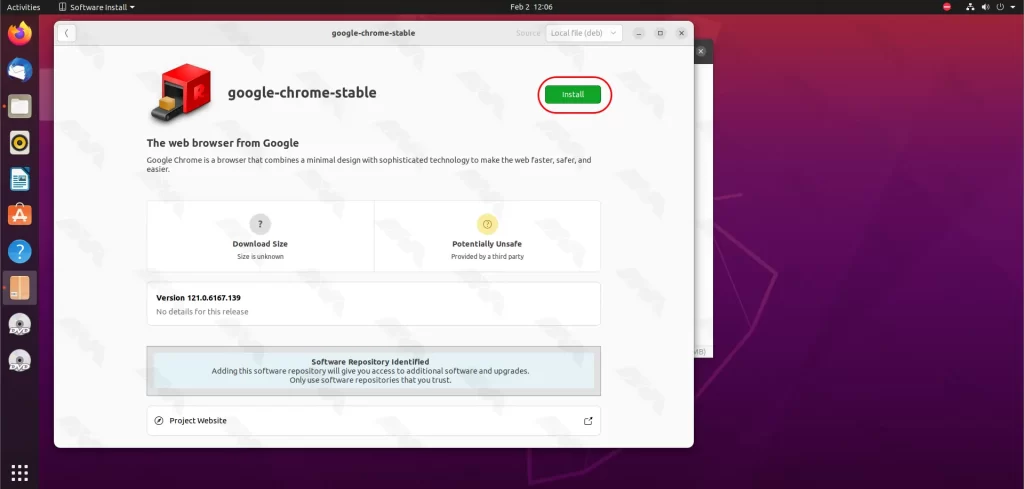
Click on the “Install” button to proceed:
*
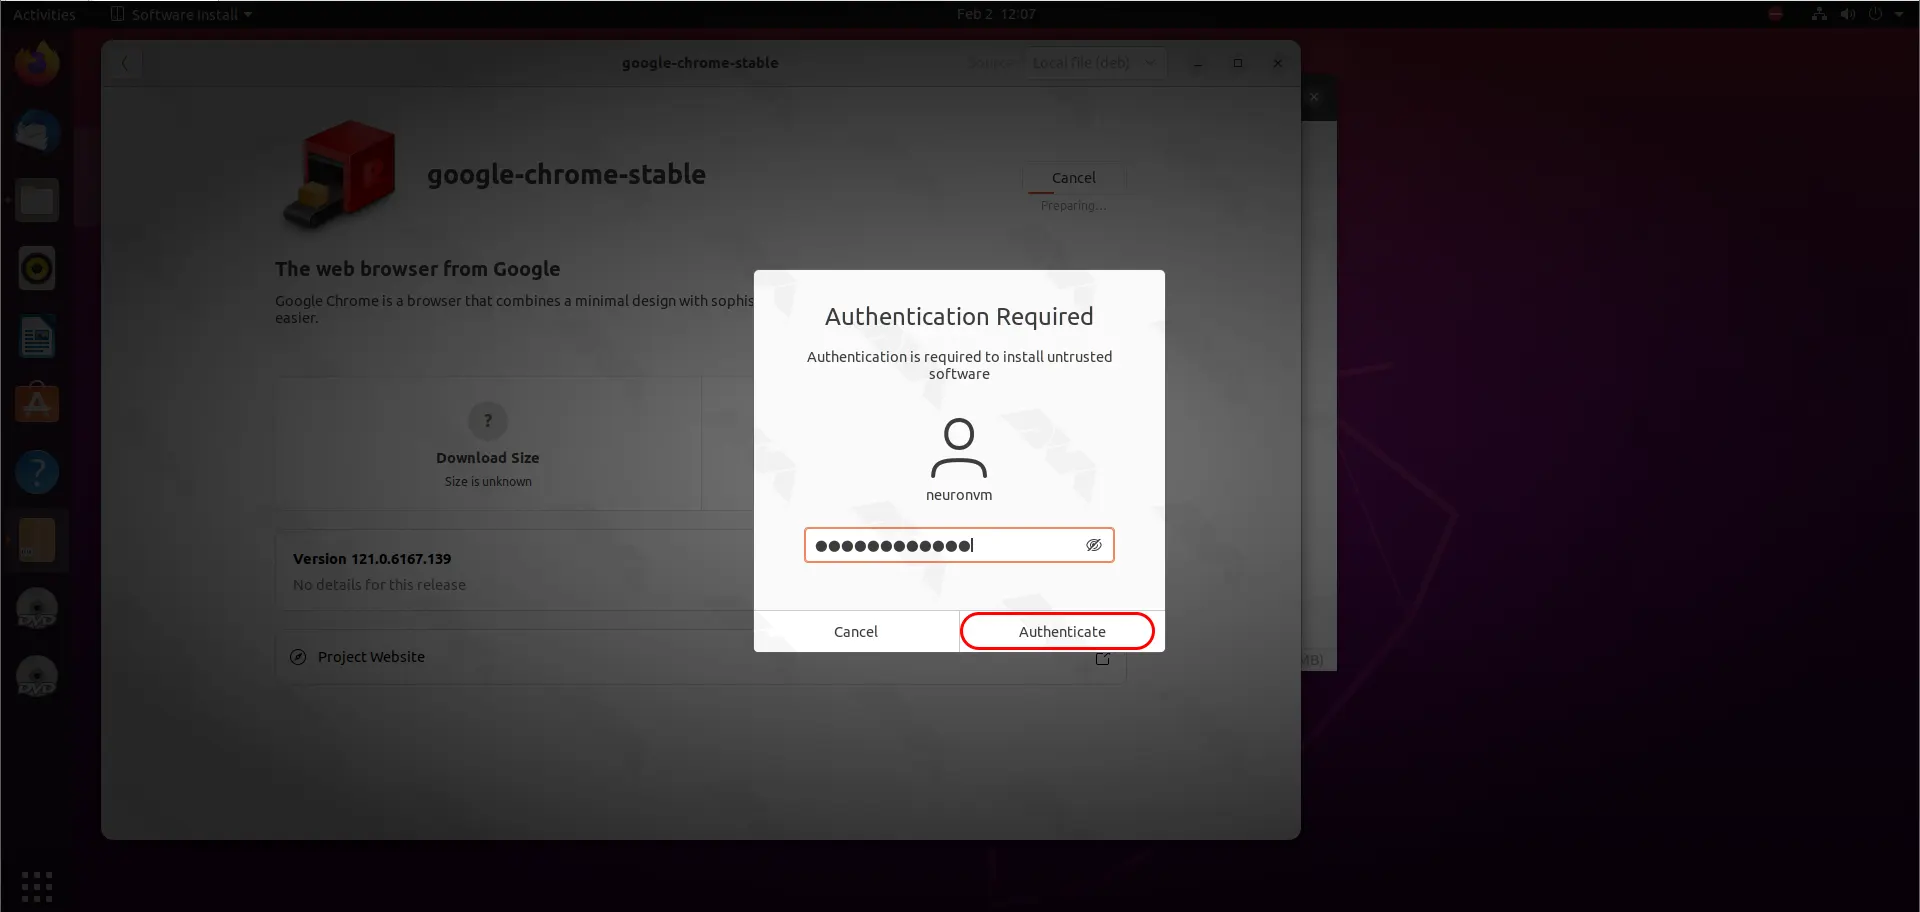
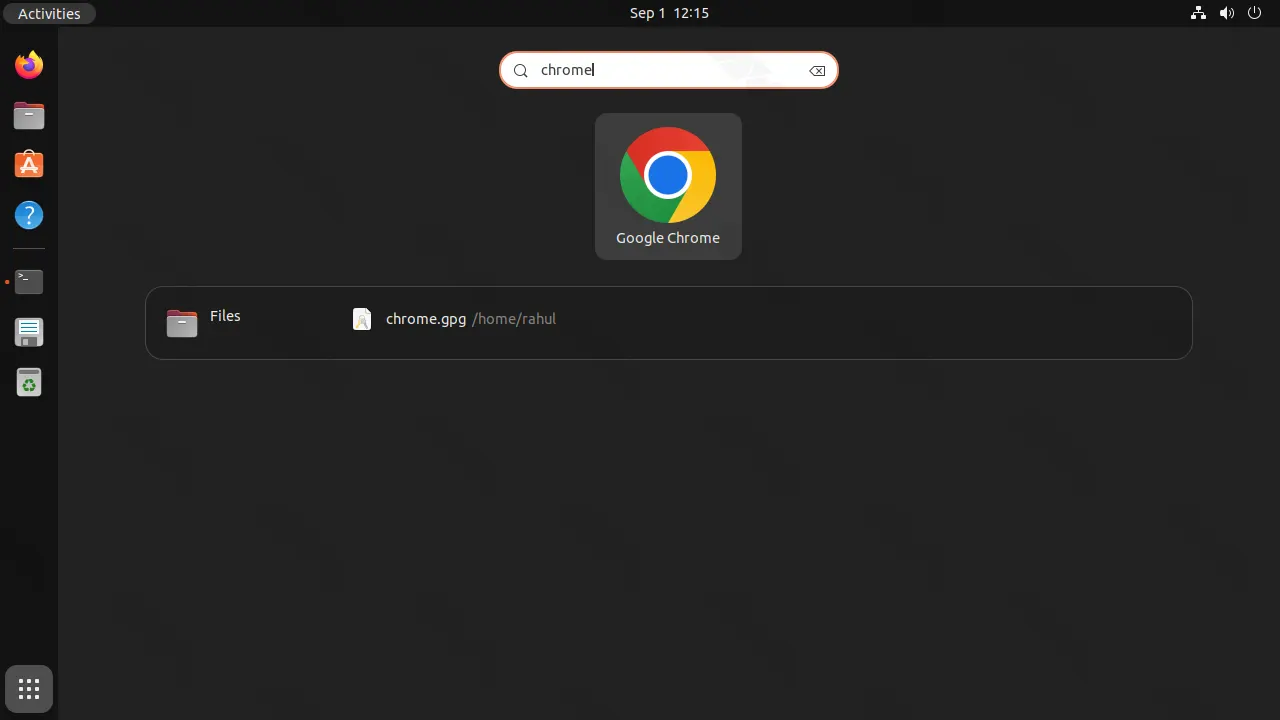
Wait for the installation process to complete. Google Chrome is now installed on your Ubuntu system. You can find it in the Applications menu or by searching for “Google Chrome” in the Ubuntu Dash:
Ubuntu provides a versatile platform to install software using both the terminal and the graphical user interface (GUI). Whether you prefer the efficiency of the command line or the ease of a GUI, the process of installing software on Ubuntu is straightforward. This guide explored the steps to install six different software applications using both approaches. By following this guide, you can expand the functionality of your Ubuntu system and enhance your overall computing experience.
How useful was this post?
Click on a star to rate it!
Average rating 3.2 / 5. Vote count: 18
No votes so far! Be the first to rate this post.
 Tags
Tags

A cPanel to cPanel migration refers to the process of moving all data, settings, and configurations ...


 Tags
Tags

Plesk is a popular web hosting control panel that simplifies server management and allows you to eas...


 Tags
Tags
What is your opinion about this Blog?


