


Plesk is a popular web hosting control panel that simplifies server management and allows you to easily host multiple websites on a single server. In this guide, we will walk you through the step-by-step process of installing Plesk on Ubuntu 20.04.
To install Plesk on Ubuntu 20.04, you will need the following prerequisites:
– A freshly installed and updated Ubuntu 20.04 on a Linux VPS server.
– A static IP address assigned to the server.
– SSH access to the server with the root user or a user with sudo privileges.
– Sufficient disk space (at least 10 GB is recommended).
– A fully qualified domain name (FQDN) pointing to the server’s IP address.

Installing Plesk on Ubuntu 20.04 is a straightforward process. This guide will walk you through the steps to ensure a successful installation. Follow the next steps with us.
Login to the server as a regular user with permissions using Putty or SSH and then run the following command:
sudo apt-get update
To proceed, you must configure UFW using the specified commands. Executing these commands will grant access to the ports necessary for the Plesk web interface, such as 80, 443, 8443, and 8880.
sudo ufw allow 80/tcp
sudo ufw allow 443/tcp
sudo ufw allow 8443/tcp
sudo ufw allow 8447/tcp
sudo ufw allow 8880/tcp
sudo ufw enable
sudo ufw reload
Please be aware that port 8447 is exclusively utilized during the initial installation process.
Now you can easily download the Plesk installer script by running the following command:
wget https://autoinstall.plesk.com/plesk-installer
You must be careful to enable the read, write and execute permissions of the downloaded Plesk script using the following command:
sudo chmod 755 plesk-installer
Start the Plesk web installation interface using the following command:
sudo ./plesk-installer --web-interface
Open your favorite browser. Then type your IP server with port 8447 in the address field of the browser as below and run it.
https://example.com:8447/
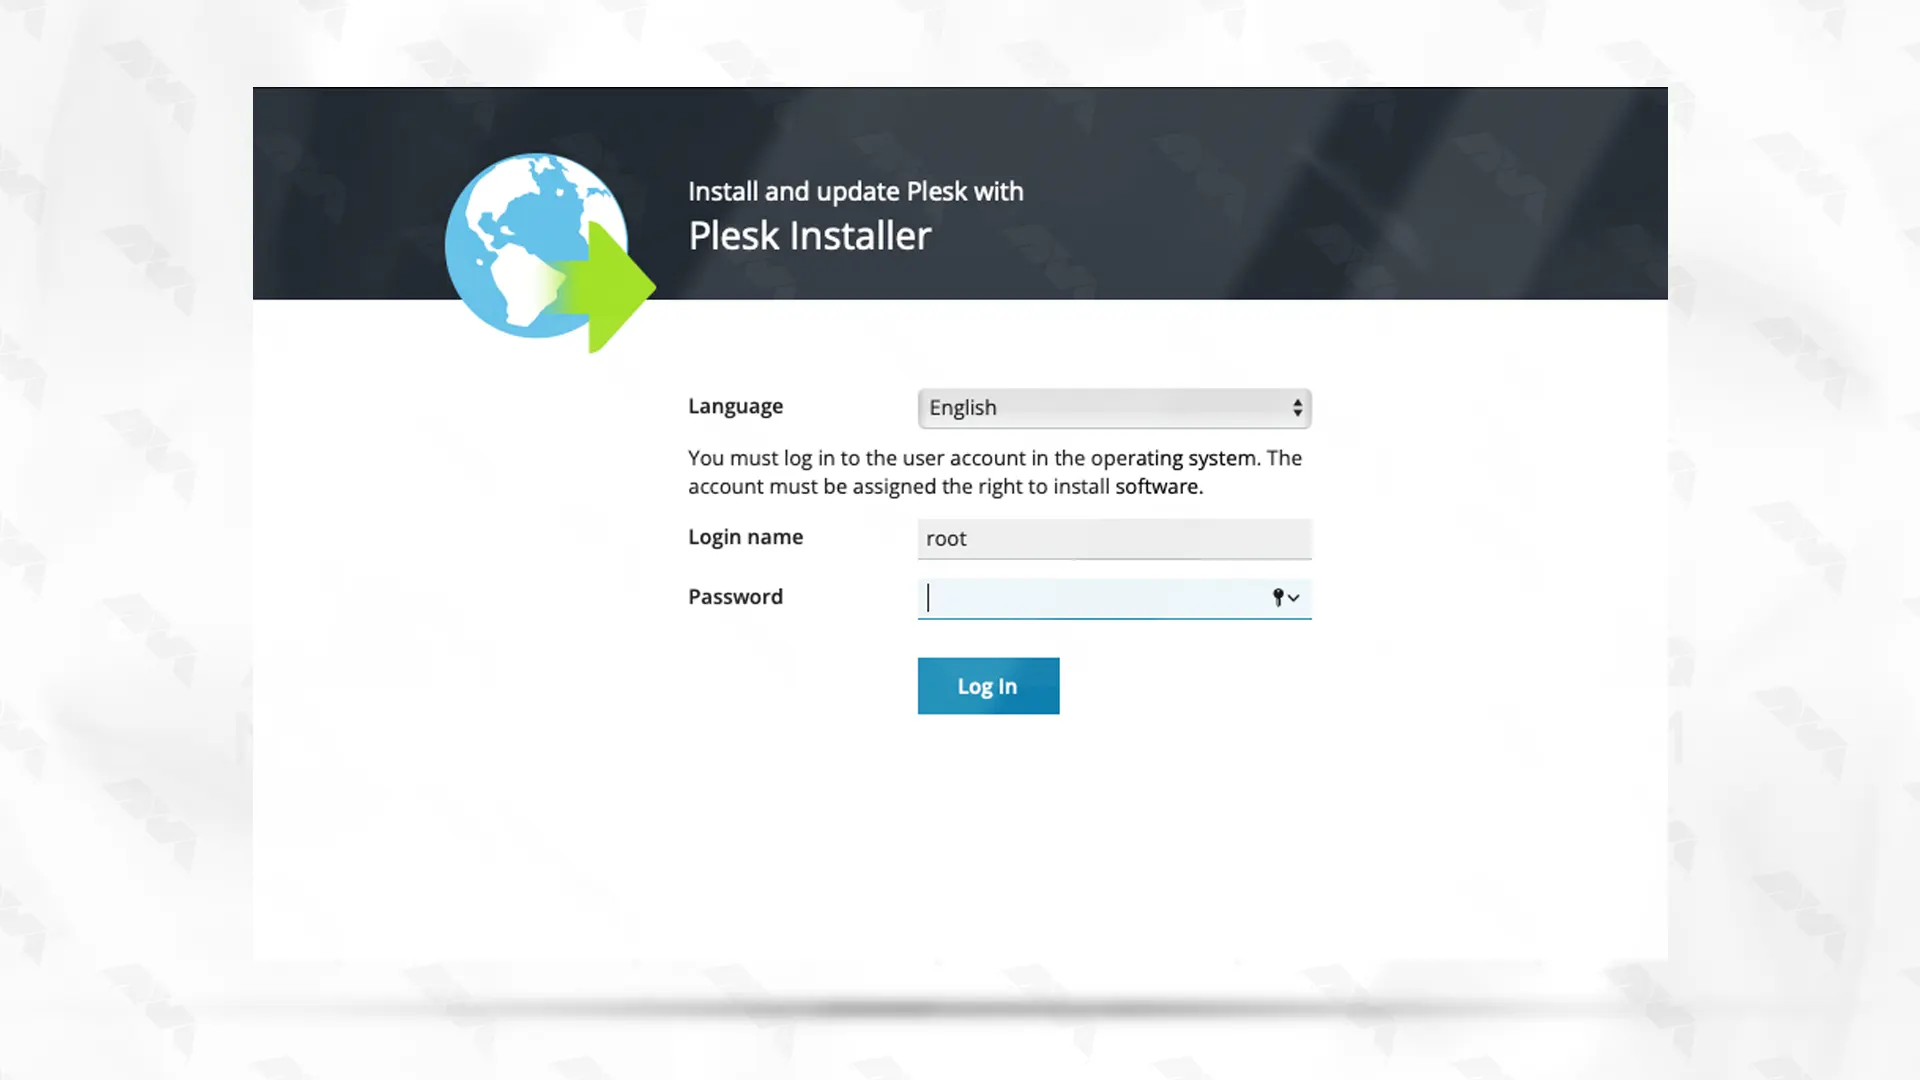
To continue the installation process, you need to type your server login name and password in the fields you see and log in:
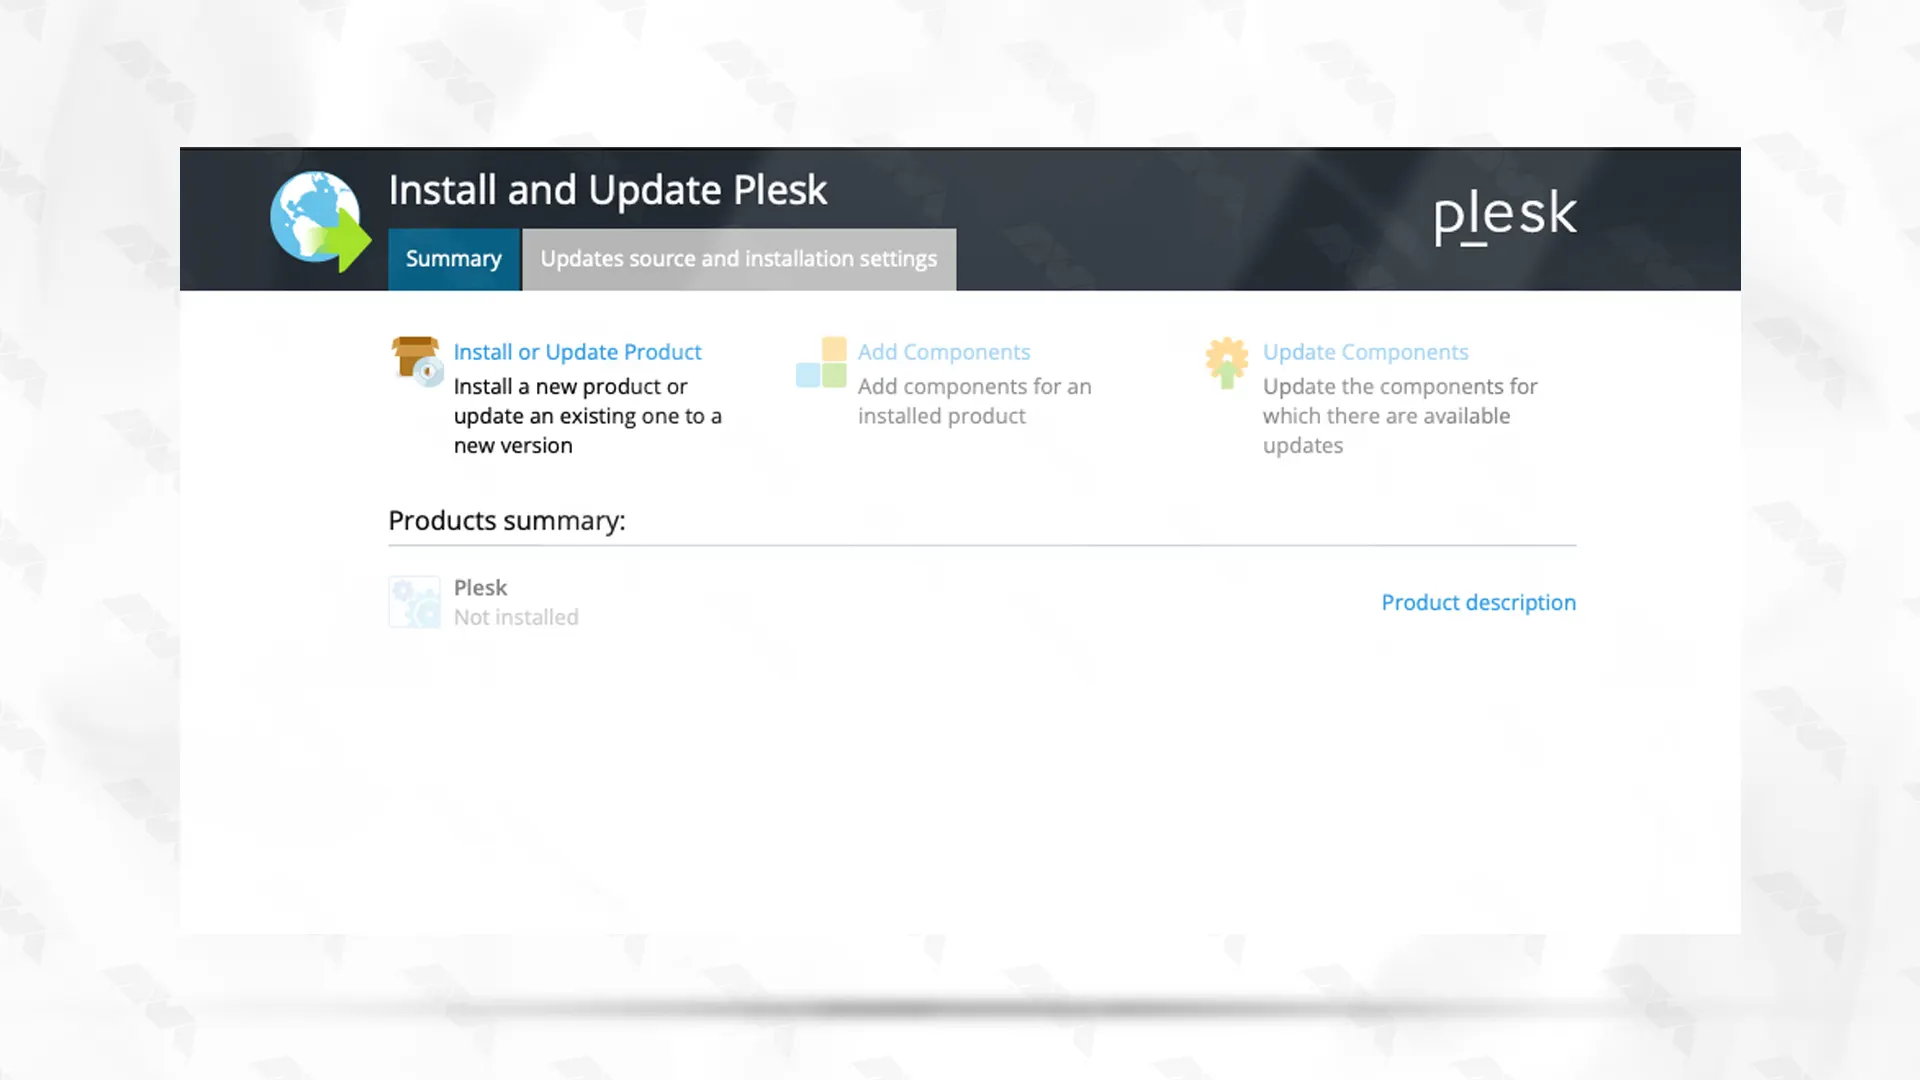
As shown in the image, you must now click Install or upgrade product:
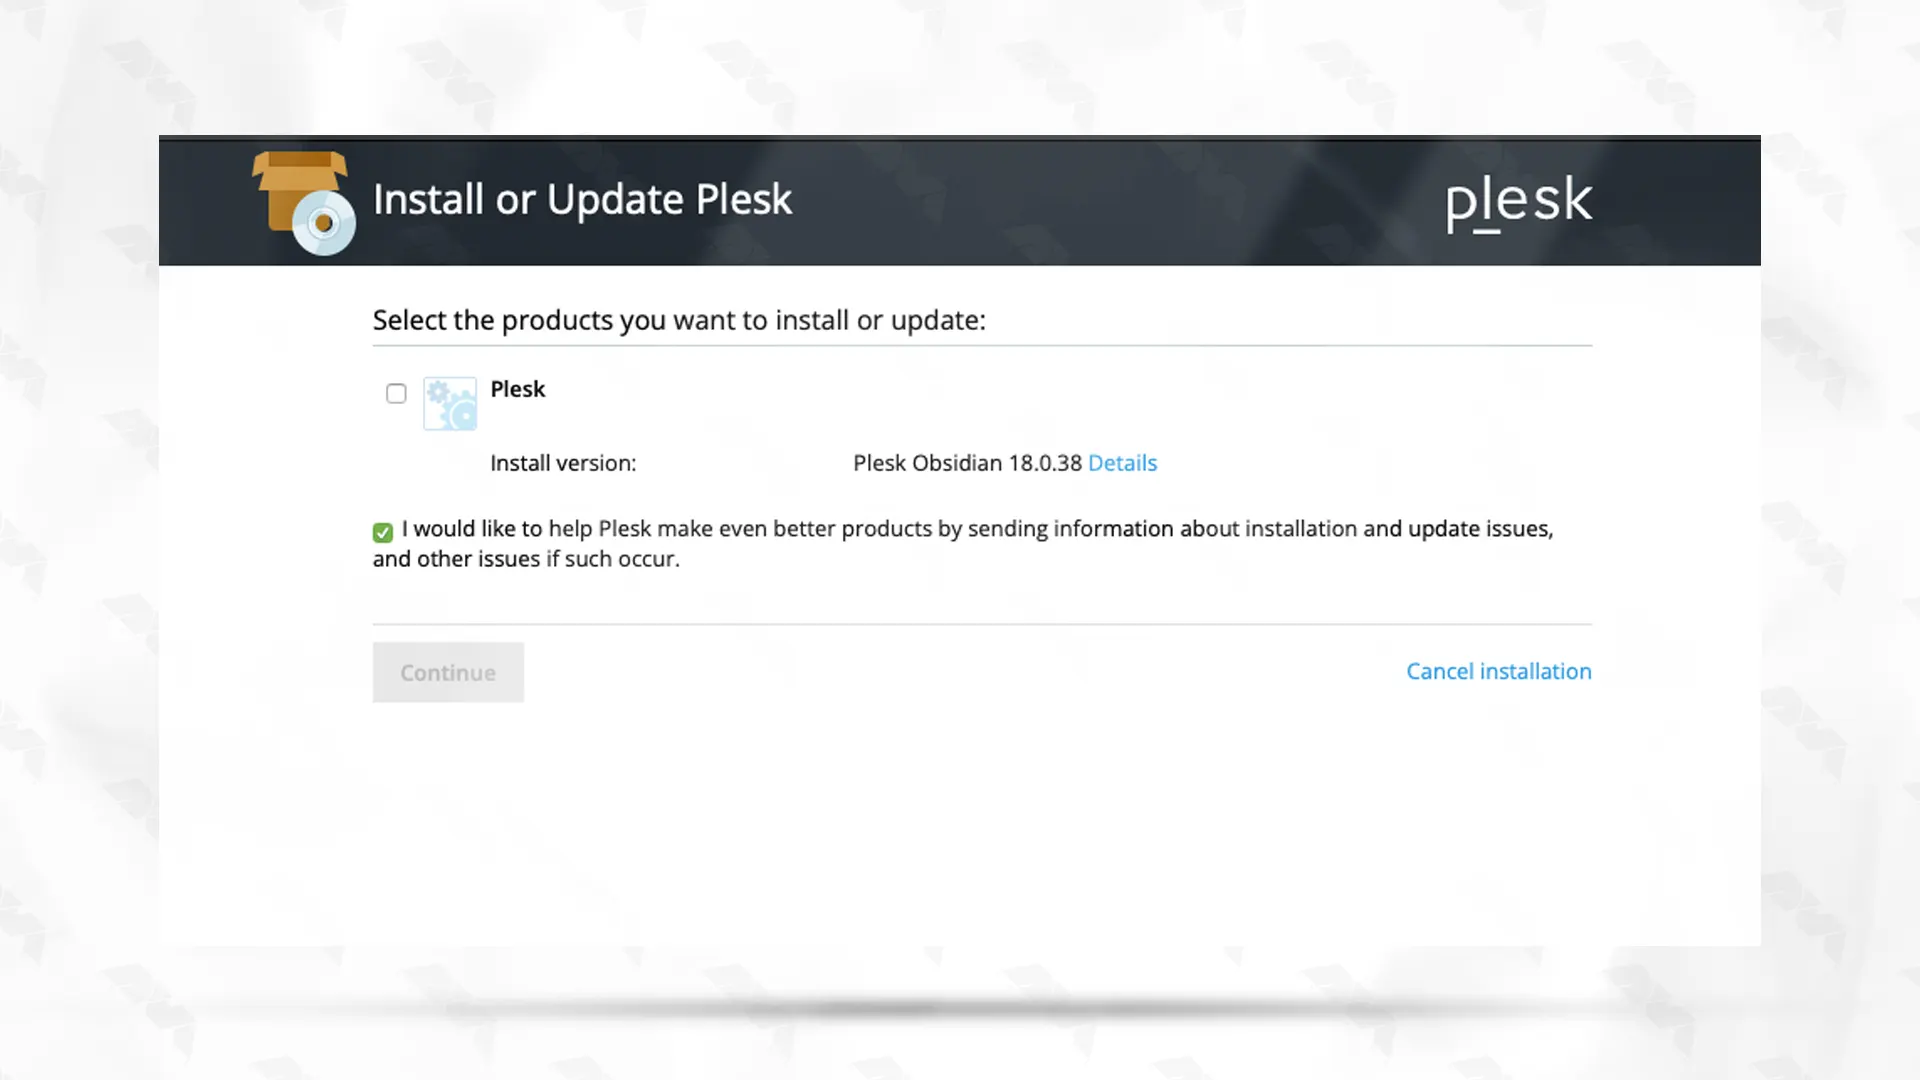
Then you have to tick Plesk and click on continue:
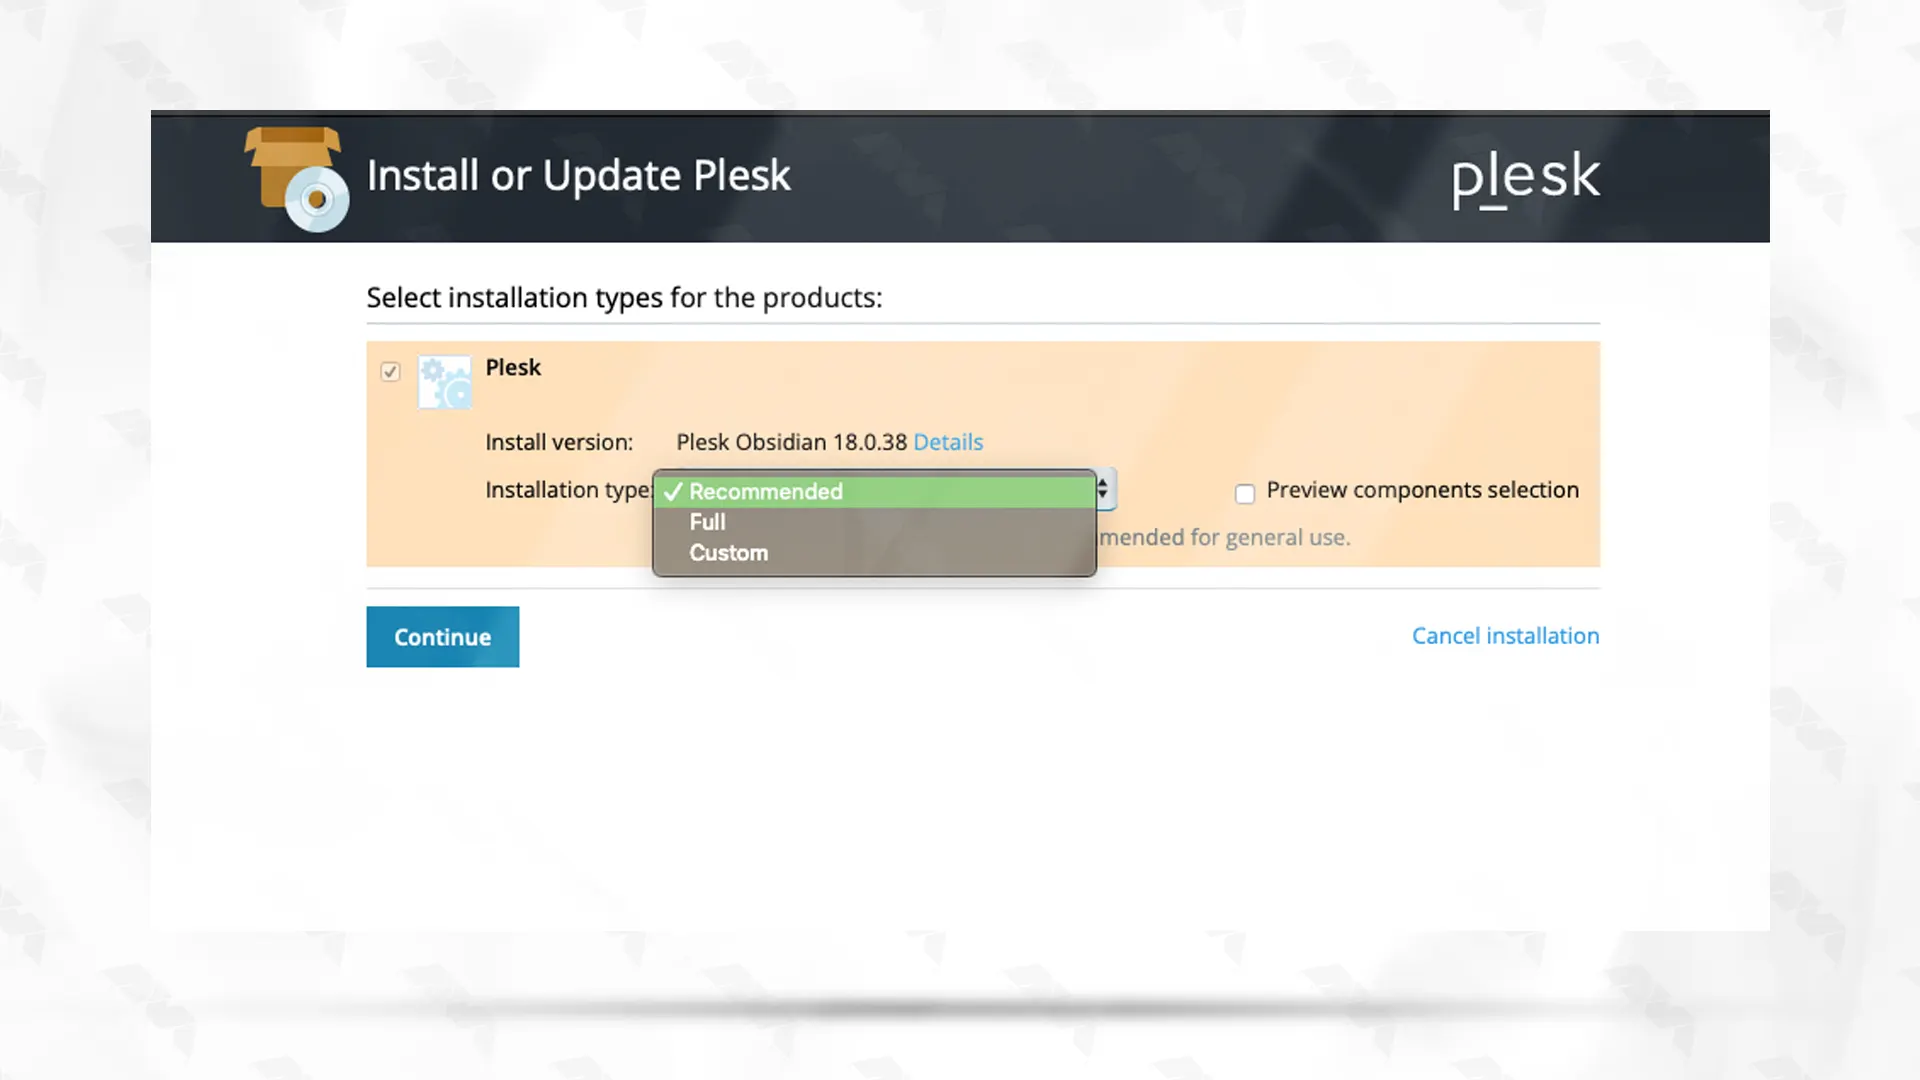
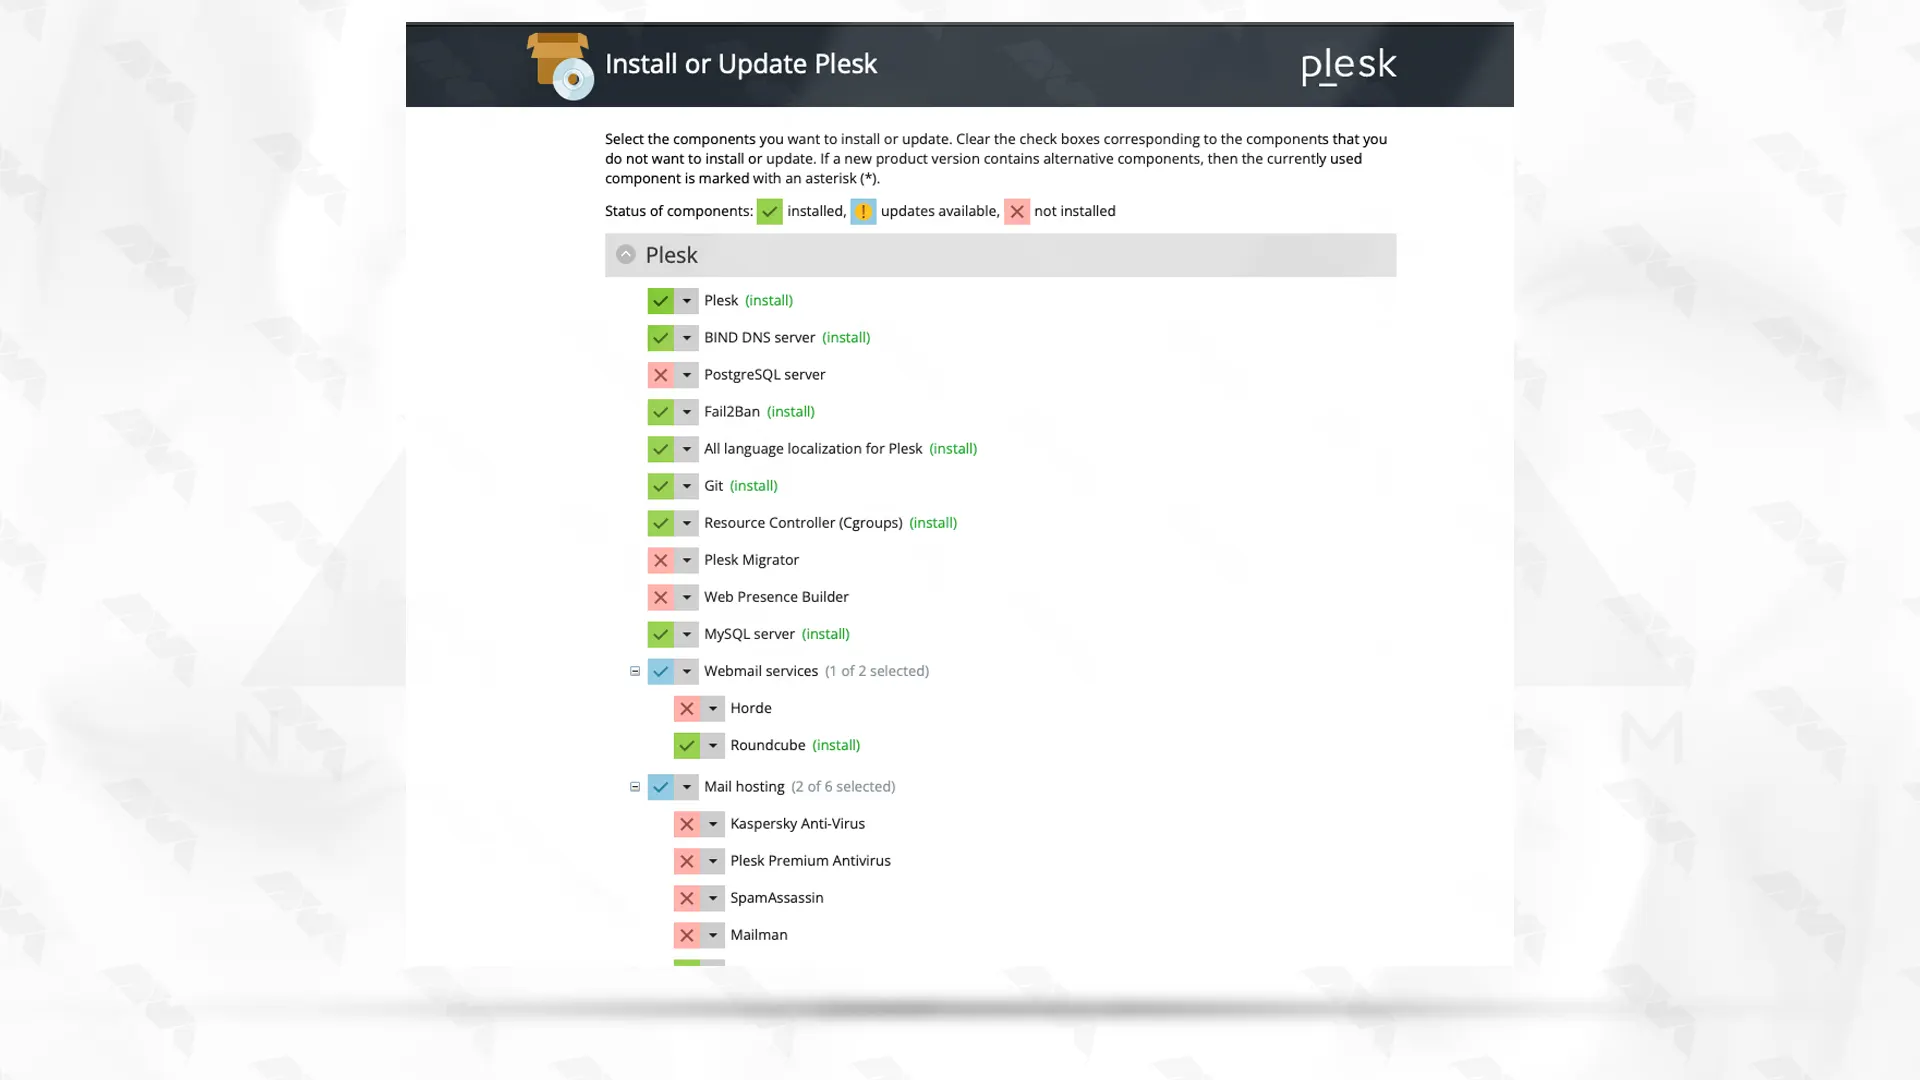
Here you can choose the type of installation you want with the following explanations:
– Recommended: Installs default Plesk components.
– Full: Installs all supported programs and features.
– Custom: Allows you to choose which components you want to install on your Plesk panel.
If you choose Custom from the available options, a list of components available for installation on the Plesk server will be displayed to you as shown in the image below:
Allow the installation to complete. Then open the terminal session again and stop the script by pressing CTRL+C.
Then, restart your server using the following command:
sudo shutdown -r 0
To acquire a one-time login link, execute the subsequent command. This link is vital for establishing a Plesk administrator account and inserting your license key:
plesk login
Finally, to finish, you need to agree to the license agreement and press Enter to continue.
To access the Plesk control panel, open a browser and execute one of the following commands:
https://your.server.example.com:8443
http://your.server.example.com:8880
By following the above steps, you have successfully installed Plesk on Ubuntu 20.04. You can now utilize Plesk’s intuitive interface to manage your websites, domains, email accounts, and other services effectively. Take advantage of its vast range of features to simplify your server administration tasks and enhance your web hosting experience.
How useful was this post?
Click on a star to rate it!
Average rating 5 / 5. Vote count: 1
No votes so far! Be the first to rate this post.
 Tags
Tags

In today's fast-paced digital world, businesses are constantly seeking ways to enhance their pr...


 Tags
Tags

As the world of business becomes increasingly digital, companies are constantly seeking innovative s...


 Tags
Tags
What is your opinion about this Blog?


