


Minecraft is a popular sandbox video game. It has been so successful that it has attracted the attention of professional gamers. It helps players to build structures with different blocks in a 3D virtual world. Of course, the possibility of playing and having fun is only part of this story, and there are other advantages in this amazing game. This article deals with how to install Minecraft on Windows Server. Users must connect to a central computer that acts as a host. Let’s explore the continuation of this guide in the content below.
If you plan to install Minecraft on a Windows server, you must provide the necessary prerequisites. These prerequisites include:
– A Windows VPS with Windows Server 2012, 2016, 2019, 2022
– 4 GB of RAM
– High-speed internet connection
Note: To have a hassle-free performance, for a multiplayer server, you should have a lightning-fast CPU.
Follow the seven steps below to get an easy and fast installation of the Minecraft server.
Go to the official website of Java and download the latest version on your Windows server:
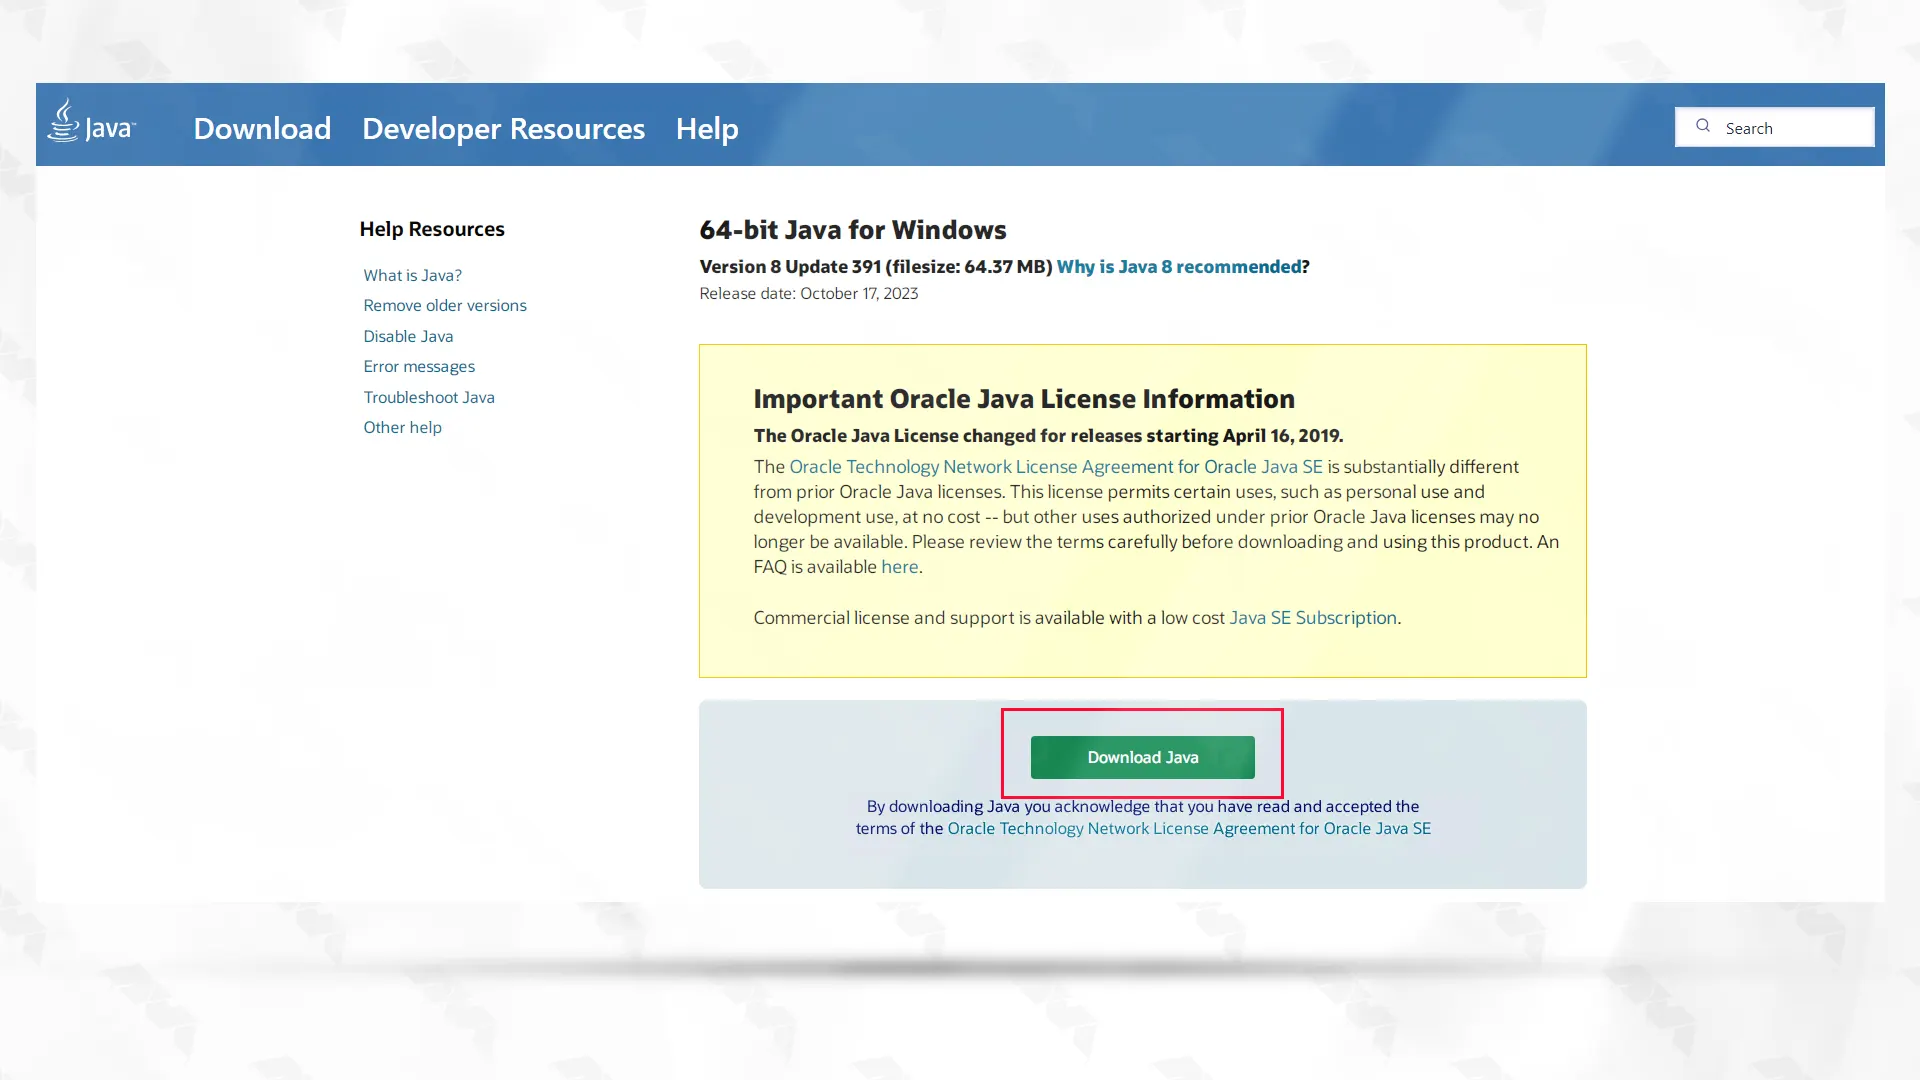
As you can see, a .exe file will be downloaded. Open the file and click on the Install button. When you finish the installation process, restart your computer.
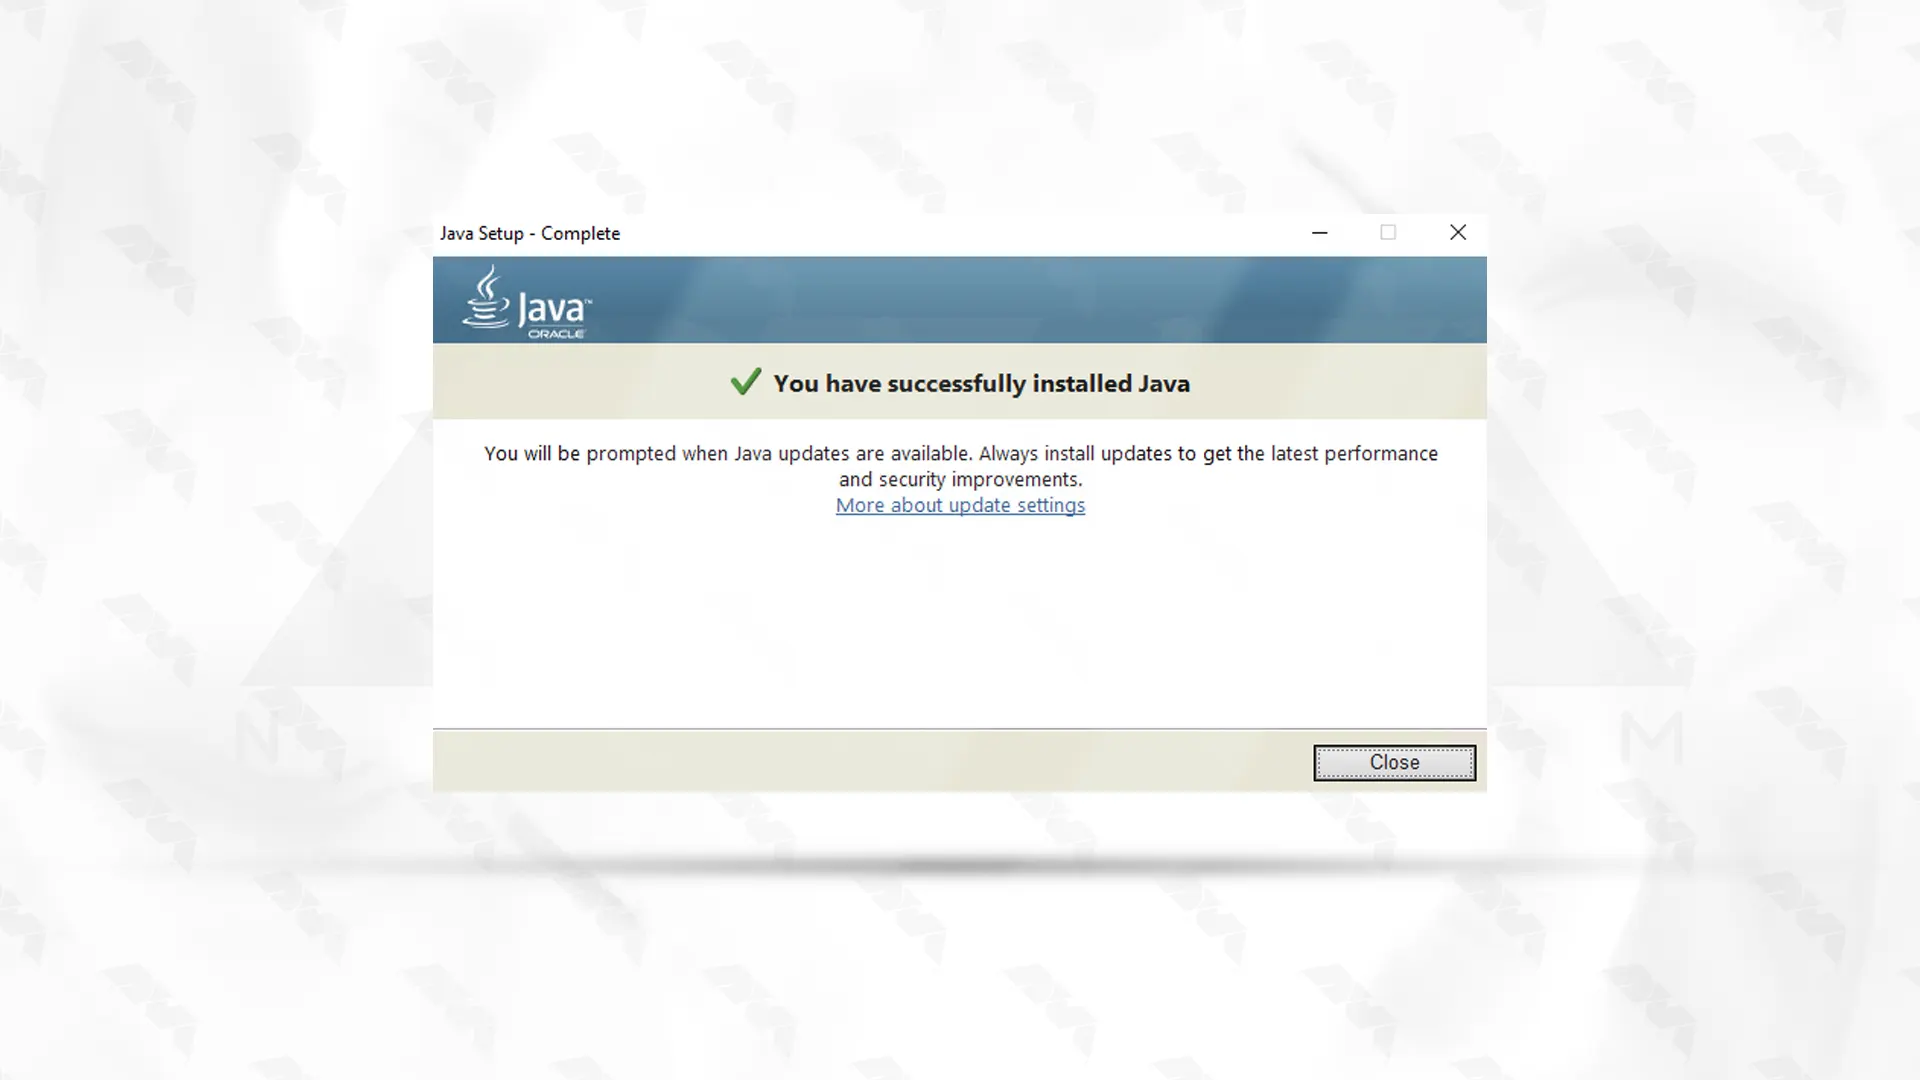
Note: Try to download the latest version of Java.
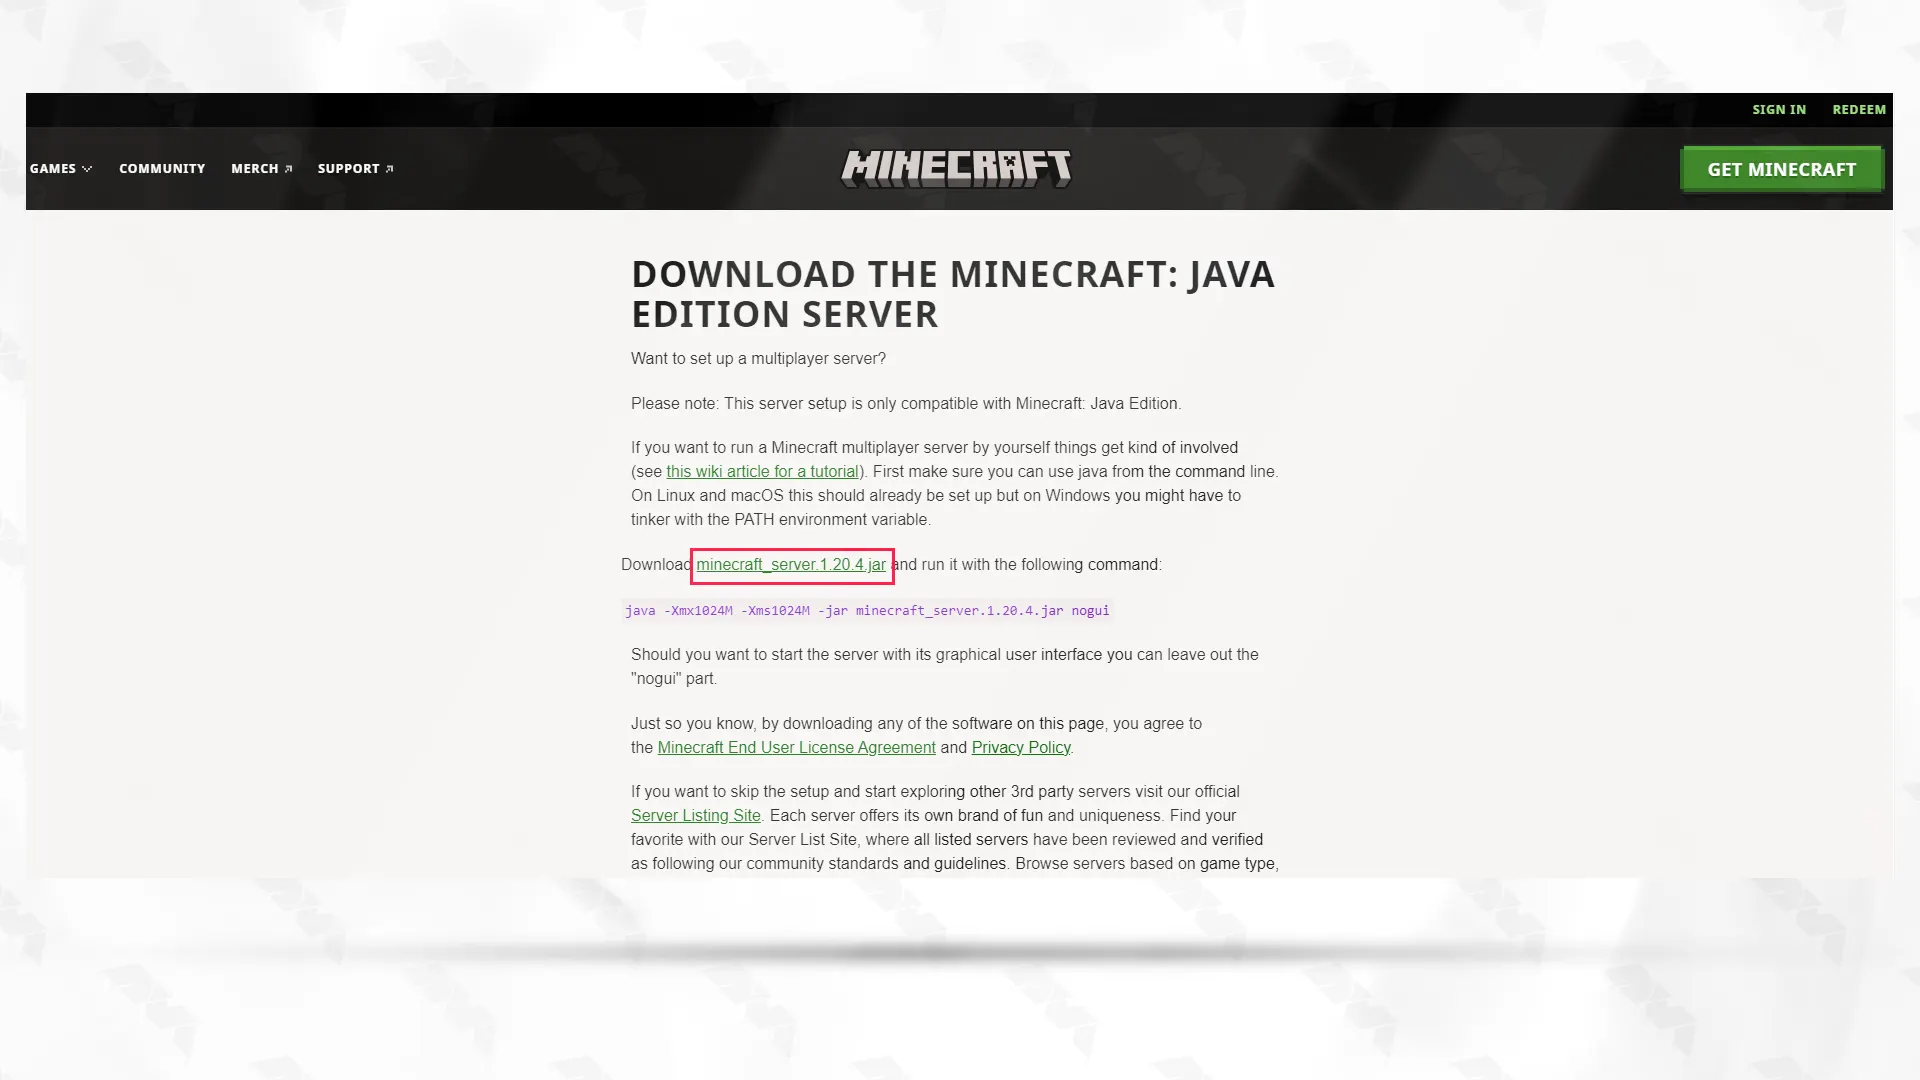
After downloading the latest version of Java, it is time to download Minecraft files from its official website.
Find the minecraft_server.1.20.4.jar file and click on it to download the Minecraft jar file. Then move the Minecraft server file from your default downloads folder to your desired location. It is better to create a special folder for this file:
You need to extract the required installation files, so double-click on the downloaded server.jar file. These files will be used in the next steps to configure Minecraft on the Windows server:
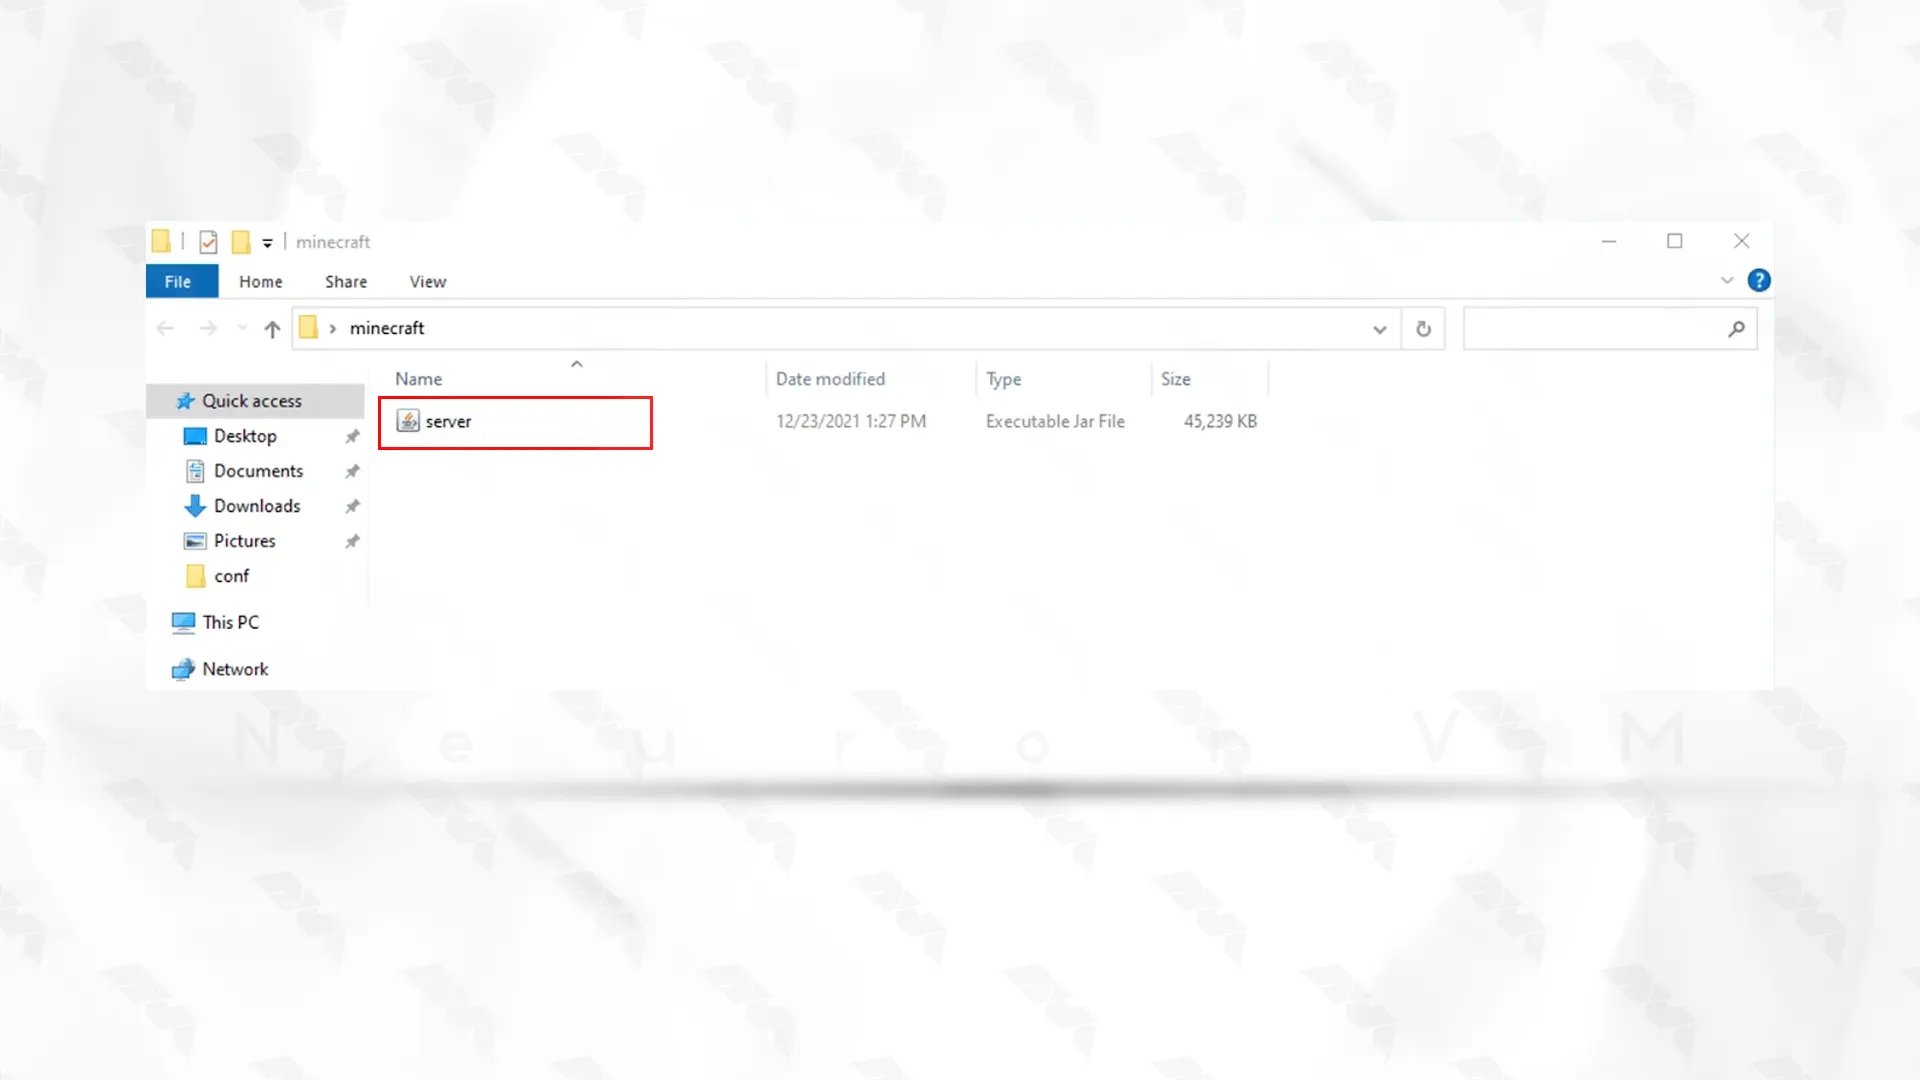
Now you can set server properties with configuration files:
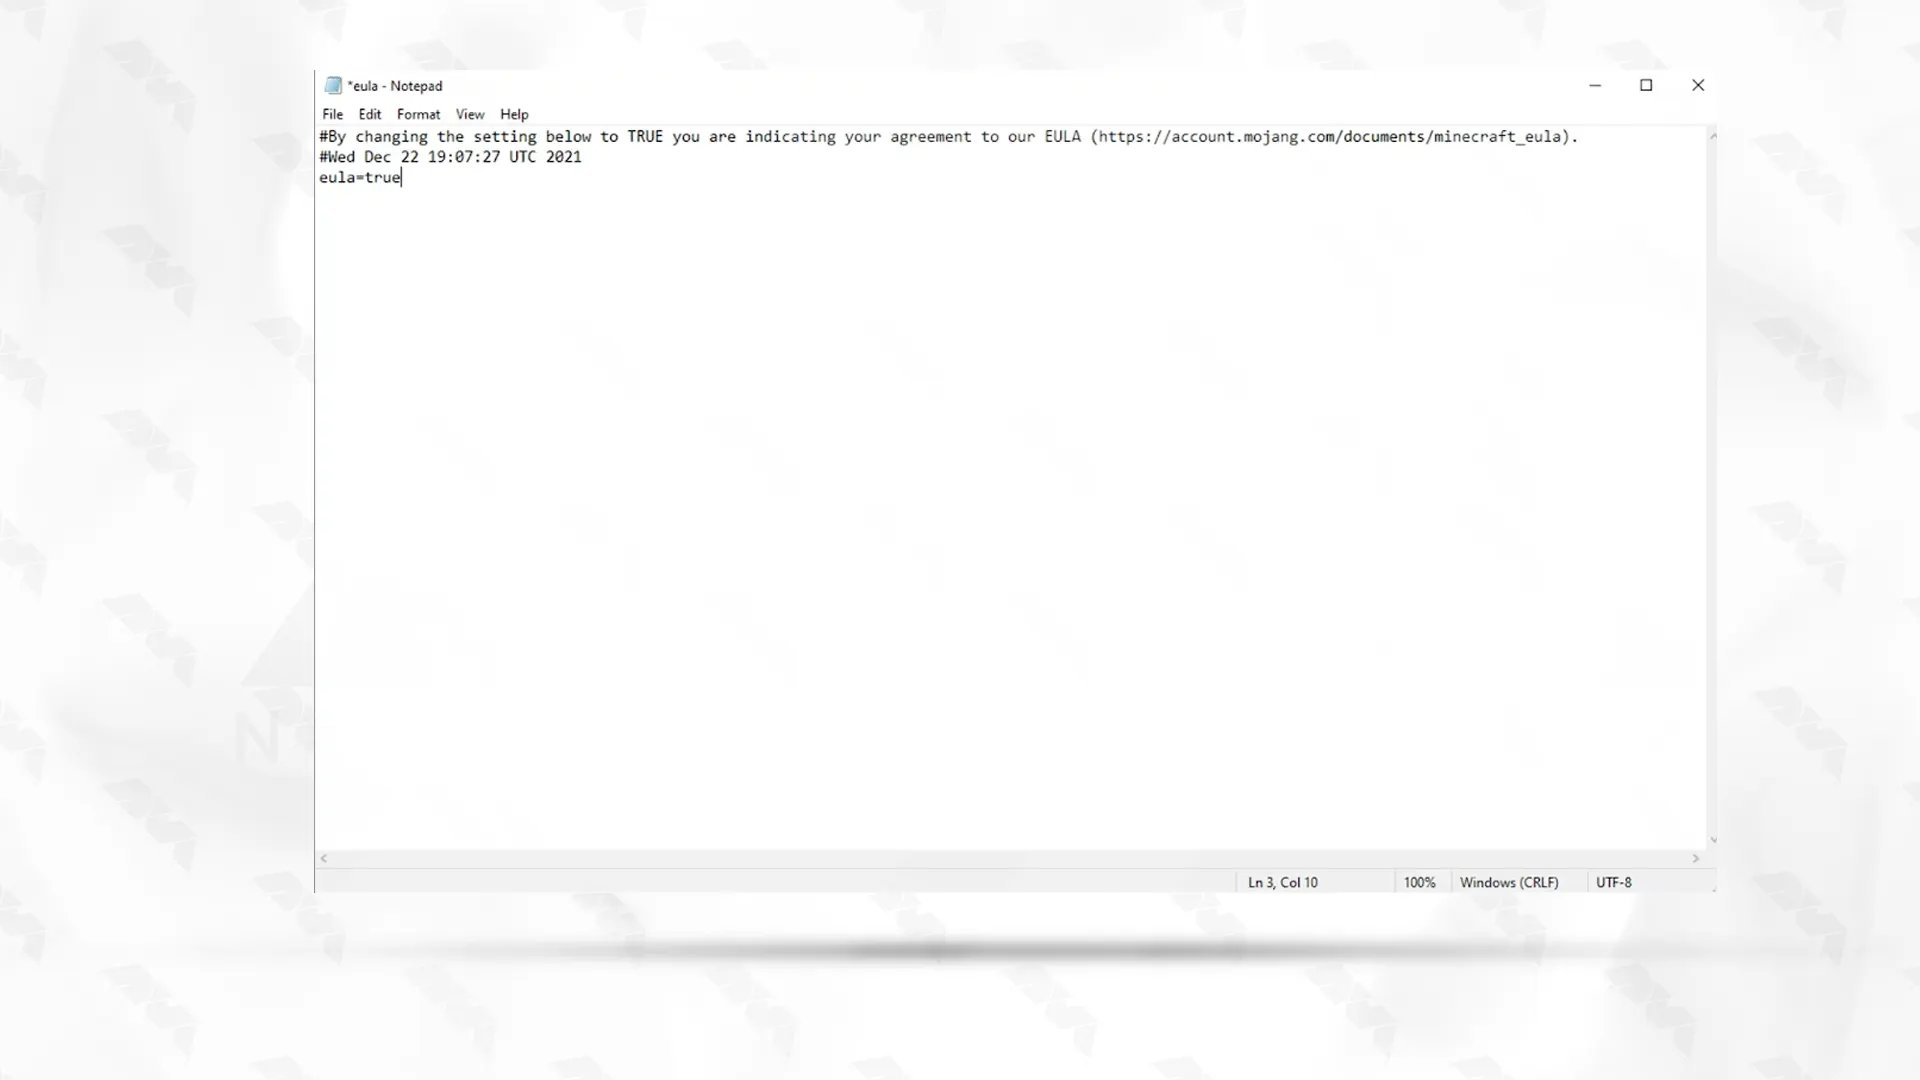
You must agree to the Minecraft End User License Agreement (EULA) to proceed. So open this agreement and read it. Then open the eula.txt file, and change eula=false to eula=true and save. Now accept the contract.
Use the server.properties file to configure server properties. Essential server settings include memory, game settings, and server port. The default server port is 25565.
Note that you can change and adjust the server settings according to your desire from the server.properties file. So make the required changes and save it on your Windows server.
Remember the Minecraft Java file that we extracted in step 3. Now, by configuring all the server settings, you can run the same Minecraft Java file in your Windows server environment.
At this point, you need to allow access to the Minecraft server installed in your Windows firewall. This way you can successfully connect to the Minecraft server. Now click on the Allow access button so that the Minecraft server works in the firewall. (If needed)
After a successful installation and setup, you will see the Minecraft stats window:
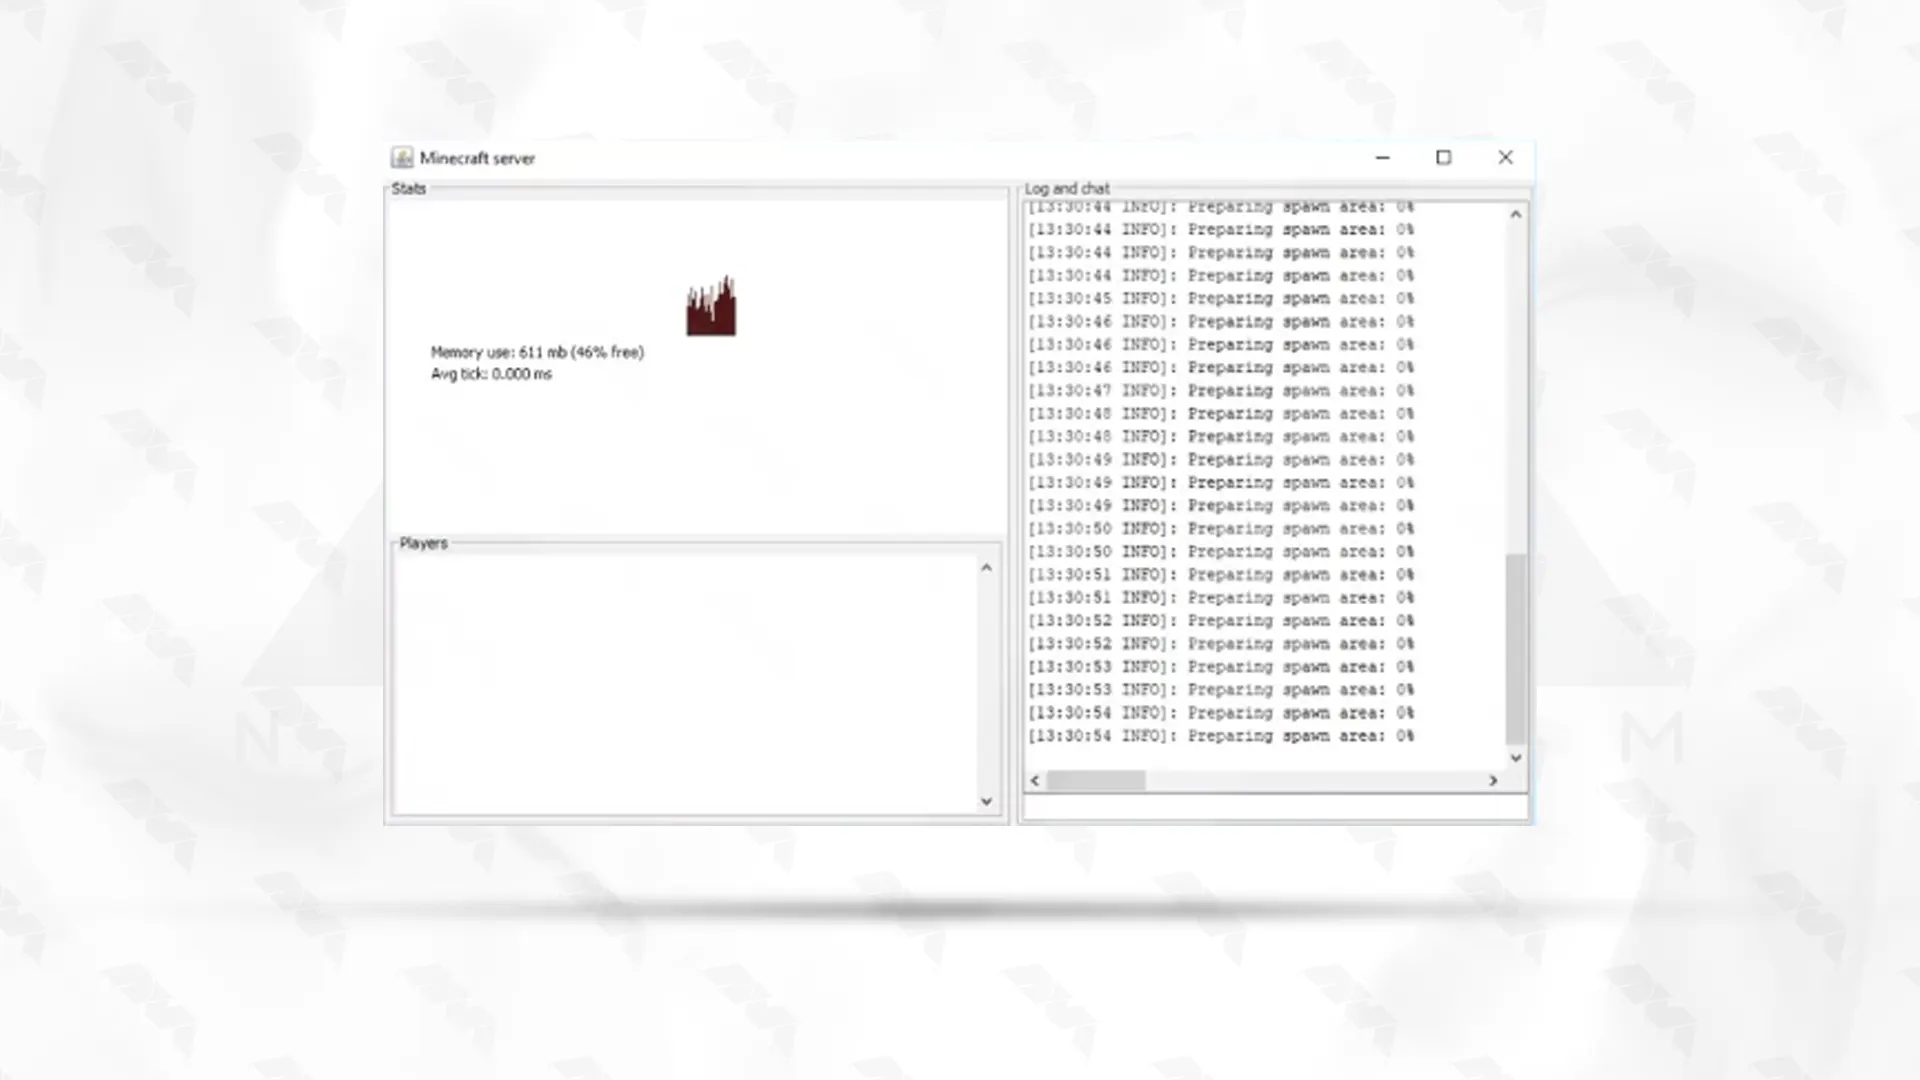
If your system can’t keep up with the details required to run a multiplayer server even after providing the prerequisites, you can use a cloud server for a seamless experience:
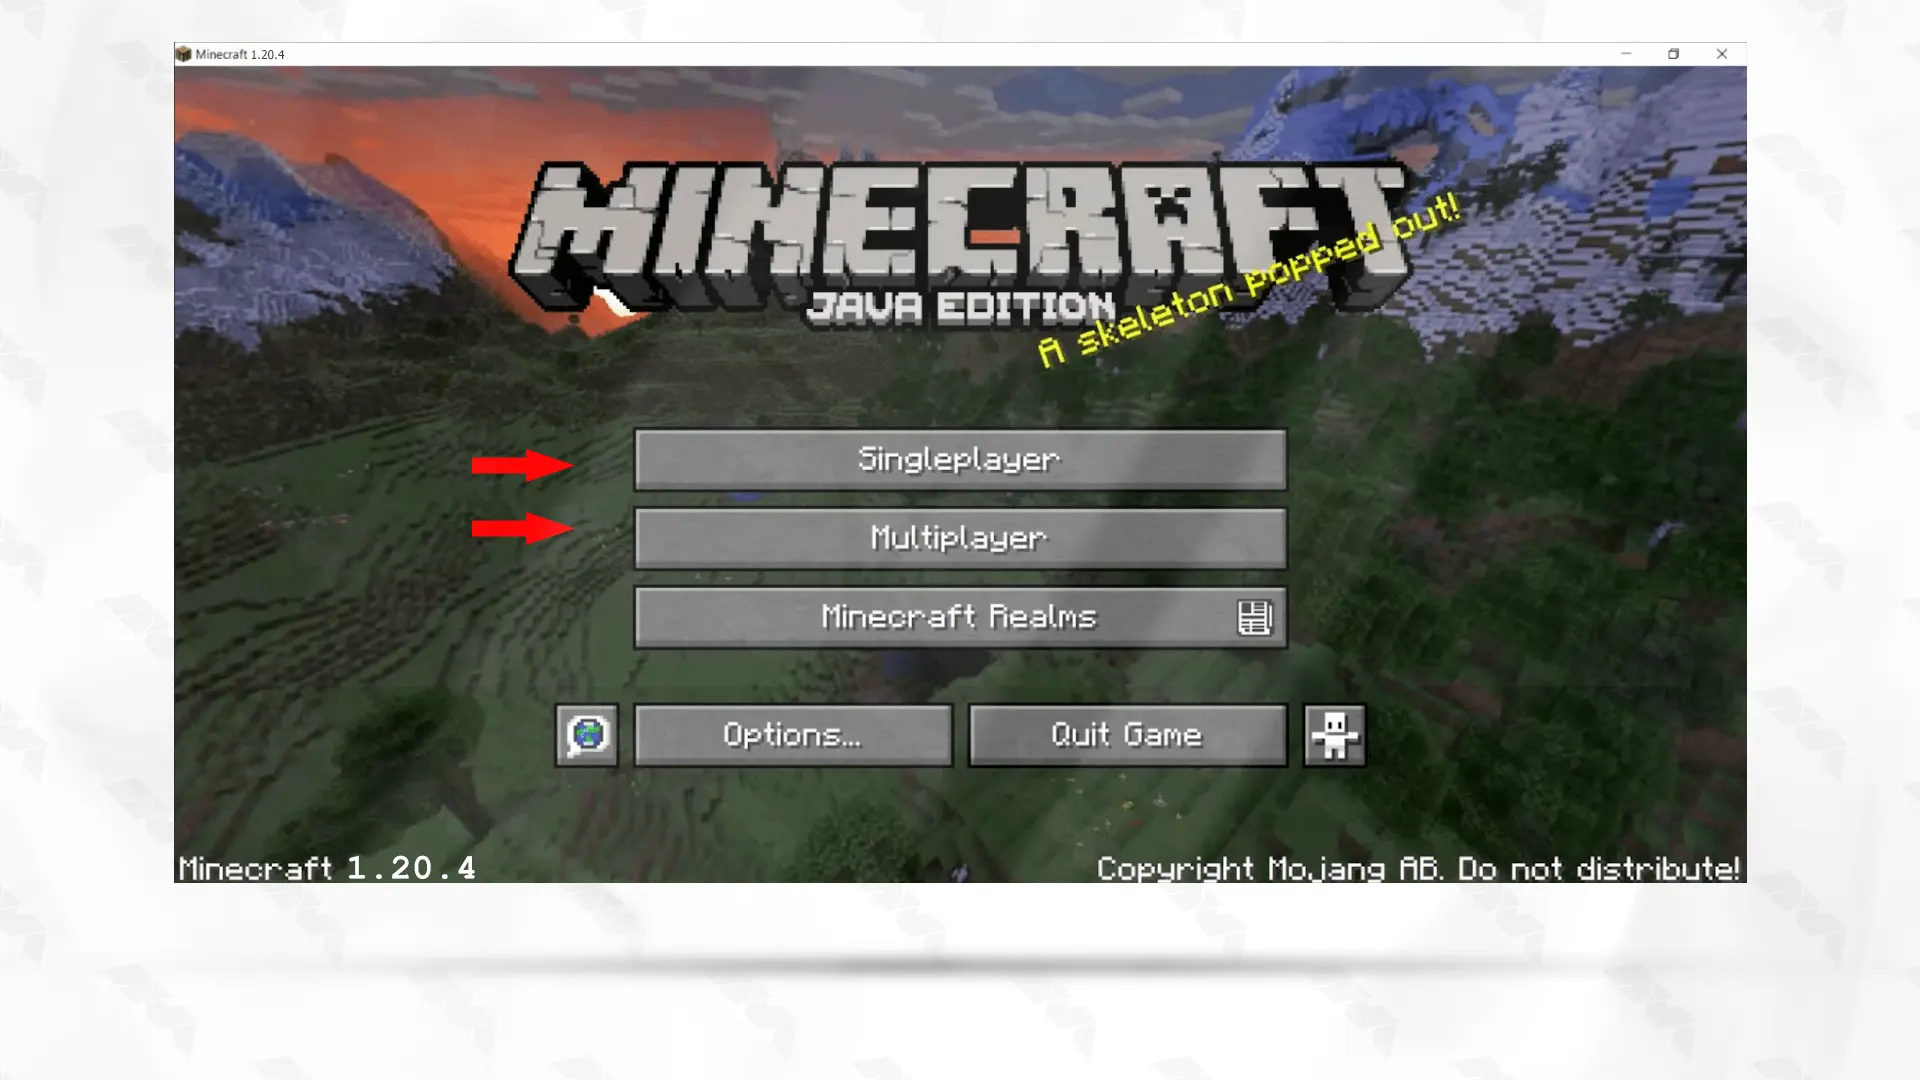
For this, you can install a cloud server and connect to it from your Minecraft server. Now select multiplayer and select the add server option:
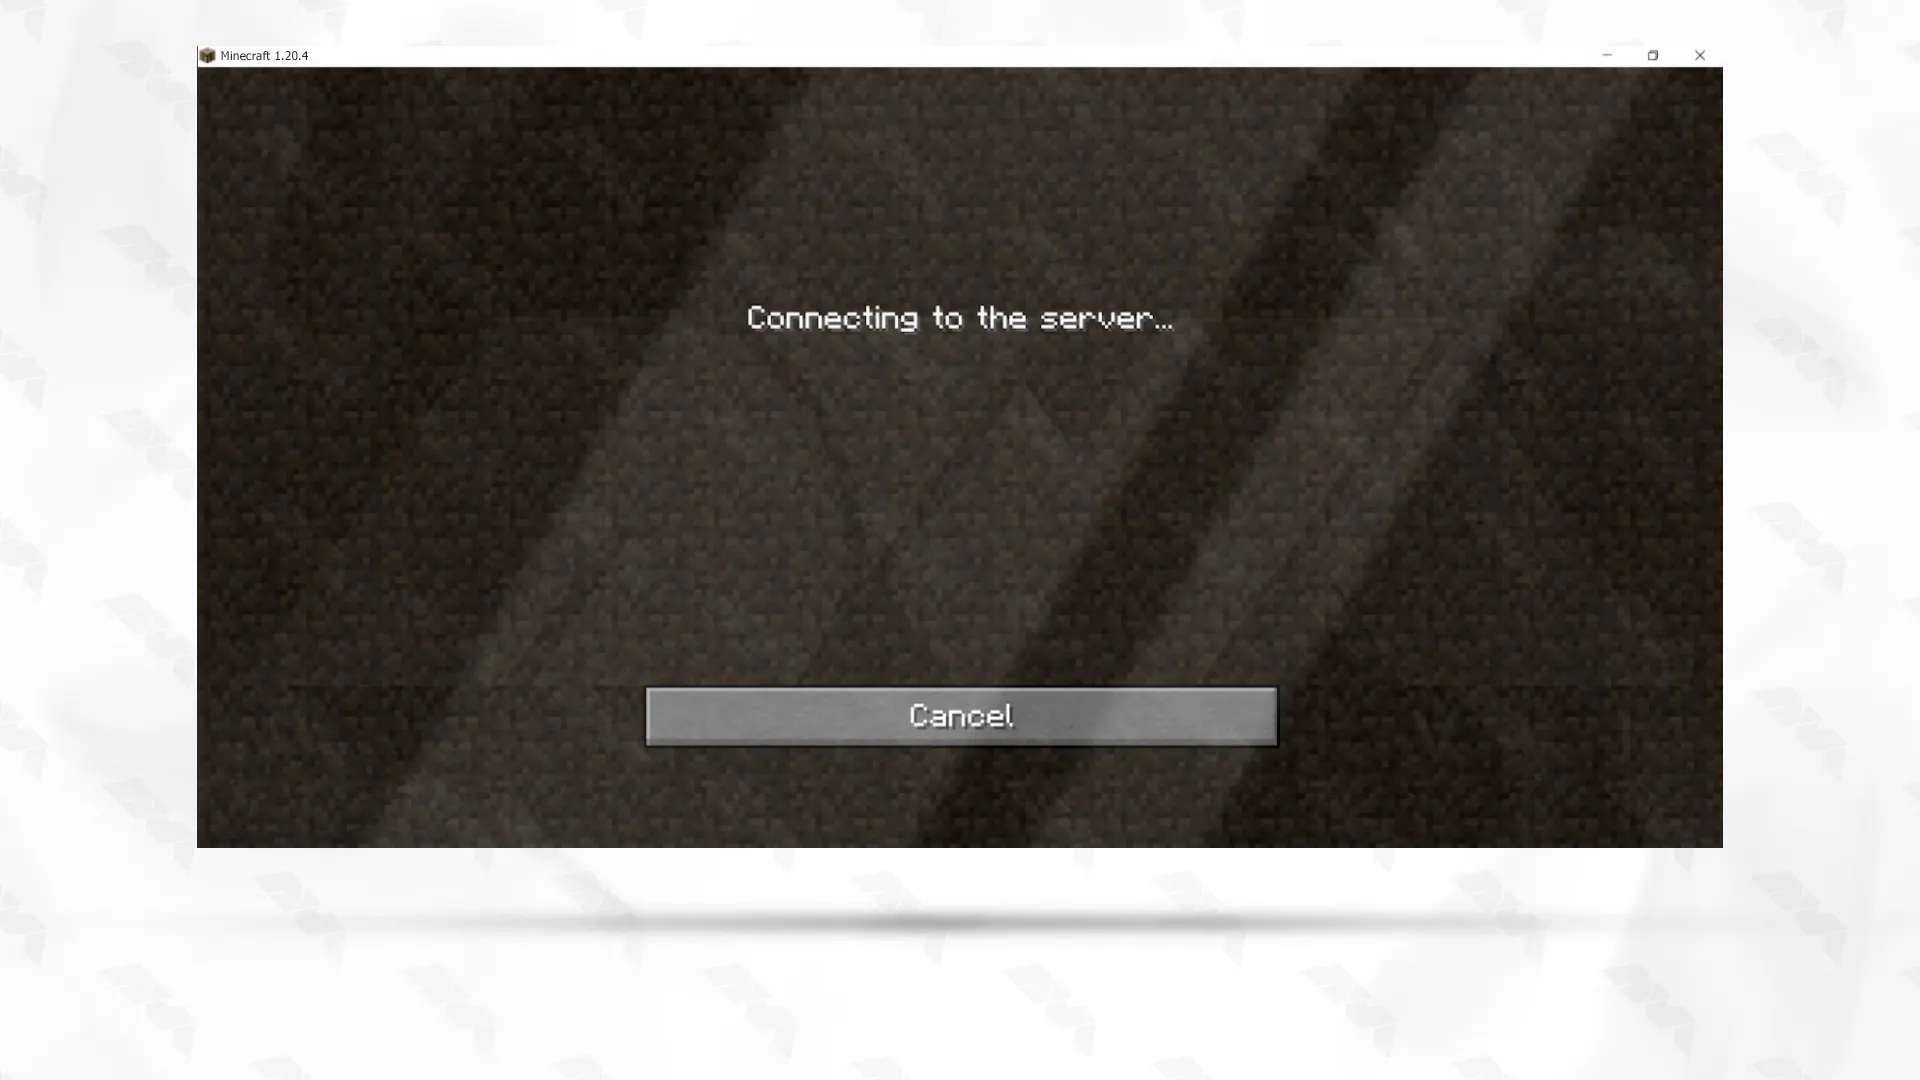
The only step is to enter the details and voila. Finally, the Minecraft server is ready to run on your Windows server. simply!
If you need to know the IP address of your Minecraft server, you can simply ‘What’s my IP address?‘. Please enter it in Google so that you can find it. You can also use the server IP example your_server_ip:25565.
If your teammates can’t connect to the game, you can provide them access directly through your router from port 25565. Also, your IP address keeps changing. That’s why you should give your teammates the latest information.
Get ready and hit the play button to start the game.

Note: To use a cloud platform like AWS or Google Cloud, enable the port from security groups.
Another easy way to install Minecraft is to use the command line. So, open the command line and go to the Minecraft folder because the downloaded jar file is located there. If the desired folder is located in Documents, use the following command:
cd Documents/Minecraft
Now insert the following command:
java -Xmx1024M -Xms1024M -jar minecraft_server.1.20.4.jar nogui
Well done! Now you can see the Minecraft server screen:
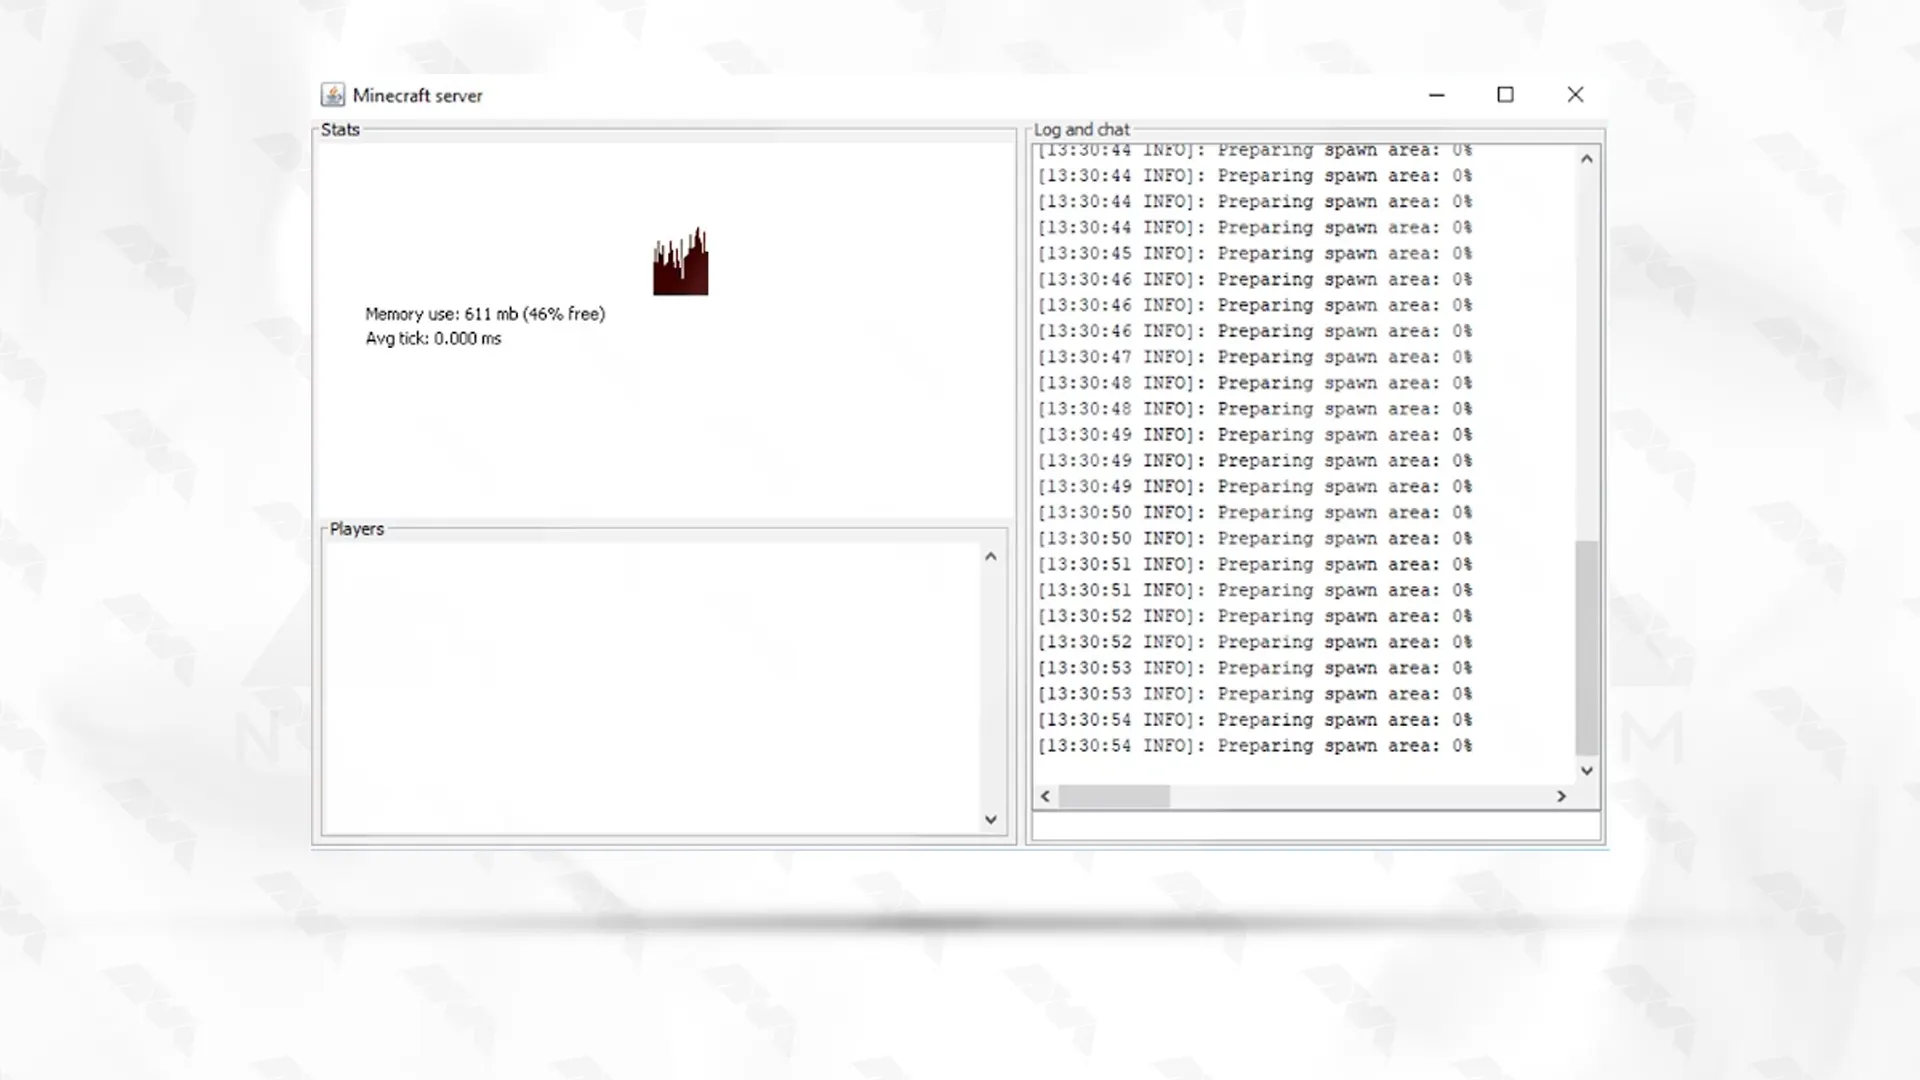
Minecraft server administrators on Windows may encounter various issues. Here we will examine some common problems and their solutions:
1- Running the wrong version of Java can cause problems.
Solution:
Ensure you’re using the correct version of Java that’s compatible with your Minecraft server version.
2- Server not accessible due to firewall blocking or incorrect port forwarding.
Solution:
Check your Windows firewall settings and ensure that the necessary ports (default is 25565) are open. Set up port forwarding on your router if hosting from home.
3- The server fails to start or crashes.
Solution:
Check the server logs for error messages, update Java, and ensure you have enough system resources allocated to the server.
4- Players experience lag or poor server performance.
Solution:
Optimize server settings, limit excessive resource-intensive mods/plugins, and allocate more resources if needed.
As mentioned, Minecraft is a popular game that can be played by various users in the virtual space. Now you can connect with other players through the Minecraft gameplay that you have installed on your Windows server and enjoy it. You can also customize mods and add-ons to your liking in your Minecraft server. Install the game and feel the pleasure of a dedicated gaming environment.
How useful was this post?
Click on a star to rate it!
Average rating 5 / 5. Vote count: 1
No votes so far! Be the first to rate this post.
 Tags
Tags
If we want to make the concept of DNS more understandable for you, it should be said that DNS works ...


 Tags
Tags

Phpmyadmin is used in the production and development environment by developers and system administra...


 Tags
Tags
What is your opinion about this Blog?


