



Plex is a free media server that lets you organize your music, videos, and TV shows into a user interface. The purpose of this tutorial is to teach you How to Install and Access Plex Media Server on Debian 11. Therefore, we recommend you stay with us until the end of this article.
Plex is versatile; media can be accessed and shared using a client app such as a mobile app, Roku, etc. Plex Media runs on a variety of platforms that may run on a single desktop computer. The most obvious examples are Windows and Mac. It should be noted that Plex also supports Linux, FreeBSD, and several NAS platforms. You’ll find Plex apps for most platforms and smart TV boxes like Apple TV, Chromecast, and Fire TV, as well as consoles like Xbox One and PlayStation 4.
– Supports cloud sync and encrypted connections with multiple accounts.
– You can also easily select and share what you want.
– It has a media optimizer and supports video streaming from one device to another.
– It supports voice fingerprinting and automatic photo tagging and encrypted connections with multiple accounts.
– A Linux VPS with Debian OS
– Update Debian packages to the latest version
First, before starting the installation process, update the Debian package using the following command:
sudo apt update
sudo apt upgrade -y
Also, install the required packages with the help of the following command:
sudo apt install apt-transport-https curl vim wget -y
The available repository provides Plex packages. To install Plex on Debian 11, add the repository to your system. Add the Plex repository using the following command:
echo "deb https://downloads.plex.tv/repo/deb public main" | sudo tee /etc/apt/sources.list.d/plexmediaserver.list
Enter the required GPG keys for the repository using the following command:
curl https://downloads.plex.tv/plex-keys/PlexSign.key | sudo apt-key add -
After the repository is added, continue the steps in order and install the latest version of Plex on Debian 11 and also update the APT package list using the following command:
sudo apt update
Now create the added Plex repository and then install the Plex media server using the following command:
sudo apt install plexmediaserver
After finishing the installation process, the Plex service will start automatically. Verify the item using the command:
systemctl status plexmediaserver
Use the following command to get started:
sudo systemctl start plexmediaserver
Now enable the service to run automatically at system boot using the following command:
sudo systemctl enable plexmediaserver
Now, the Plex dashboard can be accessed using the URL http://localhost:32400/web. Configure a reverse proxy to access Plex remotely. Also, secure it with HTTPS. Install the Apache web server on Debian, Debian 11 with the following command:
sudo apt install apache2 -y
After you finish installing Apache, create a virtual host file for Plex:
sudo vim /etc/apache2/sites-available/plex.conf
In the desired file, add the following commands:
<VirtualHost *:80>
ServerName plex.neuronvm.com
ErrorDocument 404 /404.html

#HTTP proxy
ProxyPreserveHost On
ProxyPass / http://localhost:32400/
ProxyPassReverse / http://localhost:32400/

#Websocket proxy
<Location /:/websockets/notifications>
ProxyPass wss://localhost:32400/:/websockets/notifications
ProxyPassReverse wss://localhost:32400/:/websockets/notifications
</Location>
</VirtualHost>
Now save the file, then activate the site and proxy module using the following command:
sudo a2enmod proxy_http
sudo a2enmod rewrite
sudo a2ensite plex.conf
Move the Assumption Apache Conf to a backup file using the following command:
sudo mv /etc/apache2/sites-enabled/000-default.conf /etc/apache2/sites-enabled/000-default.conf.bak
Now restart Apache using the following command:
sudo systemctl restart apache2
You can also access the plex at this stage using the URL http://IP_address/web or http://domain_name/web:
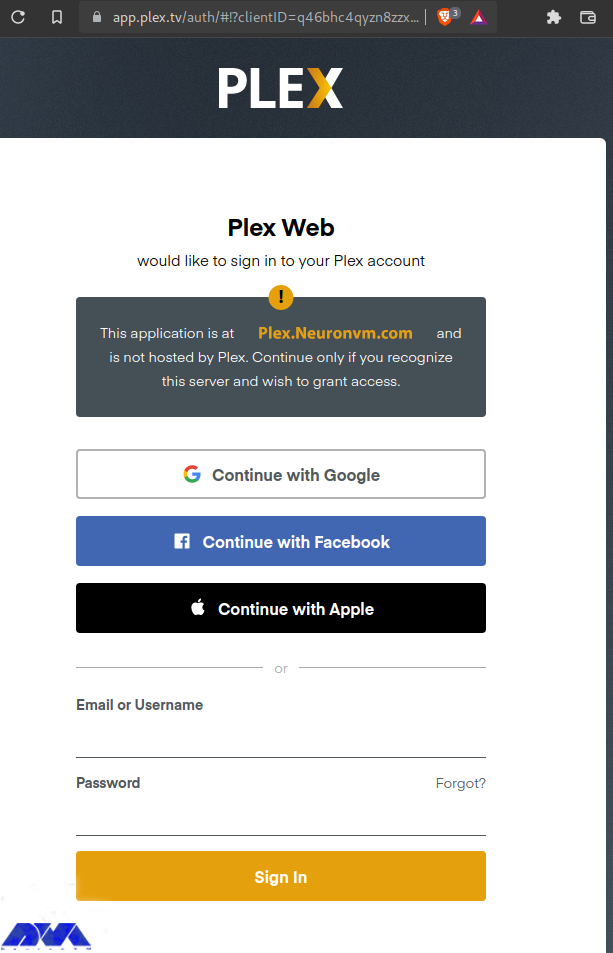
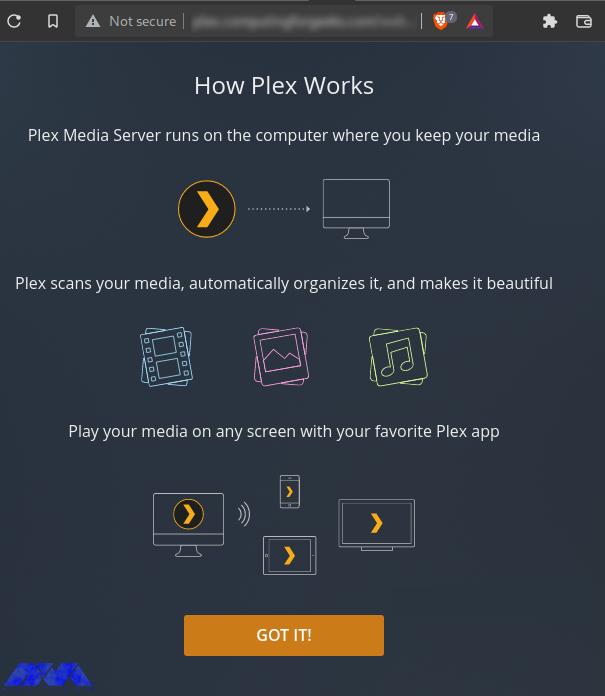
Login to Plex using the preferred methods then go to the page that explains what Plex is and how it works:
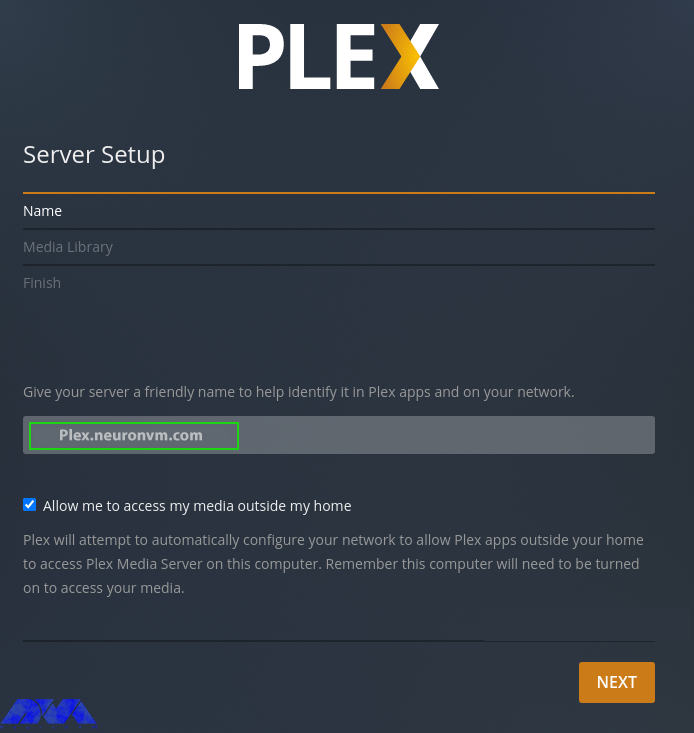
Now configure Plex as follows, starting by setting the server name:
Now launch the media library. This step allows you to add media lists if you have already imported them. Click on Add Library and proceed as follows:
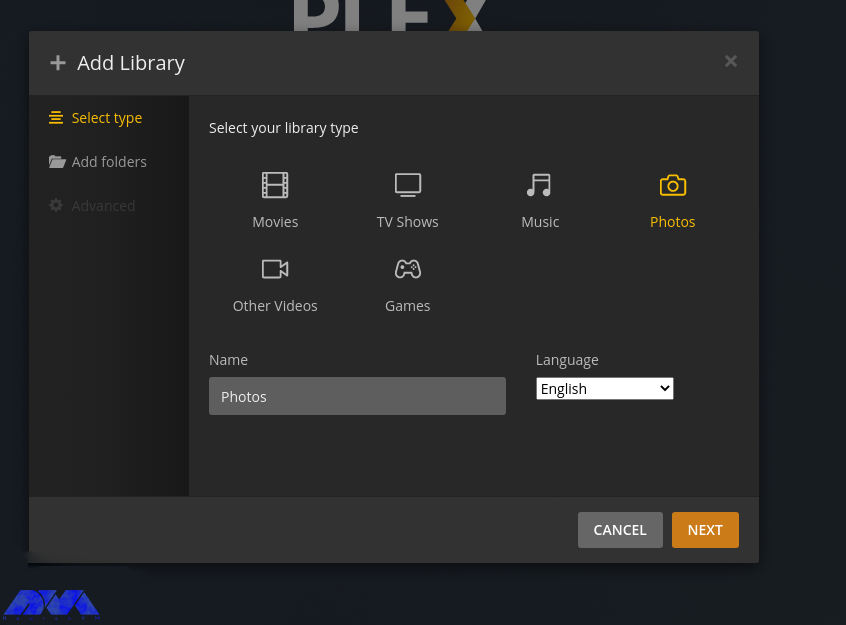
Select the Library type, then search for media in your local storage and add it:
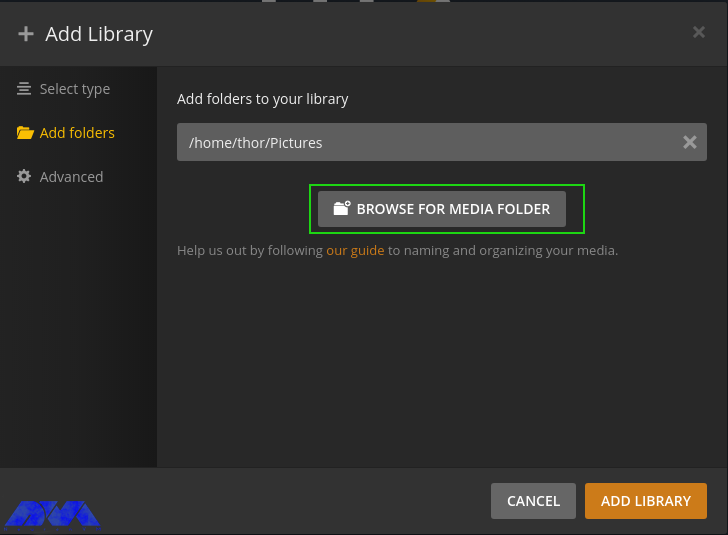
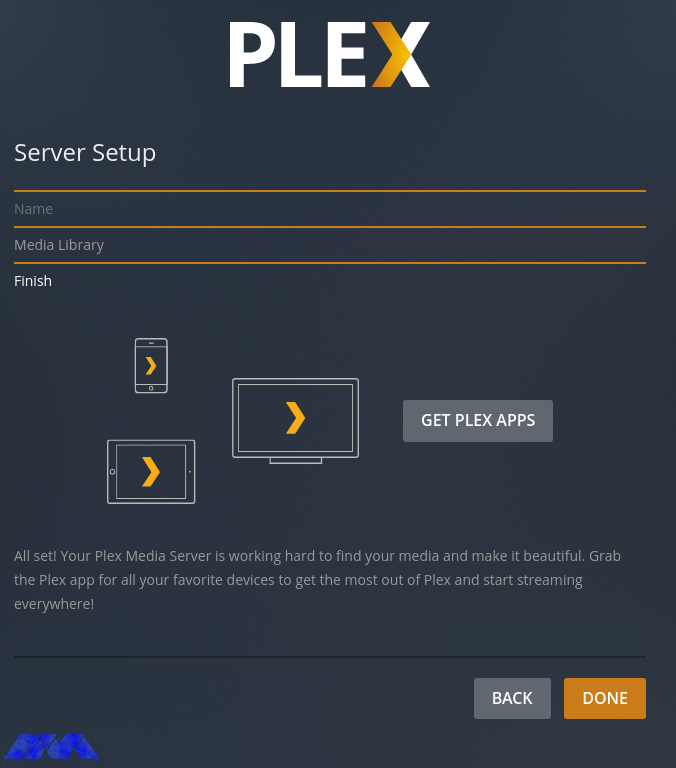
With the media library configured, proceed to the next step and finish setting up the server:
The Plex dashboard will now be displayed as below:
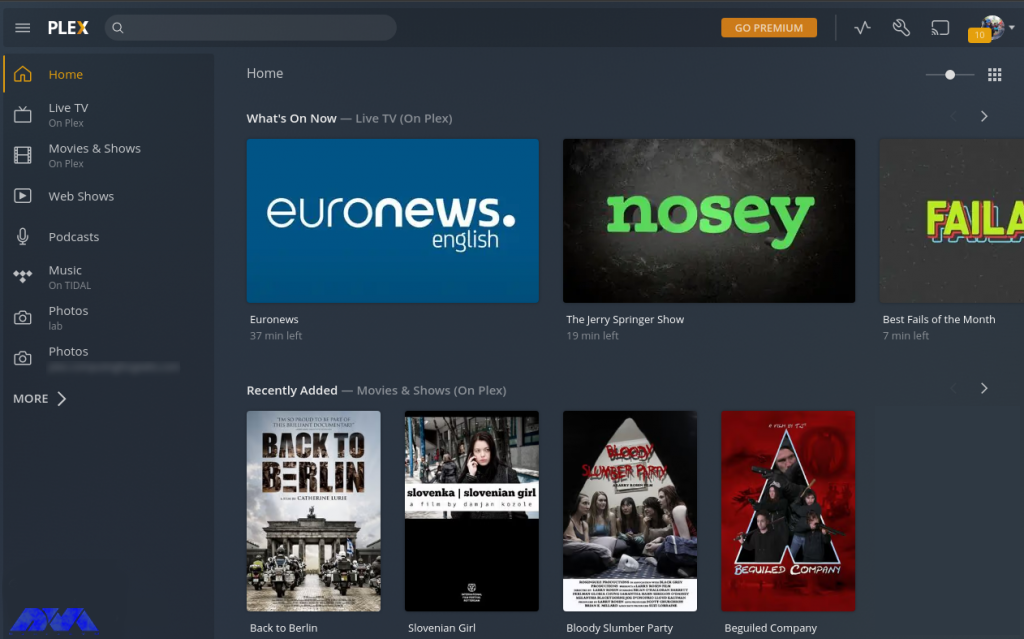
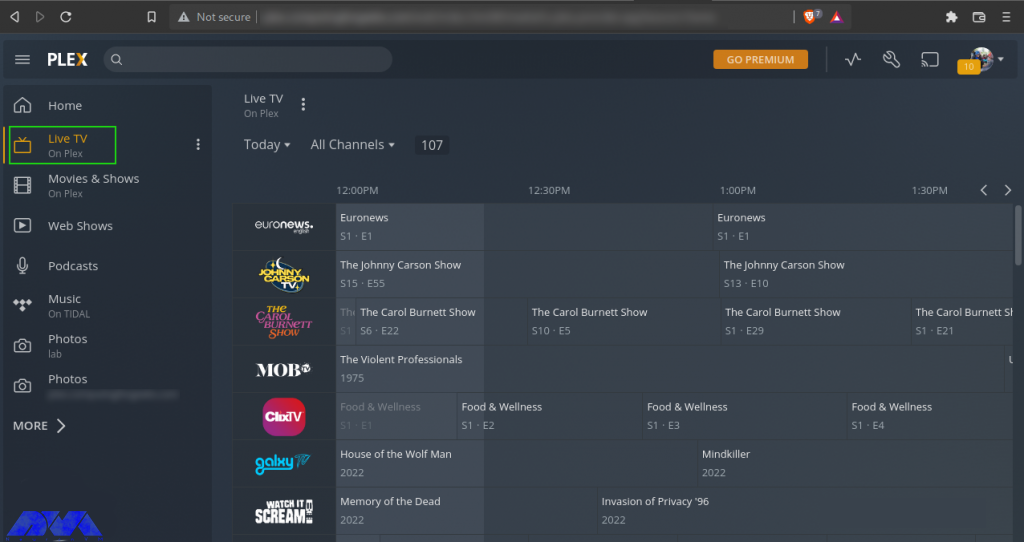
Go ahead and watch live TV, movies, podcasts, and listen to music. For example, while watching live TV, you have to select the live TV channel from the list provided:
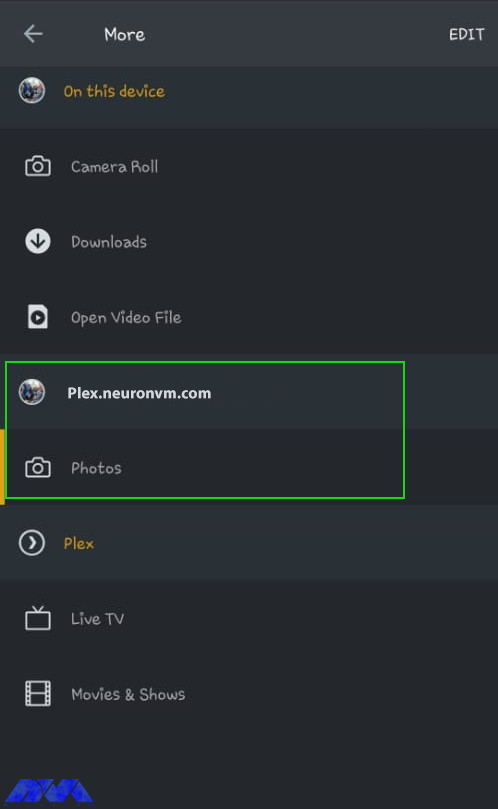
Now click More to view the local storage files and your media server will appear with the libraries added. Also, more libraries can be added here:
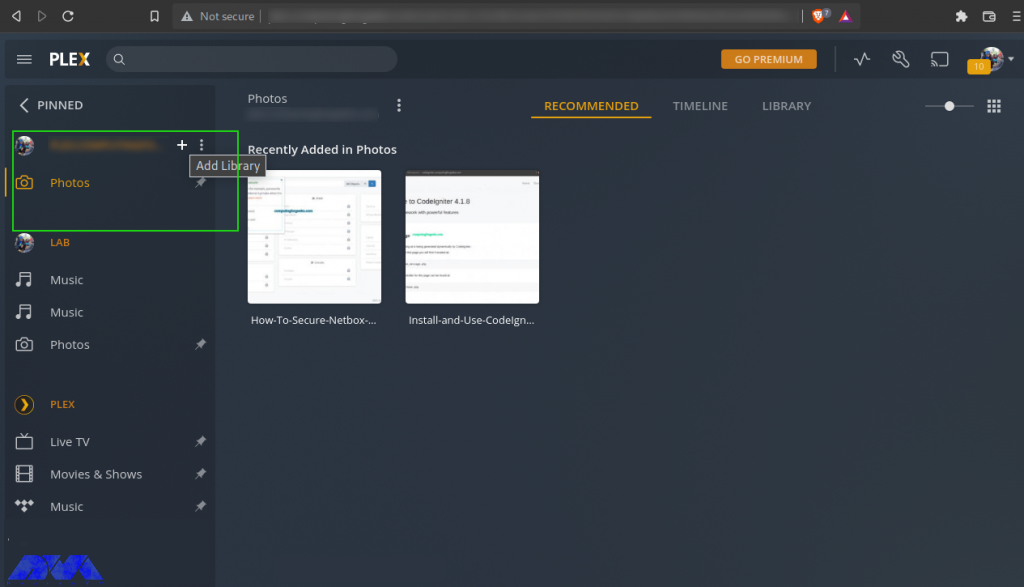
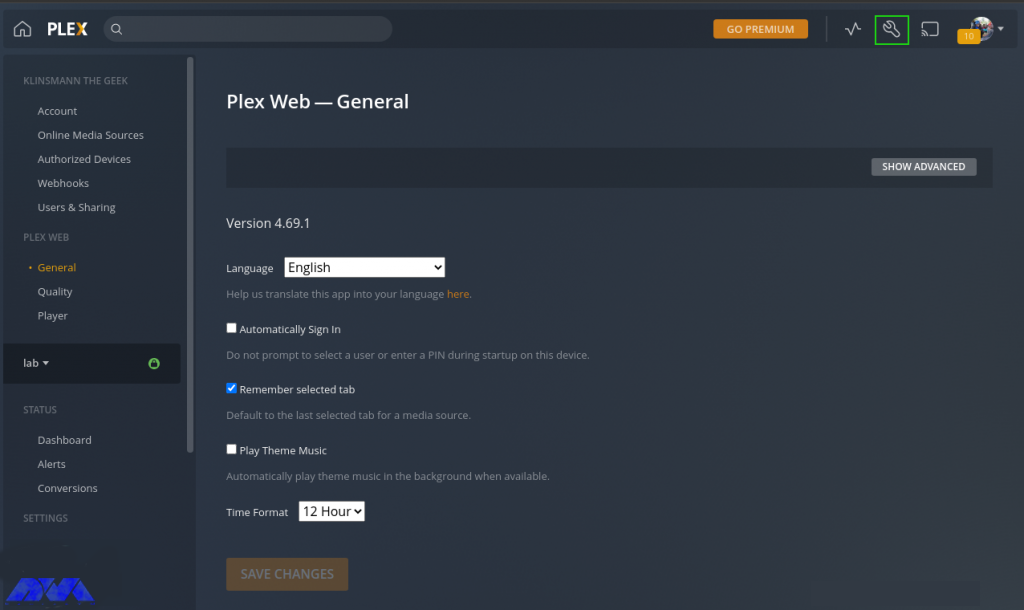
Then add settings like language, interface, plugins, etc. for Plex in the settings tab:
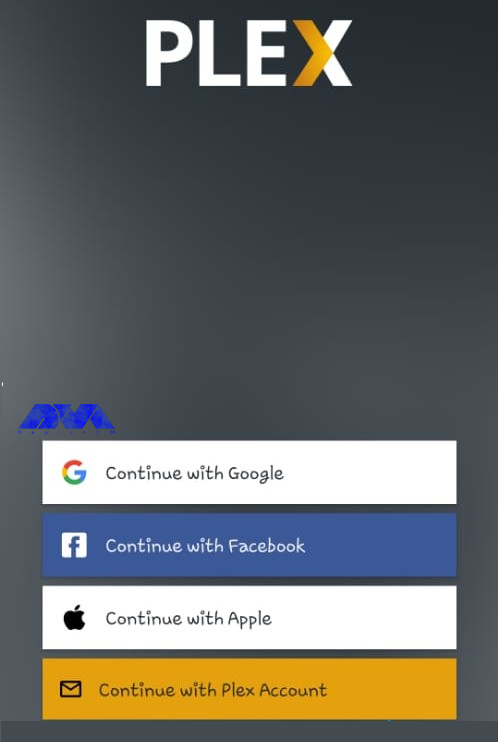
Plex client can be installed on multiple platforms such as Android, Mac, Apple TV, Windows, etc. Client applications are provided on the Plex Applications page. Also, using an Android client, you can play media libraries. Added view of watched channels in your account. You can now sign in to your Plex account. Now choose how to sign in to your Plex account as below:

Select how to sign in to your Plex account as shown in the image:
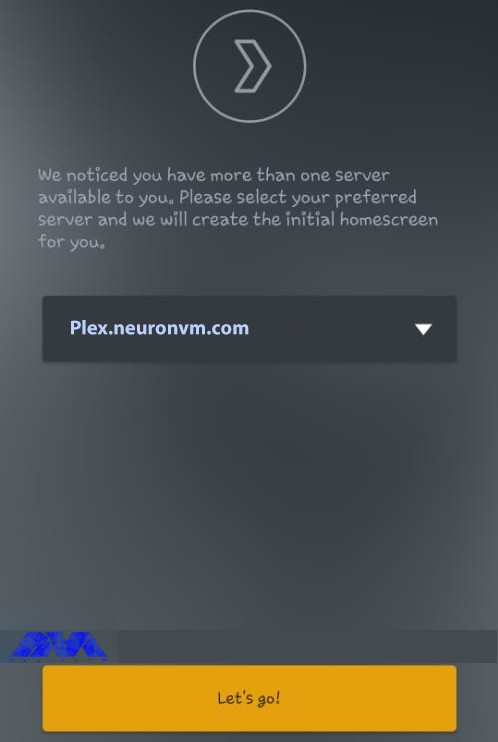
Now if you have more than one Plex server, go ahead and select the server you want to connect to:
Now optimize the navigation in the Plex client, then go to the Plex dashboard as below:
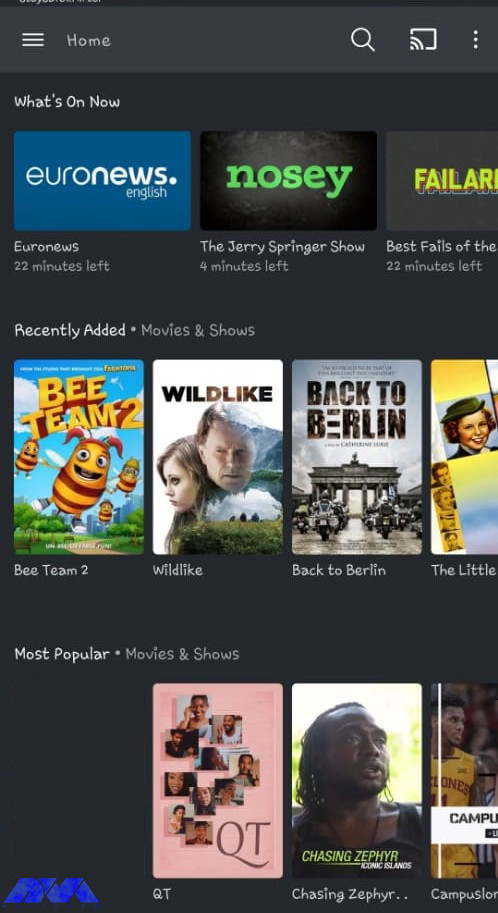
Also in the More section, you can view media from the Plex server media library as below:
With the Plex media server running on Debian 11, you can easily store digital media like music, video, photos, etc., and access them anywhere on the Internet. In this article, you learned how to Install and Access Plex Media Server on Debian 11. We hope this educational article was useful for you. Share your comments with us through the form below.
Netflix is produced to manage TV shows and movies and is not a free app, plex puts you in charge of finding all the stuff to watch. The exception is just ad-supported content.
It is software that is used to store, locate and access all of your media in one place.
How useful was this post?
Click on a star to rate it!
Average rating 0 / 5. Vote count: 0
No votes so far! Be the first to rate this post.
 Tags
Tags

Choosing the right Linux distribution can be overwhelming for many users with the vast array of opti...


 Tags
Tags

phpMyAdmin is a widely-used open-source tool for managing MySQL databases through a web interface. A...


 Tags
Tags
What is your opinion about this Blog?


