


PGP is used to encrypt and decrypt data. Methods such as hashing, public key encryption, and data compression are used in PGP encryption. In the continuation of this comprehensive article, you will learn how to Encrypt and Decrypt with PGP on Ubuntu 20.04. Therefore, we recommend that you stay with us until the end.
GPG or GnuPG, which is a free PGP-based signature and encryption software, uses it to export and import public and private keys, and to encrypt and decrypt data. GPG key pairs include two types of keys: private and public keys. Use the public key to encrypt the data, and the encrypted data will be decrypted using the recipient’s secret or private key.
The process of encrypting and decrypting files with PGP involves a few simple steps. First, the sender must issue your public key and send it to the recipient. Second, the receiver enters the public key into its key. The recipient can then encrypt any file using the sender’s public key. Also, the recipient decrypts the shared file using his private key.
To start at the beginning Create two pairs of GPG keys for the purpose of display for two people in two separate systems (Linda and Dominique). Now, issue the public key and then enter it into another system.
We also recommend you use Linux VPS server plans available on our website to Encrypt and Decrypt with PGP on Ubuntu 20.04.
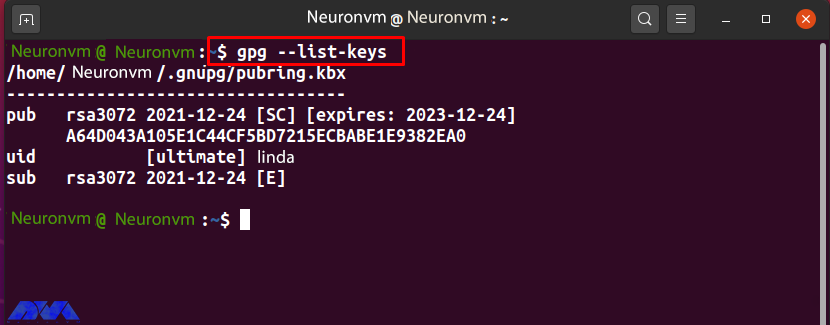
Before sending your public key to a reporter, you must first issue it using the GPG command. In the GPG command, an additional argument is specified to identify the public key that will be the user ID, and the “-a” or “-armor” option is added to generate the output of the export file in ASCII format. In the “GPG” command. To export a specific public key, first list the GPG keys generated on the system and select the key you want to export.
To do this, use the following “GPG” command:
gpg --list-keys
For example, to issue the public key “Linda“, note the “uid” user ID from the list:
Now add the “-export” option to the GPG command to export the “Linda” public key. Here, the “-a” option is used to create an ASCII display of the public key, and the redirect operator “>” is used to redirect the output of the GPG command to the “public.key” file:
gpg --export -a Linda > public.key
The “.key” extension indicates that there is encrypted content inside the specified file.
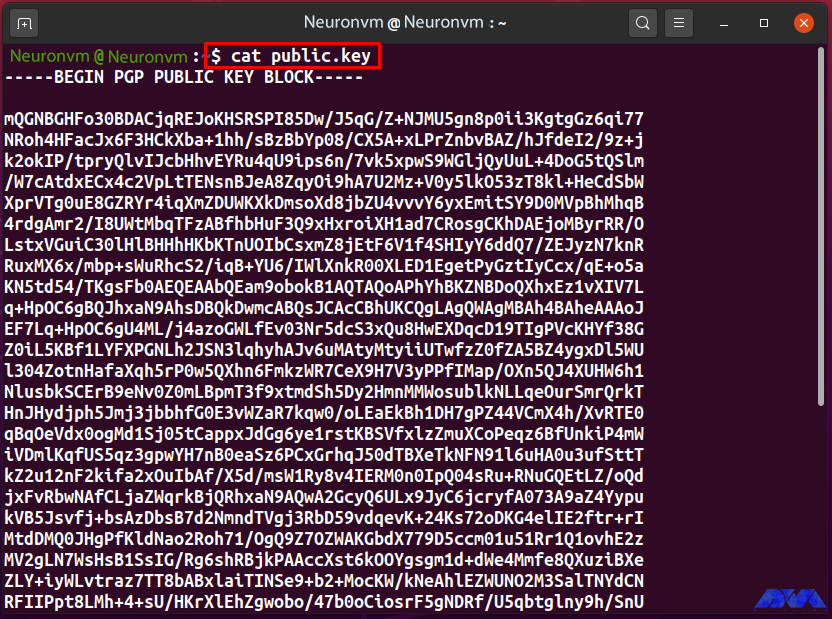
If the output is error-free, it declares that the “public.key” file is ready for export. To check its content, run the following “cat” command:
cat public.key
“public.key” saves the ASCII display of Linda’s public key as follows:
#####
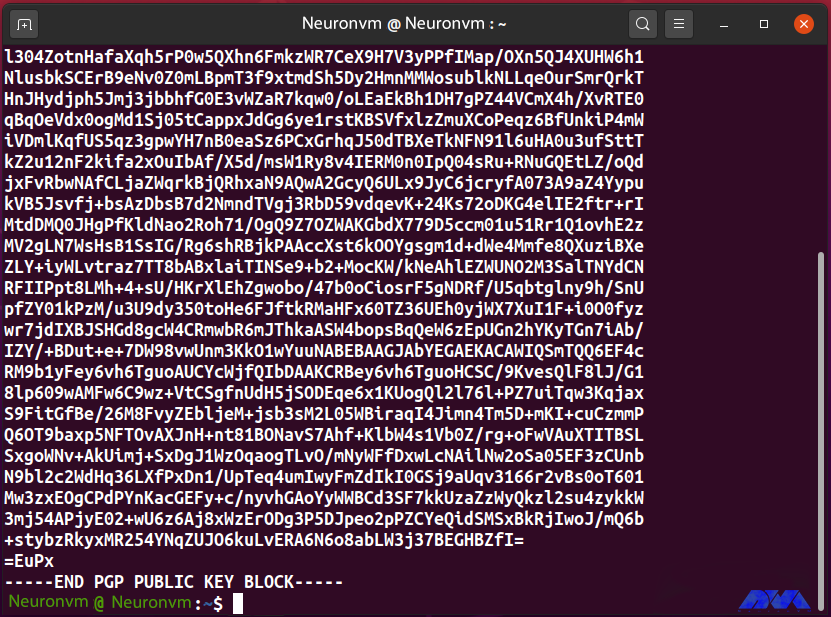
In this step, you created the “public.key” file that contains the ASCII display of the public key “Linda”. Now, share the file with another system user so that the “new user” can enter the GPG key into their key.
With the GPG command, inserting a public key into a key is simply exporting them. Decrypt incoming encrypted files, documents, or emails by entering the sender’s public key. Before entering “public.key”, list the keys in the new user key:
gpg --list-keys
“Neuronvm” now has a pair of GPG keys for “Dominique” uid, which can be seen in the following output:

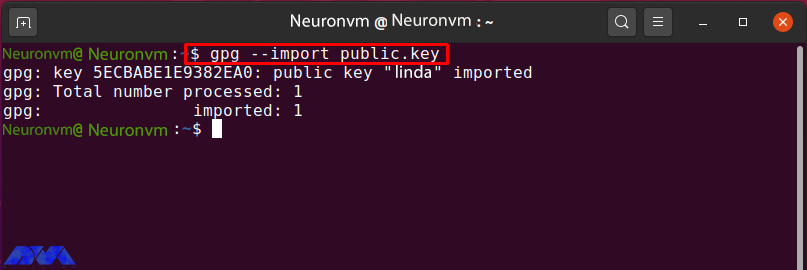
To enter Linda’s “public.key”, run the “gpg” command with the “–import” option:
gpg --import public.key
The following output indicates that the public key “Linda” has been entered correctly:
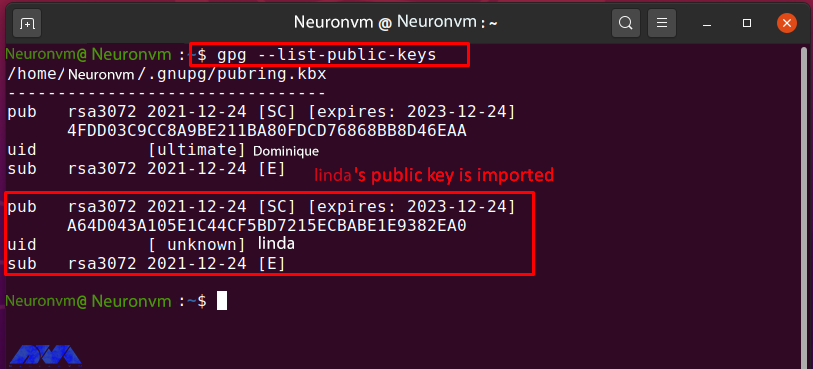
List the “Neuronvm” public key to confirm the specified operation:
gpg --list-public-keys
The successfully entered Linda public key can be seen in the image below:
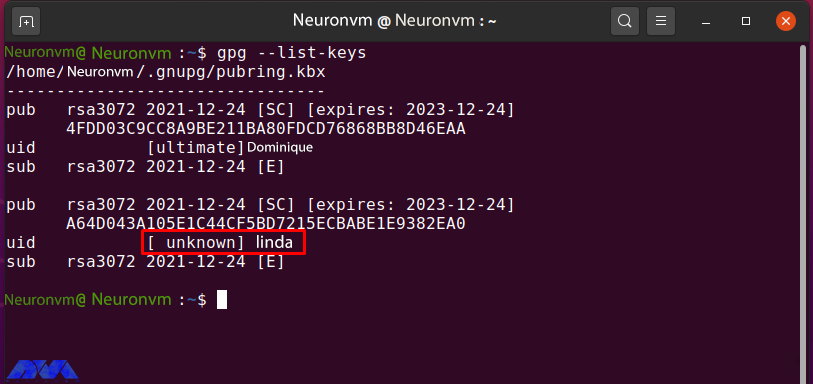
After entering Linda’s public key into the “Neuronvm” key, enter the amount of trust that is unknown at this point:
gpg --list-keys
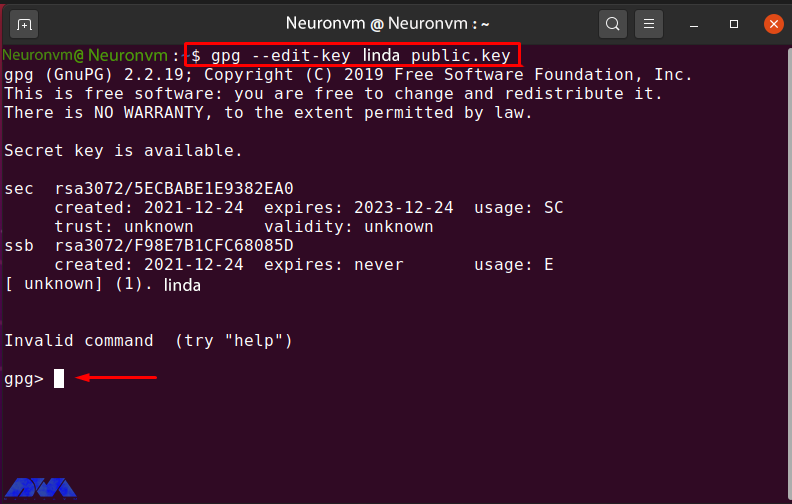
Enter the following GPG command to edit Linda’s public key trust value:
gpg --edit-key linda public.key
Type “trust” and hit “Enter” to check the trust menu options:
gpg> trust
Then enter “5” to make sure you “finally” trust Linda’s public key:
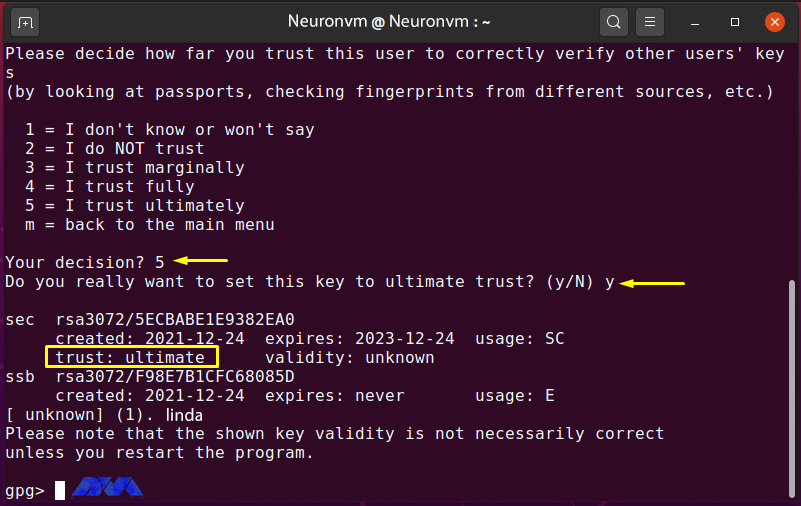
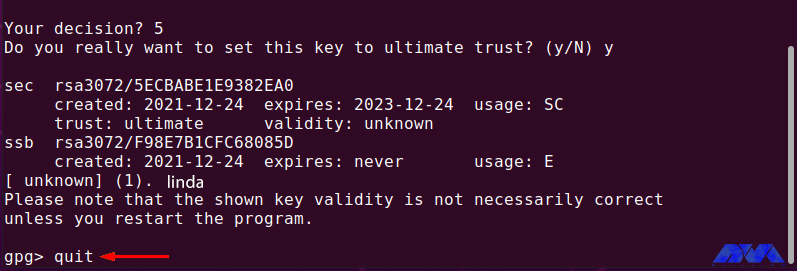
Exit GPG edit by typing “quit” and pressing “Enter“:
gpg> quit
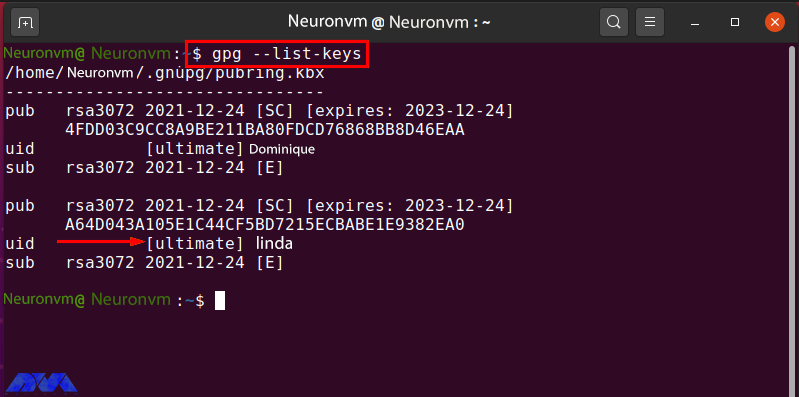
Now list the “gpg” keys again and check the trust value of the “linda” key:
gpg --list-keys
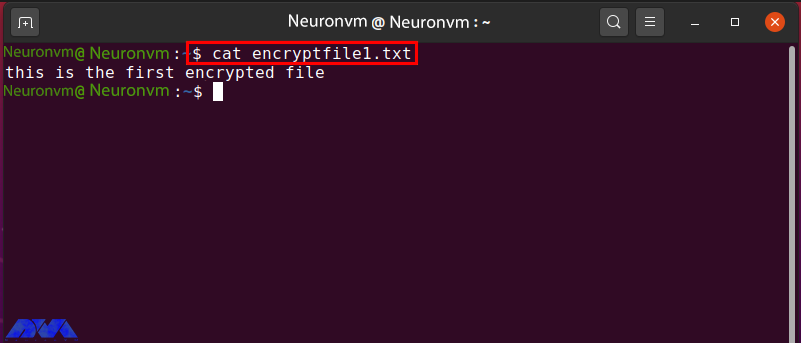
In the “Neuronvm” system there is a file called “encryptfile1.txt” which is encrypted with the public gpg key of Linda. Before moving on to the encryption procedure, check the content in the specified file:
To encrypt a file using the gpg command, enter the following command:
gpg -e -u [Sender_uid] -r [Receiver_uid] [Filename]
The “-u” option is now used to specify the sender uid and the “-r” option for the receiver. The secret key of the sender and the public key of the receiver is used to encrypt the file. Now enter the following command to encrypt “encryptfile1.txt” with the individual secret key and Linda’s public key:
gpg -e -u Dominique-r linda encryptfile1.txt
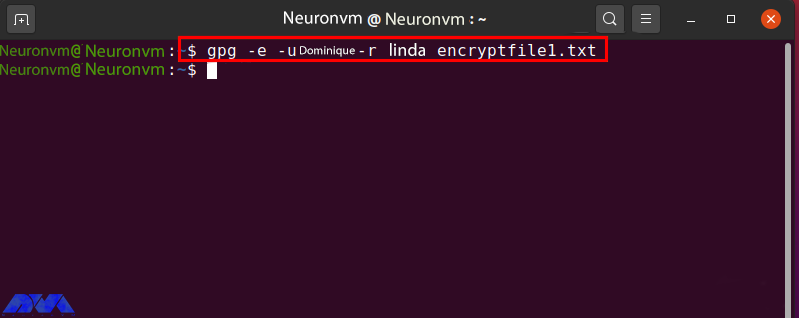
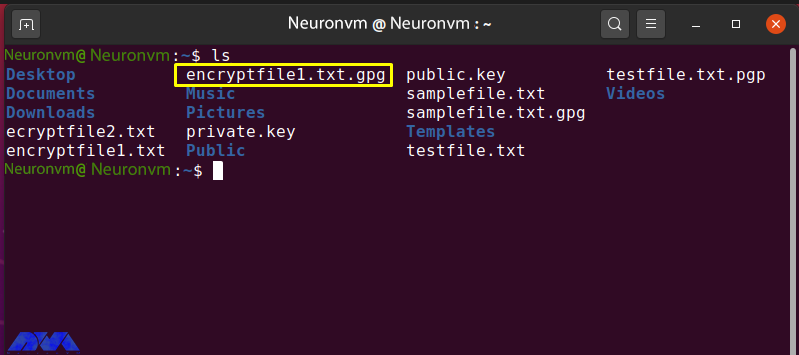
If the output is error-free, it means that an encrypted file has been successfully registered. To confirm this step, browse the contents of the current directory:
ls
The following output indicates that “encrypt file1.txt.gpg” was created for the file of your choice:
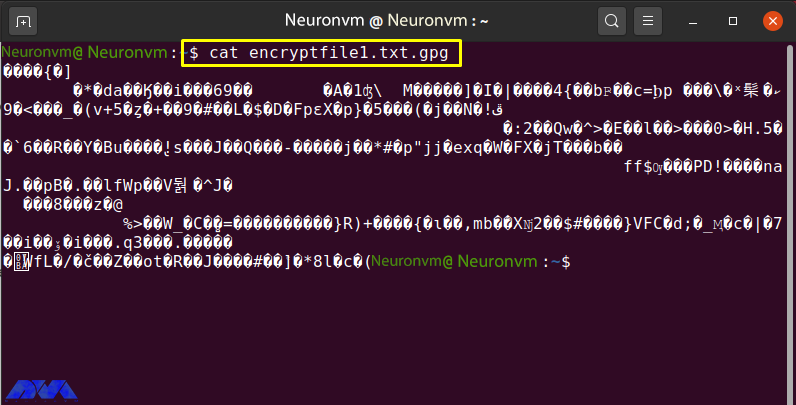
Check the contents of “encryptfile1.txt.gpg” by running the “cat” command:
cat encryptfile1.txt.gpg
The encrypted content “encryptfile1.txt.gpg” in the terminal is shown as follows:
Share the encrypted file with the recipient via email or another method.
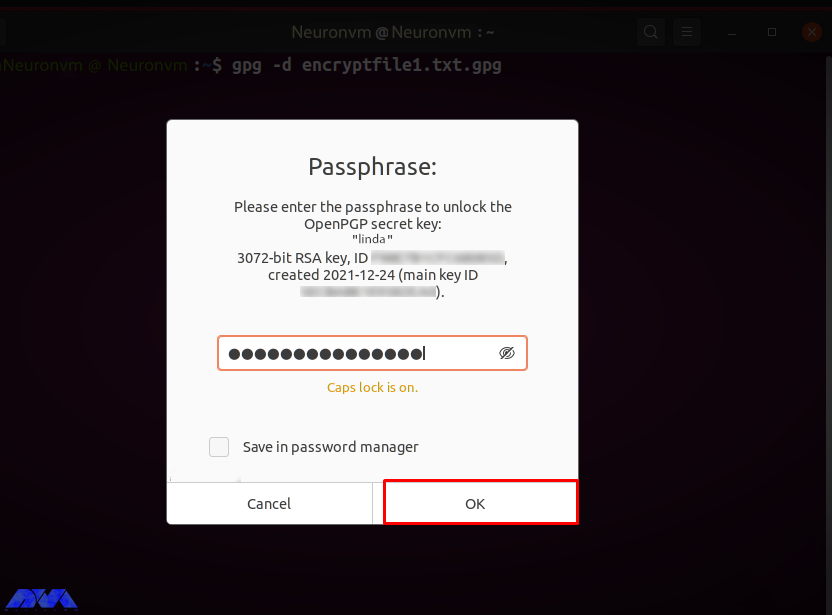
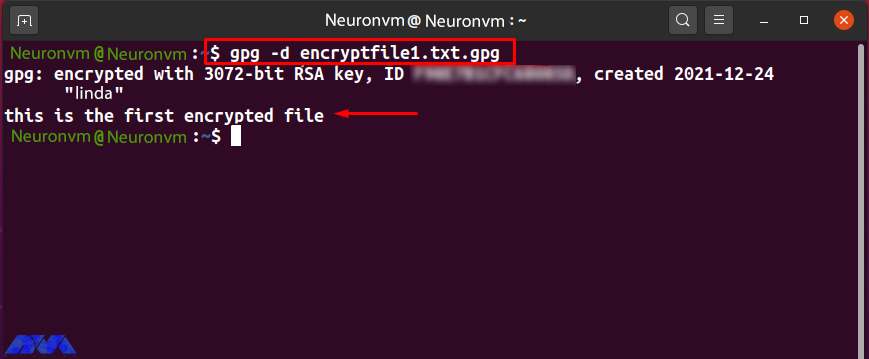
The “-d” option is added to the “gpg” command to decrypt the encrypted file. Share “encryptfile1.txt.gpg” with the “Neuronvm” user who owns the Linda GPG key pair. Now to decrypt the received file, type the following command:
gpg -d encryptfile1.txt.gpg
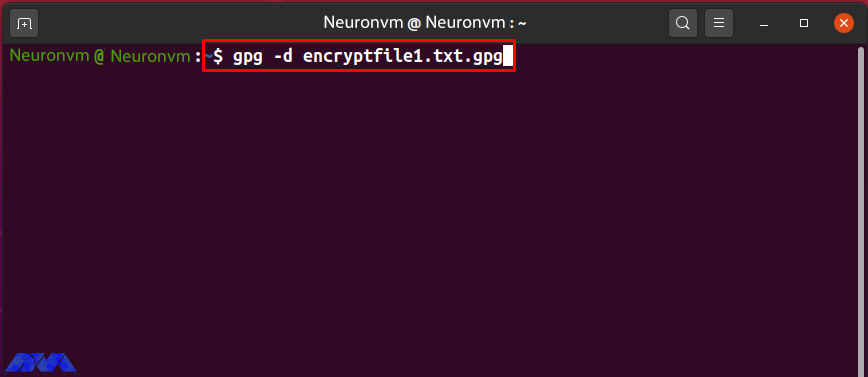
You are prompted to enter “Passphrase” to unlock Linda’s secret key. Enter the password in the input field and click the “OK” button:
After entering the correct password, the specified file is decrypted and its contents are displayed in the terminal as follows:
PGP encryption is used by companies to exchange data such as files, documents, and emails over the Internet. Also, Protects important information from being misused through email attacks. Public and private GPG keys are used to encrypt and decrypt files. Without the GPG key, no one can decrypt the data. In this tutorial, you learned how to encrypt and decrypt with PGP on Ubuntu 20.04. We hope you find this tutorial useful. Share your comments with us via the form below.
There should be two different keys for encrypting and decrypting each file, and also, two more keys to sign and verify each file.
It is almost impossible to hack or break PGP encryption.
How useful was this post?
Click on a star to rate it!
Average rating 0 / 5. Vote count: 0
No votes so far! Be the first to rate this post.
 Tags
Tags

Linux telnet is used to communicate between different machines. This command allows you to manage re...


 Tags
Tags

Have you ever heard of Thumbor? This practical application has many features such as resizing, apply...


 Tags
Tags
What is your opinion about this Blog?


