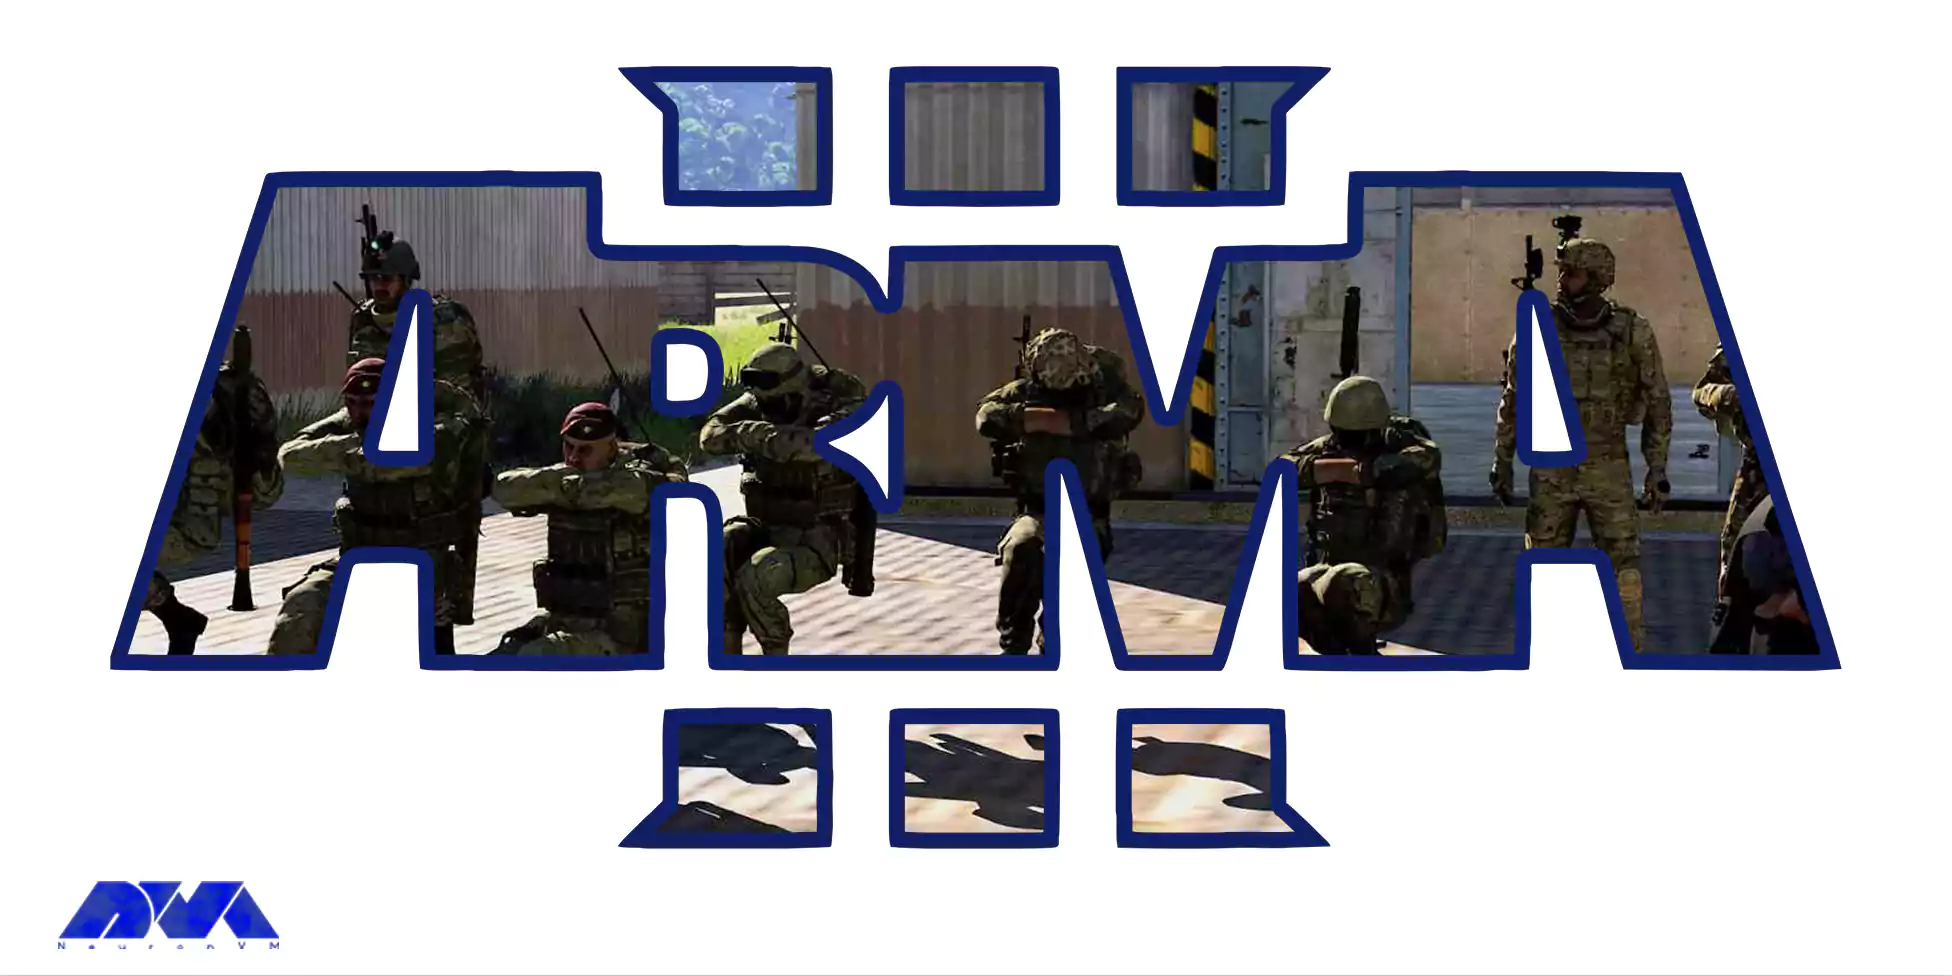


One of the strongest games in the war genre is Arma 3. This game has been able to gain a good position among millions of viewers. ARMA 3 is a free and open military-style FPS that is open to the world. This game has been released by Bohemia Interactive exclusively through the Steam distribution platform. We should mention that this game was released in September 2013 for Microsoft Windows. Here, we will teach What is Arma 3 and How to install it on RDP 2016 with a few additional tools in Windows Server.
Arma 3 is one of the newest series of Arma War games that have been able to have a good rating and sales in the Steam store so far! By playing Arma 3 you can have a real experience of fighting in a big field!

install Arma 3 on RDP 2016
In this game, as a soldier, you have to be on the big battlefield and use the most advanced weapons and vehicles to destroy your enemies! You can use vehicles for commuting or even war and fighting. There are more than 20 types of vehicles in the game, a series of which are tanks, fighter jets, helicopters, vans, jeeps, etc.! Also in the game, there are more than 40 different and advanced weapons that you can choose any of them to your liking. Of course, it goes without saying that in the game, each soldier has his own weapon.
The vast environment of Arma 3 makes the battle very exciting and fascinating. You may not believe it, but the area of the game war environment is about 700 square kilometers! And in these 700 square kilometers, there are about 50 villages and cities!
Using drones in the game is one of its attractive features. You can send your flying cameras into the sky, identify your enemies, and fire giant missiles at the enemies with a small command! These missiles are sent by drones, which gives the game a special charm. The use of vehicles in the game is an important feature that many Steam users have mentioned. You can ride in various vehicles with your friends and get to the battlefield faster. Even in the game, you can put one of your teammates as a driver and shoot yourself in the vehicle you are riding!
If you are a fan of free and fighting world games, without a doubt, the Arma 3 game is made for you!
To install Arma 3, you must install some dependencies. First, install a Full copy of Arma 3 in your Steam library or Standalone Server Package. Then you need to install SteamCMD and TADST (Requires Microsoft .NET Framework 4.5). Eventually, install Battleye Extended Controls. Stay with us for the rest of this article.
In the first step, you should download SteamCMD.
Then, after extracting SteamCMD to the desired folder, you have to launch SteamCMD by double-clicking on it and waiting for the update and setup to be done.
Now you should type the following command and login in with the Steam account that has Arma 3 in its library. Note that in the following command, instead of the username, you should type your Steam login:
login <username>
In this stage, you should type the following command and set the installation directory. You must replace ”path” with your desired server location. For example force_install_dir E:/arma3ds/.
force_install_dir <path>
Now in this step, you must run the following command to install the server files.
app_update 233780 validate
Note that you can type the following command instead if you want to update your server files automatically:
app_update 233780
Eventually, you can type ”exit” to Exit SteamCMD.
Go to the place where you downloaded TADST and extract the zip file. Then copy or move TADST.exe to your server root files that you downloaded earlier. If you wish, you can create the TADST.exe shortcut in the root folder. Then copy it to your desktop for easy access.
Now you must run TADST.exe to create setup folders.
After that you have completed the above steps, You should now click on ”Server File” and choose the arma3server.exe that you installed earlier.
Eventually, turn on BattIEye for cheat protection and choose your mission file. Don’t forget to click ”Save” at the bottom to save the profile.
In the first stage, you should extract BEC.zip to a temporary folder for configuration and then open the Config folder and edit the files to your liking.
After that, you should copy the directory path of the battleye folder in your server files and paste ”D:\Server_1\BattlEye part” into the ”BePath = D:\Server_1\BattlEye”.
Finally, you should do initial setups and such by running TADST.exe and clicking LAUNCH.
In this section, we want to discuss how to Configure BattIEye and Server. You should find BEServer.cfg available in ”Arma3ds/TADST/default/battleye” path . Because the server is ready for configuration. Now you can make any personal configuration changes.
Then you can follow the steps below to run the server (simplified version). In the first step, you should create a shortcut of the arma3server.exe, after installing server root files. Then right-click the shortcut and edit the launch parameters like this:
"D:\example\example\arma3example\arma3server.exe" "-profiles=D:\example\example\arma3example\A3Master" -port=2302 -config=arma_server.cfg -world=empty
In the next stage, you should create an arma_server.cfg, this will contain all your configurations. You should double-click the shortcut, to run your Server.
After completing all the above steps, you should open the required ports for the Arma 3 dedicated server in the final step. As you can see below, these incoming and outgoing ports are as follows.
Incoming Ports:
1) UDP 2302 (Arma3 game port) + (voice-over net)
2) UDP 2303 (Steam query port)
3) UDP 2304 (Steam port)
Outgoing Ports:
1) TCP/UDP 2344 (BattlEye 1)
2) TCP 2345 (BattlEye 2)
3) UDP 2302-2305 (Client traffic)
4) UDP 2303 (Steam query port)
5) UDP 2304 (Steam master traffic)
Since the installation of Arma 3 is a bit complicated, you have to configure it. Due to the great popularity of Arma 3 in the world, we tried to first have a definition of Arma 3 and introduce it to you. Then we taught you how to install SteamCMD and root server files, TADST, and BattlEye Extended Controls step by step. Using this article you can play this true combat gameplay and enjoy your time. We hope this content was helpful to you.
How useful was this post?
Click on a star to rate it!
Average rating 0 / 5. Vote count: 0
No votes so far! Be the first to rate this post.
 Tags
Tags

Tutorial on how to Setup FTP Server on RDP 2012, 2016, and 2019 step by step. FTP or File Transfer P...


 Tags
Tags

OpenSSH is a tool that allows you to securely connect to a remote server using the SSH protocol. Thi...


 Tags
Tags
What is your opinion about this Blog?


