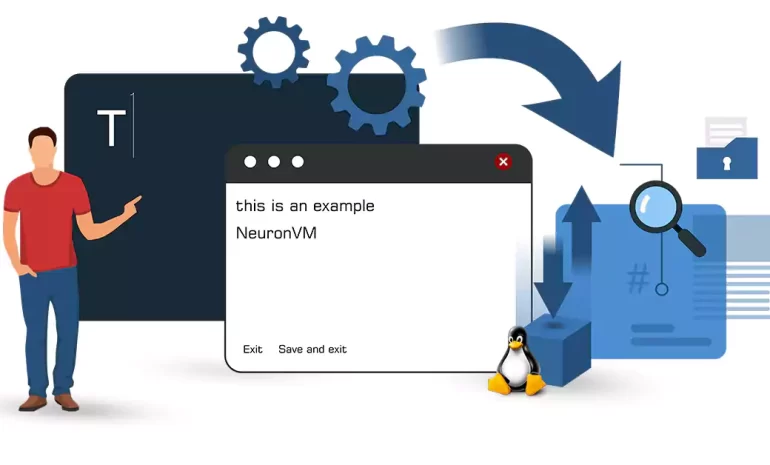


Nano is a popular command-line text editor used on Linux-based systems. It is lightweight, easy to use, and comes with a range of features that make it a preferred choice for many users. In this guide, we will walk you through the process of installing Nano, saving your work, and exiting the editor using simple commands (Install, then save and exit Nano). Whether you are new to Nano or looking to enhance your knowledge, this comprehensive guide will help you navigate through the process effortlessly.
If you need to buy Linux VPS server, we suggest you to use the various plans provided on our website.
Before you can start using Nano, you need to ensure that it is installed on your system. Most Linux distributions come with Nano pre-installed, but if it is not available, you can easily install it using the package manager specific to your distribution. Here are the commands to install Nano on some commonly used distributions:
For Debian/Ubuntu-based systems:
Open the terminal and run the following command:
sudo apt-get install nano
For Fedora/CentOS-based systems:
Open the terminal and run the command:
Fedora:
sudo dnf install nano
CentOS:
sudo yum install nano
Once Nano is installed, you can open any file by simply typing “nano” followed by the file name in the terminal. For example, to open a file called “example.txt“, use the command:
nano example.txt
After you open a file, you can start editing the content immediately. Nano provides a simple and intuitive interface for editing text. To navigate through the file, use the arrow keys on your keyboard. To make changes, simply start typing at the desired location.
If you want to save your work, press “Ctrl+O” (press the Ctrl key and the letter ‘O‘ simultaneously). This command will prompt you to confirm the file name. If you want to save the changes with the same file name, press Enter. To save the changes under a different name, type the new file name and then press Enter.
To exit Nano, press “Ctrl+X” simultaneously. If you have unsaved changes, Nano will prompt you to save them before quitting. If you want to save the changes, press “Y” followed by Enter. Also, If you don’t want to save the changes, press “N” followed by Enter. Once you have made your selection, Nano will exit, and you will return to the terminal.
In this guide, we have explored how to install Nano on your Linux-based system, open a file, edit its content, save your work, and exit the editor using simple commands. Nano is a powerful yet easy-to-use text editor that provides a seamless experience for both new and experienced users. By familiarizing yourself with these basic commands, you can efficiently navigate and edit text files with ease. With practice, you will become more comfortable using Nano and appreciate its flexibility and efficiency.
How useful was this post?
Click on a star to rate it!
Average rating 5 / 5. Vote count: 1
No votes so far! Be the first to rate this post.
 Tags
Tags

Traceroute, is a computer network diagnostic tool that tracks the path of network packets from a sou...


 Tags
Tags

After reading this post, you will learn how to configure cron jobs on a Dedicated server by using yo...


 Tags
Tags
What is your opinion about this Blog?


