
Today we gonna learn “The Clever One’s Guide to Buying Windows 10 VPS”. However, before we start this tut there are some points to remember. Whether you are a tech enthusiast, developer, or business owner, our Windows 10 virtual server is tailored to meet your specific requirements. You need a Windows VPS with an uptime % 99.99, Connection without delay, simple, scalable, customizable, and affordable prices.
Windows 10 virtual server is a virtual machine you can use as a dedicated environment to your web projects, So get ready to elevate productivity.
How to Order a Windows 10 VPS
To begin! Go to the NeuronVM website, Click on “Buy VPS” then choose “Buy Windows VPS“:

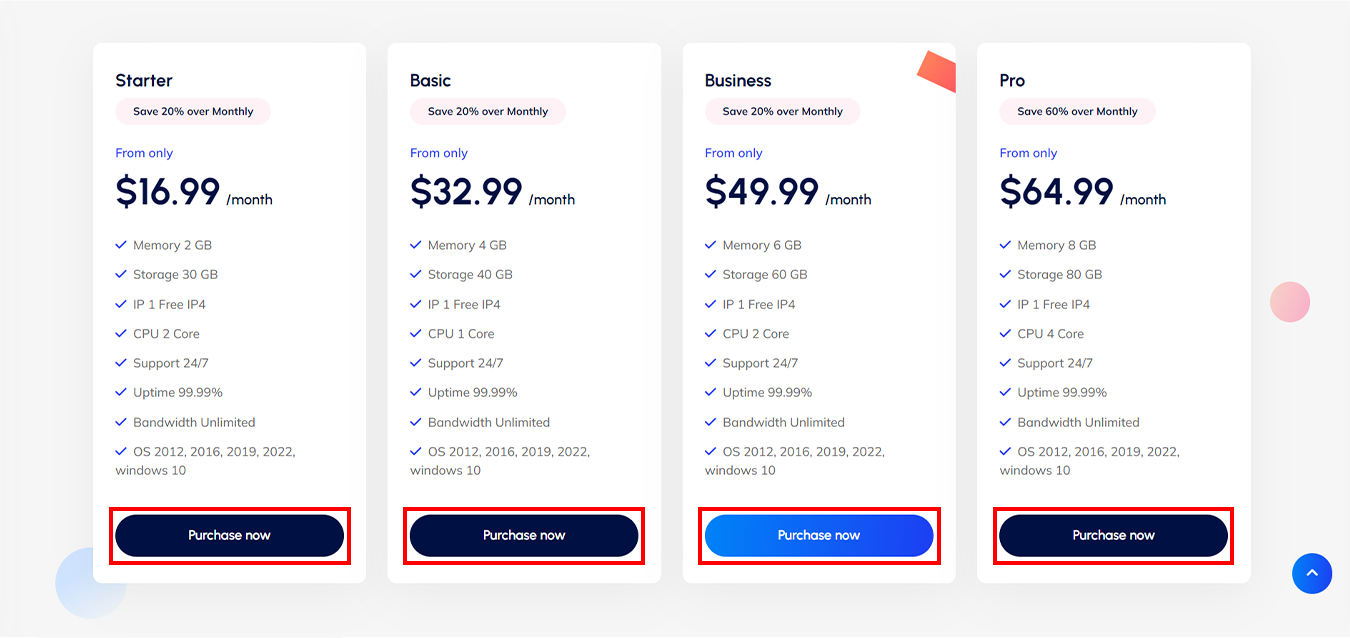
Windows 10 Virtual Server Plans
Choose a plan that fits your goals:
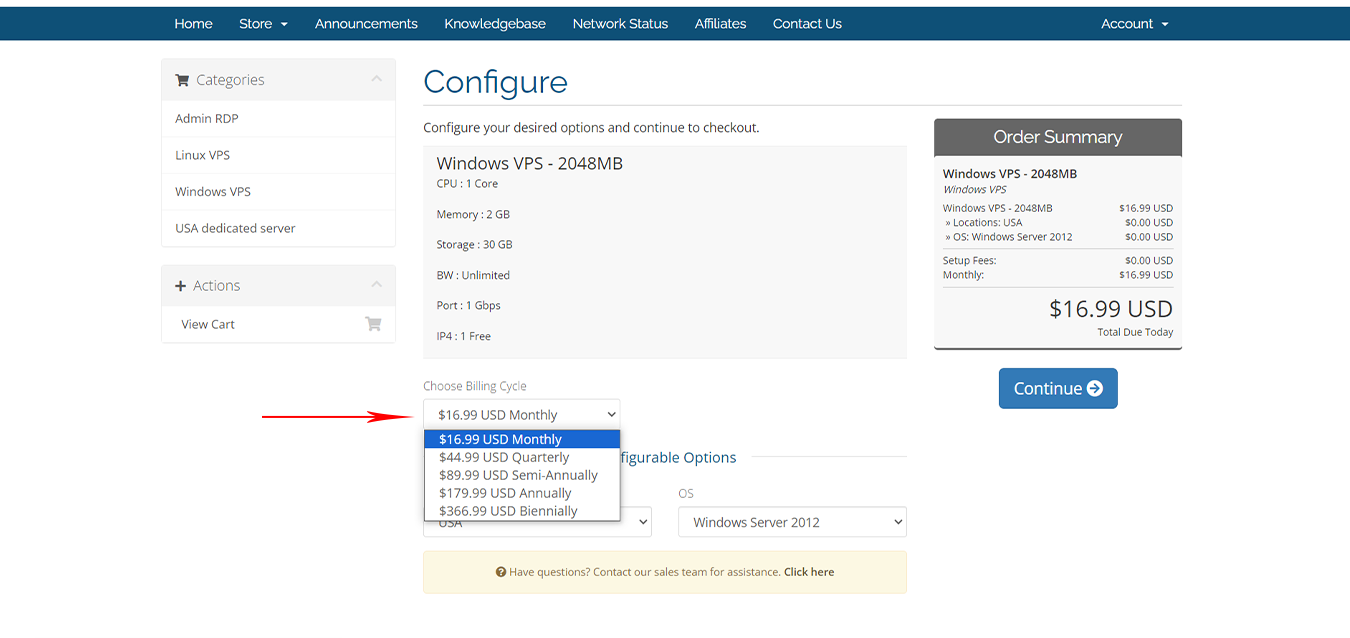
Choose your ” Billing Cycle “:
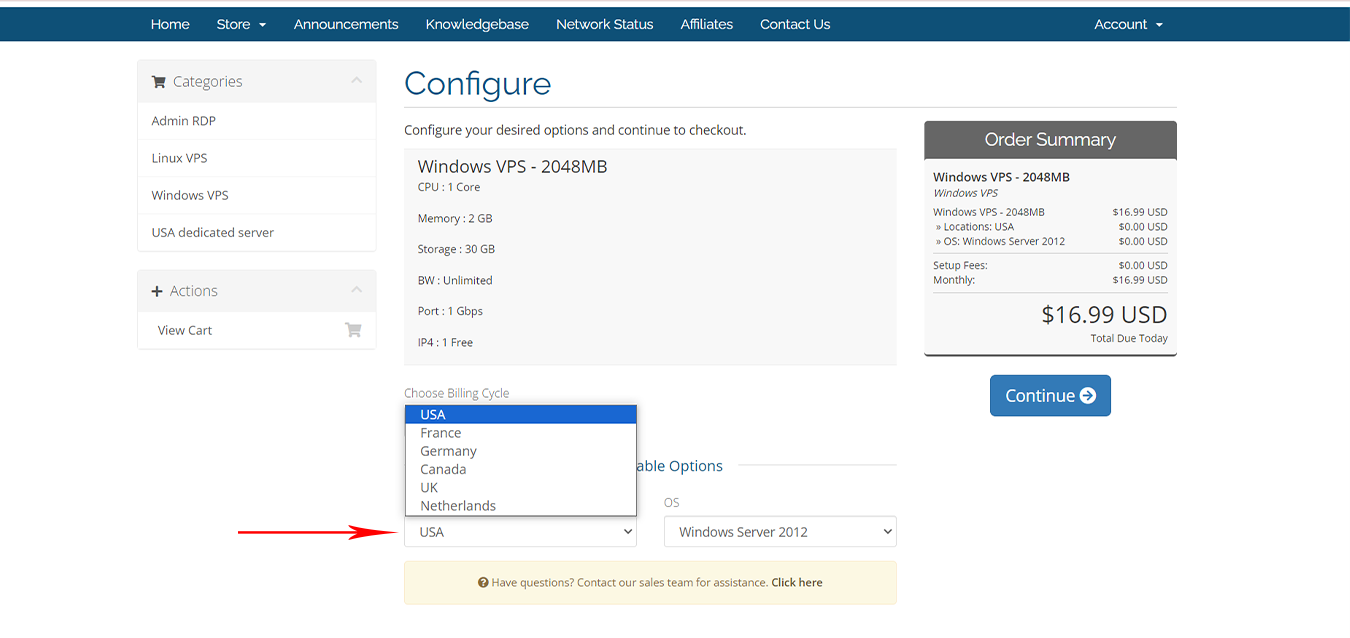
Next, choose one of the 6 available options for the location:
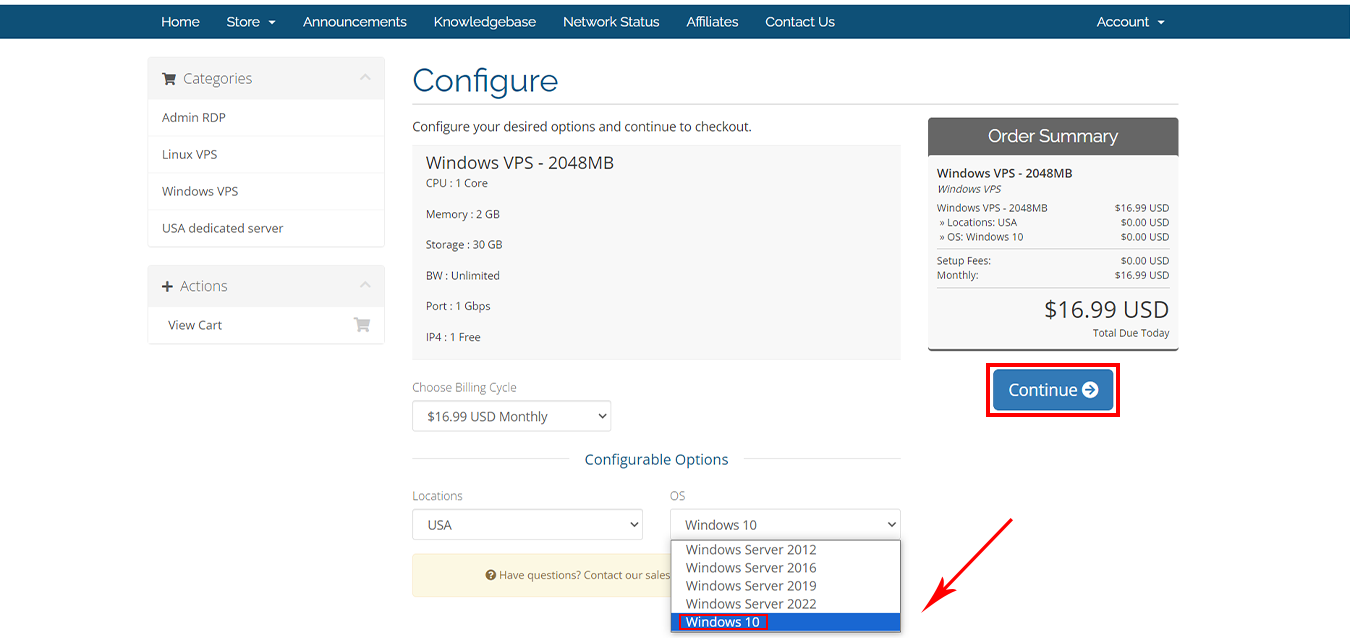
At this stage, to buy a Windows 10 VPS, select the ” Windows 10 ” option from the operating systems, And press ” Continue “:
If you have any promo code apply that and checkout:

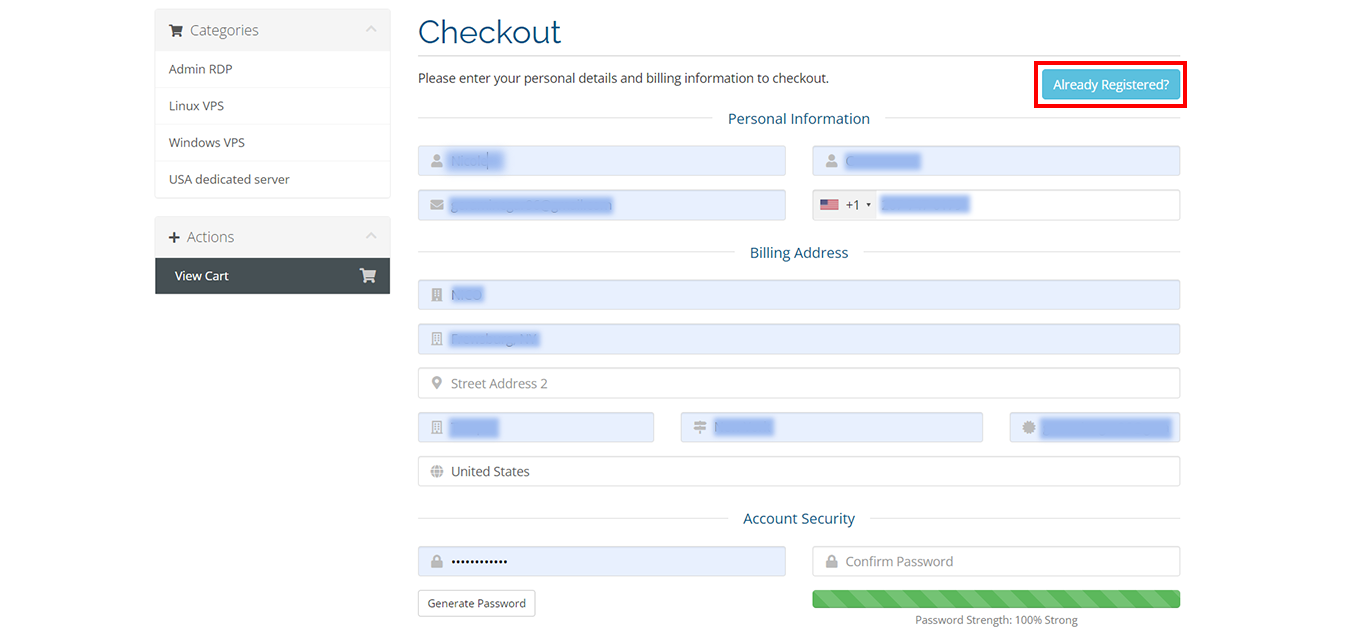
Fill blanks with your ” Personal Details ” and scroll down for more:
Windows 10 Virtual Server Payment Methods
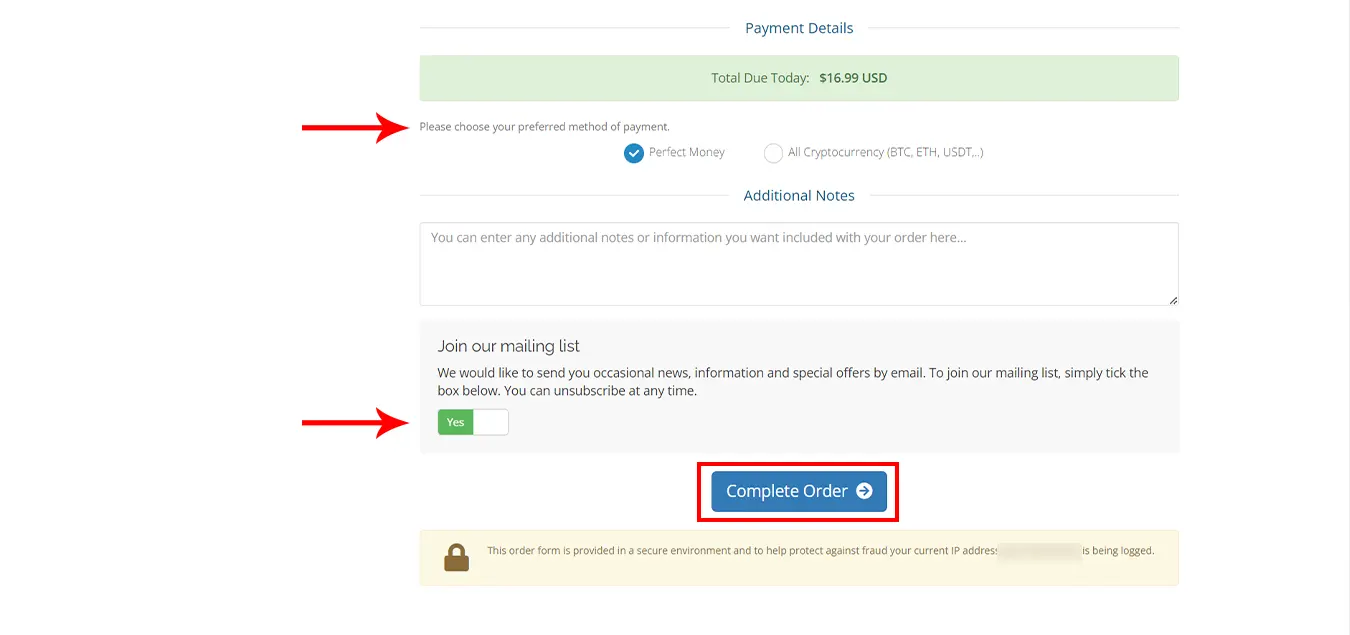
You can choose your method of payment ” Perfect Money ” Or ” All Cryptocurrency like BTC, ETH, USDT.. “:
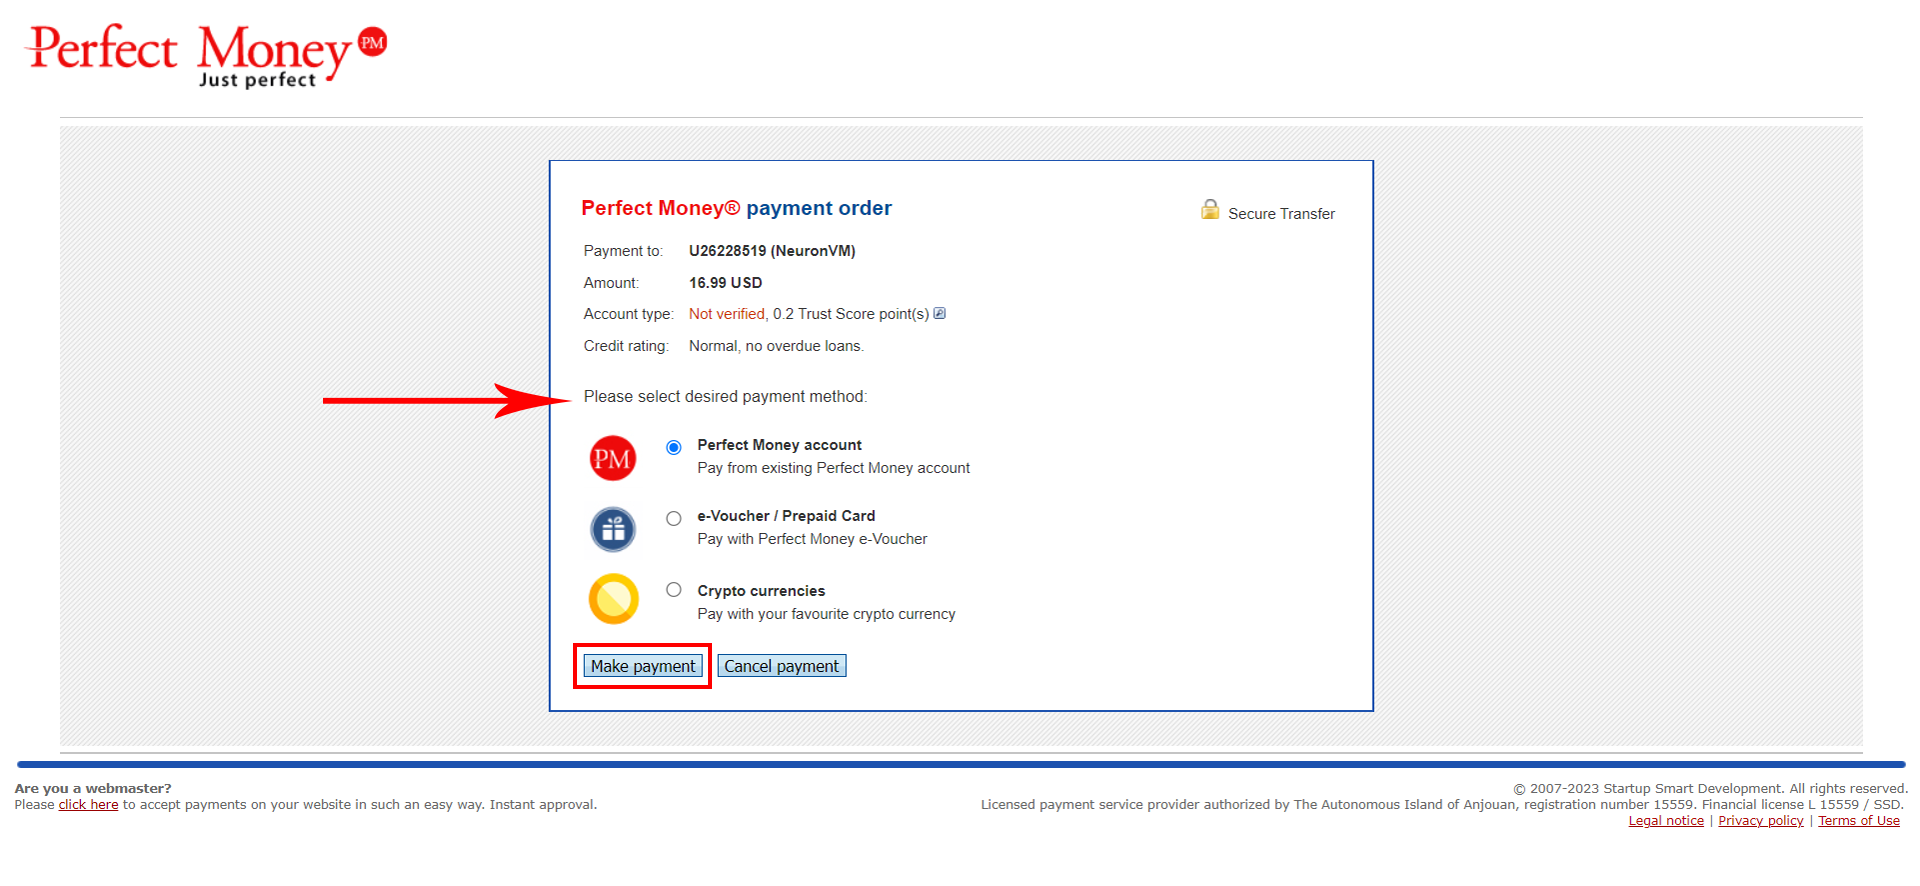
Please select the desired payment method:
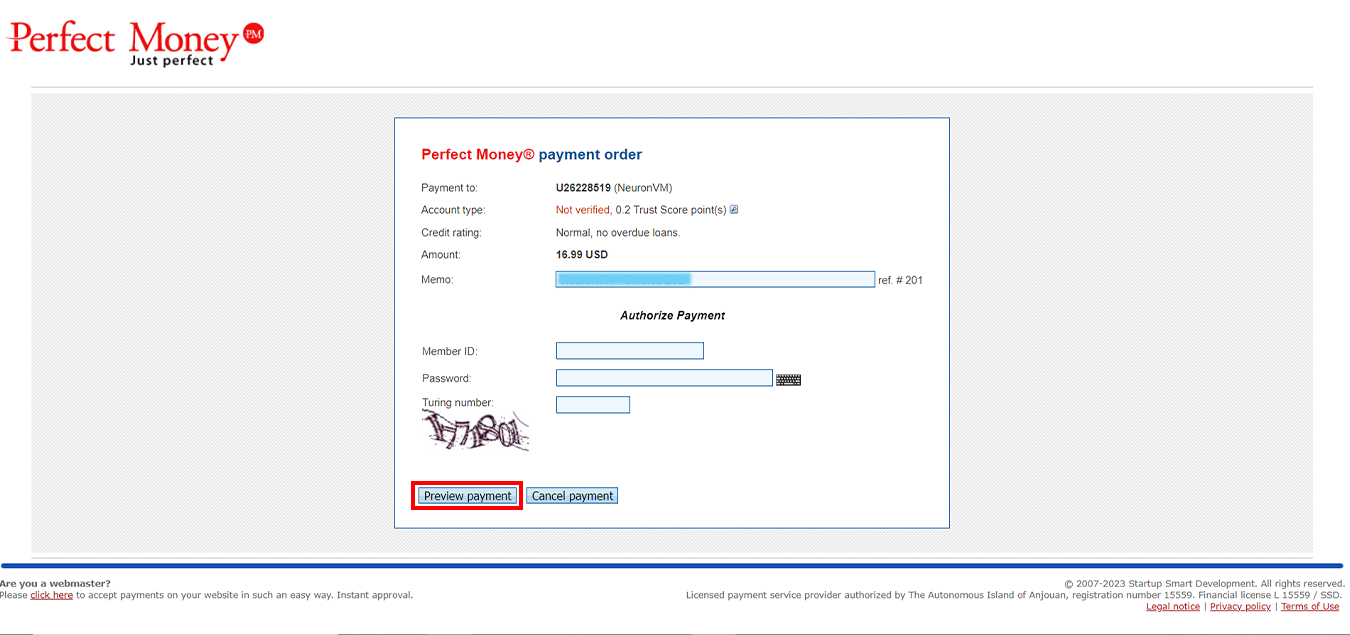
Please fill “ Member ID “, ” Password ” and ” Turning number “:
Your purchase is now completed. Your desired server information will be sent to your email after a few minutes.
Conclusion
Thank you for being with us! For more information, visit the website.
If you have a problem or question in any of the above steps, you can contact our experts 24/7 via ticket section in your user area.
Leave a Reply