



Install WordPress on cPanel is a straightforward process that enables you to build a website or blog using the popular content management system (CMS). In this guide, we will provide a step-by-step walkthrough on how to install WordPress on cPanel, ensuring you have a fully functional website up and running in no time.
Before starting the installation process, make sure you have the following prerequisites:
– A cPanel hosting account with a domain name registered and pointed to your server.
– Reliable internet connection to download WordPress and upload files to cPanel.
– Access to cPanel account with sufficient privileges to create a database and manage files.
We suggest you to use the various Linux VPS server plans offered on our website to launch your own WordPress website.
To download WordPress, visit the official website.
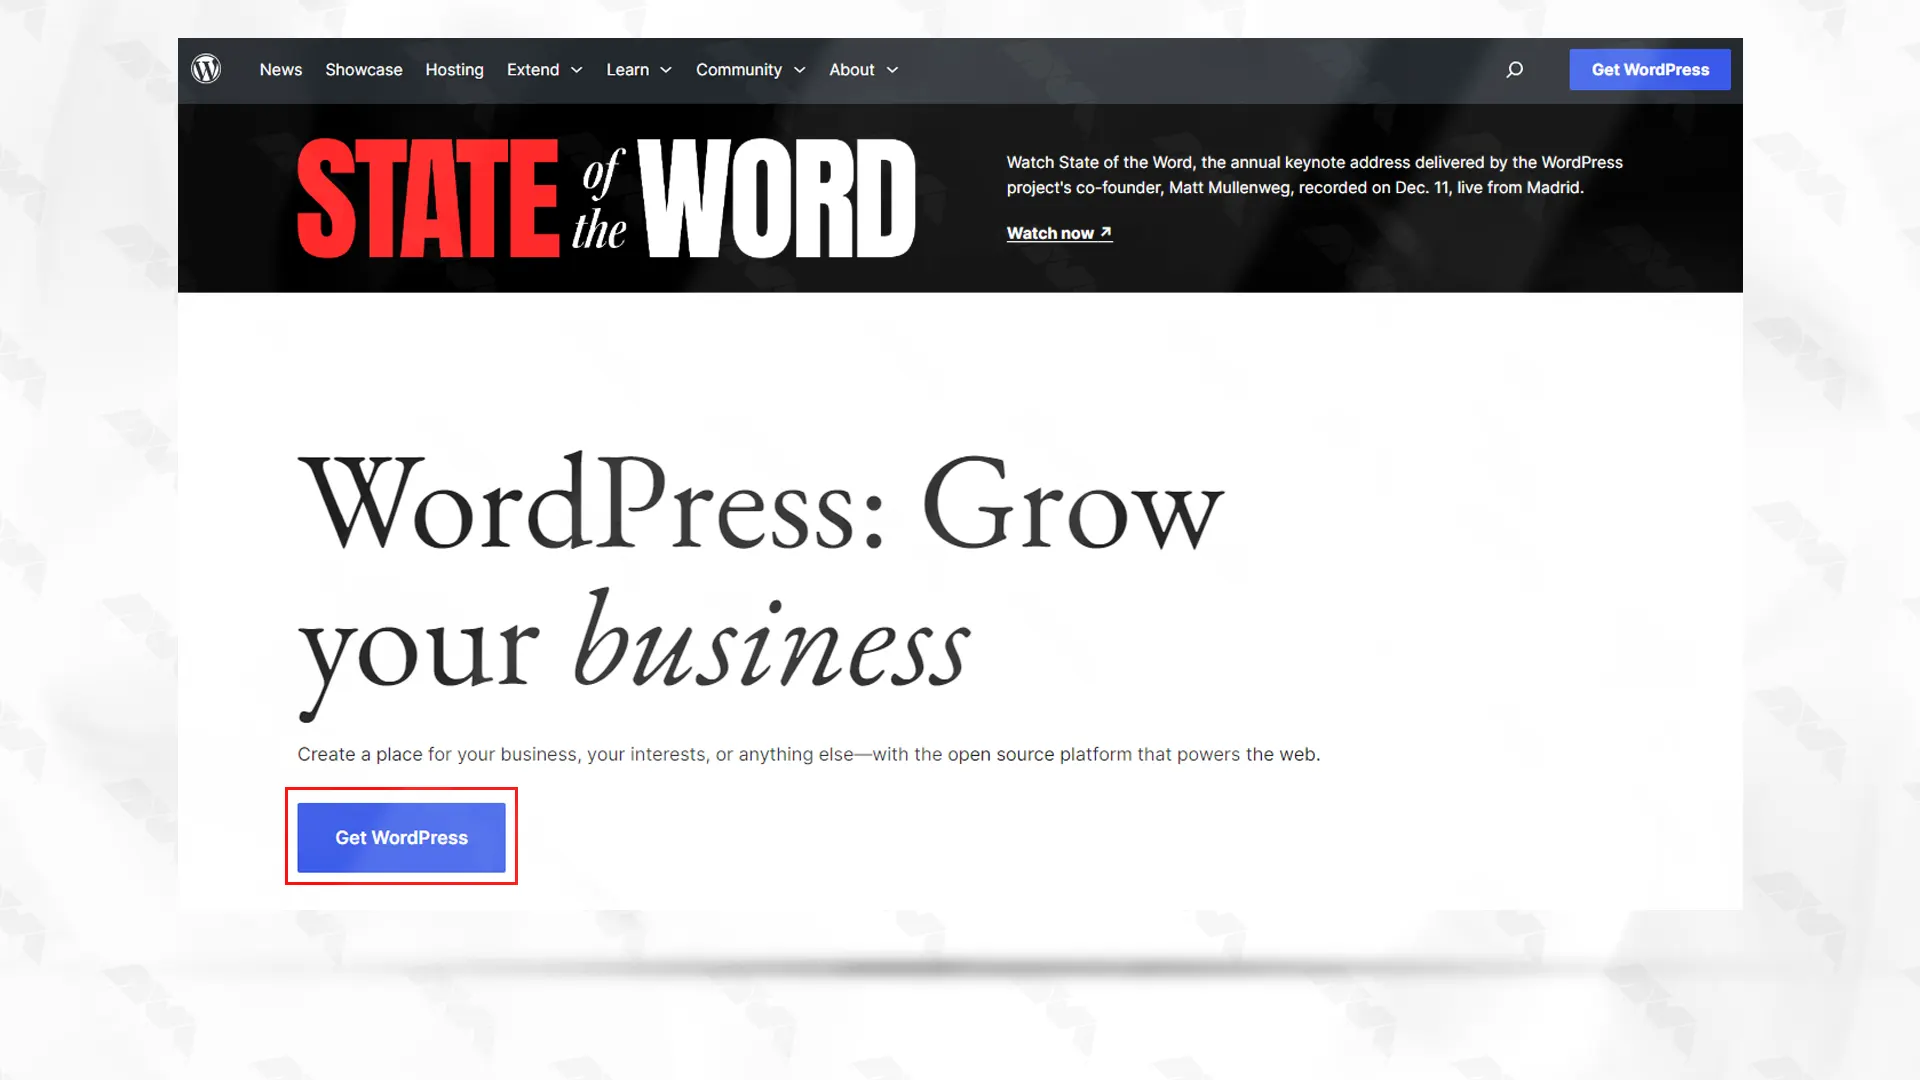
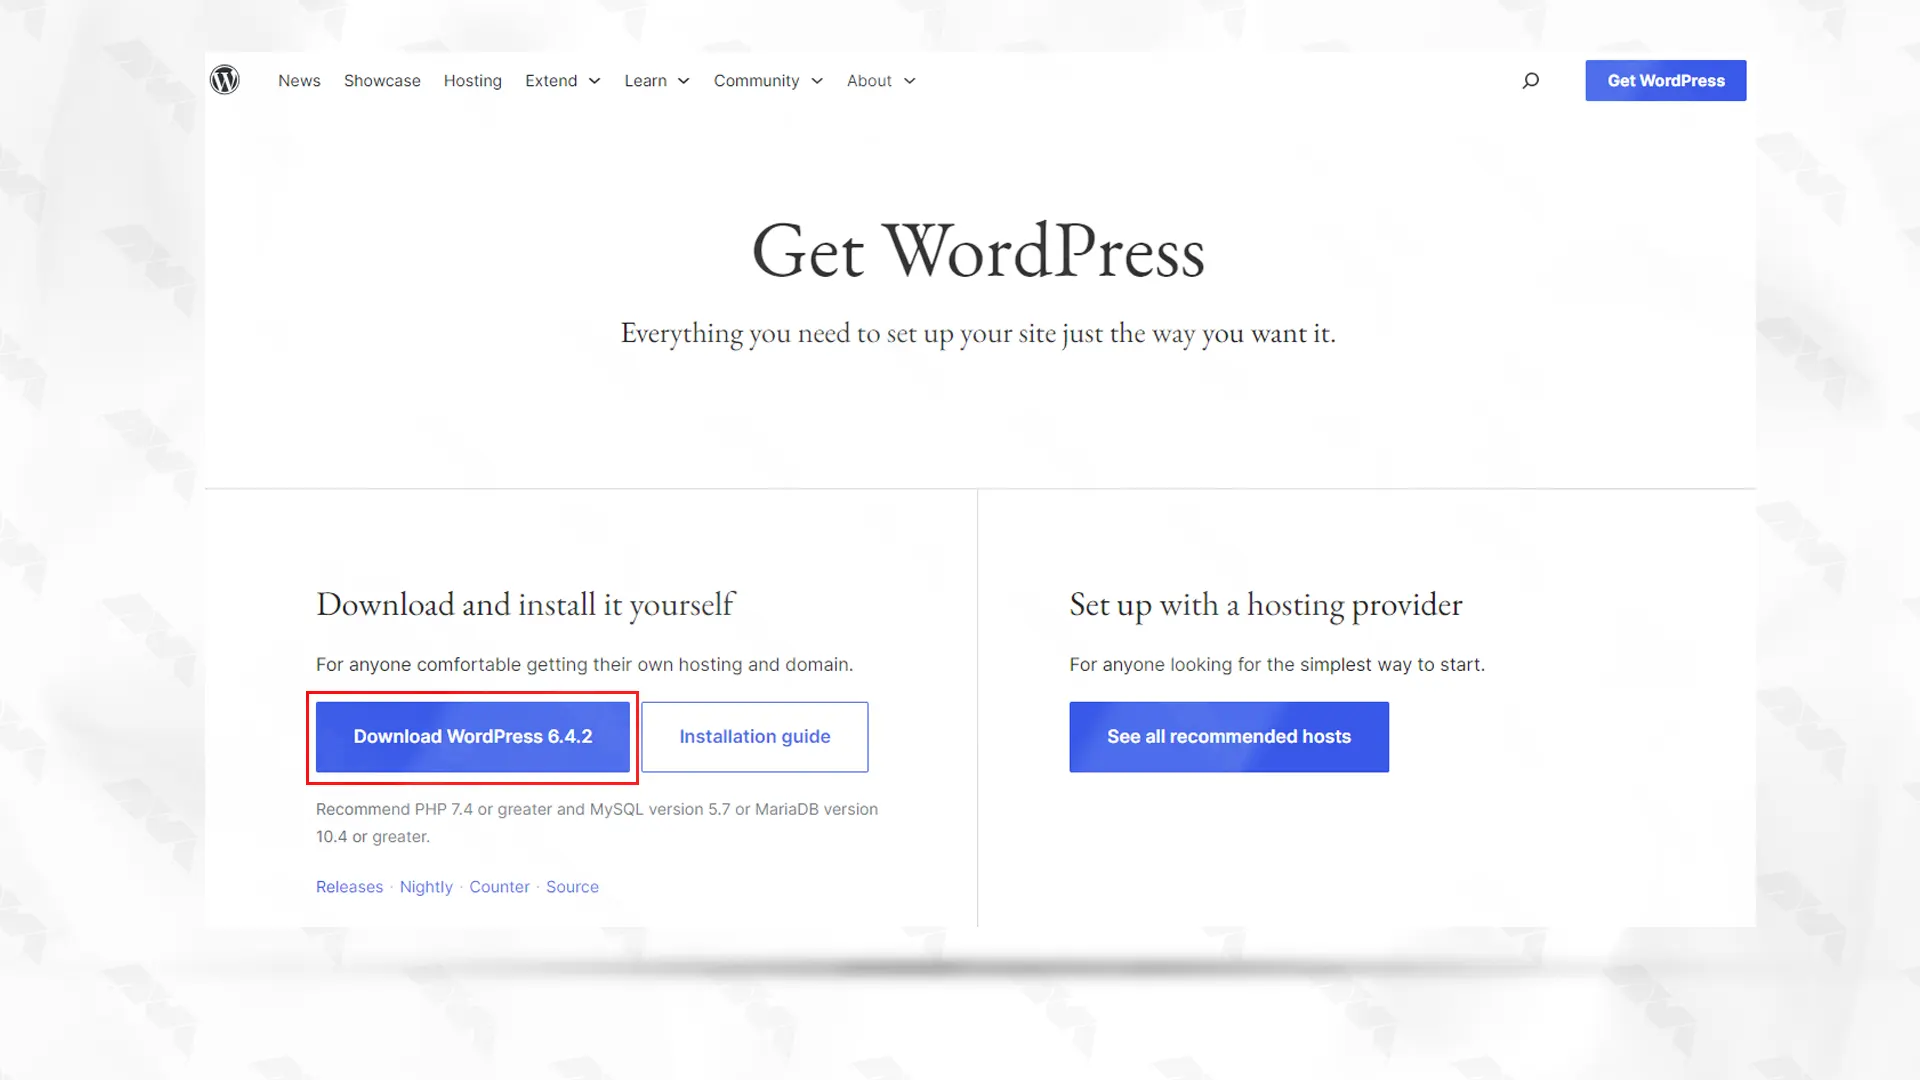
Click on the “Get WordPress” button and choose the latest version to download.
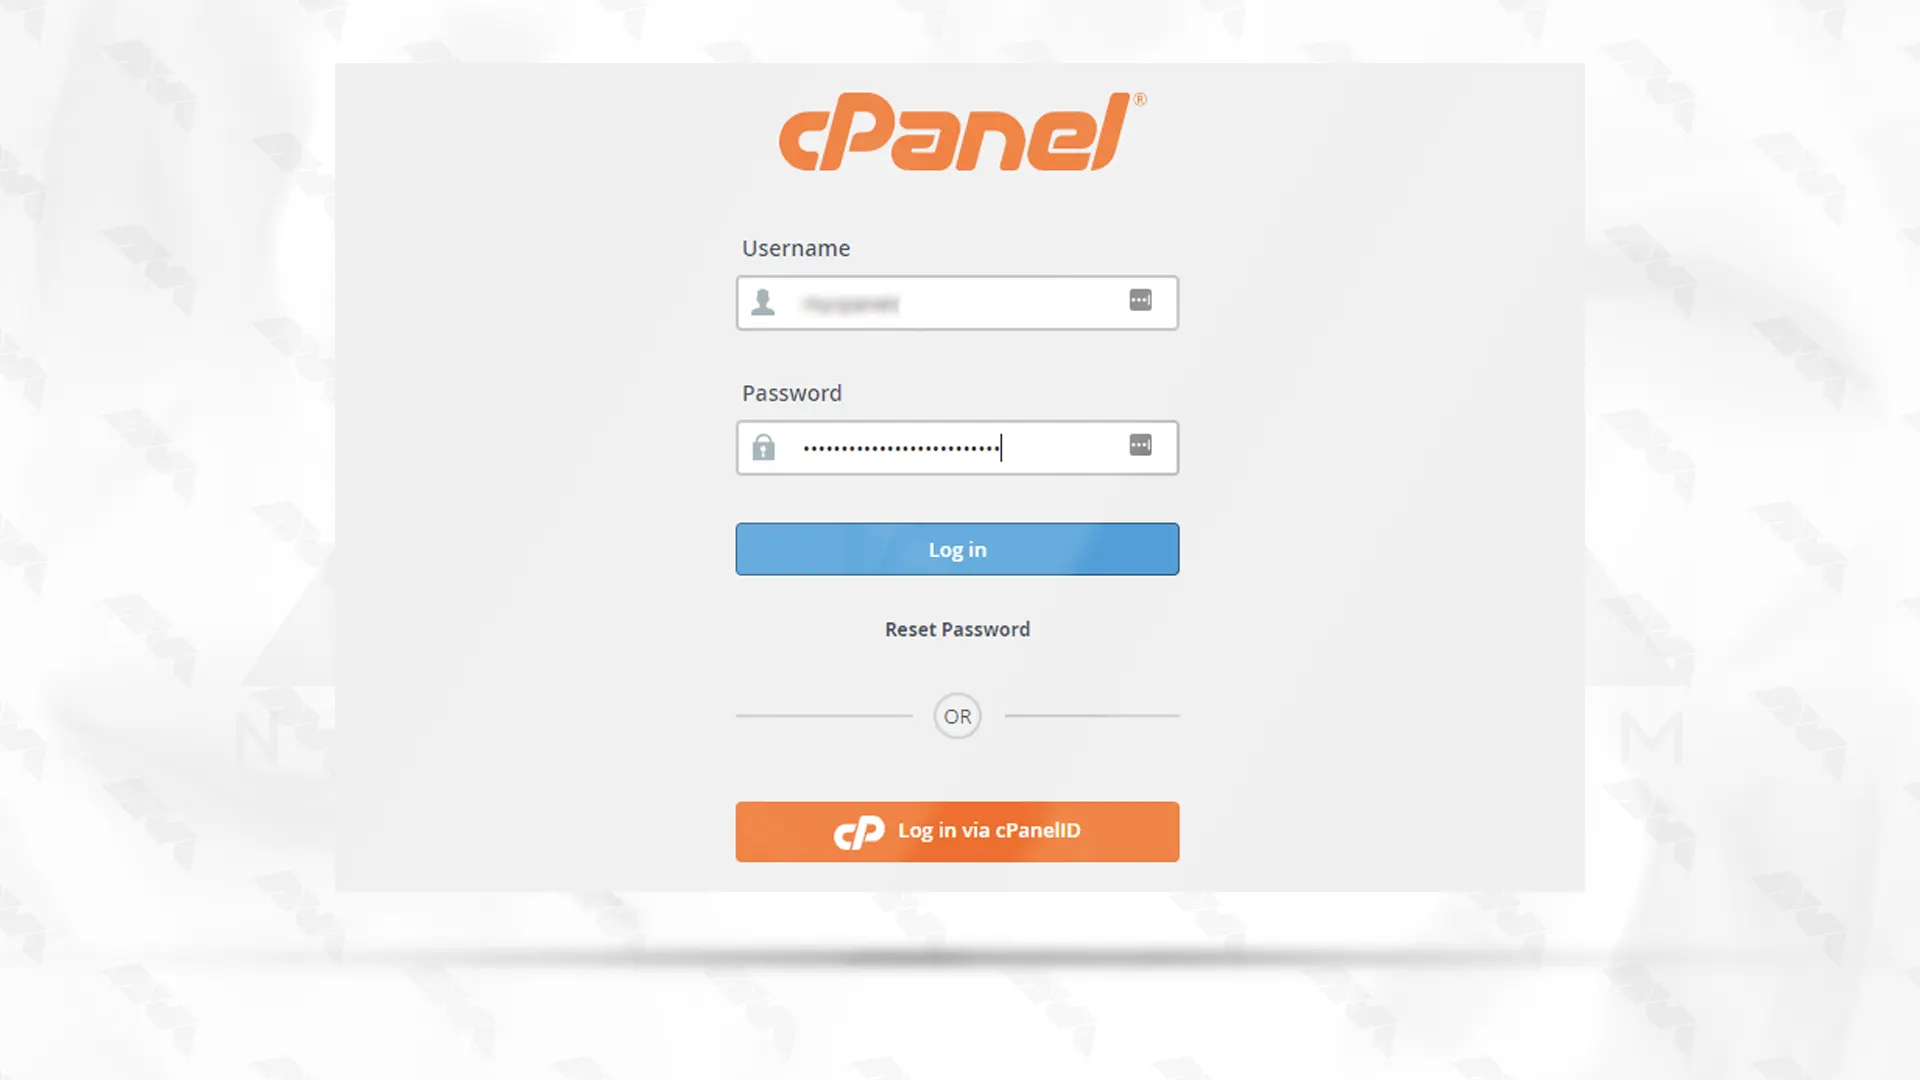
– By browsing to your_domain_name.com/cpanel, you will find your cPanel account.
– Log in by entering your user credentials.
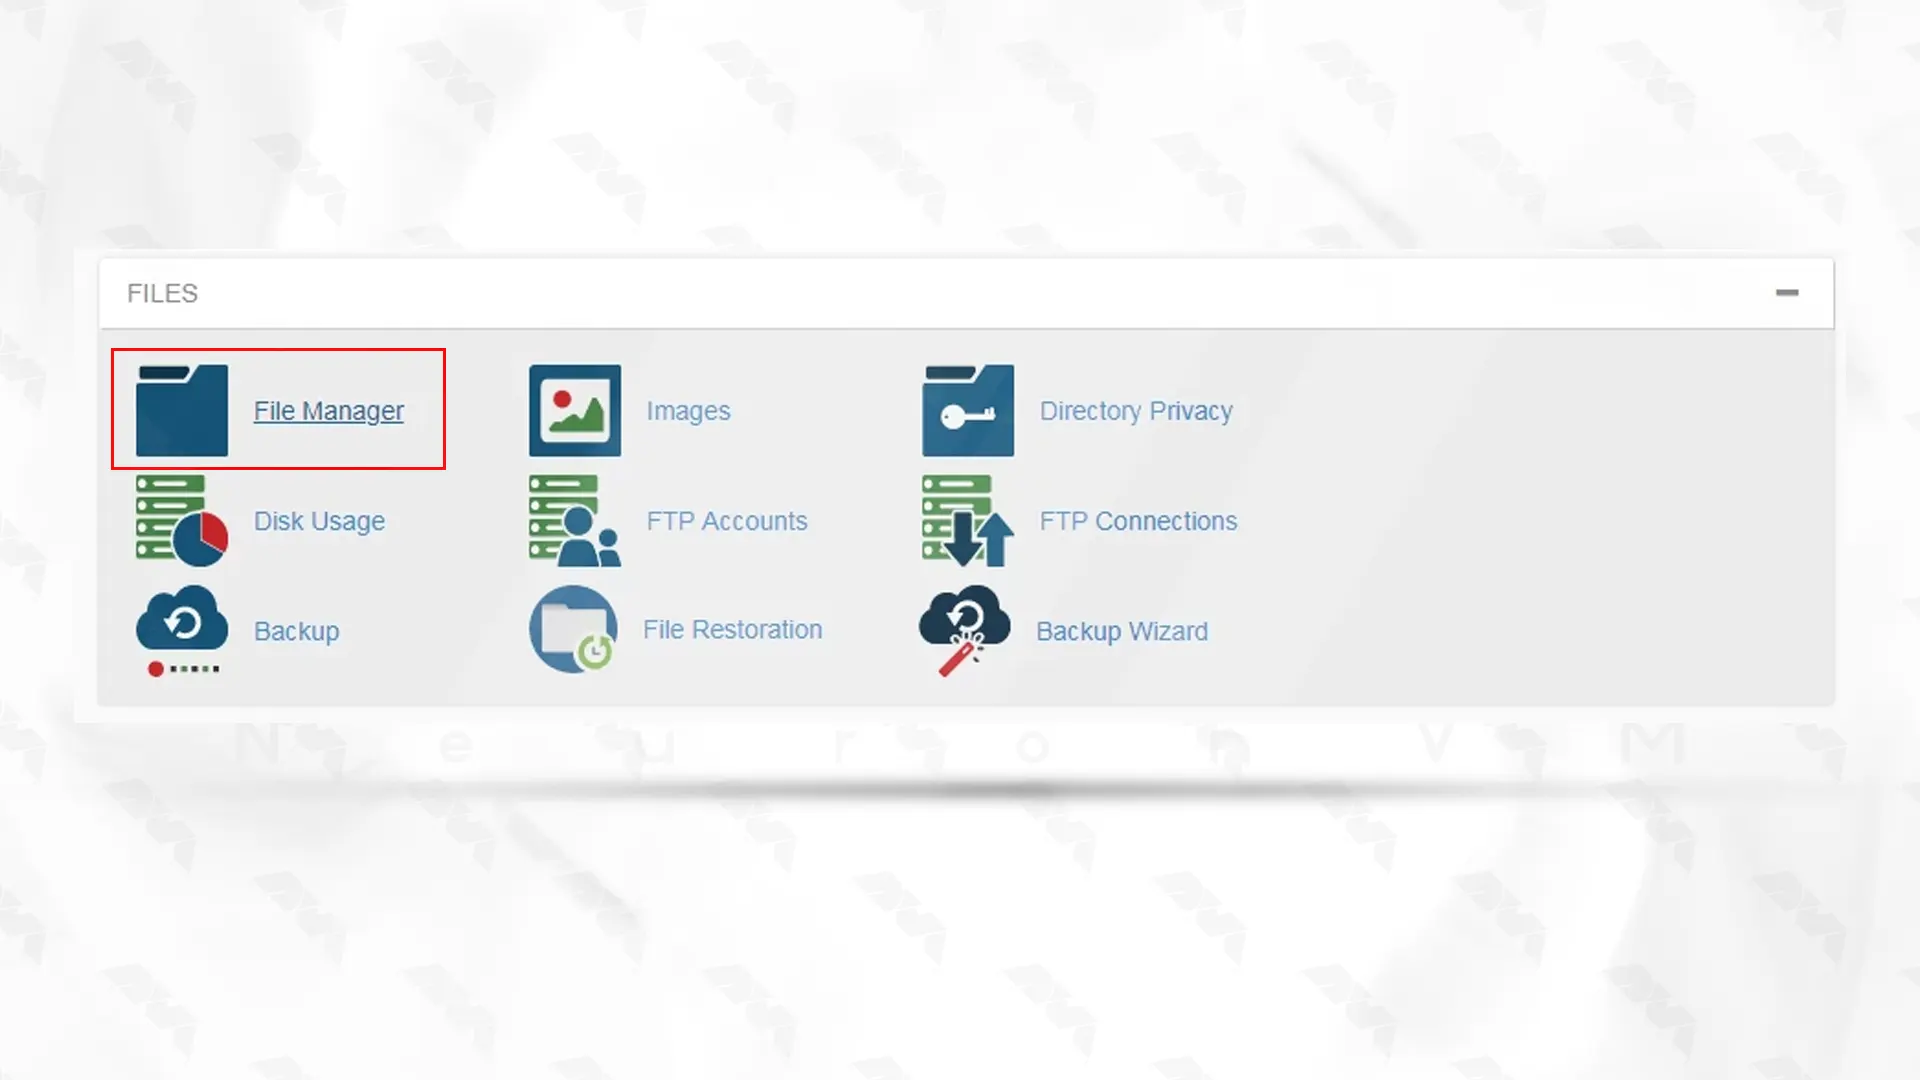
– Open the File Manager tool.
– Locate the public_html directory.
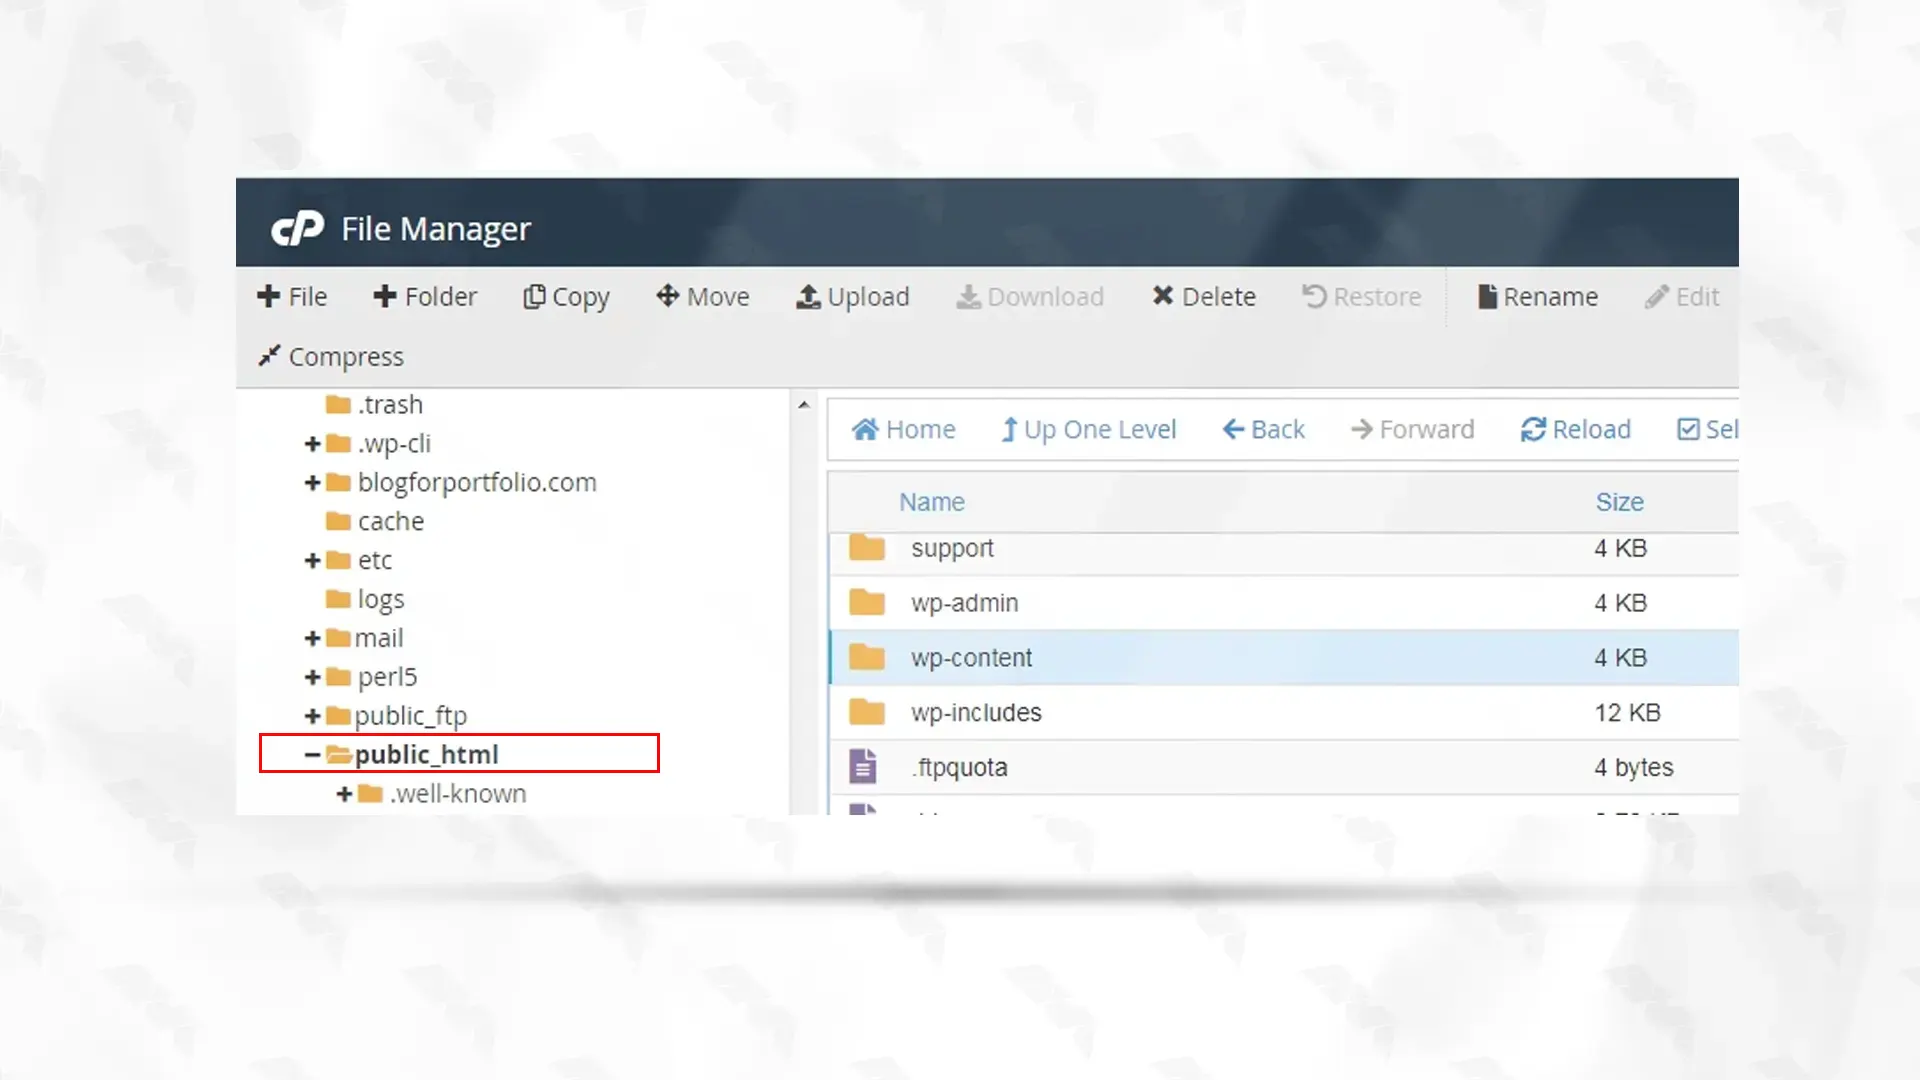
– In cPanel, upload the wp zip file.
– After the WordPress upload is complete, you should extract the downloaded zip file.
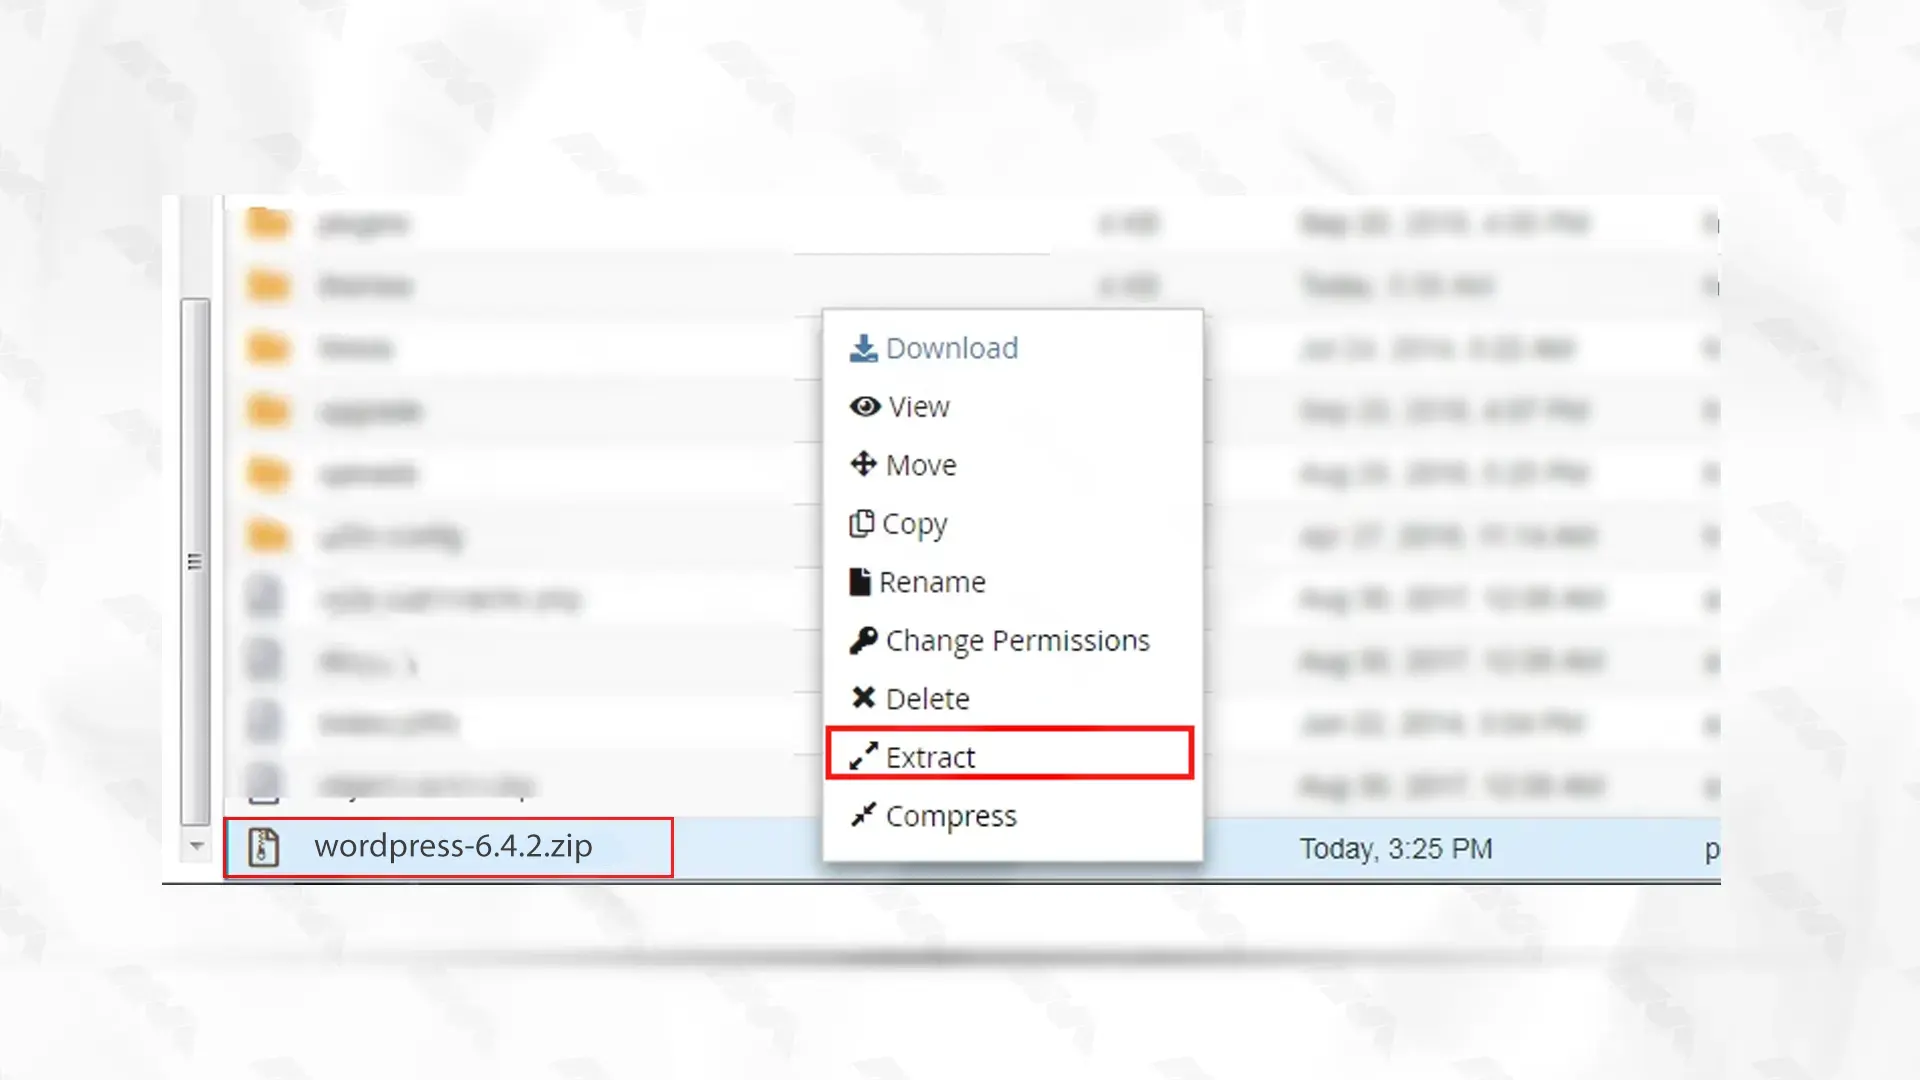
– Delete the zip file from your web server after extracting the WordPress installation archive. Right-click on the zip file and select Delete.
Note: All the necessary WordPress folders and files should be listed in the folder named WordPress after the extraction process.
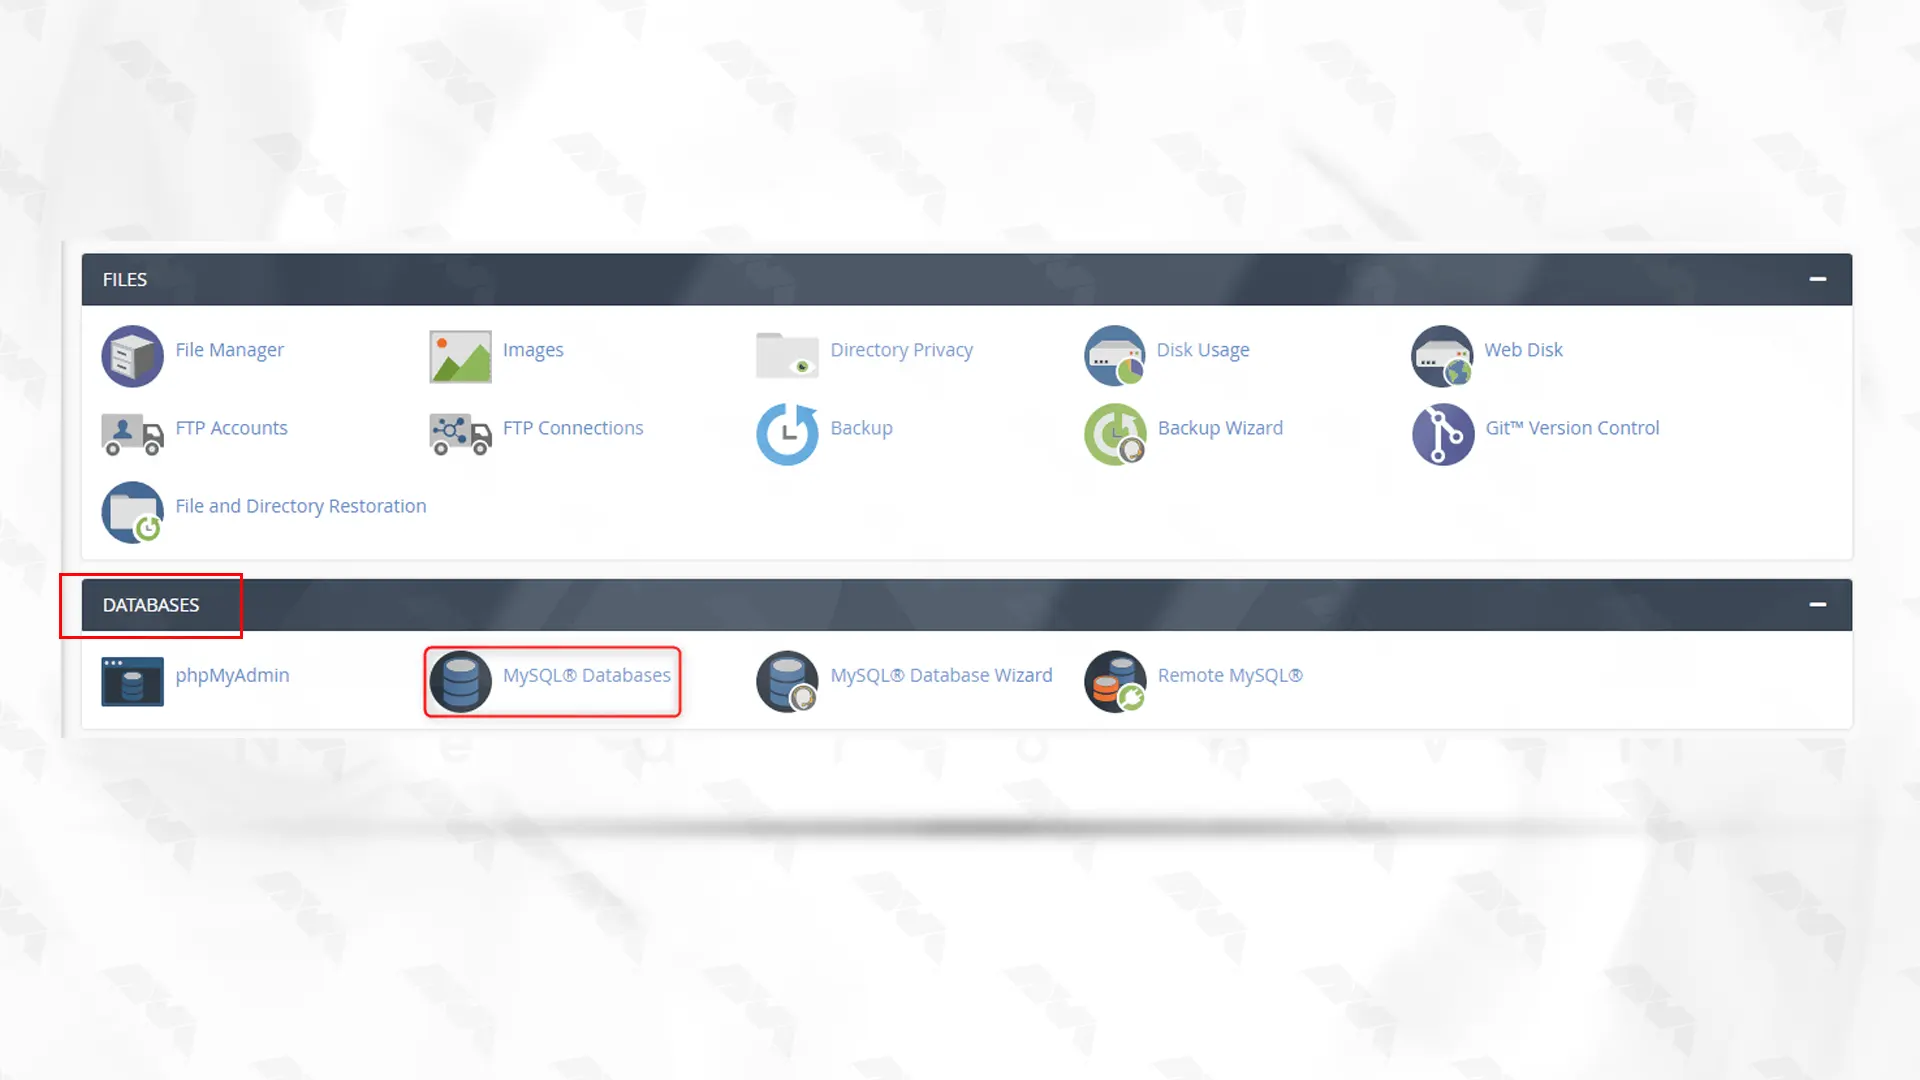
– Click on “MySQL Database Wizard” in DATABASES section.
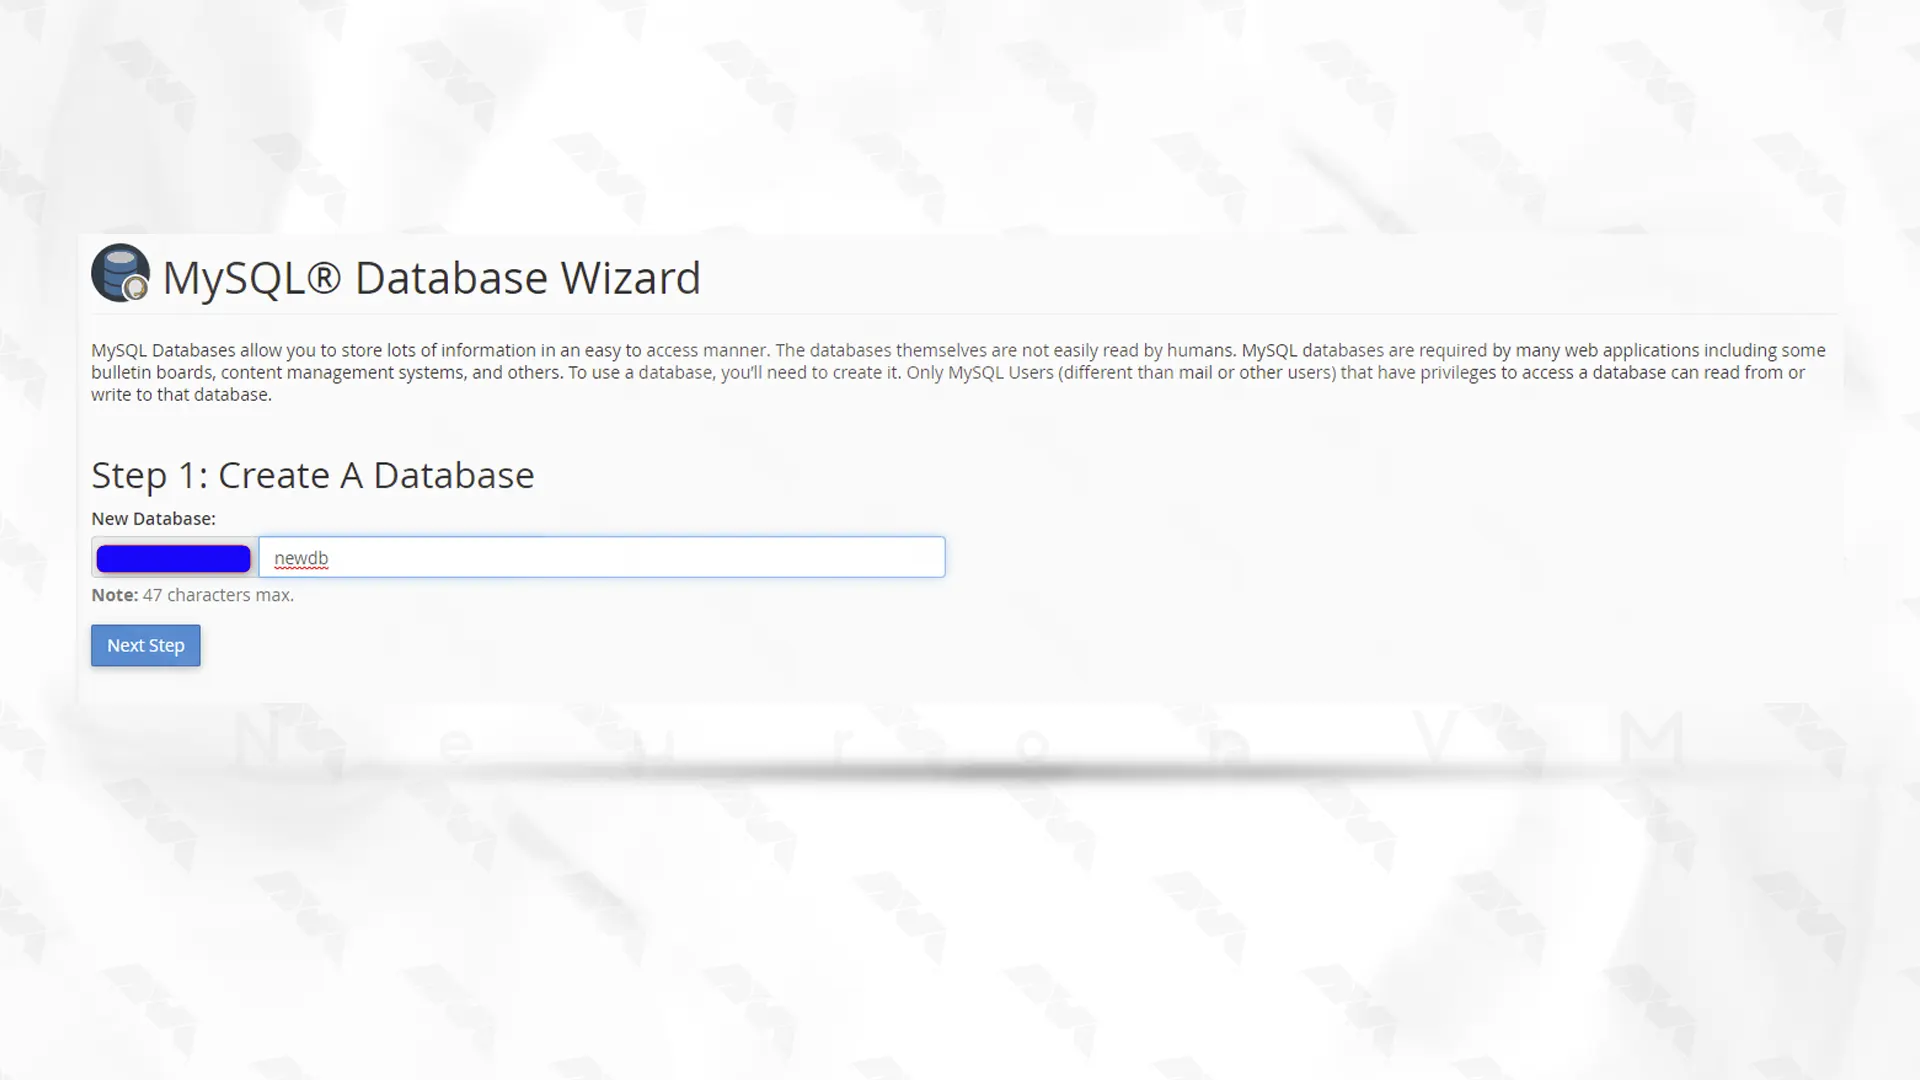
– Enter a name for the new database, and then click Next Step.
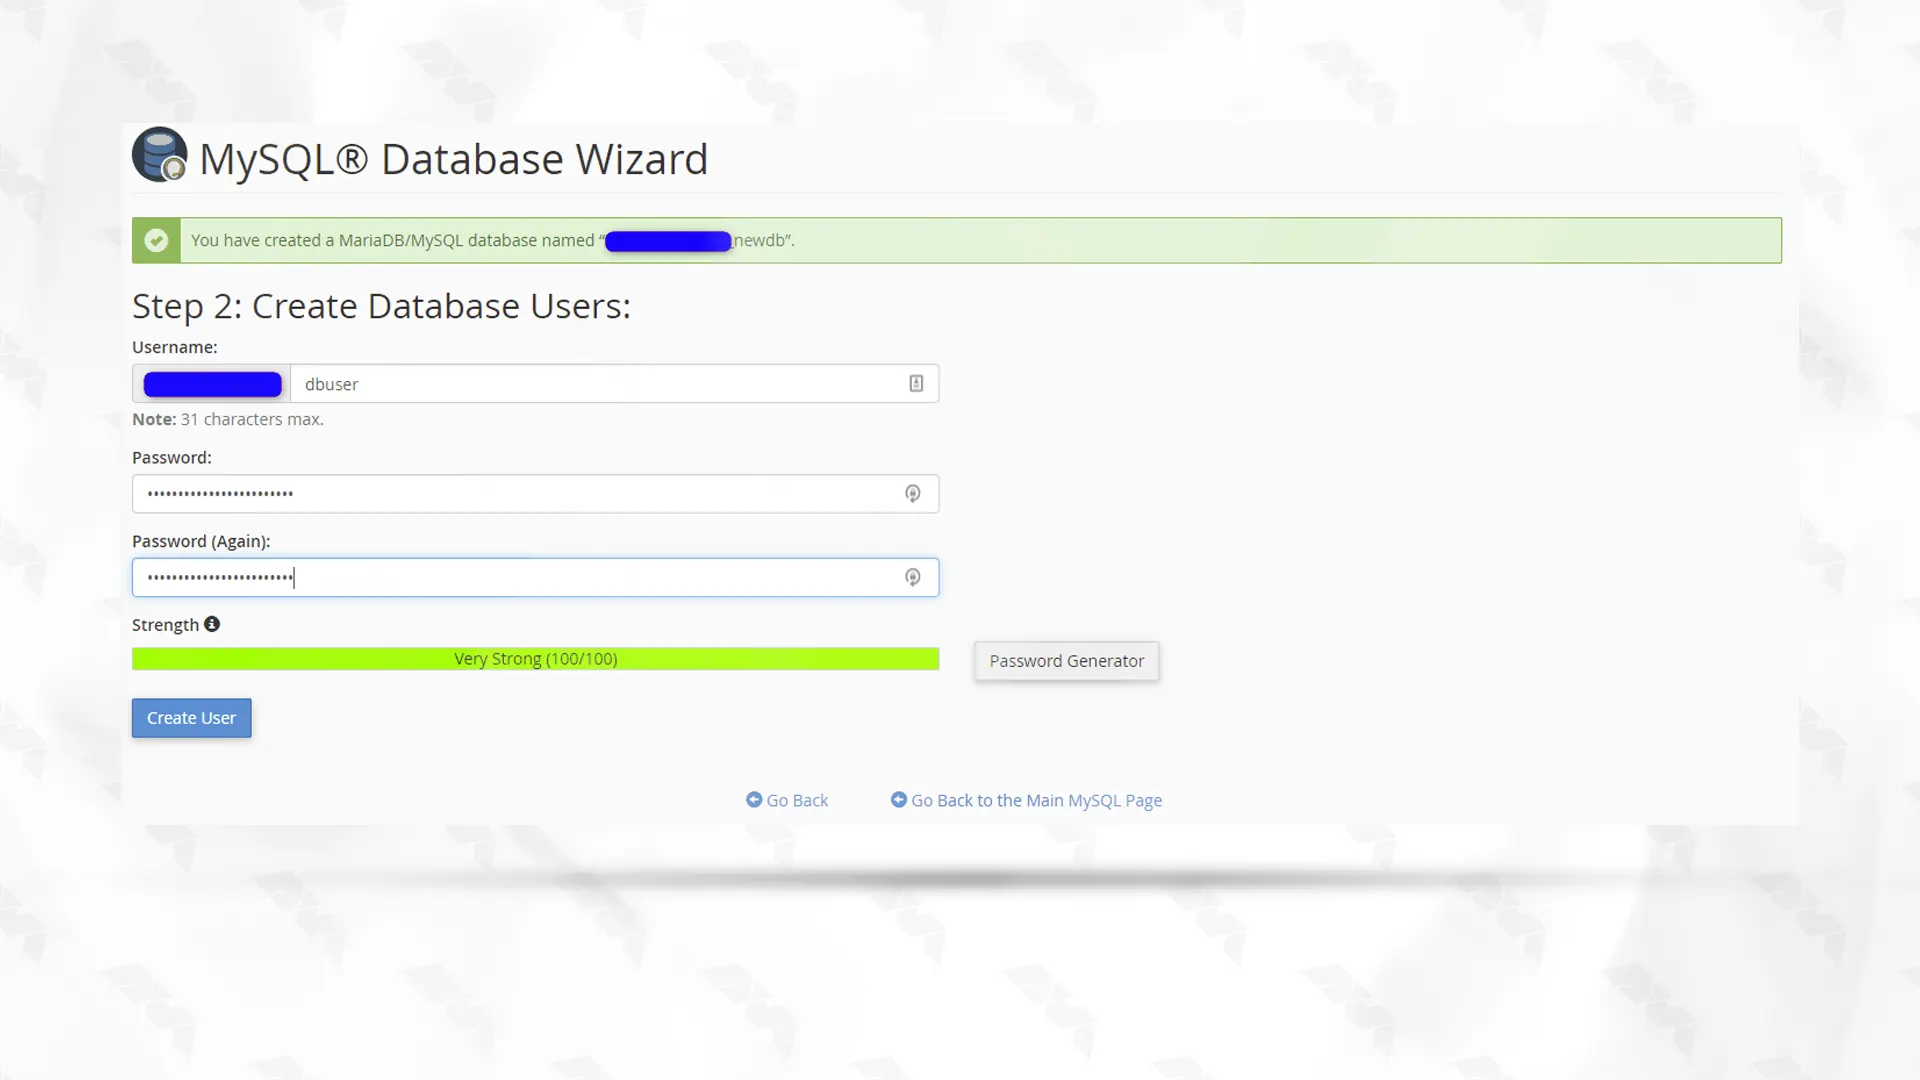
– In order to create a user for this database, please enter a username and create a password. After that, click Create User.
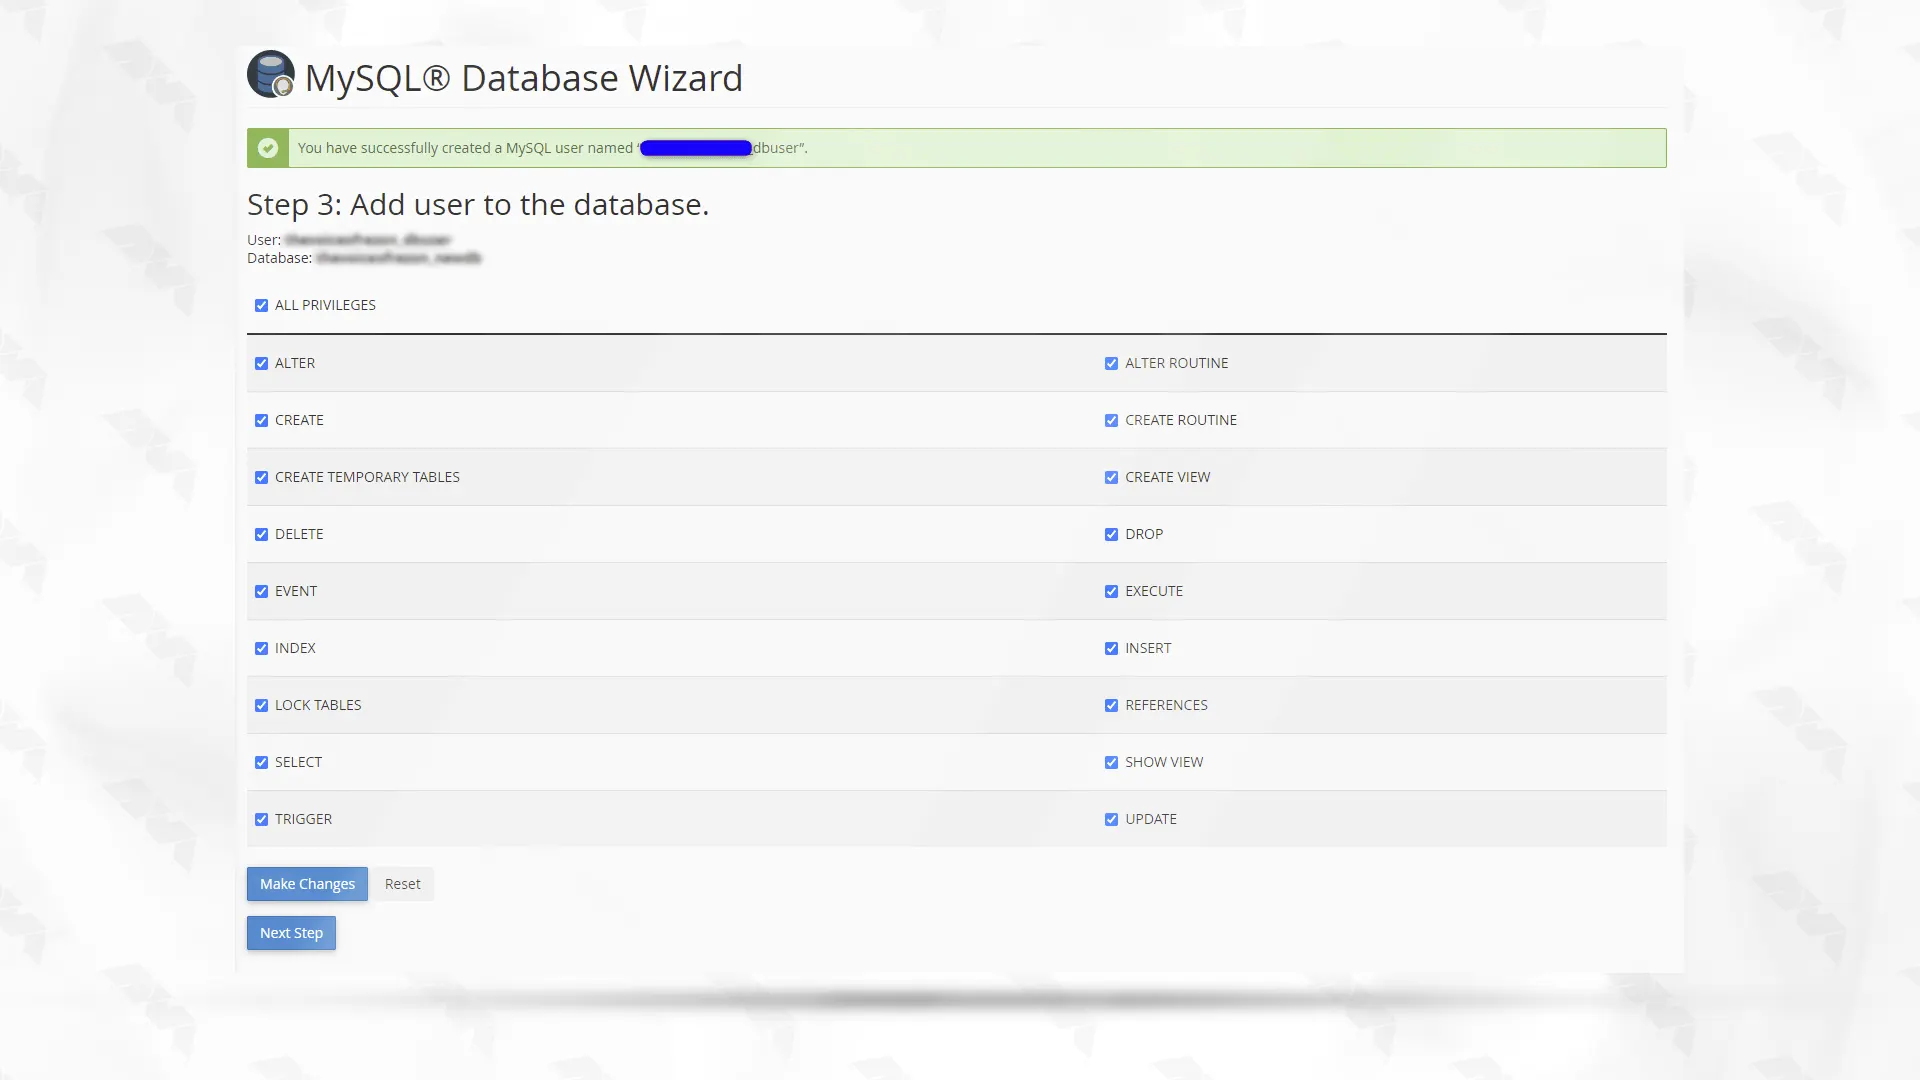
– In order to continue, please click Next Step. You have the option to either click the All Privileges check box or select individual privileges based on your preferences for the user.
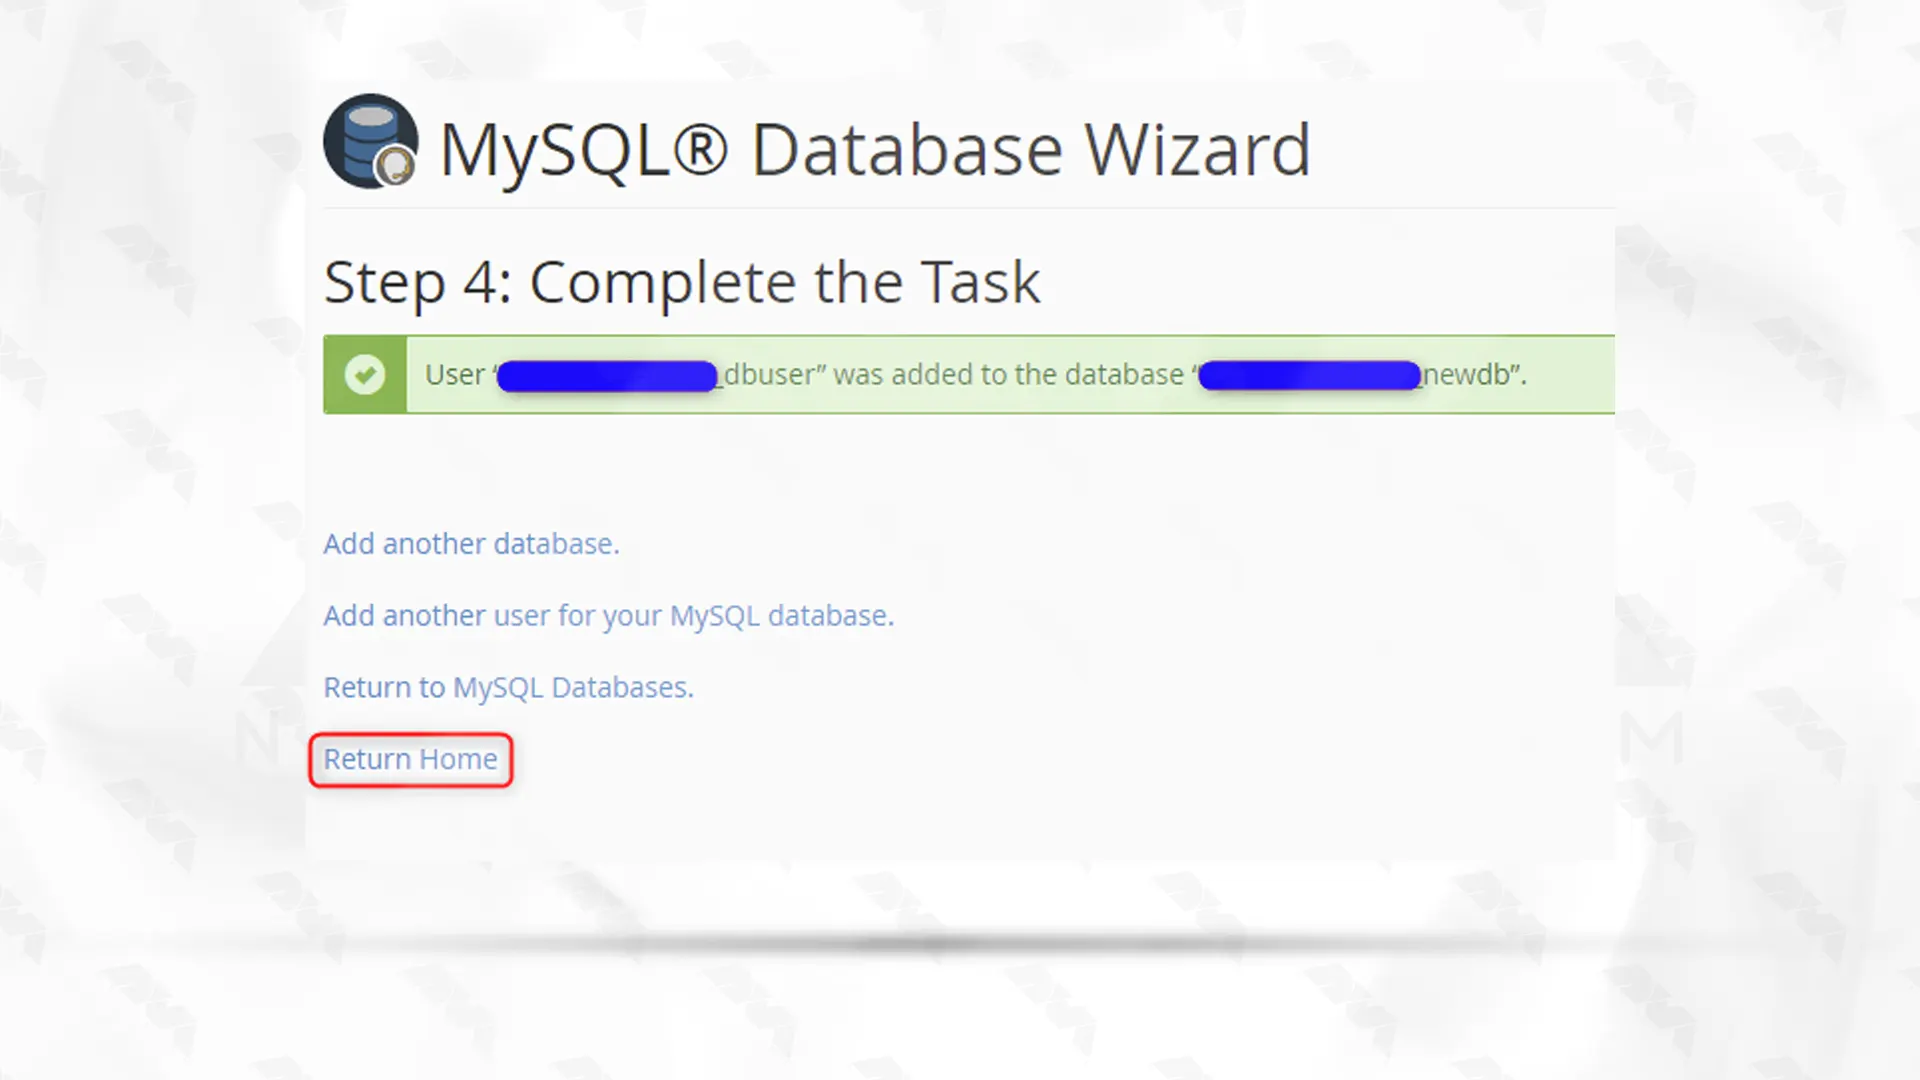
– The MySQL database has been created, and the new user has been added. For connecting scripts to the database, you will need the database name, username, and password. To return to the cPanel home page, please click Return Home.
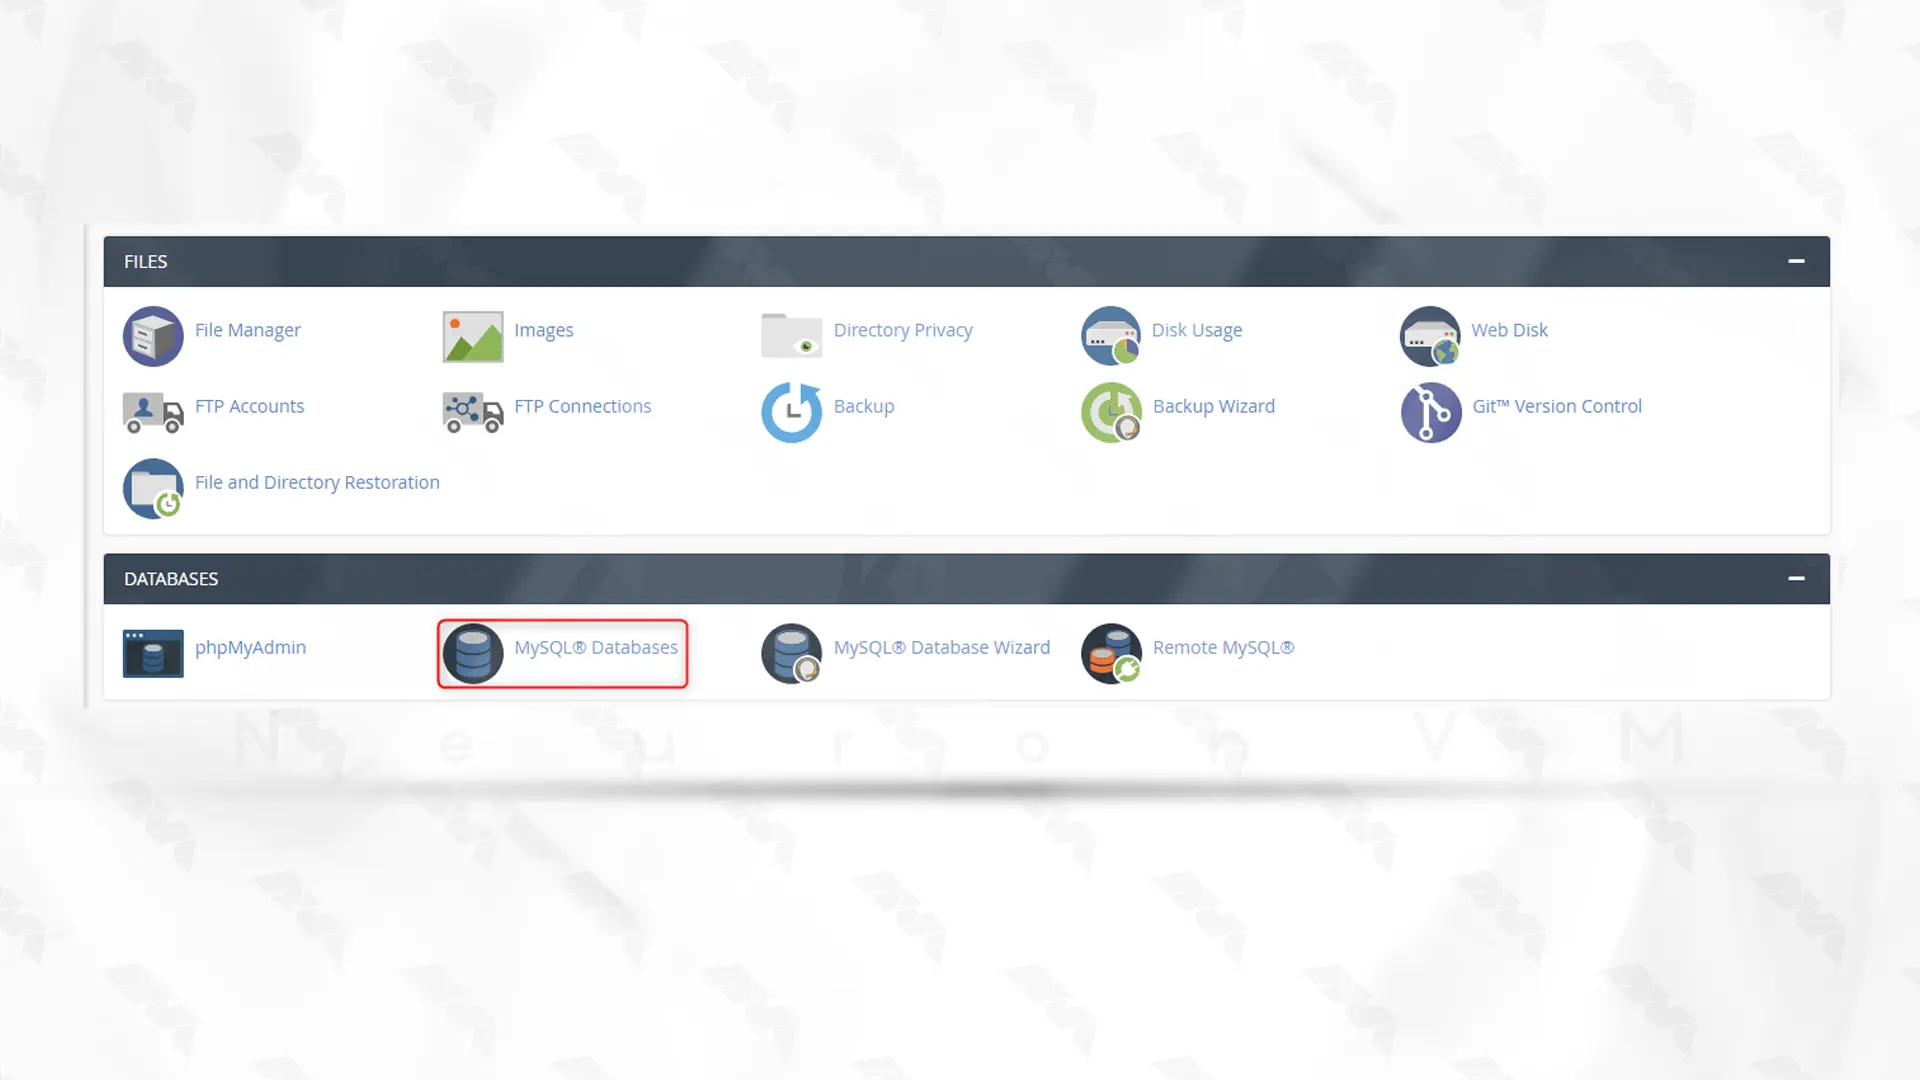
– If you wish to view your databases and make other changes, please click MySQL Databases on the home page.
Open a web browser and enter your domain name in the address bar:
http://your_domain_name.com/wp-admin/install.php
You will be redirected to the WordPress installation wizard.
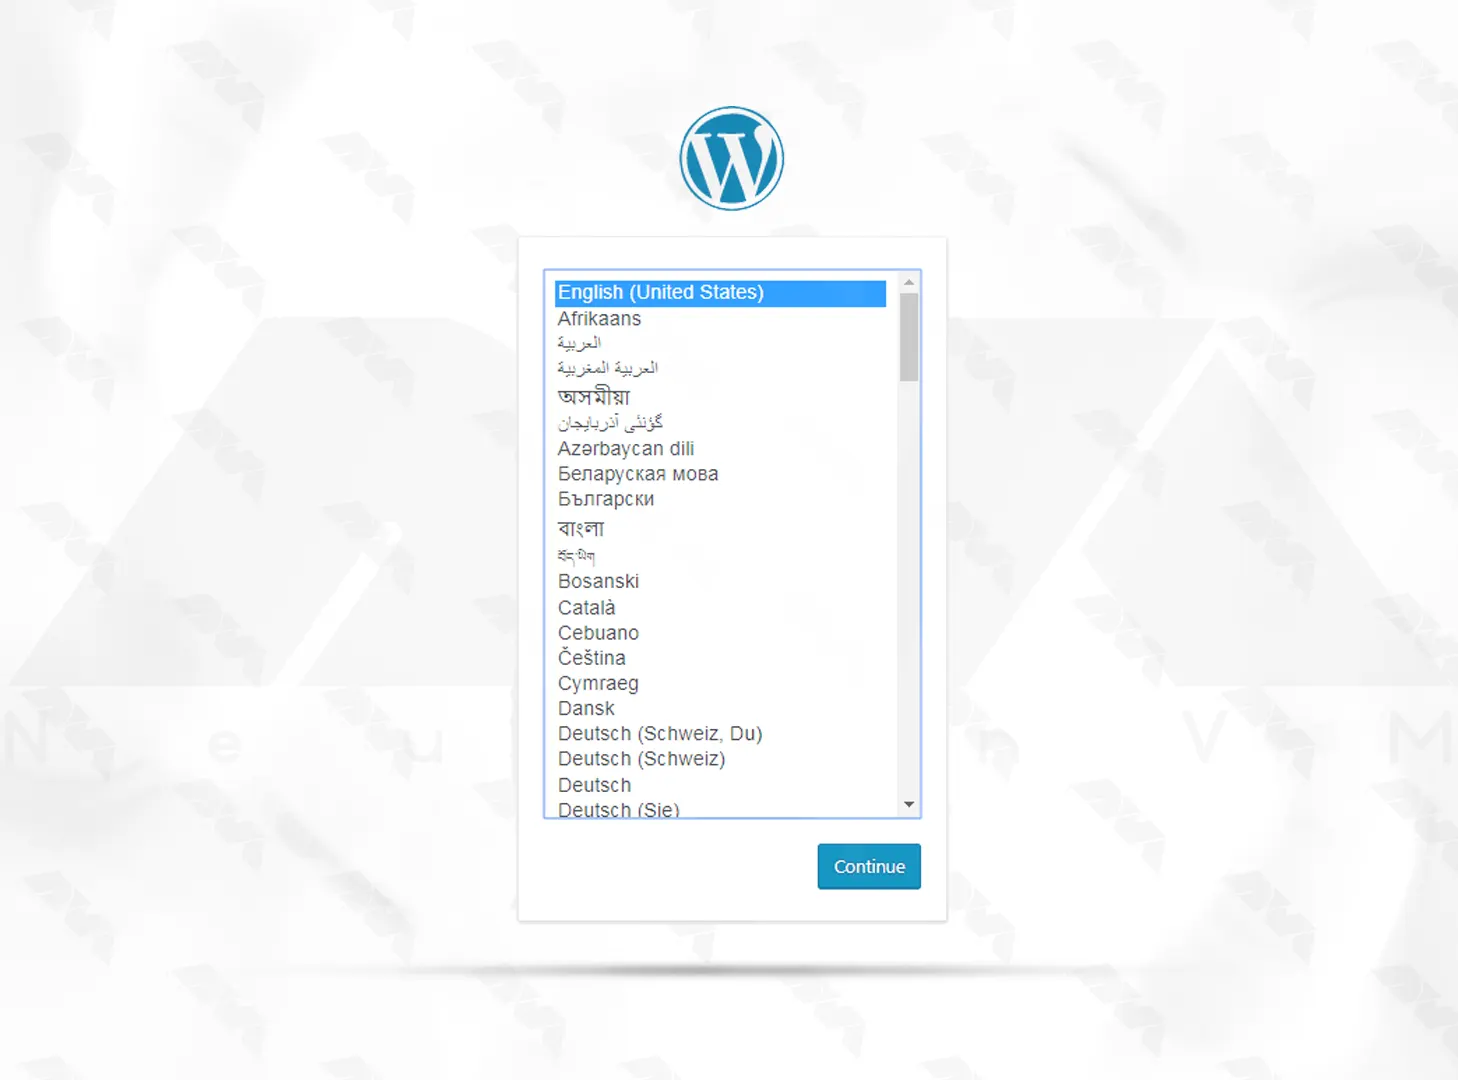
Select your preferred language and continue to the installation screen:
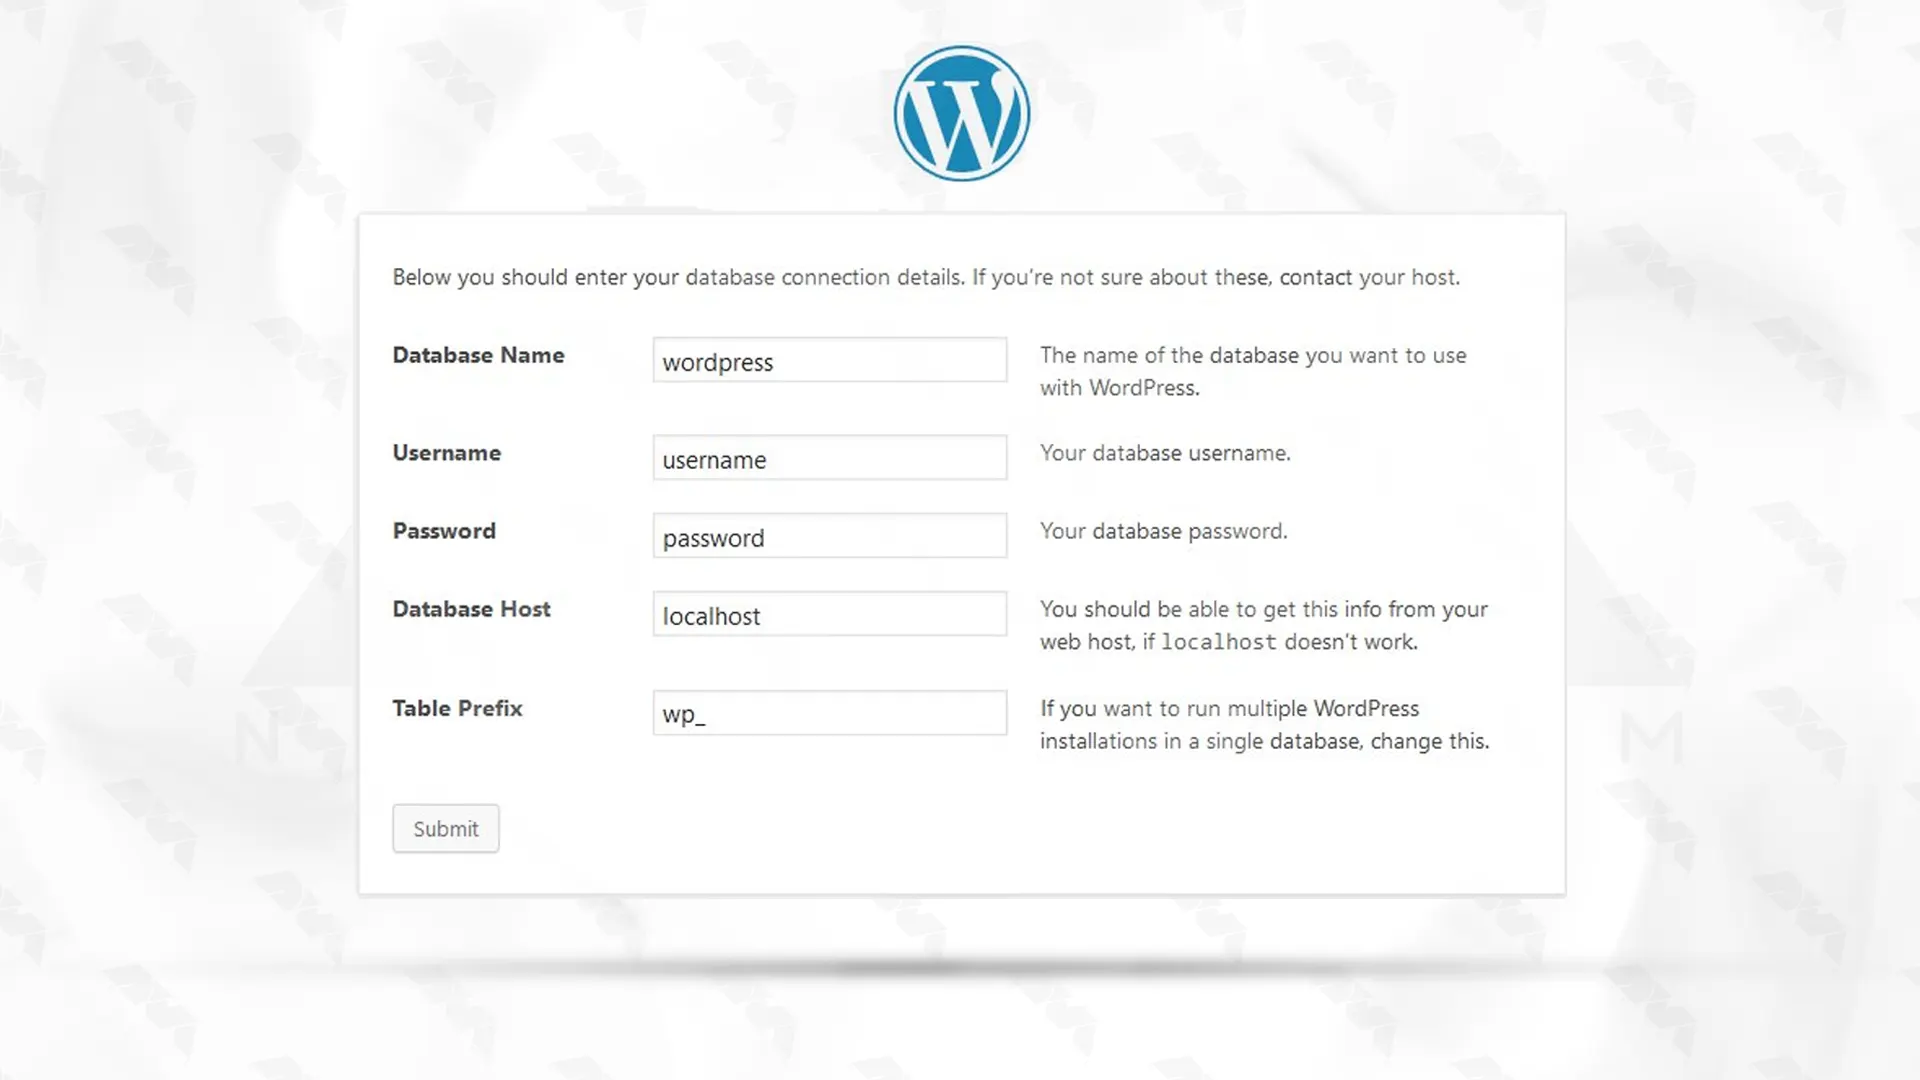
Enter the database name, username, password, and host as provided during Step 3:
Click “Submit” and follow the instructions to complete the installation.
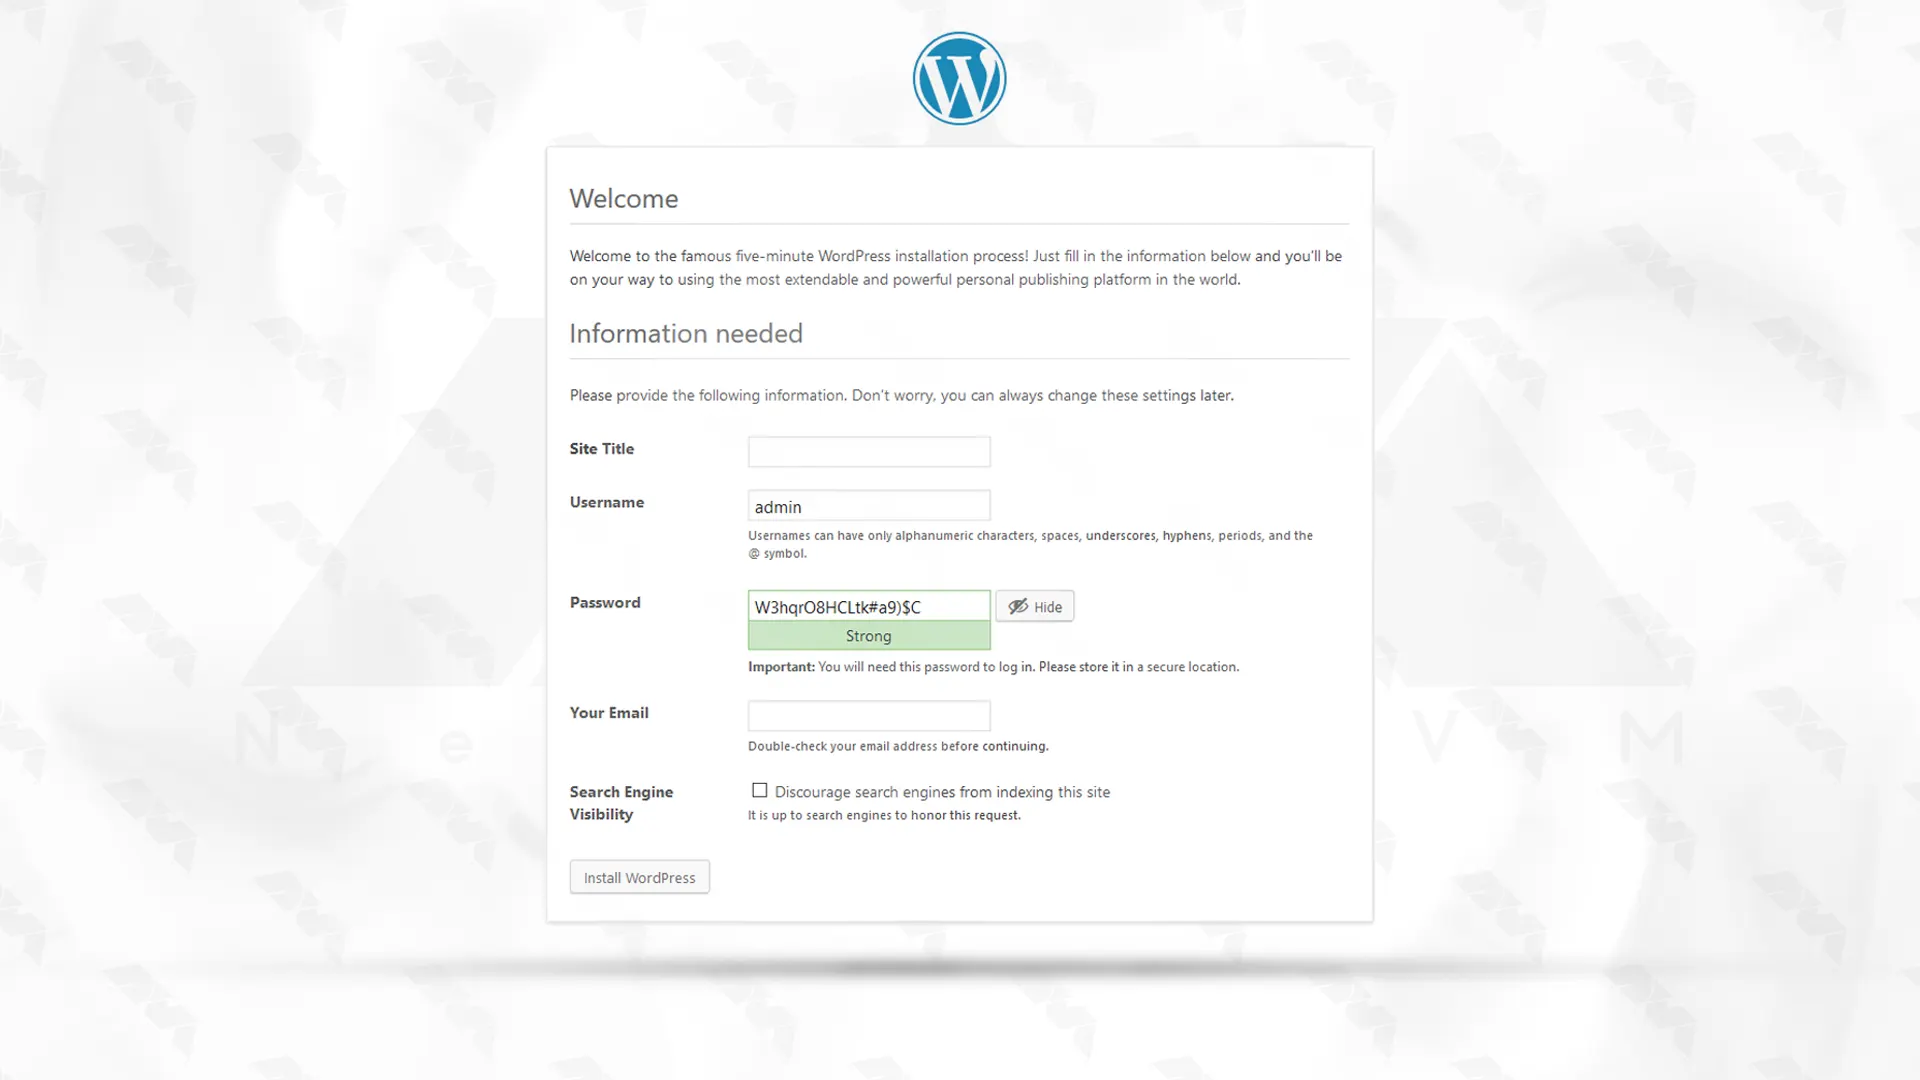
Finally, enter details such as site title, desired WordPress username and password, and your email address and click on Install WordPress:
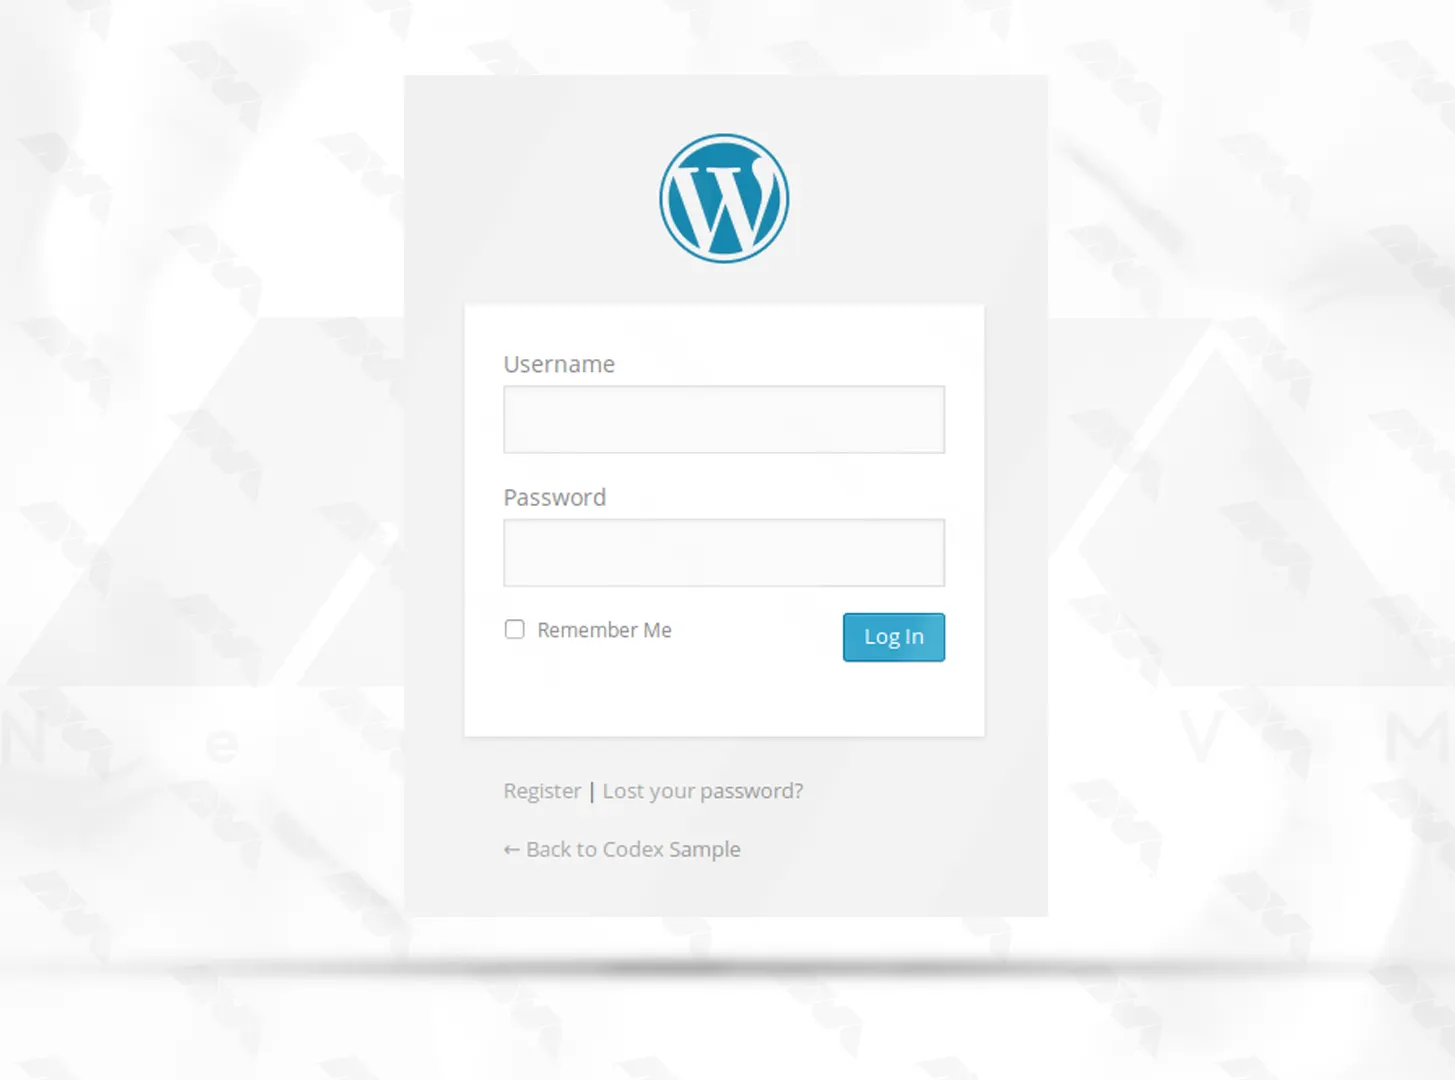
You will be redirect to the WordPress login page. Enter login information:
The installation was completed successfully and you were able to enter your WordPress dashboard:
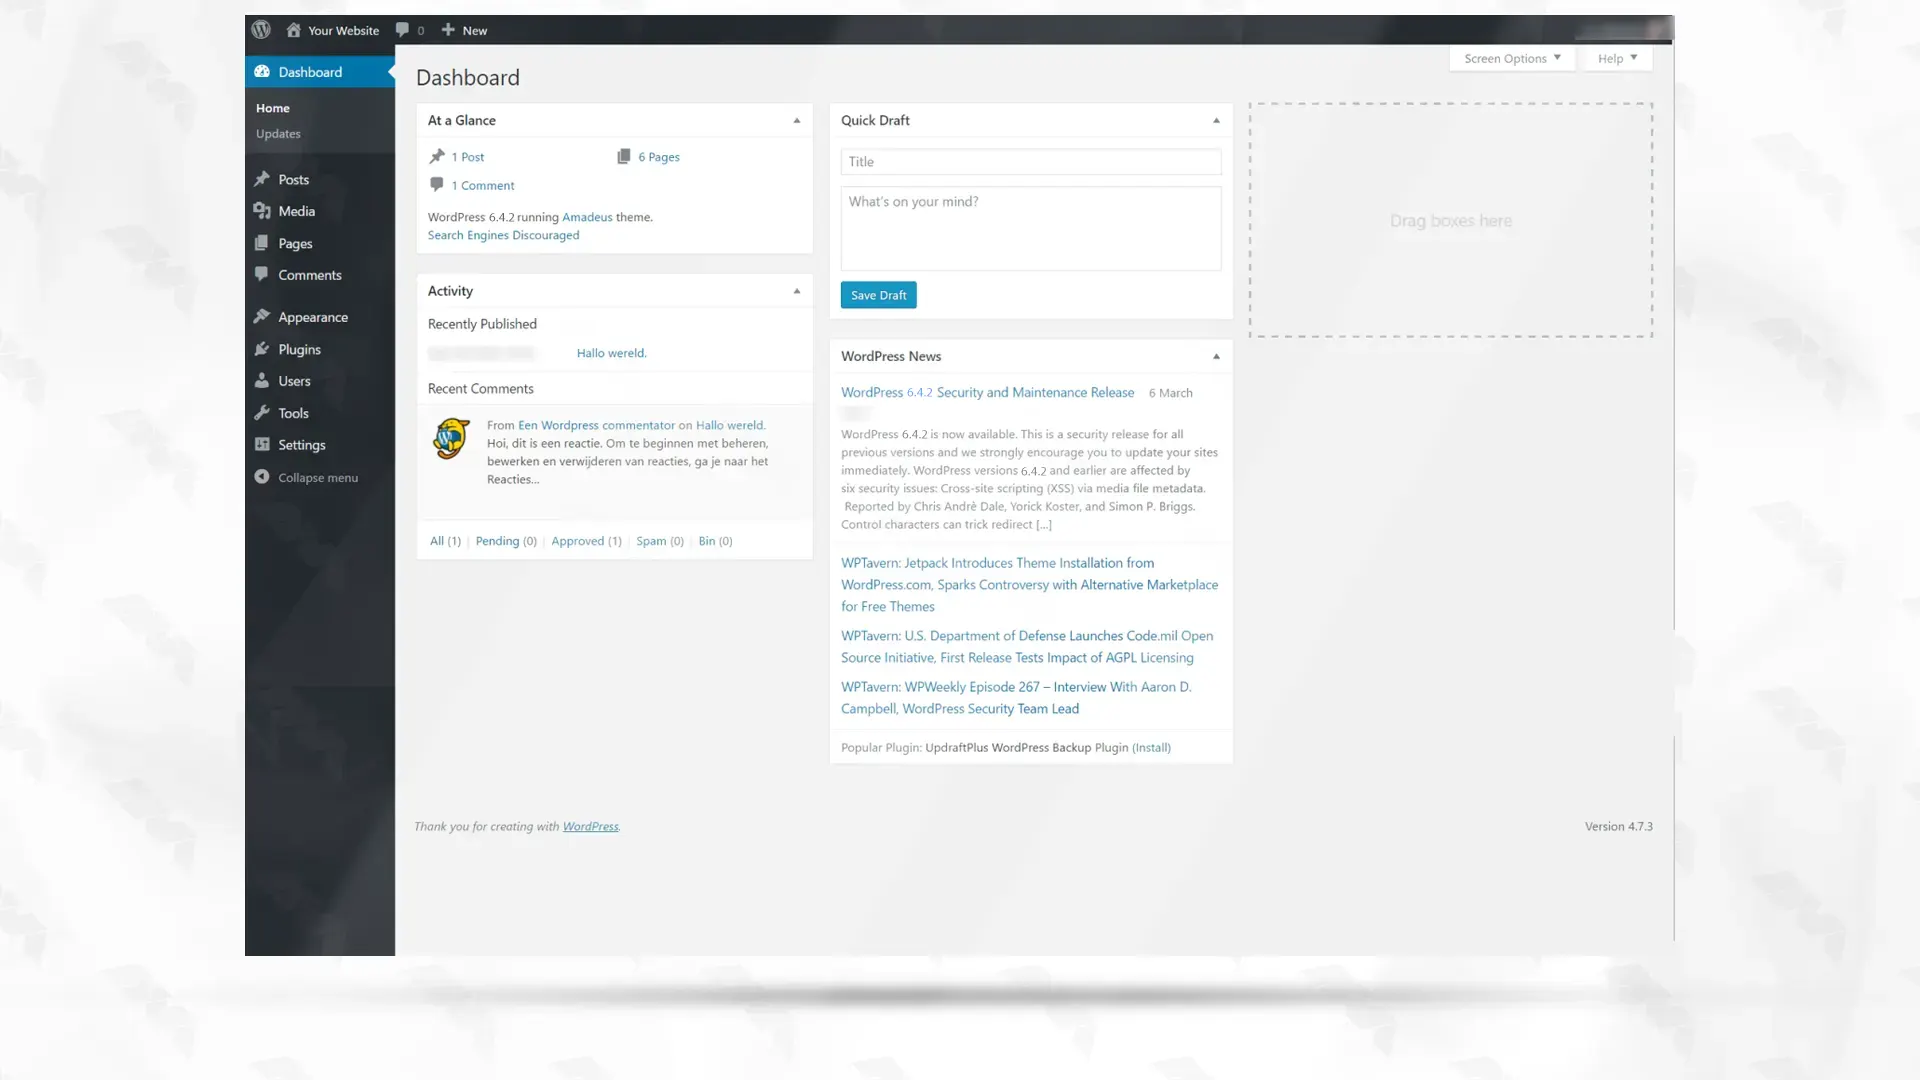
By following this comprehensive guide, you have successfully installed WordPress on cPanel. This empowers you to create, customize, and manage your website effortlessly. Remember to regularly update WordPress and its plugins to ensure optimal security and performance. With your WordPress installation complete, you can now start publishing content and attracting visitors to your website.
How useful was this post?
Click on a star to rate it!
Average rating 5 / 5. Vote count: 1
No votes so far! Be the first to rate this post.
 Tags
Tags
If you are going to install WordPress, you should know that you can do it without technical acknowle...


 Tags
Tags
What is your opinion about this Blog?


