


Ubuntu is a popular open-source operating system that is known for its stability, security, and user-friendly interface. It is often used by developers, students, and businesses who are looking for a reliable and free alternative to Windows. In this tutorial, we are going to teach you how to Install Ubuntu 18.04 LTS on Windows 10 computer. If you intend to buy a Linux VPS server, we suggest you use the plans provided on our website, which are provided with immediate delivery.
We have three different ways to install Ubuntu 18.04 on Windows 10. So let’s analyze them together:
1- Install and run Ubuntu through a USB stick.
2- Install and run it on Windows 10 on a virtual machine.
3- Install and run Ubuntu by WSL (Windows Subsystem for Linux).
– You should have a 64-bit operating system.
– Your Windows system should run a Windows 10 build 14393 or later editions.
Now, you can read and learn about how to install Ubuntu 18.04 LTS on Windows 10.
One way to install Ubuntu on the Windows operating system is through a USB stick. This way is very useful because you can feel the complete environment of the Ubuntu system on your Windows and you can run it without any difficulties.
You just need the Ubuntu ISO installation media, a USB drive, and software to make your USB bootable and write the ISO file on the stick. Many online apps can help you to make your driver bootable. We suggest you Rufus.
First of all, download the Ubuntu ISO file. Go to the official Ubuntu download page and get the file you need:
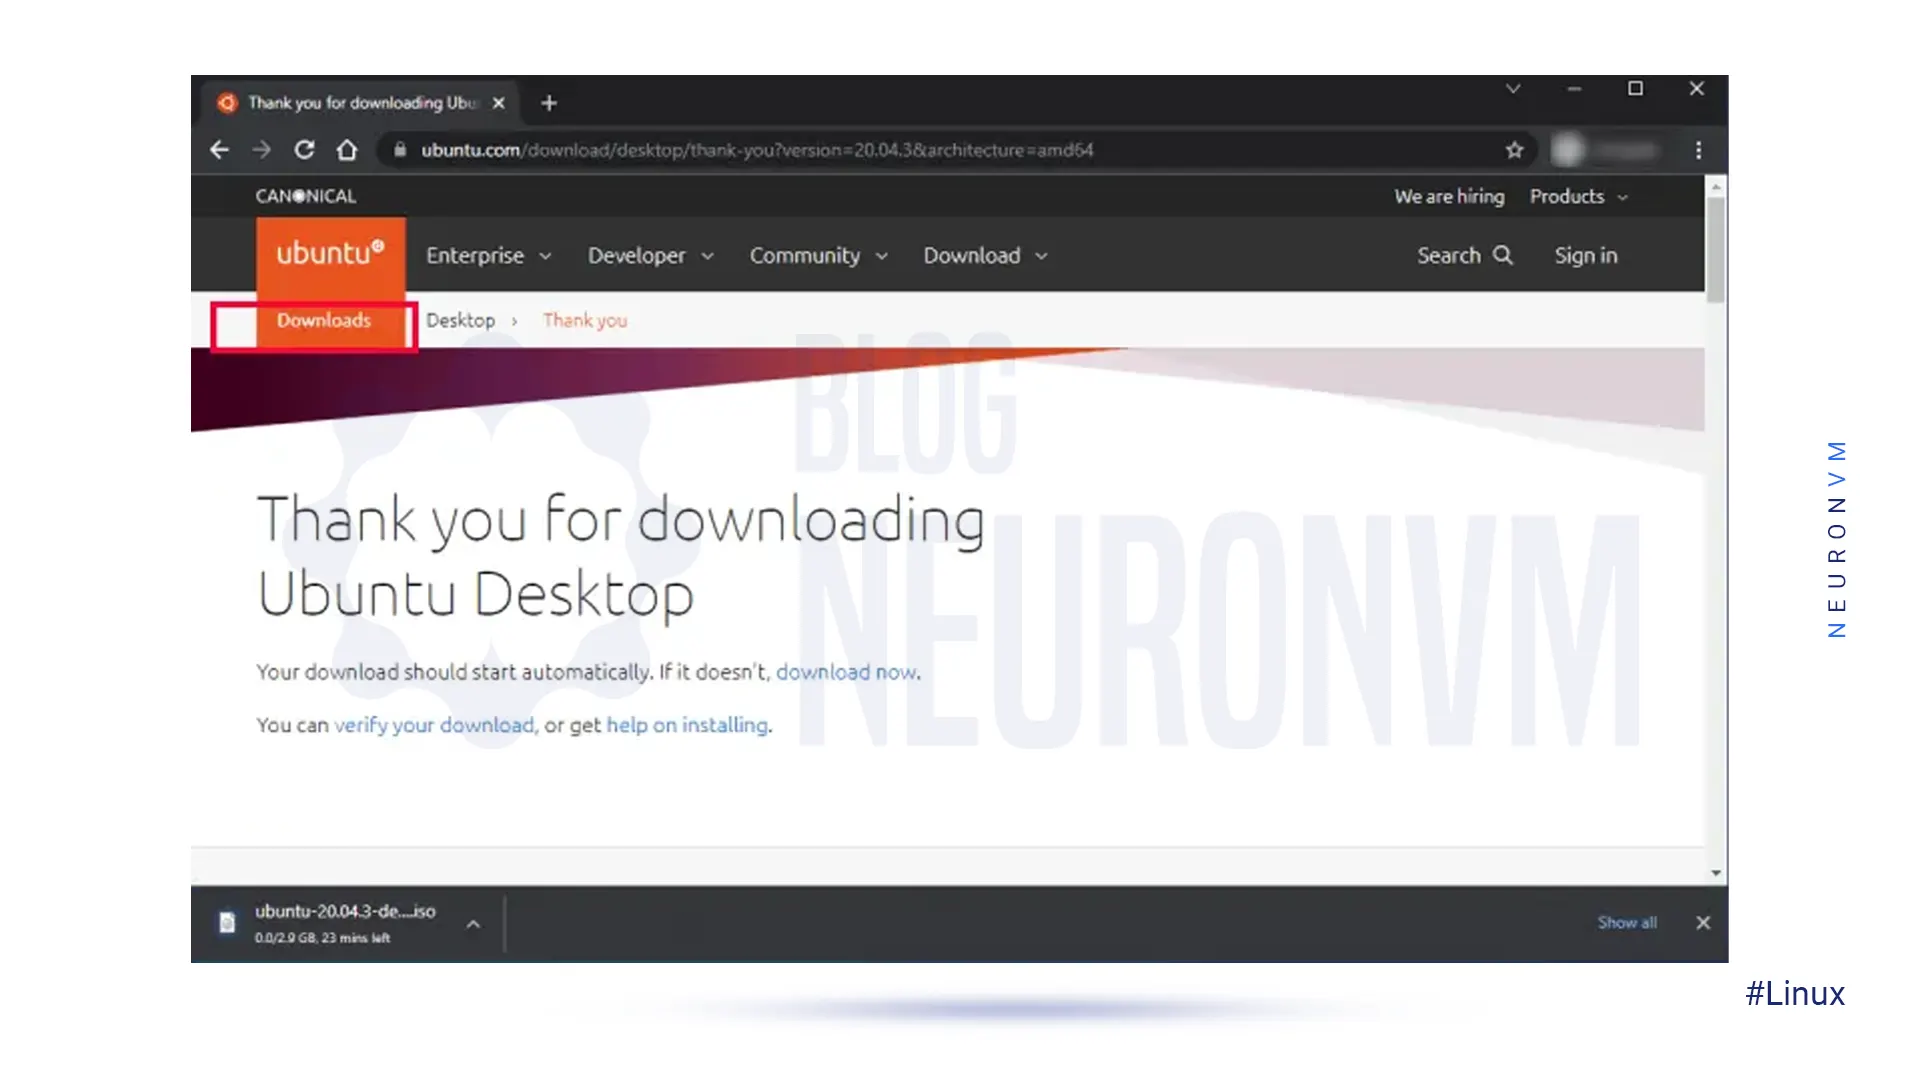
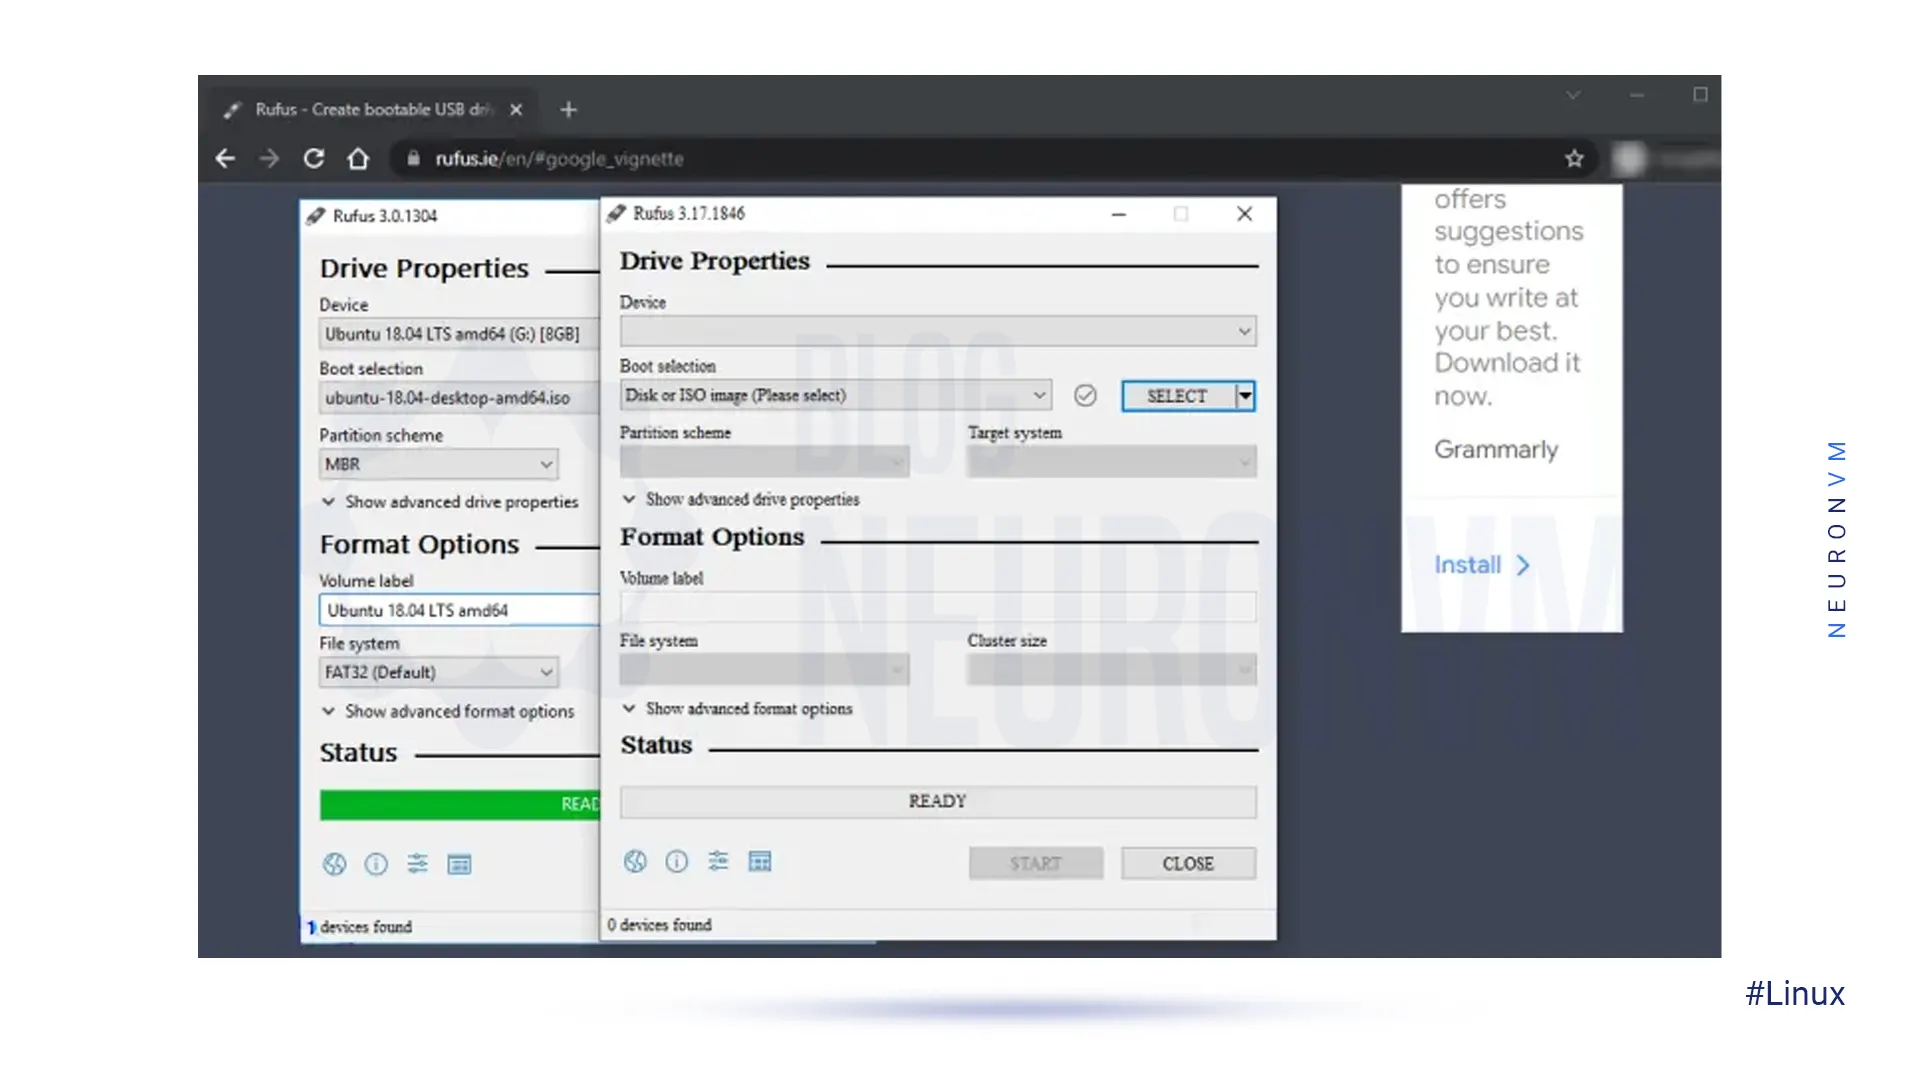
After downloading the related file and then downloading the Rufus app from the official page, to make it bootable, you can run your application and insert the USB stick.
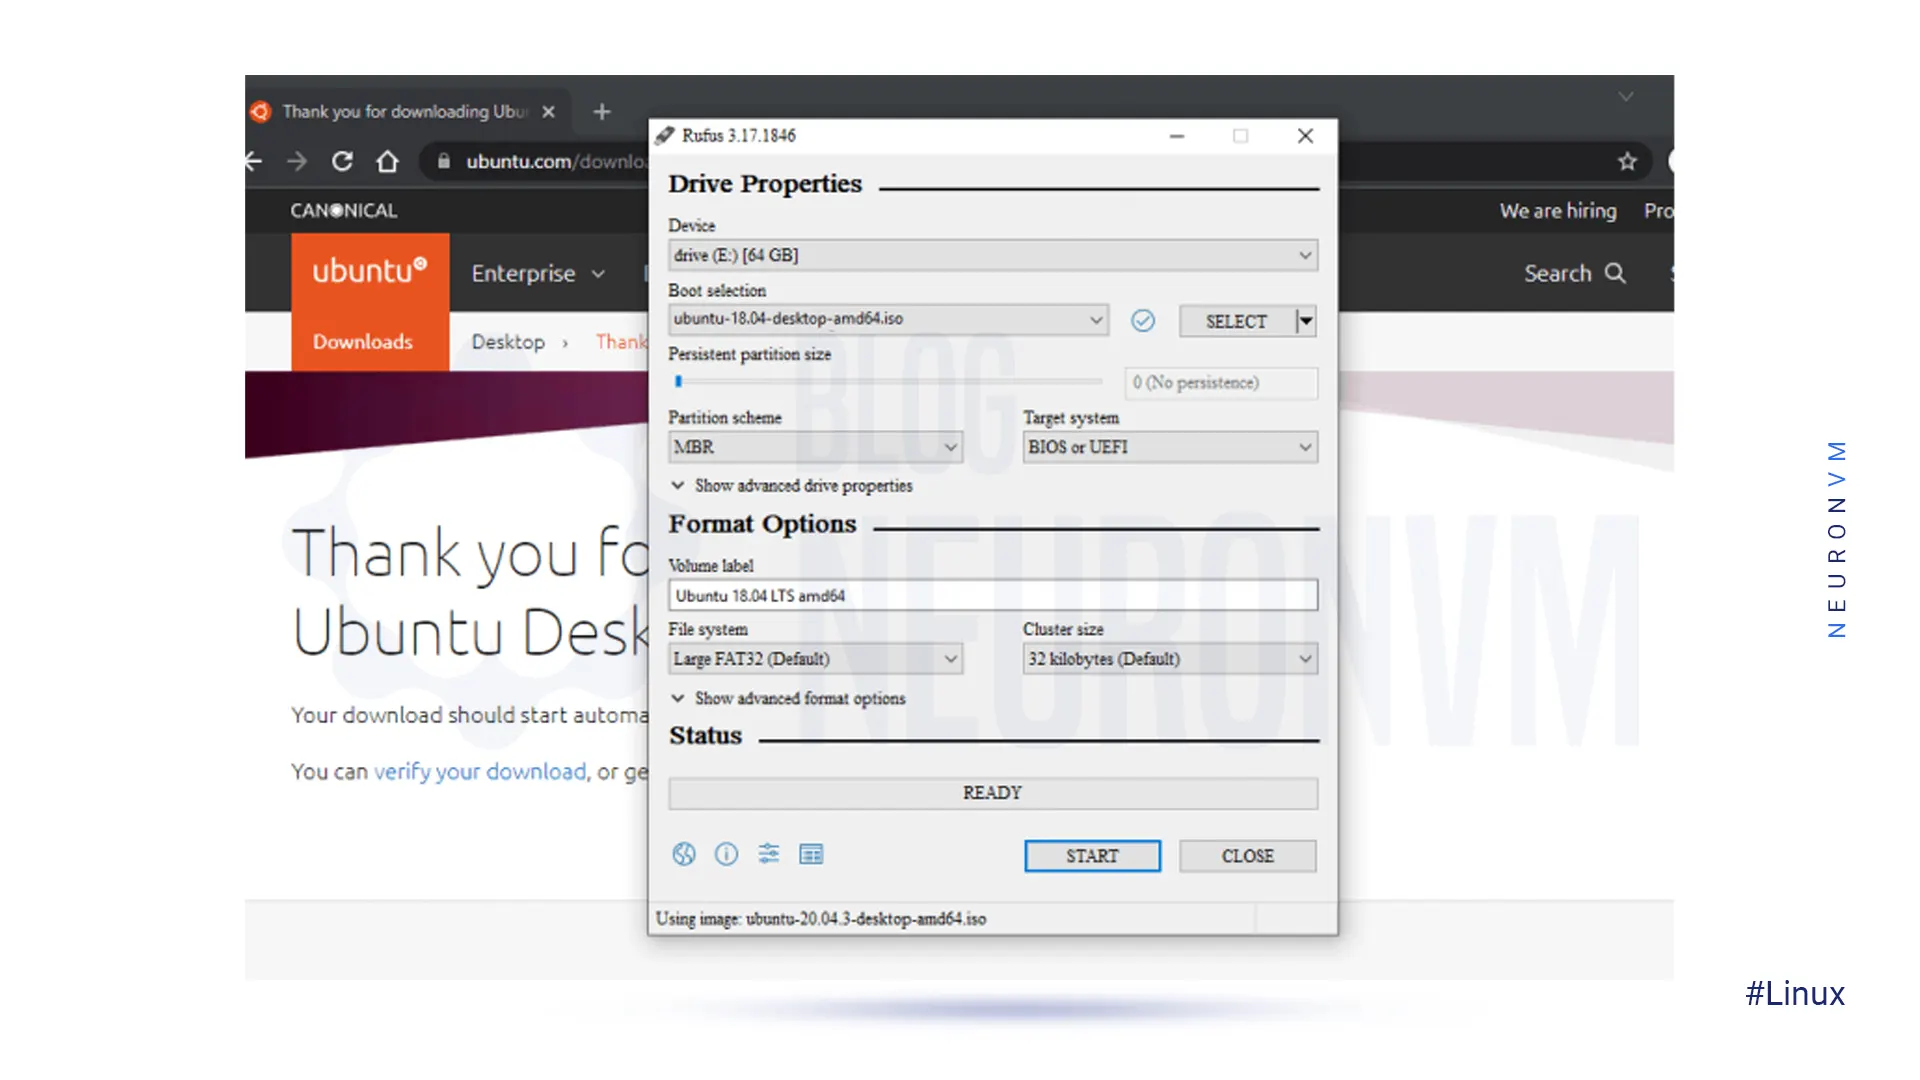
On Rufus’ official page, click on Select and pick the ISO file of yours.
Now set the Partition scheme to MBR and the Target system to BIOS or UEFI.
At the Format Option leave everything as default and click on the Start button:
You may come across a dialog box asking you to download some additional files.
Click on Yes to download the file and start the copying process of ISO.
Then in the next box, select the write in ISO image mode and click ok.
After passing this step successfully, click on the Close tab:
Now every time you mean to run Ubuntu simply plug in the USB before starting up your computer and it will boot up from your USB drive.
Then you will reach the Ubuntu installation menu and select Try Ubuntu.
Done! now you can run Ubuntu on your Windows 10.
In the previous section, we focused on installing Ubuntu on a USB drive and now we are going to find out how to install it through a virtual machine.
We will use a VirtualBox here, an Open-source virtual machine developed by Oracle.
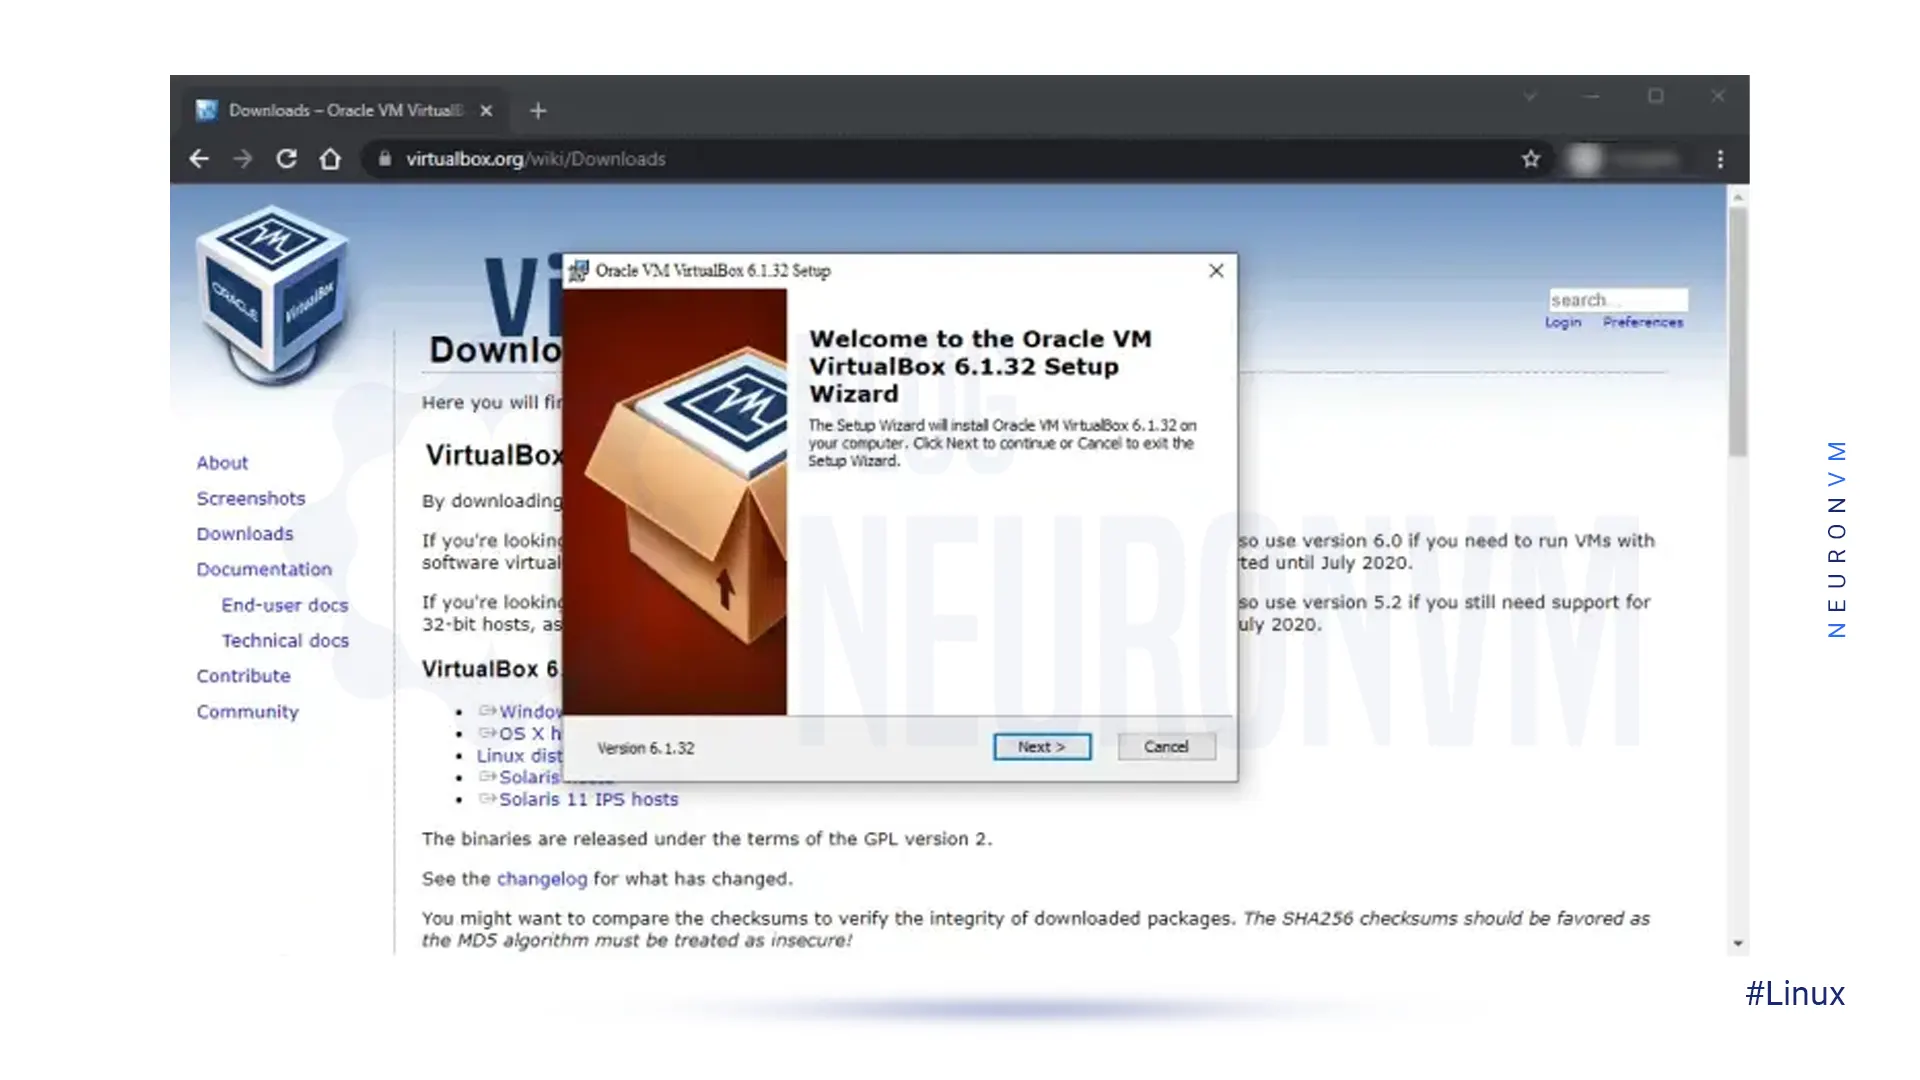
First of all, you should go to the official VirtualBox website and download the app from there, then install the app after the downloading process:
Again, we will need a Ubuntu ISO file.
As you learned in the previous part, you can download it from Ubuntu’s official download page. After completing the download process, launch the virtual box and select new from the taskbar in the window.
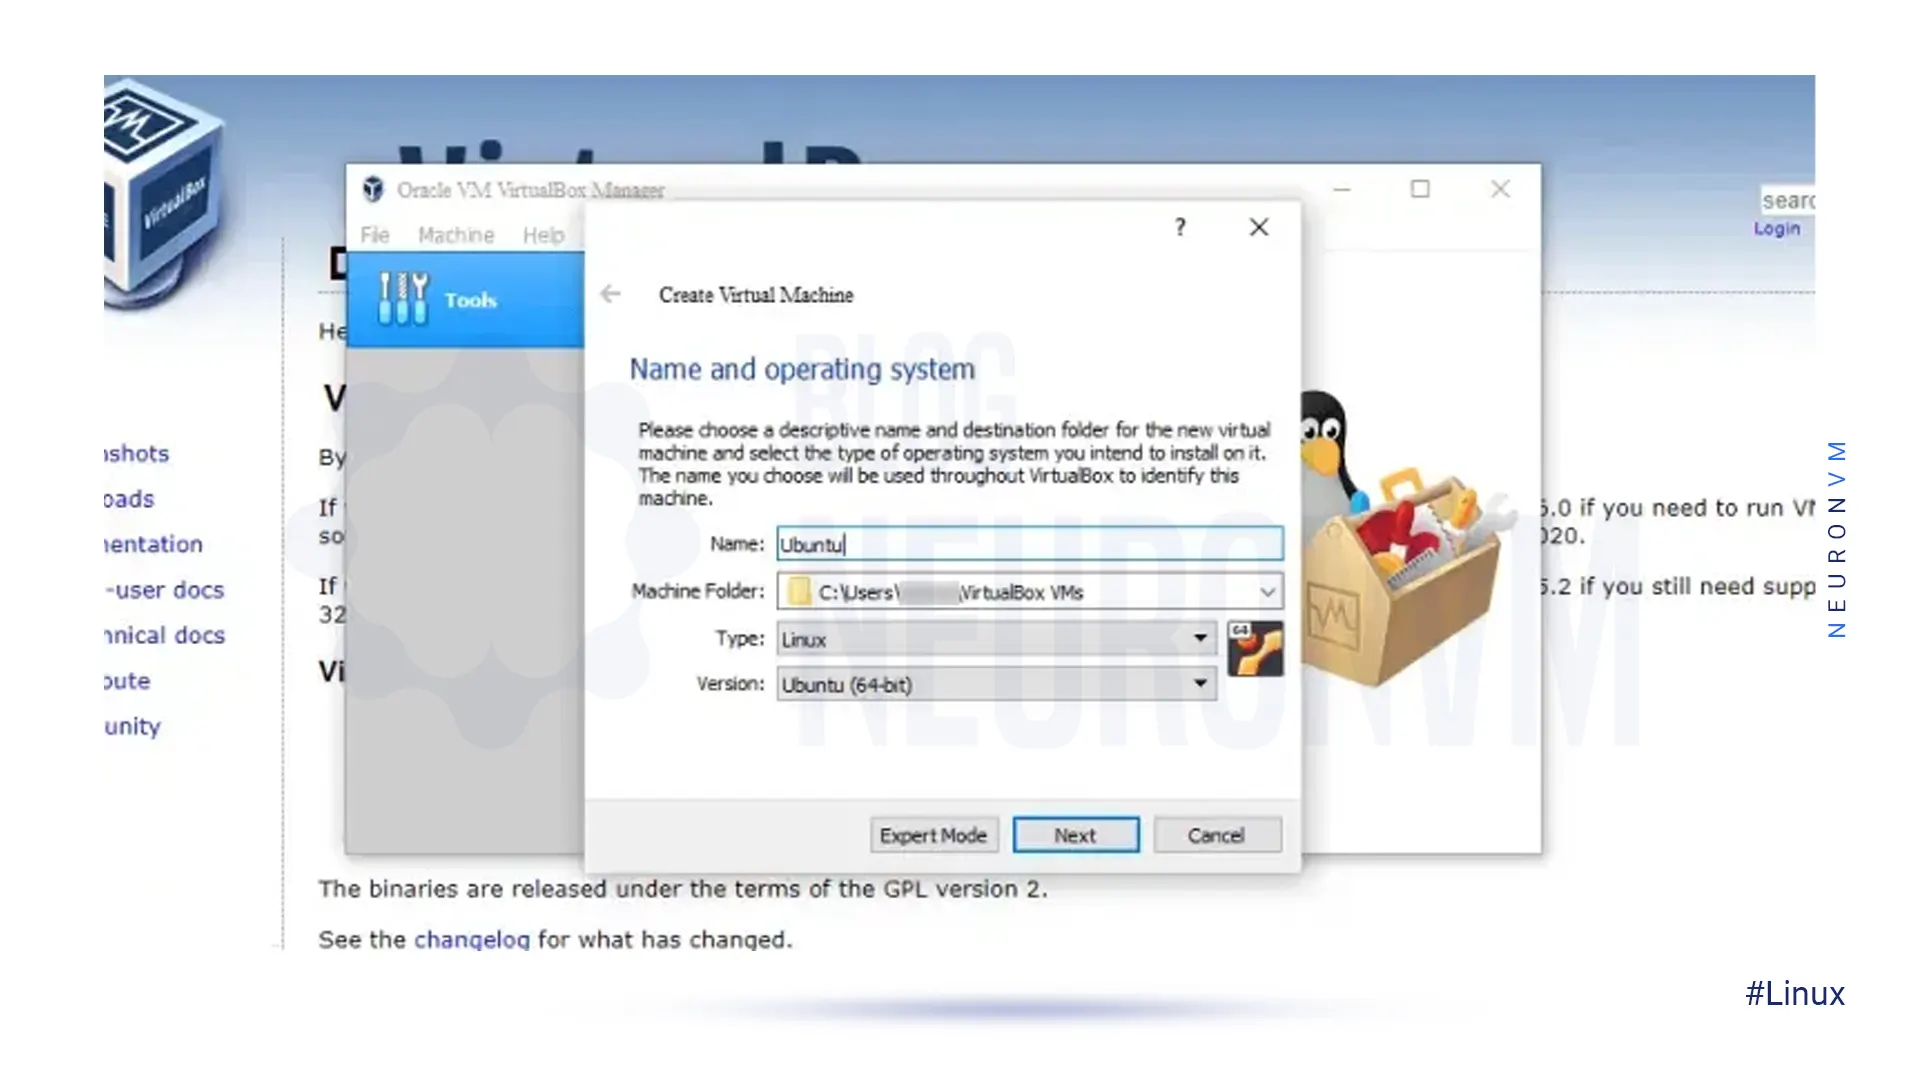
Then you will see a new box. Give a name to your new virtual machine, you can set any name you want. We preferred Ubuntu. Set the type of system as Linux, choose the version as Ubuntu, and click Next to continue.
Now you should decide on a specific amount of RAM and click Next.
In the end, select the Radio box Create a Virtual Hard Disk Now and select Create:
In the next window, select VDI and click the Next tab.
After that choose Dynamically Allocated and click on Next button.
In the final step set the size of your virtual hard drive and click on Create.
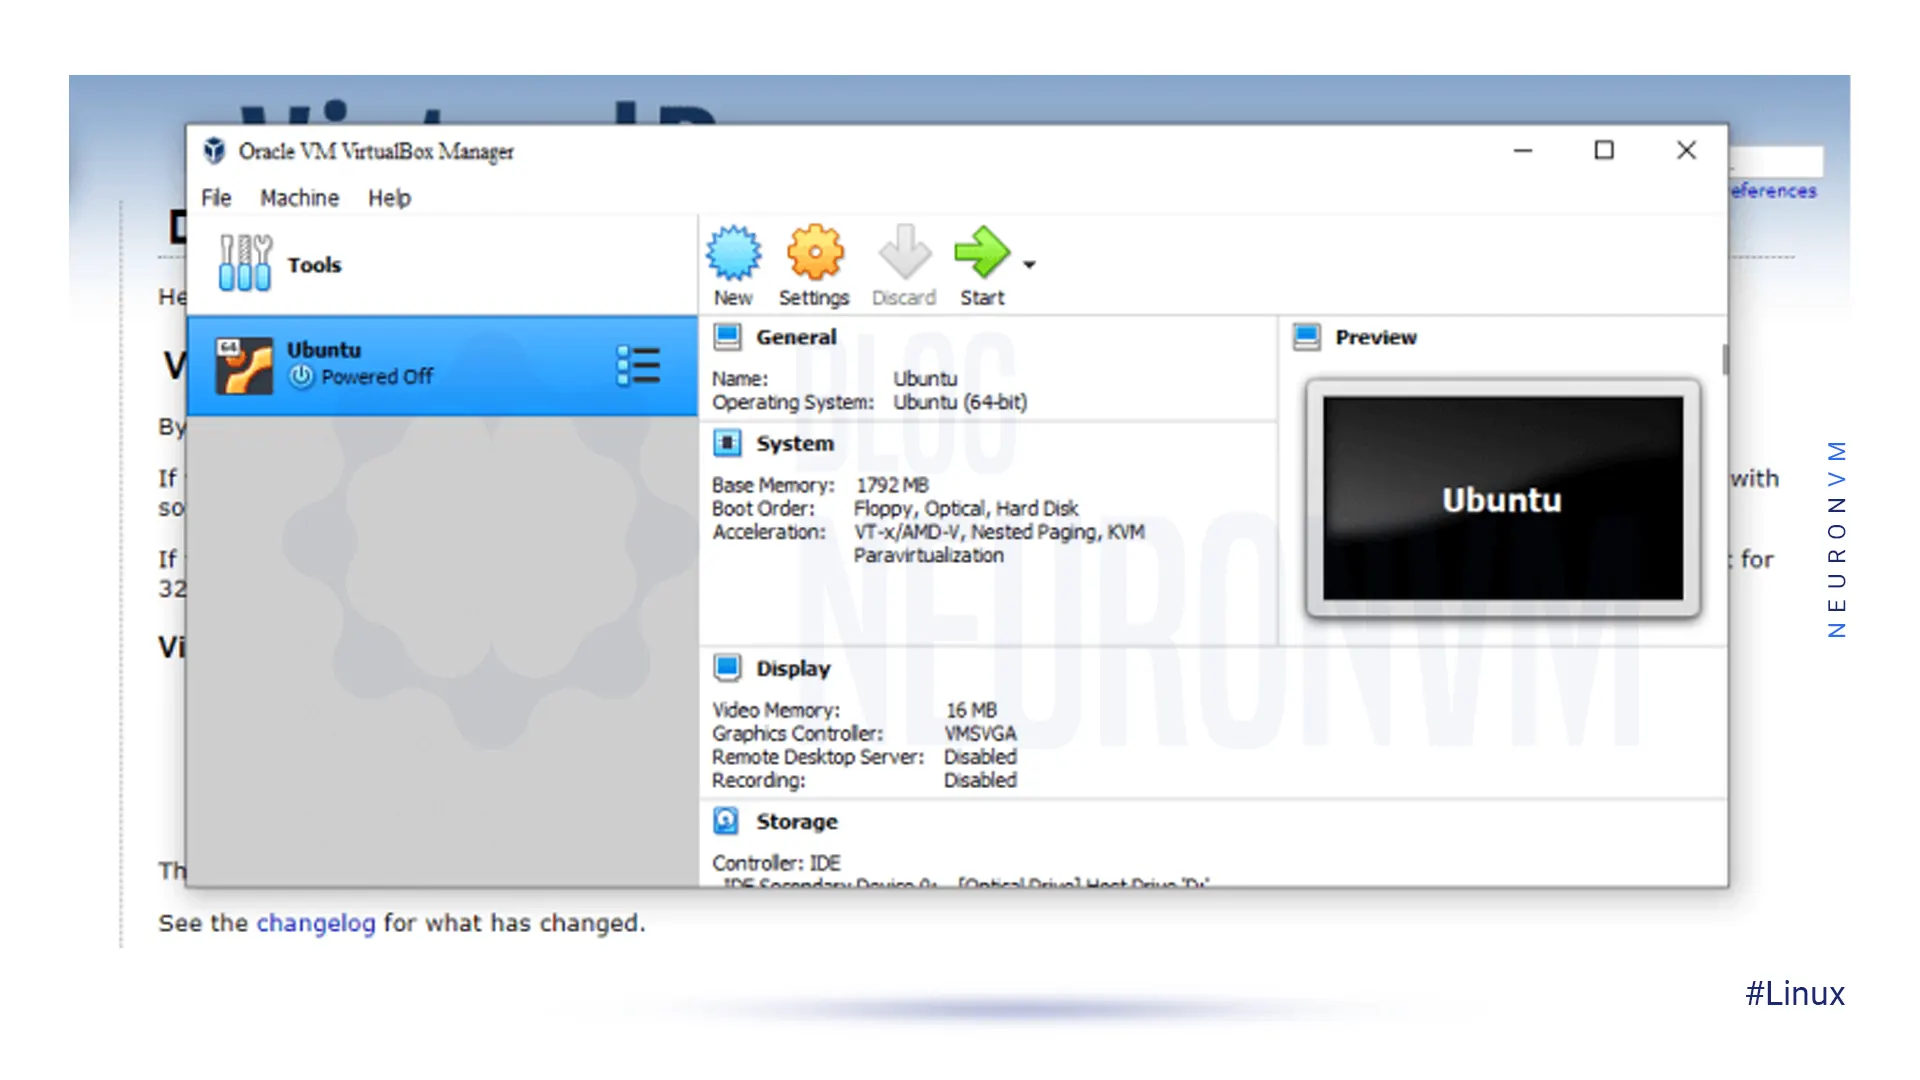
On the left side of your VirtualBox manager, you can see the name of the virtual machine now. Now you should click Start and your VM is ready to run:
Now, you should choose the Ubuntu ISO file and click add then choose the Ubuntu image and select Open. After all these steps, choose Start.
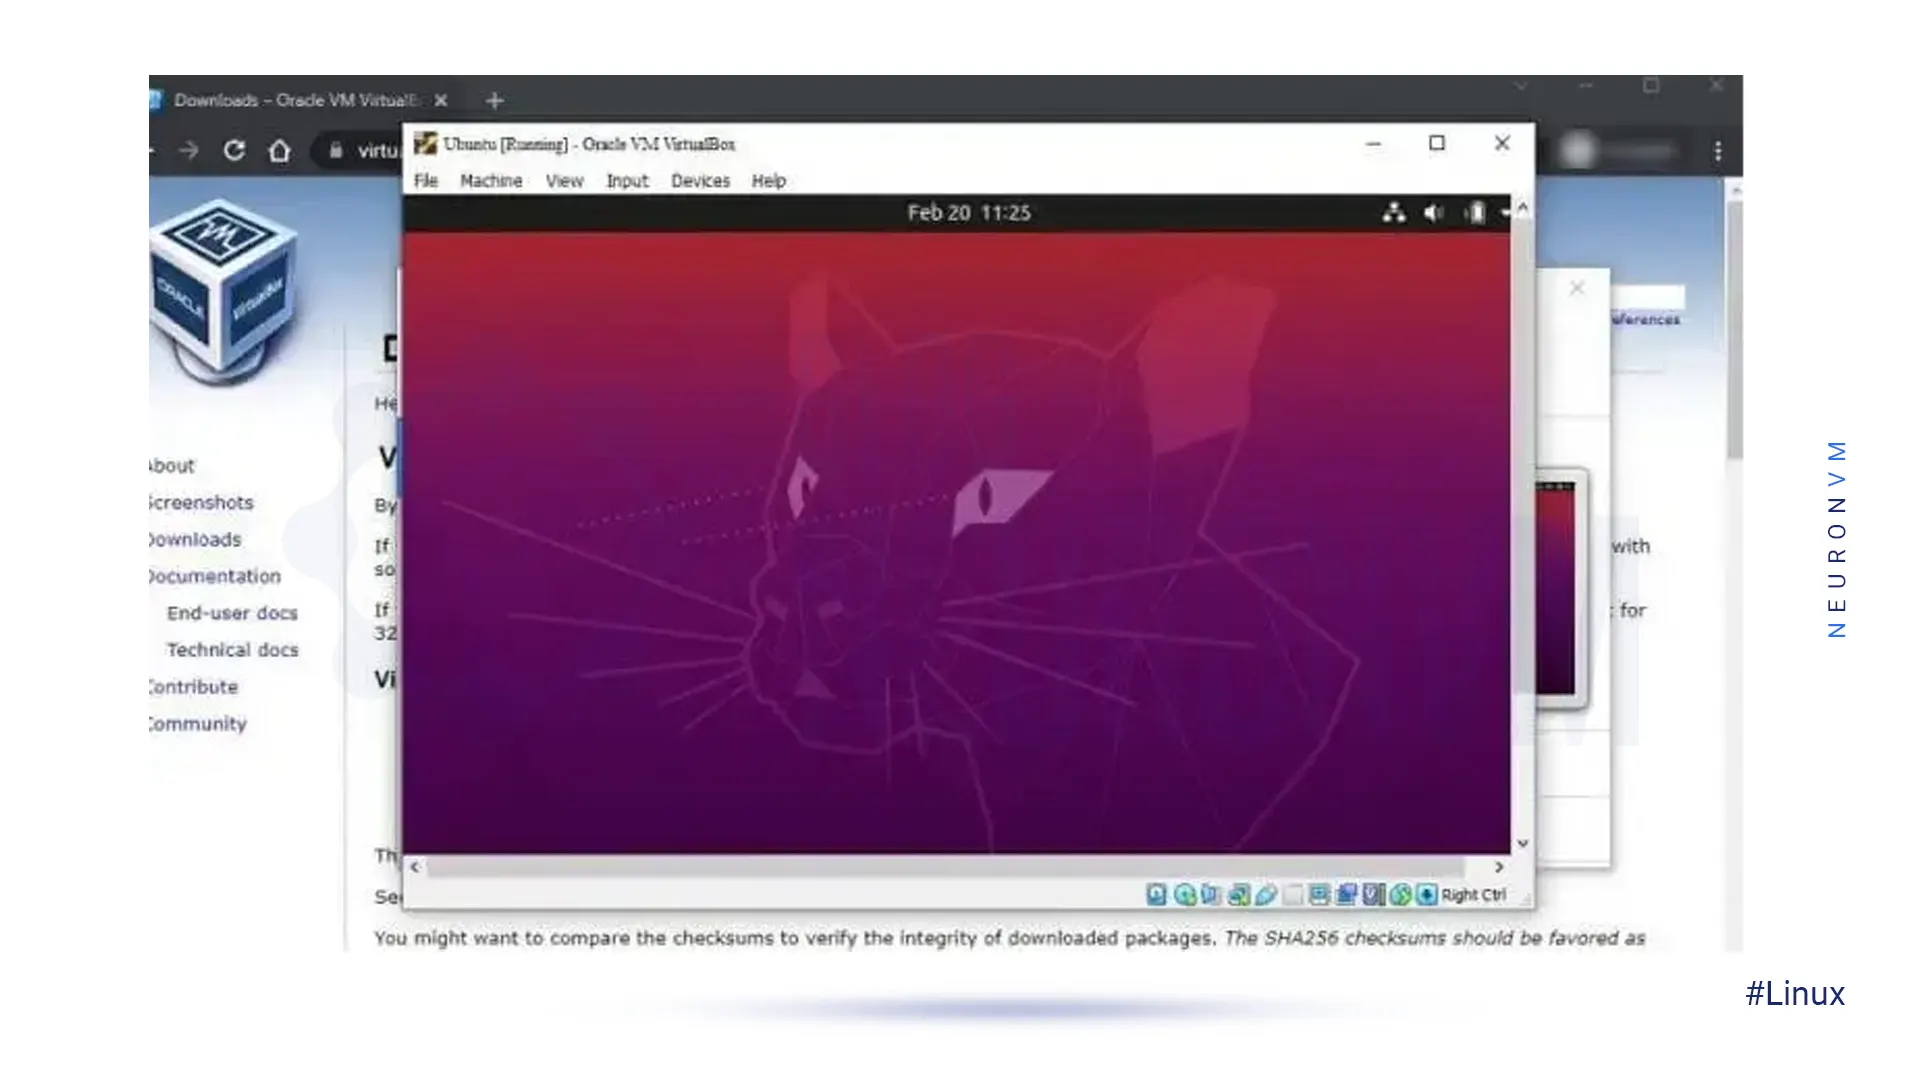
That’s it! Now Ubuntu will be launched on your Virtual Machine.
After selecting your desired language, you have two options: you can try Ubuntu or you can install it:
This part is the last option to install Ubuntu on Windows. Windows Subsystem for Linux or WSL is an environment that is created on the Windows operating system and helps users to run the Linux environment on their Windows 10 or 11. it uses command line tools and other applications. We should mention that you can only run this system through the terminal in this way.
Now let’s see how we can install Ubuntu using WSL.
At the first step go to your Windows Start Menu search bar and type for Windows Features, then select the one best fitting.
Now select the option of Turn Windows Features On or Off and scroll down to the feature of Windows Subsystem for Linux.
Select this one and click OK:
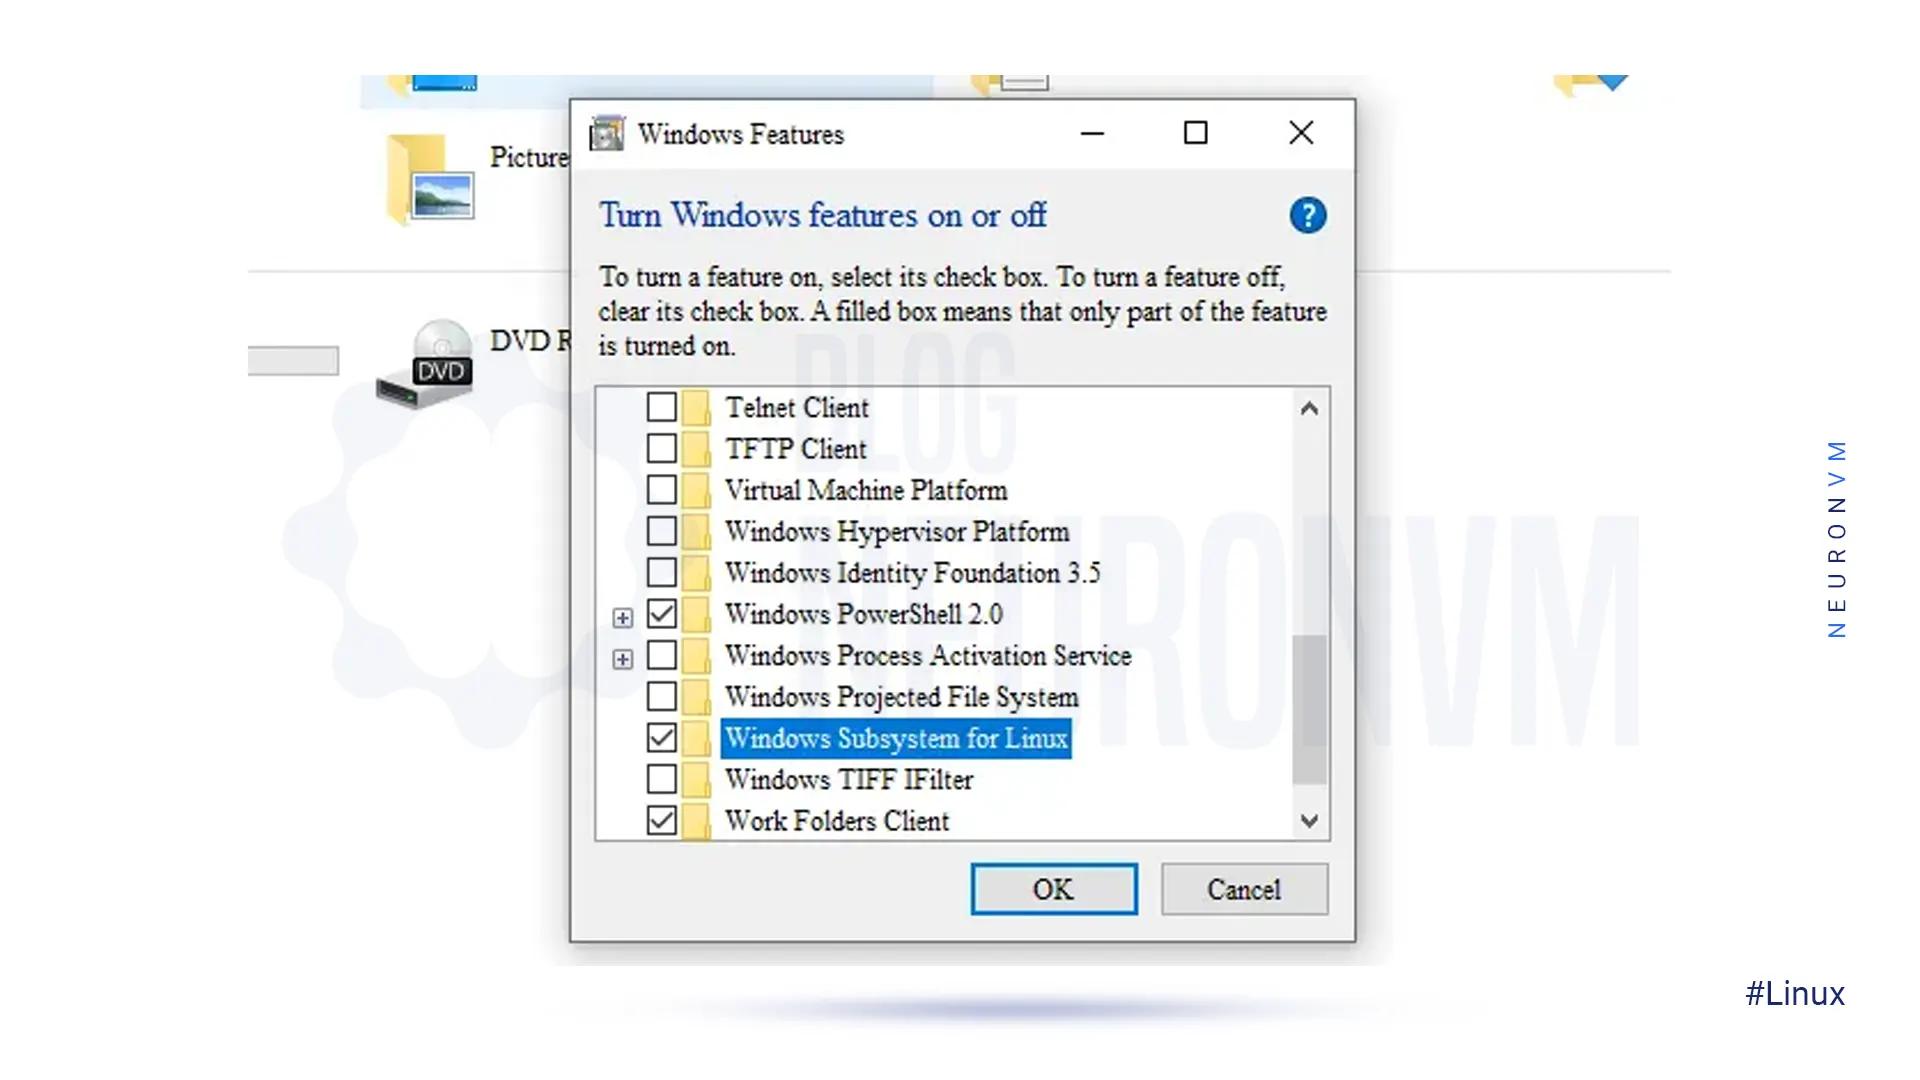
By this action, windows will start to install WSL features.
When you are finished, Reboot your system. Then run the command prompt. Now you can search CMD on the start menu bar then select the best match type bash and press enter.
Your next step is to install the Ubuntu environment on your Windows.
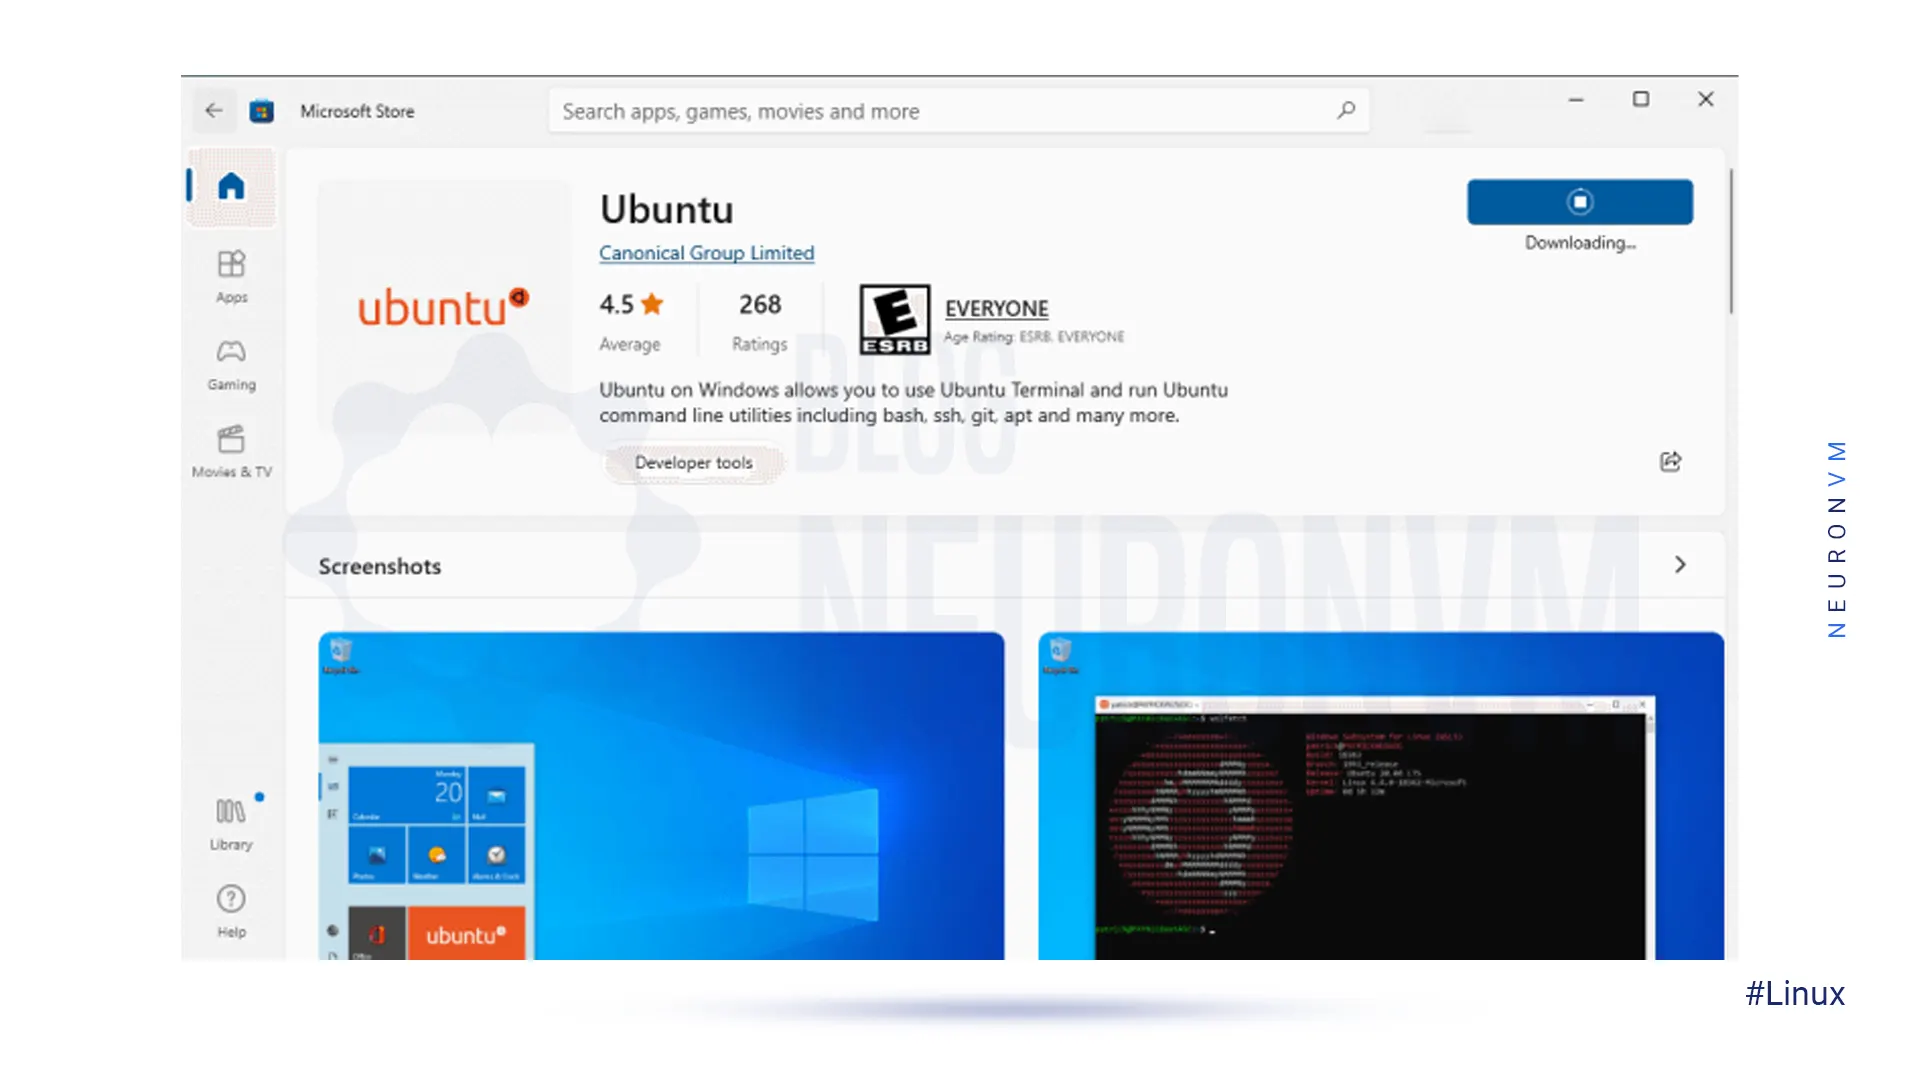
When you enter the URL on the address bar. Now you are at the Microsoft store.
At this part, you will see a host of different Linux distributions that you can run beside your Windows operating system.
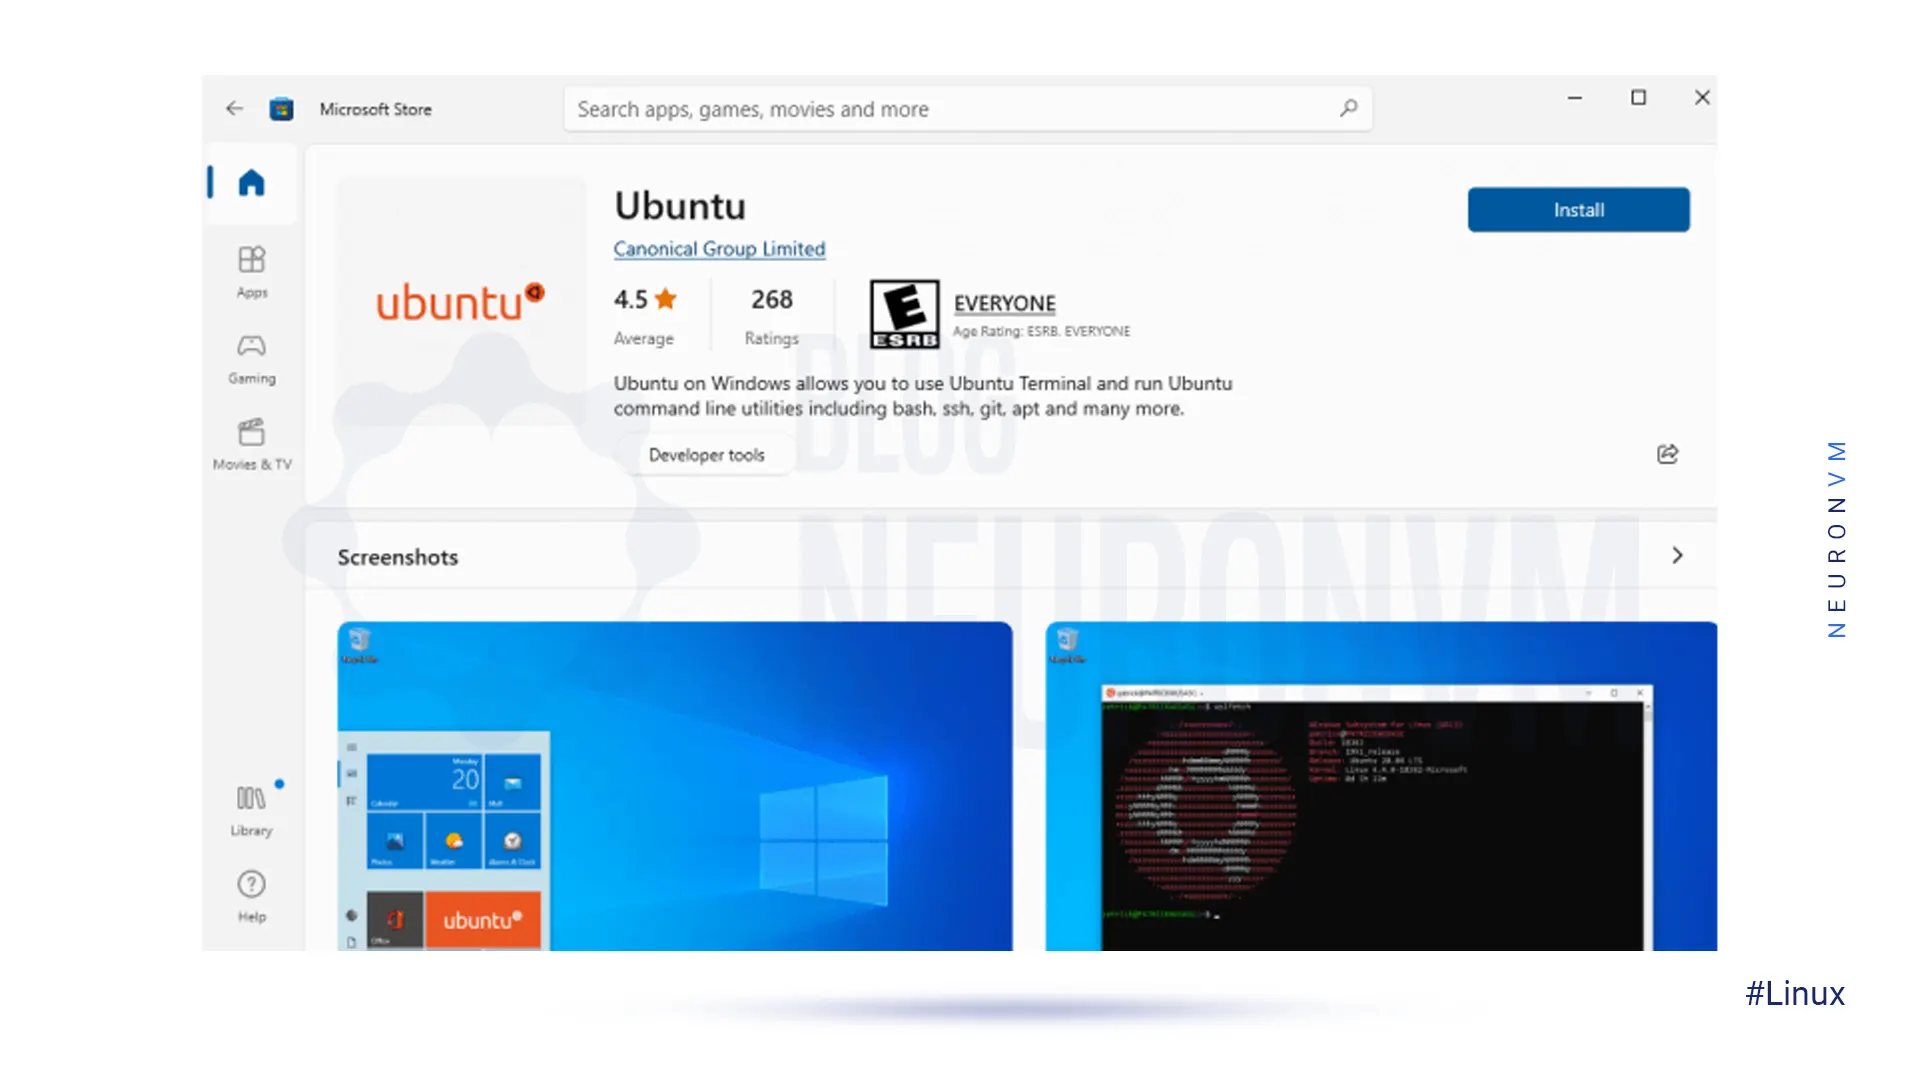
Click on Ubuntu then click on the Get tab and start installing.
When finished, click launch:
——
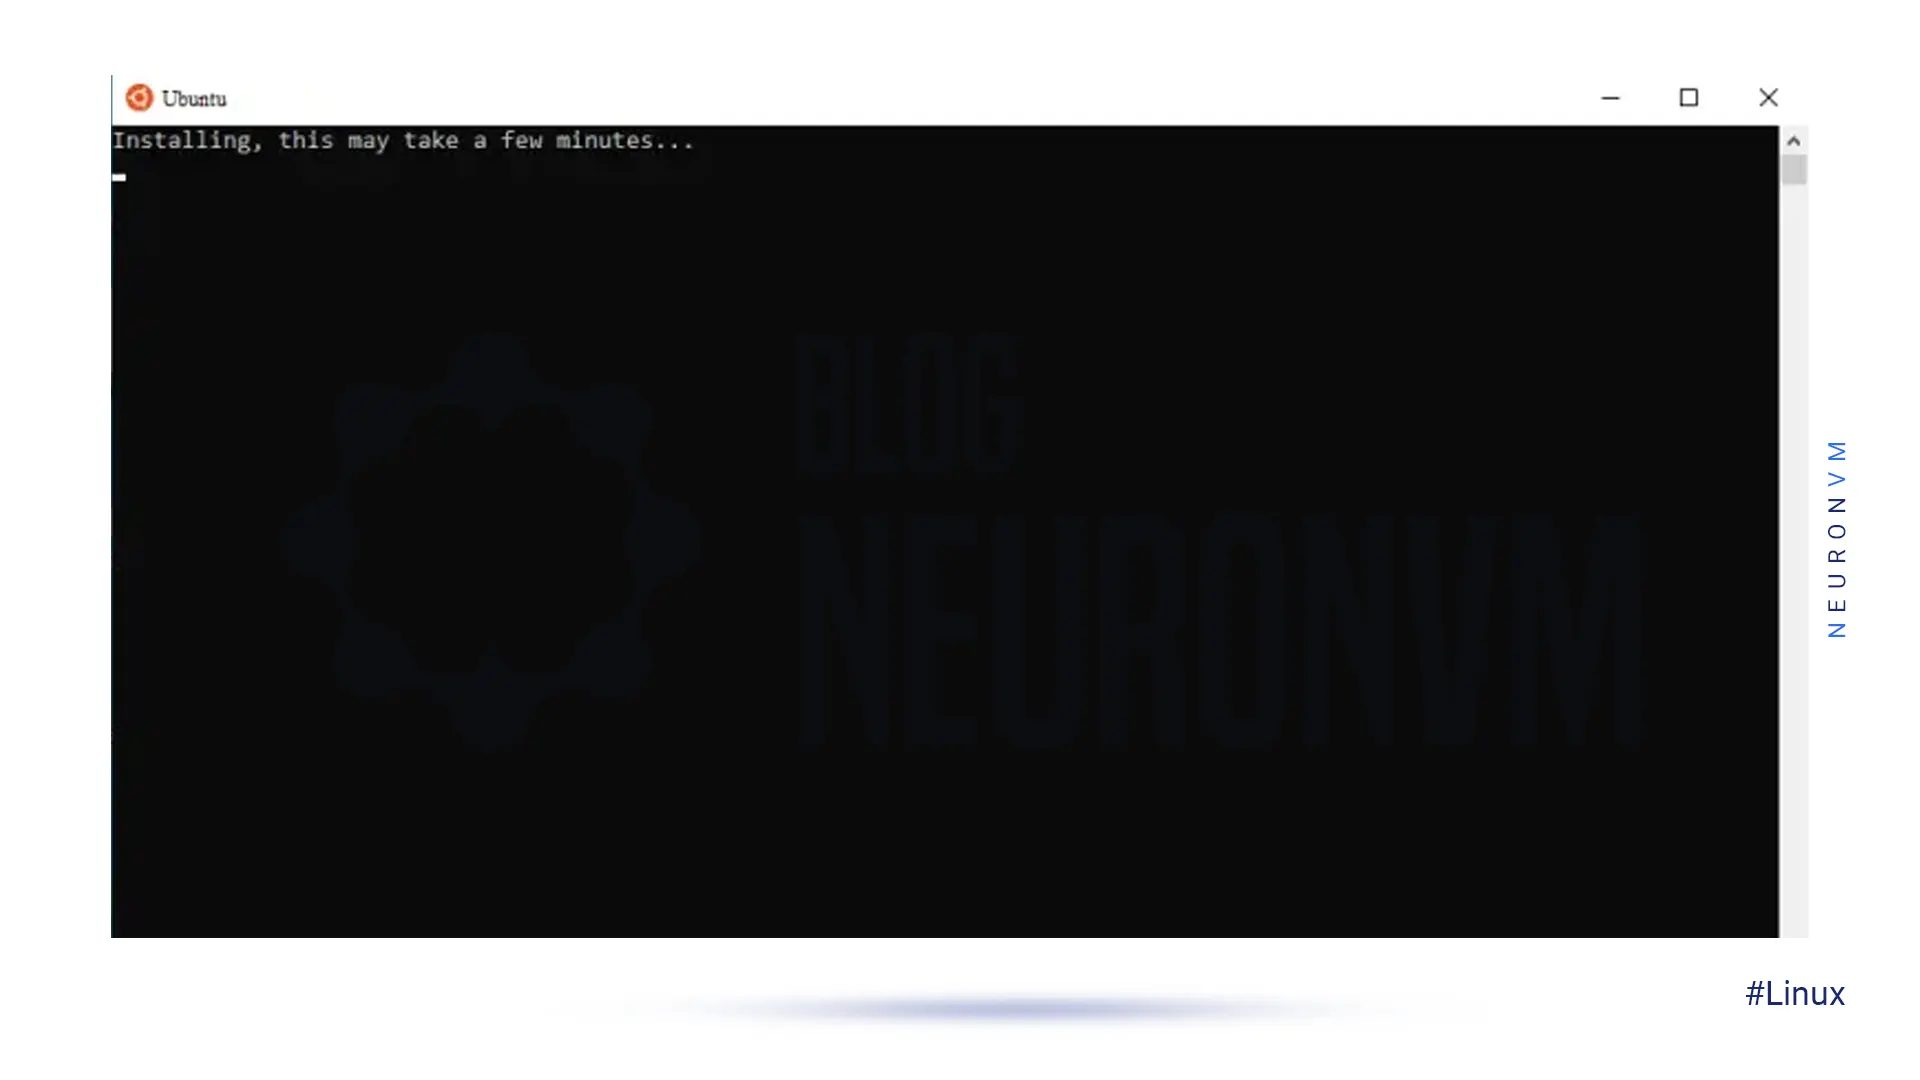
There appear a new window and the Ubuntu installation will begin in WSL. Wait for it to complete, and then you will be asked to set a username and at the next level set a password. when you finished all the processes, Ubuntu will be set:
——
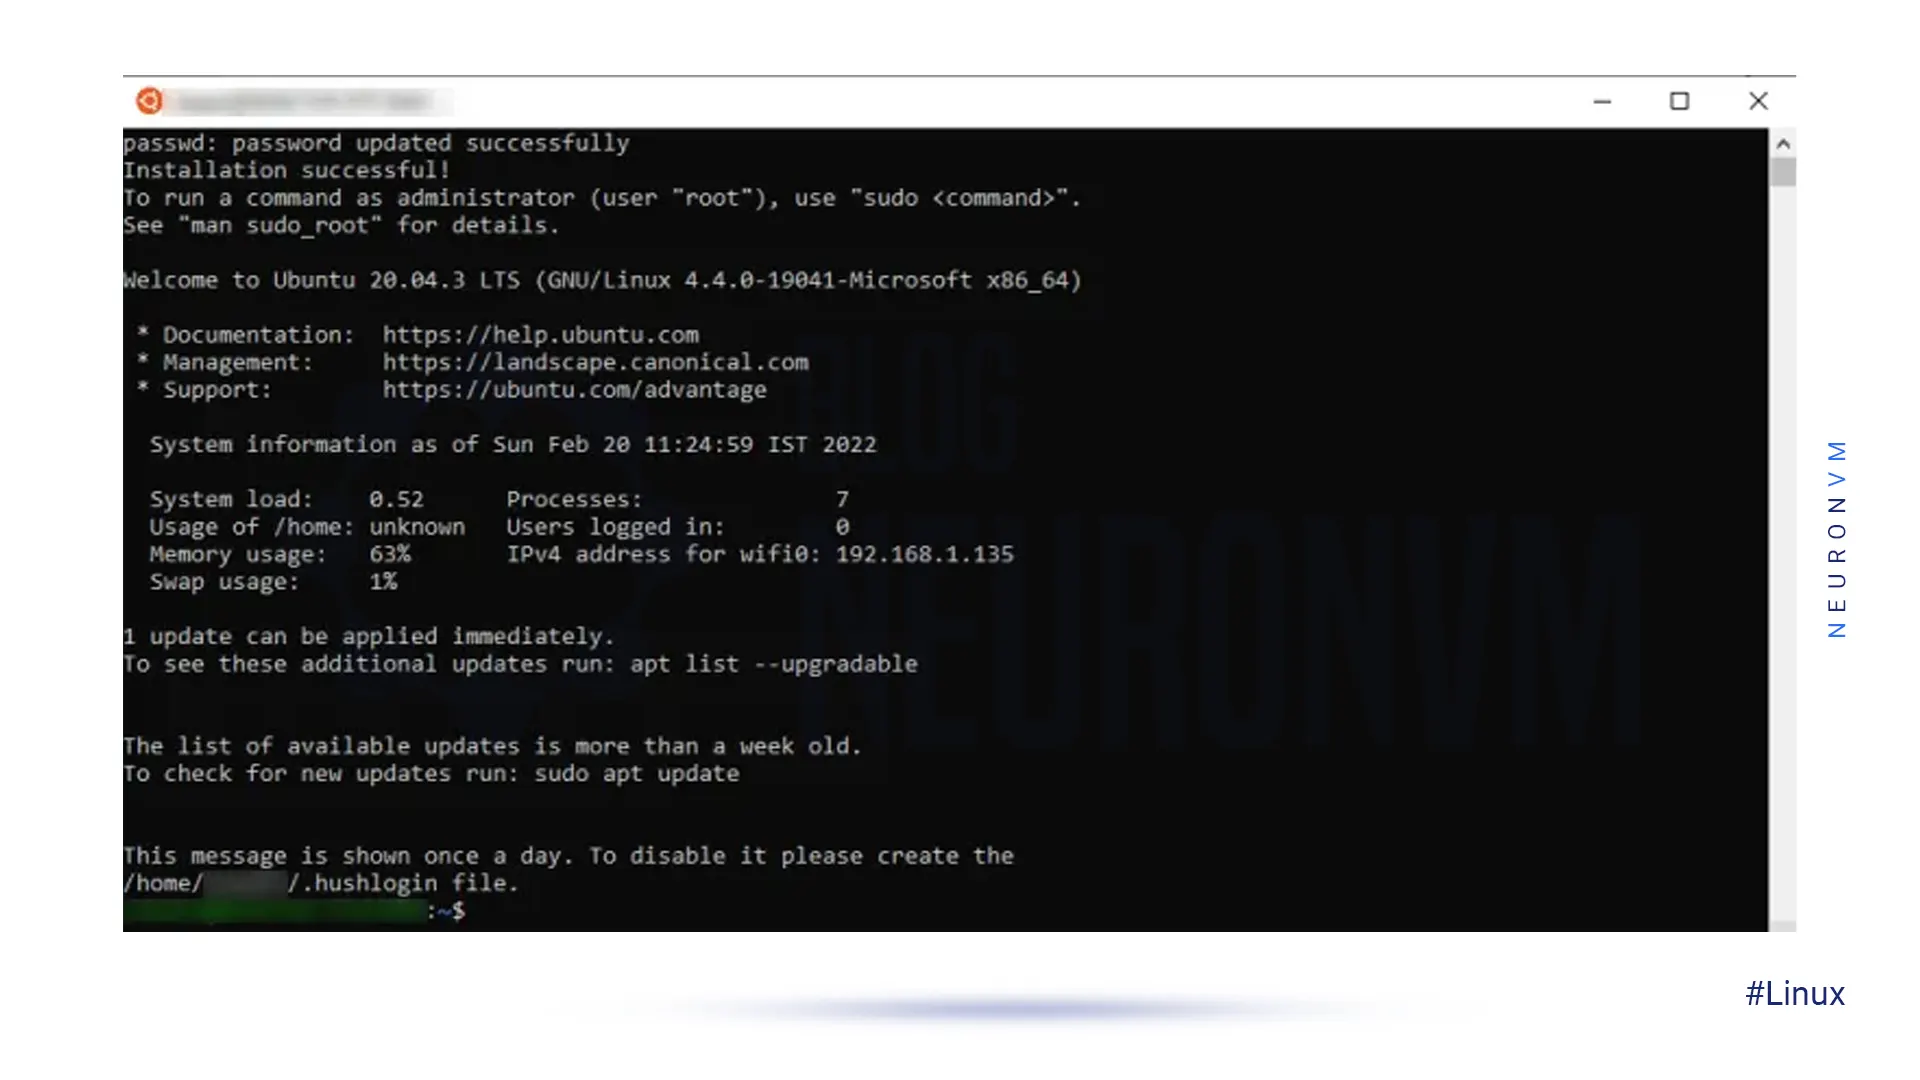
Note: If you want to update your Ubuntu system, you can run the following command:
sudo apt update
That’s it. Now you can run the Ubuntu system on your Windows and access the command line whenever you want.
By following these simple steps, you can easily install Ubuntu 18.04 LTS on Windows 10 computer and enjoy the benefits of both operating systems. Whether you are a beginner or an experienced user, Ubuntu offers a powerful and customizable alternative to Windows, with access to a wide range of open-source software. Make sure to back up your important files before starting the installation process.
How useful was this post?
Click on a star to rate it!
Average rating 5 / 5. Vote count: 1
No votes so far! Be the first to rate this post.
 Tags
Tags

This article is presented to review visual studio code or VSCode. This tool is a powerful open-sourc...


 Tags
Tags

Robert Lemke launched the Neos project in 2006. Then a group of software engineers joined in to get ...


 Tags
Tags
What is your opinion about this Blog?


