

yum install epel-releaseNow you can install Siege:
yum install siegeYou need to install the necessary development packages to be able to build Siege from the source:
yum groupinstall 'Development Tools'Next, you can download the Siege:
wget http://download.joedog.org/siege/siege-latest.tar.gz
tar -zxvf siege-latest.tar.gzTo complete this step, you must change directories to the folder containing the files and compile them:
cd siege-*/
sudo ./configure --prefix=/usr/local --with-ssl=/usr/bin/openssl
sudo make && make install
sudo siege.configThe above command will generate siege.conf file located in your user’s home ~/.siege/siege.conf. Here are the contents of the file:
cat siegerc |egrep -v "^$|#"Note that the log file and time instructions have been uncommented. Output:
logfile = $(HOME)/var/log/siege.log
verbose = false
color = on
quiet = false
show-logfile = true
logging = false
gmethod = HEAD
parser = true
nofollow = ###
nofollow = ###
nofollow = ###
nofollow = ###
limit = 255
protocol = HTTP/1.1
chunked = true
cache = false
connection = close
concurrent = 25
time = 1M
delay = 0.0
internet = false
benchmark = false
accept-encoding = gzip, deflate
url-escaping = true
unique = true
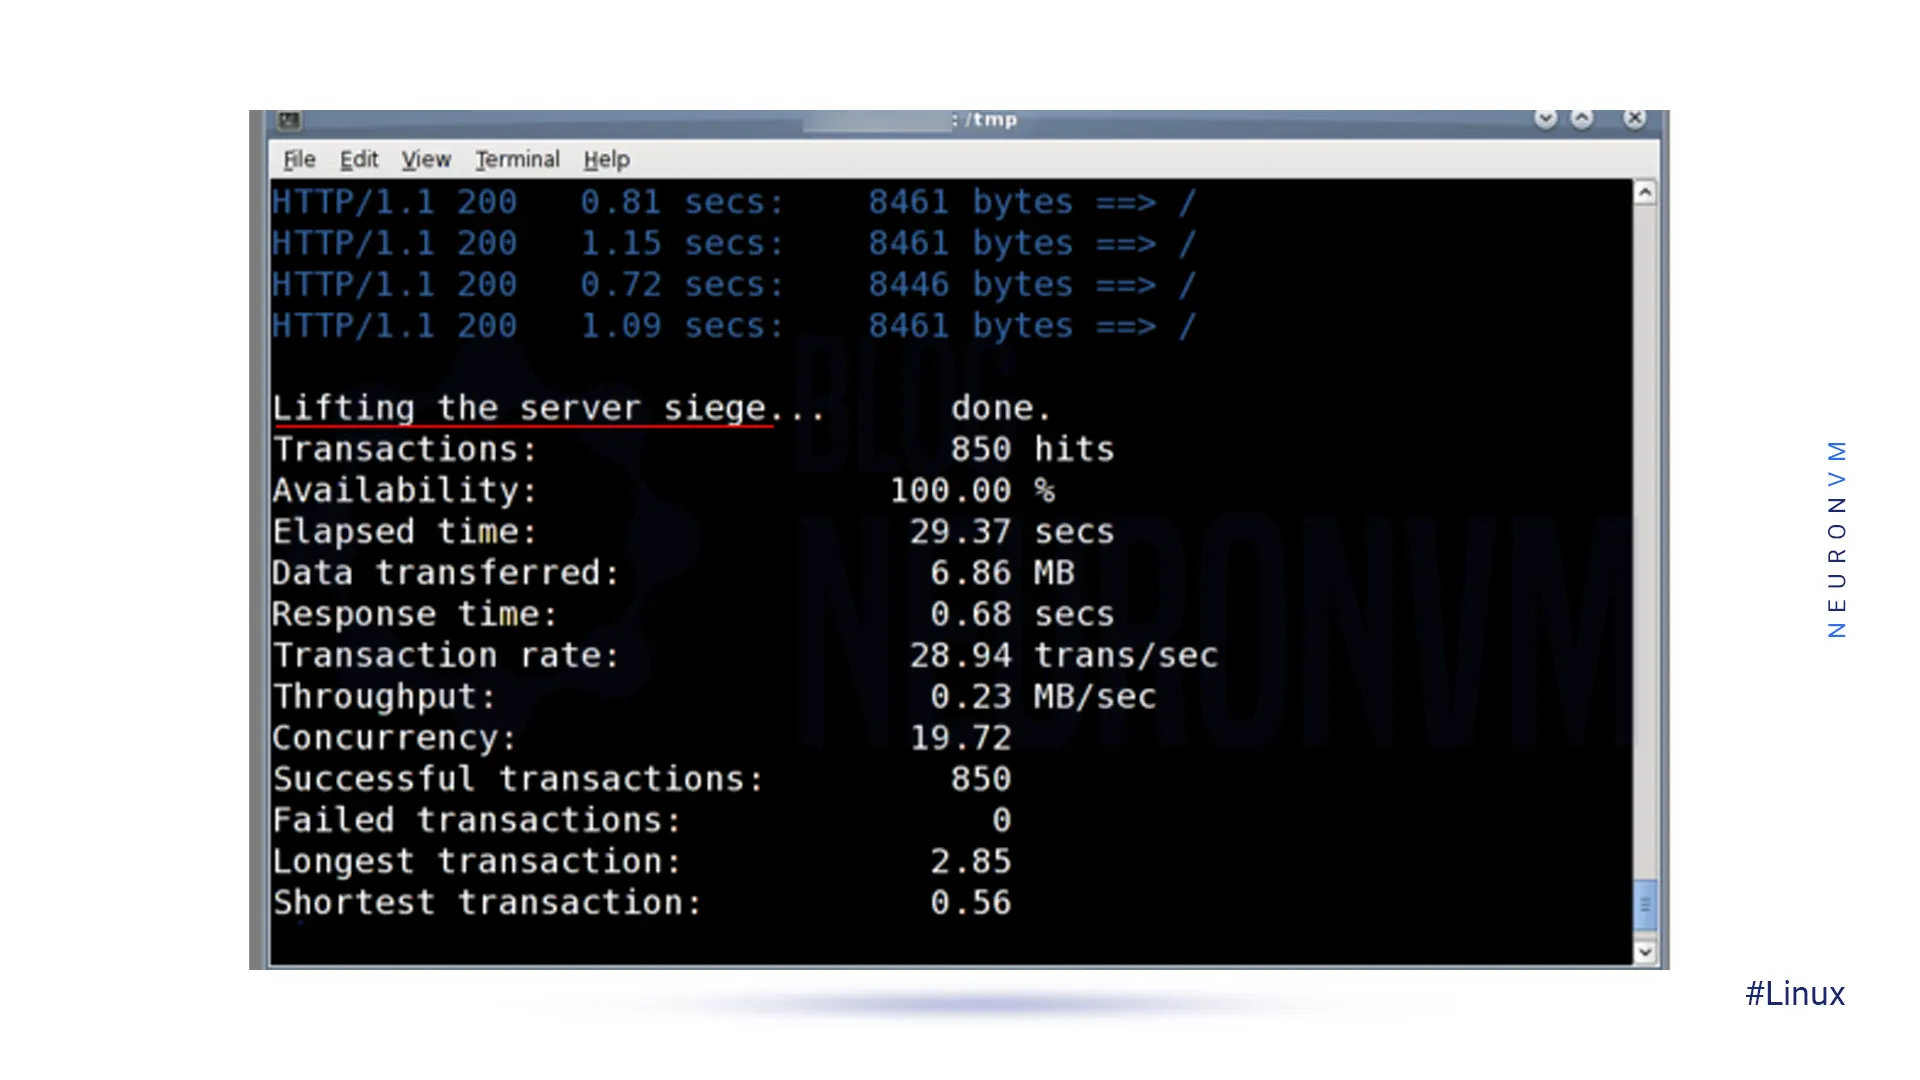
siege example.comIf there is no failed connection, your system will work fine and there will be no issues.

siege -f /usr/local/etc/urls.txtAlso, you can use command-line options to try different settings. -C: Specify your own configuration file -q: Suppresses siege’s output -g: GET, pull down HTTP headers, and display the transaction -c: The number of concurrent users is 10 by default -t: How much time to run the test -d: Random delay before each request -b: No delays between requests -i: User simulation -f: Test URLs from the specified file -l: logfile -H: Add a header to request -A: Specify a user agent -T: Sets Content-Type in the request –no-follow: do not follow HTTP redirects
How useful was this post?
Click on a star to rate it!
Average rating 5 / 5. Vote count: 1
No votes so far! Be the first to rate this post.
 Tags
Tags

In this article, we are going to teach you How to Configure Parse Server on CentOS 8. Modern applica...


 Tags
Tags

Domain name system or DNS is responsible for translating hostnames or URLs to IP addresses. For exam...


What is your opinion about this Blog?


