If you want to upgrade your computer system and increase the scalability and technology of your Windows system, you should choose the best Windows VPS hosting. Necessary investigations show that the best VPS host is Windows 10, which provides you with remote access. This way, you will have more and easier control and management of your system and other users. Let’s take a look at Windows 10 VPS to find out how much it can boost your system and take your computing experience to the next level.
What Makes Windows 10 the Best Windows VPS Server?
Choosing a Windows 10 VPS will bring more satisfaction to your webmasters because it creates a good balance between flexibility in management functions and deep customization if needed. So, this server allows you to have full access to do anything on the server and direct control over the parts of your system.

On the other hand, the simplicity of the user interface and great functionality of Windows 10, along with the efficiency and low cost of a dedicated VPS environment, have made a powerful and attractive combination for users to choose from.
If you are already familiar with the Windows virtual server structure, then it is easy for you to understand that these virtual servers will be a beneficial choice for you. You can have simpler access to the rental server with Windows 10 VPS, SSD storage is accessible as the default, and it has a perfect security feature and protects you from attacks like DDoS.
If you are equipped with a system that runs Windows 10, you will figure out that this server is a great solution for online businesses that want to use a virtual server and for a newly established startup in a small town.
NeuronVM is one of the providers that offer this great solution besides other various services for users.
What is the Functionality of Windows 10 VPS?
In the modern world, online businesses are widely looking for advanced hosting solutions to power their websites. One of these solutions that has become very popular is Windows VPS. One of them is Windows 10 VPS. Let’s find out about the functionality of Windows VPS. The functionality of a Windows 10 VPS is similar to that of a physical Windows 10 computer, but there are some key differences and advantages:
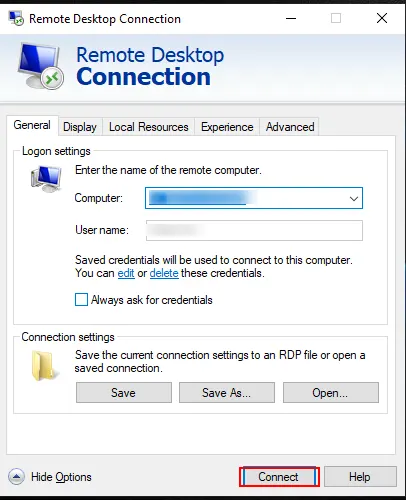
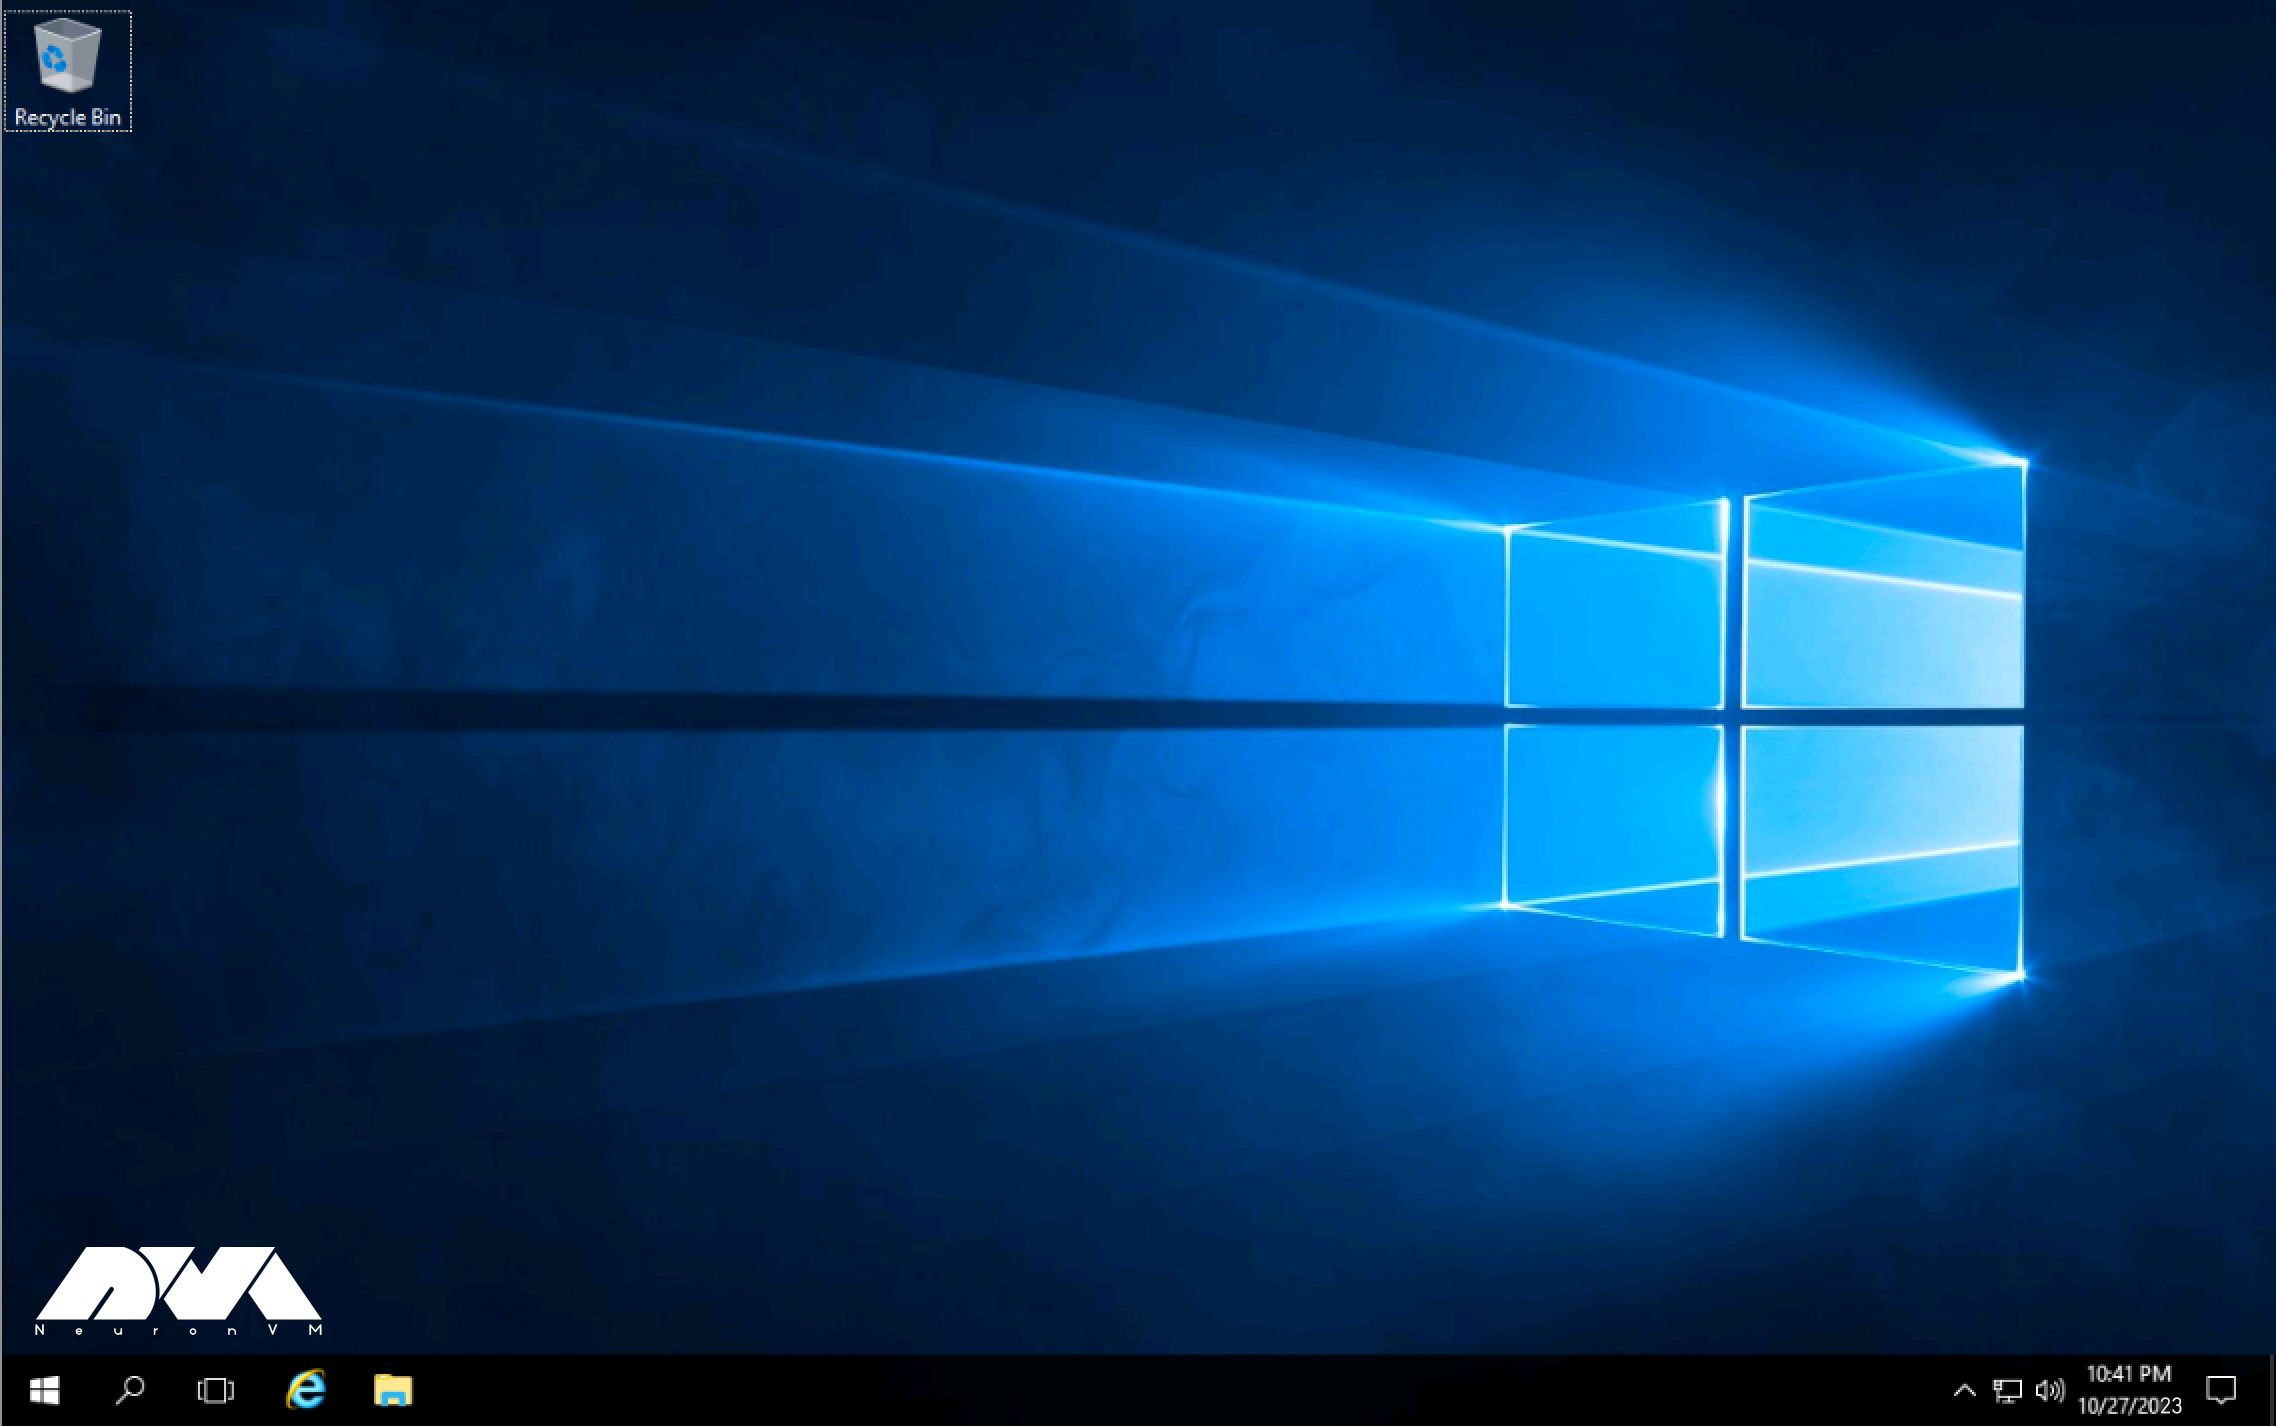
– Users can access a Windows 10 VPS remotely using remote desktop software or protocols like RDP.
– Each Windows 10 VPS is isolated from other VPS instances on the same physical server, providing a level of security and privacy.
– Users can install and customize software, configure settings, and manage the Windows 10 environment just like they would on a physical computer.
– This solution is often more cost-effective than physical hardware, especially for businesses requiring multiple Windows environments.
– Windows 10 VPS can be easily scaled up or down to meet changing resource requirements.
What Are the Considerable Factors when Choosing a Windows Server Provider?
Here, we will analyze the factors to choose the best provider. Choosing a Windows 10 server provider is an important decision for businesses and individuals looking to host Windows-based applications, websites, or services. Some factors to consider when choosing a good provider can be:

– Uptime and Reliability: Look for a provider with a strong track record of uptime and reliability. A reliable server is crucial for business-critical applications.
– Operating System Compatibility: Confirm that the provider supports Windows 10 as the operating system if that’s what you need. Some providers may only offer Windows Server editions.
– Security: Assess the provider’s security measures, including firewalls, intrusion detection systems, and data encryption. Security is critical if you are handling sensitive data.
– Data Center Locations: Check the geographical locations of the provider’s data centers. Select data centers that are close to your target audience to reduce latency. NeuronVM is one of the few Providers with more than 60 locations.
– Support and Customer Service: Consider the level of customer support offered by the provider. Responsive customer support can be crucial when you encounter issues.
– Scalability: Ensure that the provider offers scalability options. You may need to upgrade or downgrade your server resources as your needs change.
– Cost and Pricing Structure: Evaluate the cost of the Windows 10 server hosting. Understand the pricing structure, including any hidden fees or additional costs. If you are looking for an affordable Windows VPS plan, Hurry up and refer to NeuronVM.
– Bandwidth and Data Transfer Limits: Be aware of any bandwidth limitations and data transfer caps. Overages can lead to unexpected charges.
– Control Panel and Management Tools: Check if the provider offers a user-friendly control panel or management tools for server administration. This can simplify server management tasks.
– Terms and Conditions: Carefully review the provider’s terms and conditions, including cancellation policies and service-level agreements.
And so many other factors. As a result, if you want to have all these features to buy Windows VPS securely, which aligns with your needs, visit NeuronVM.
What Are the Steps to Purchase Windows 10 VPS?
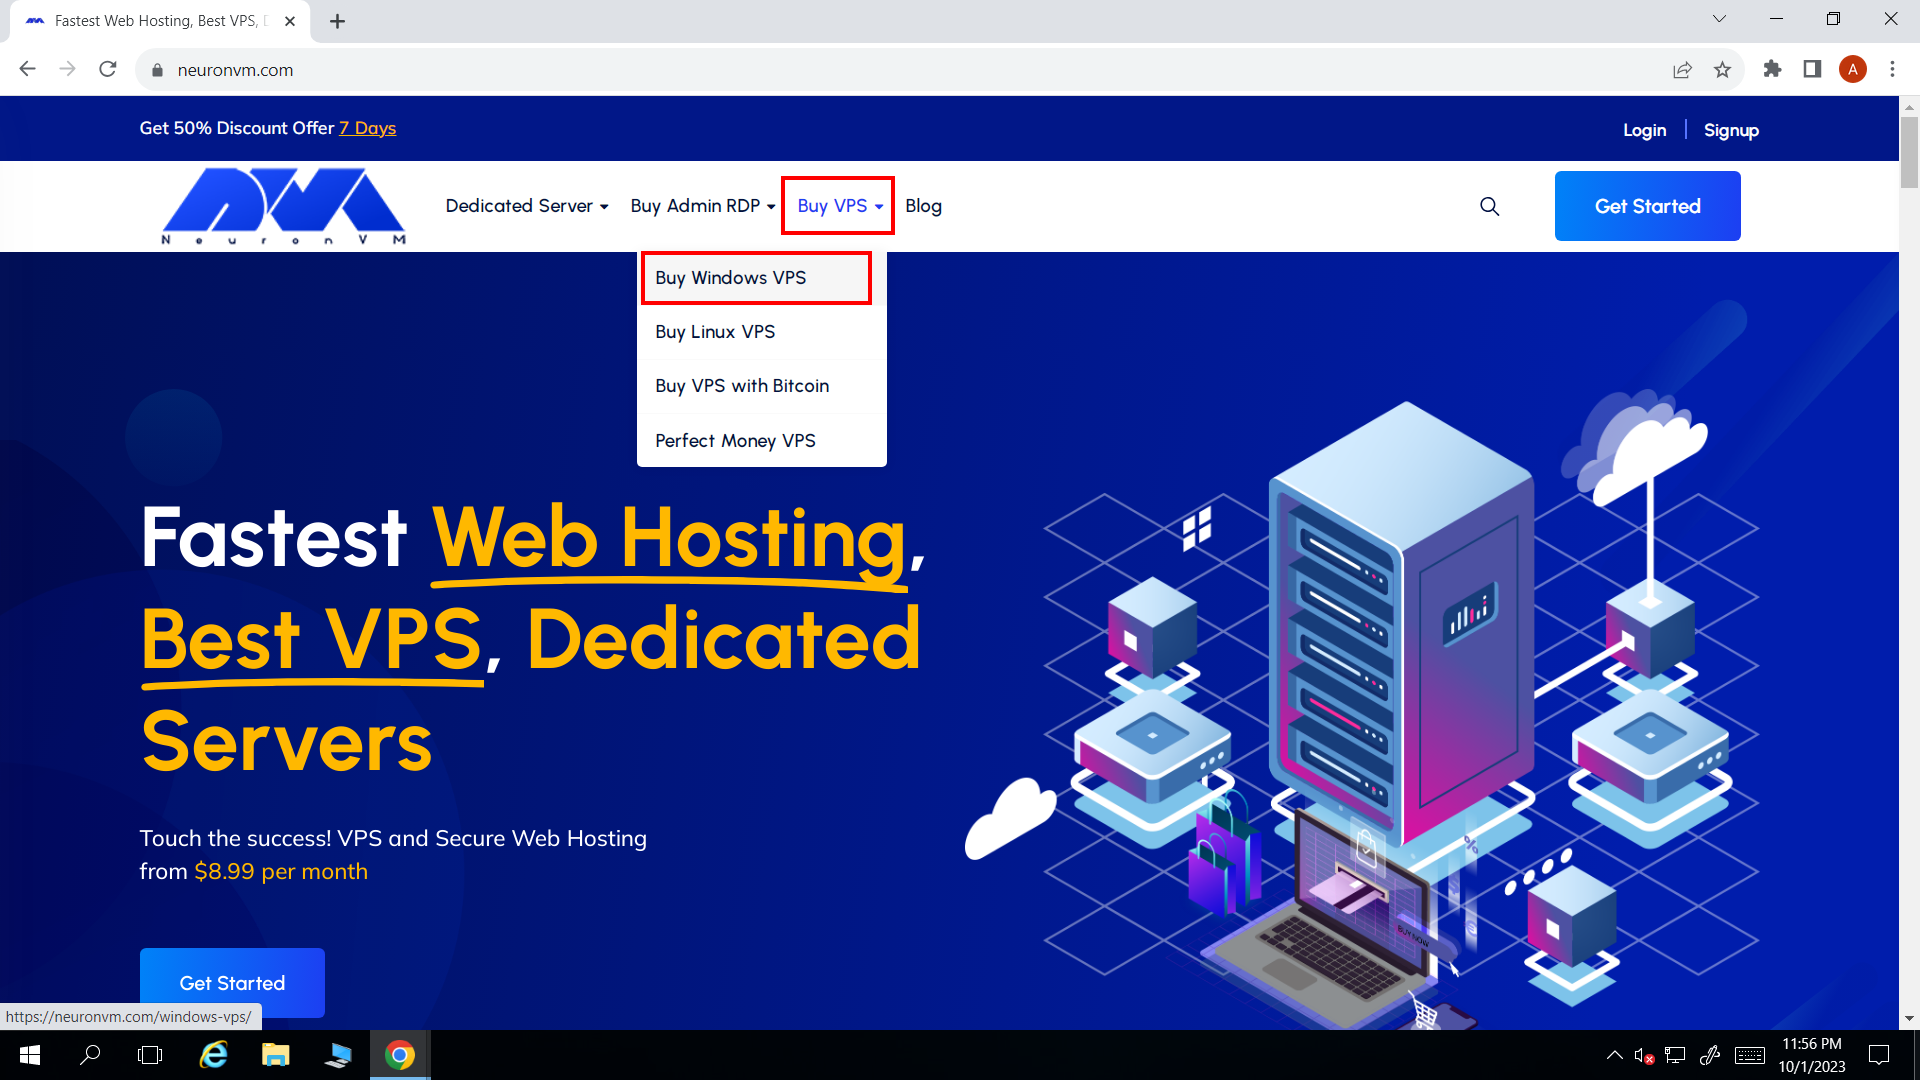
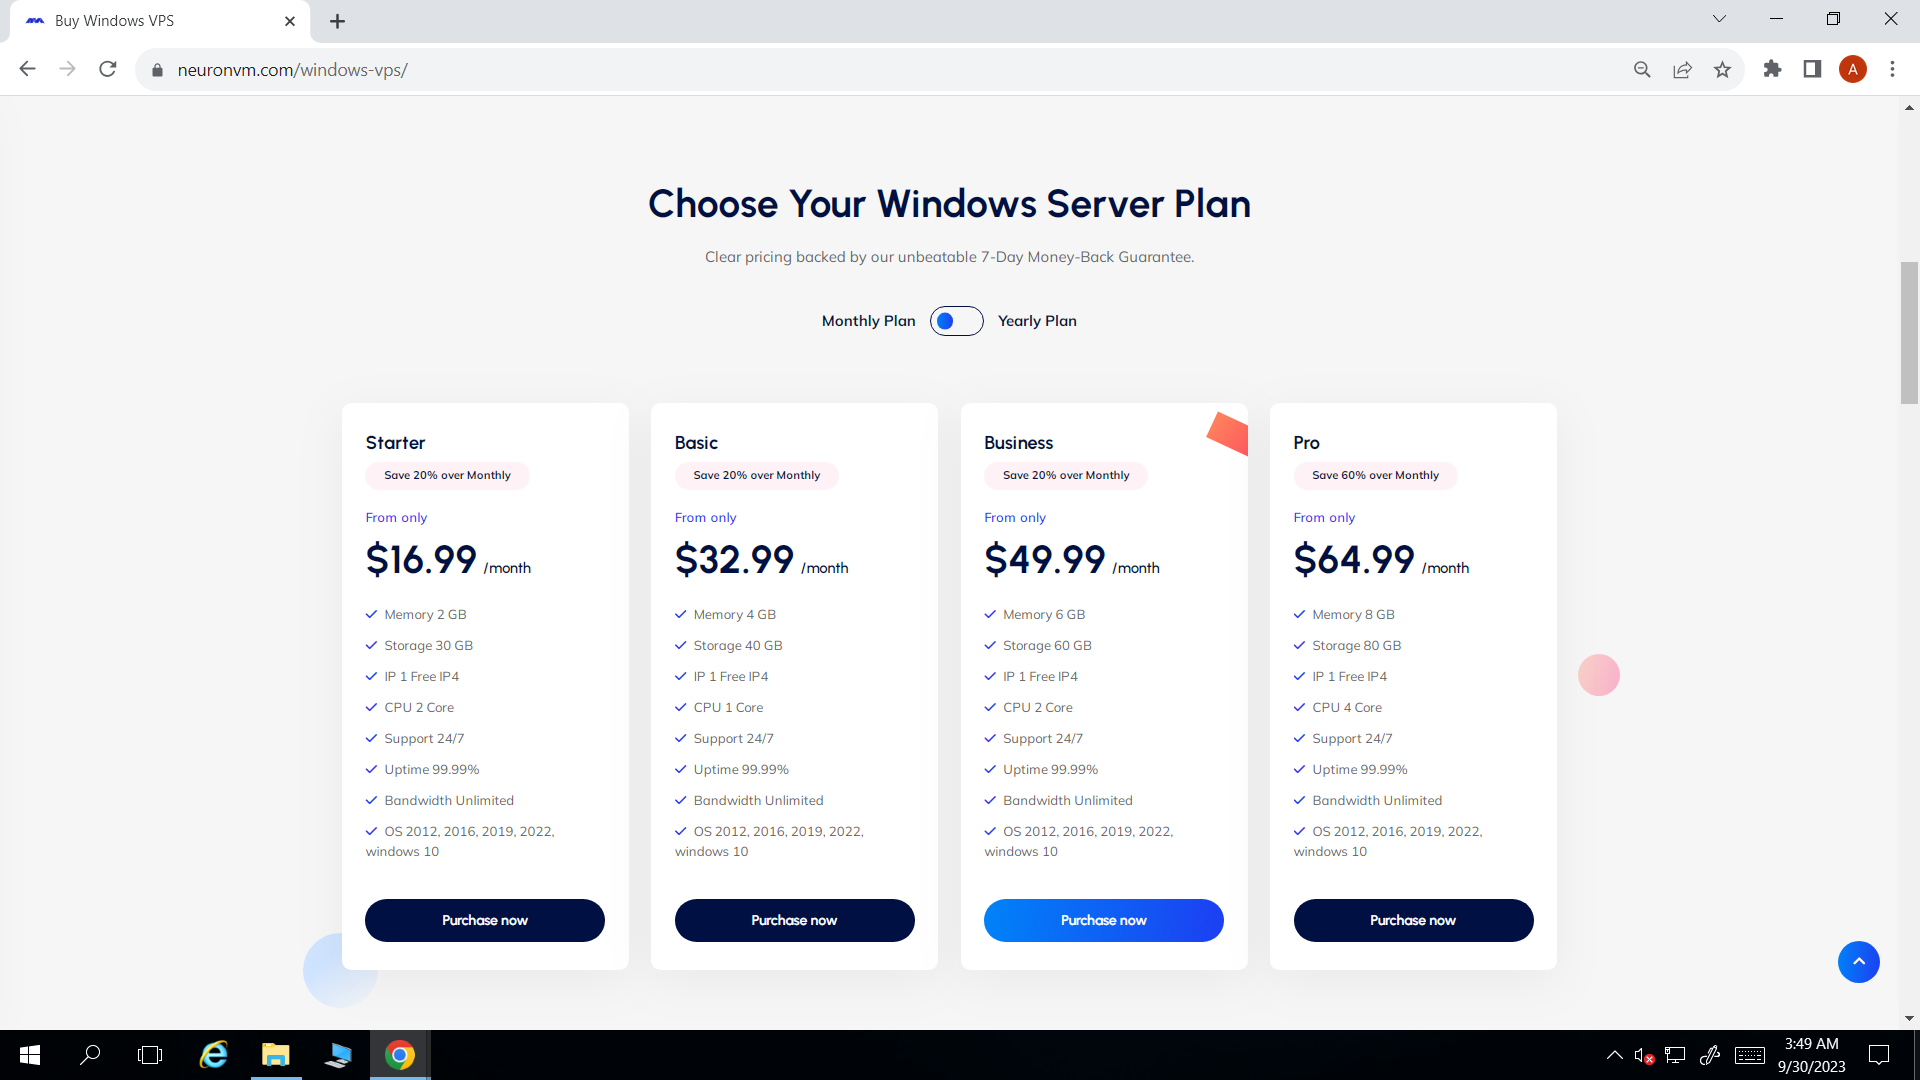
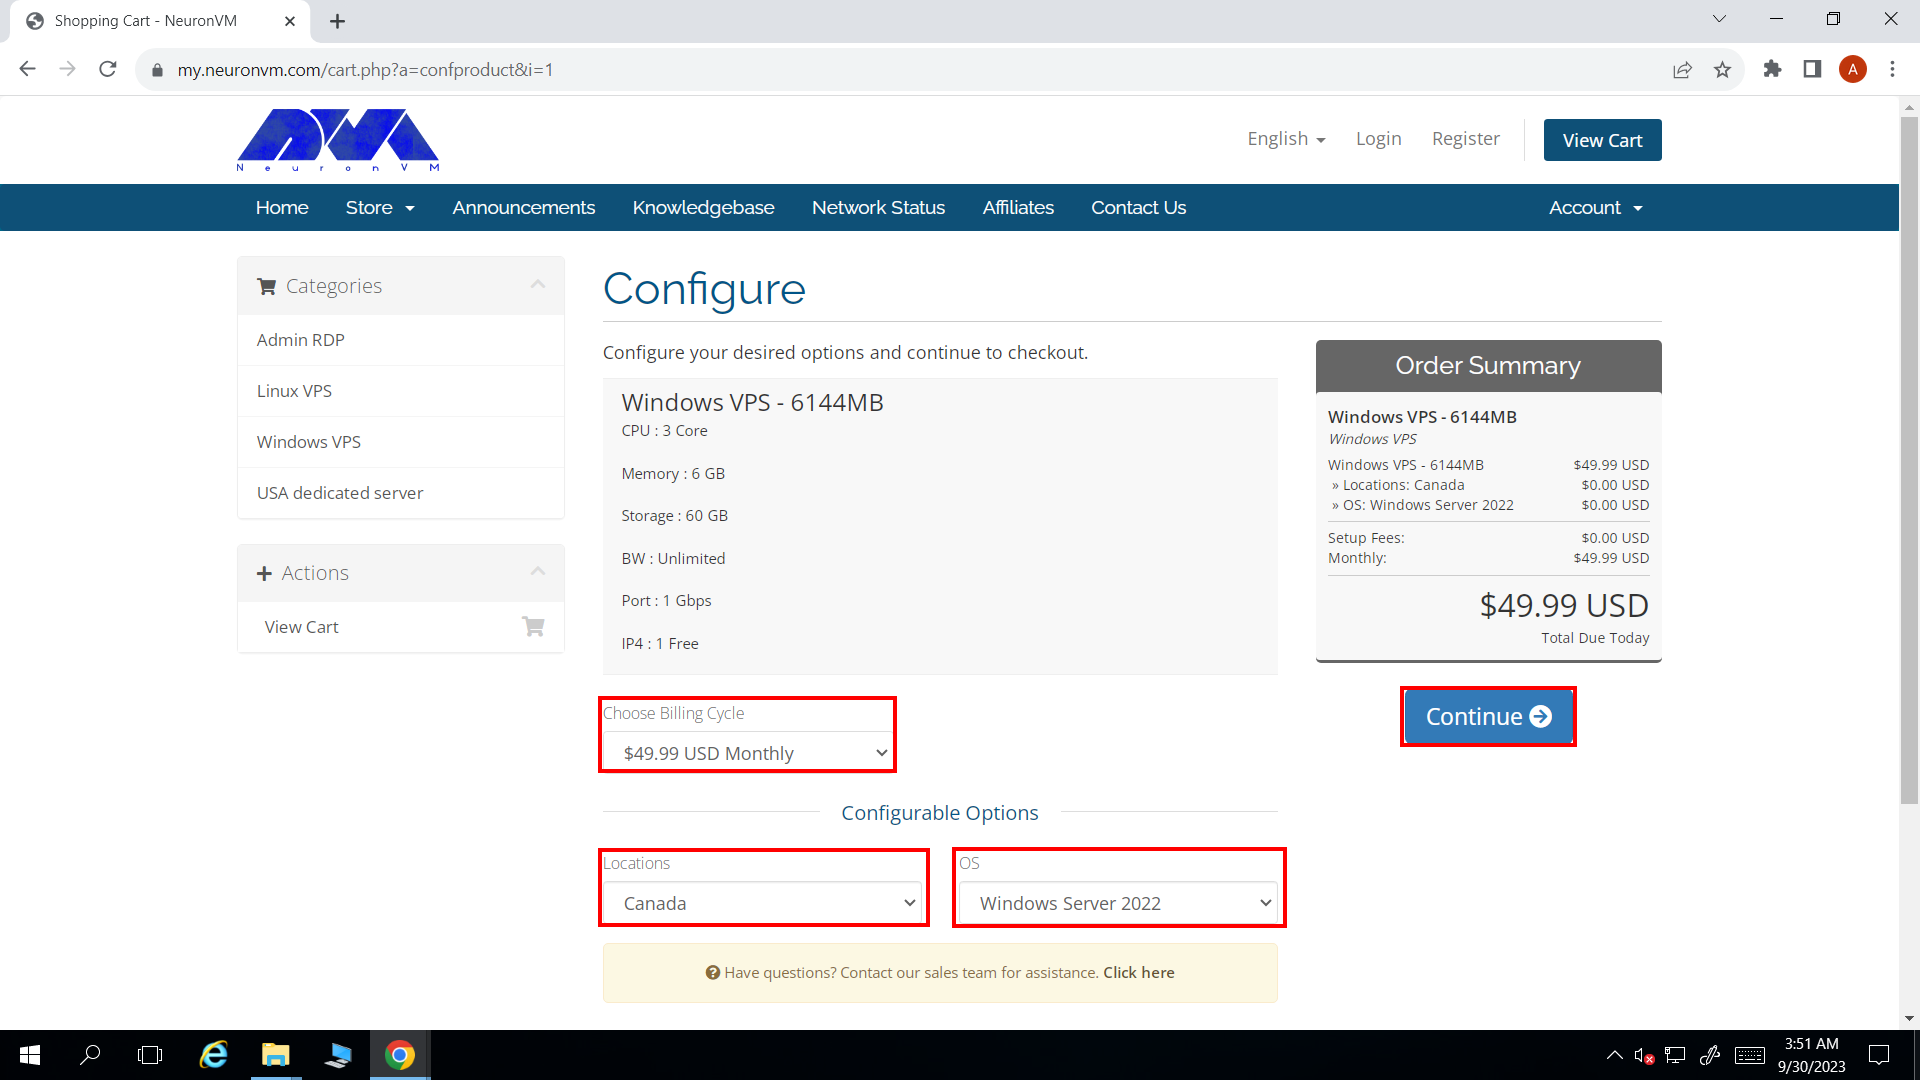
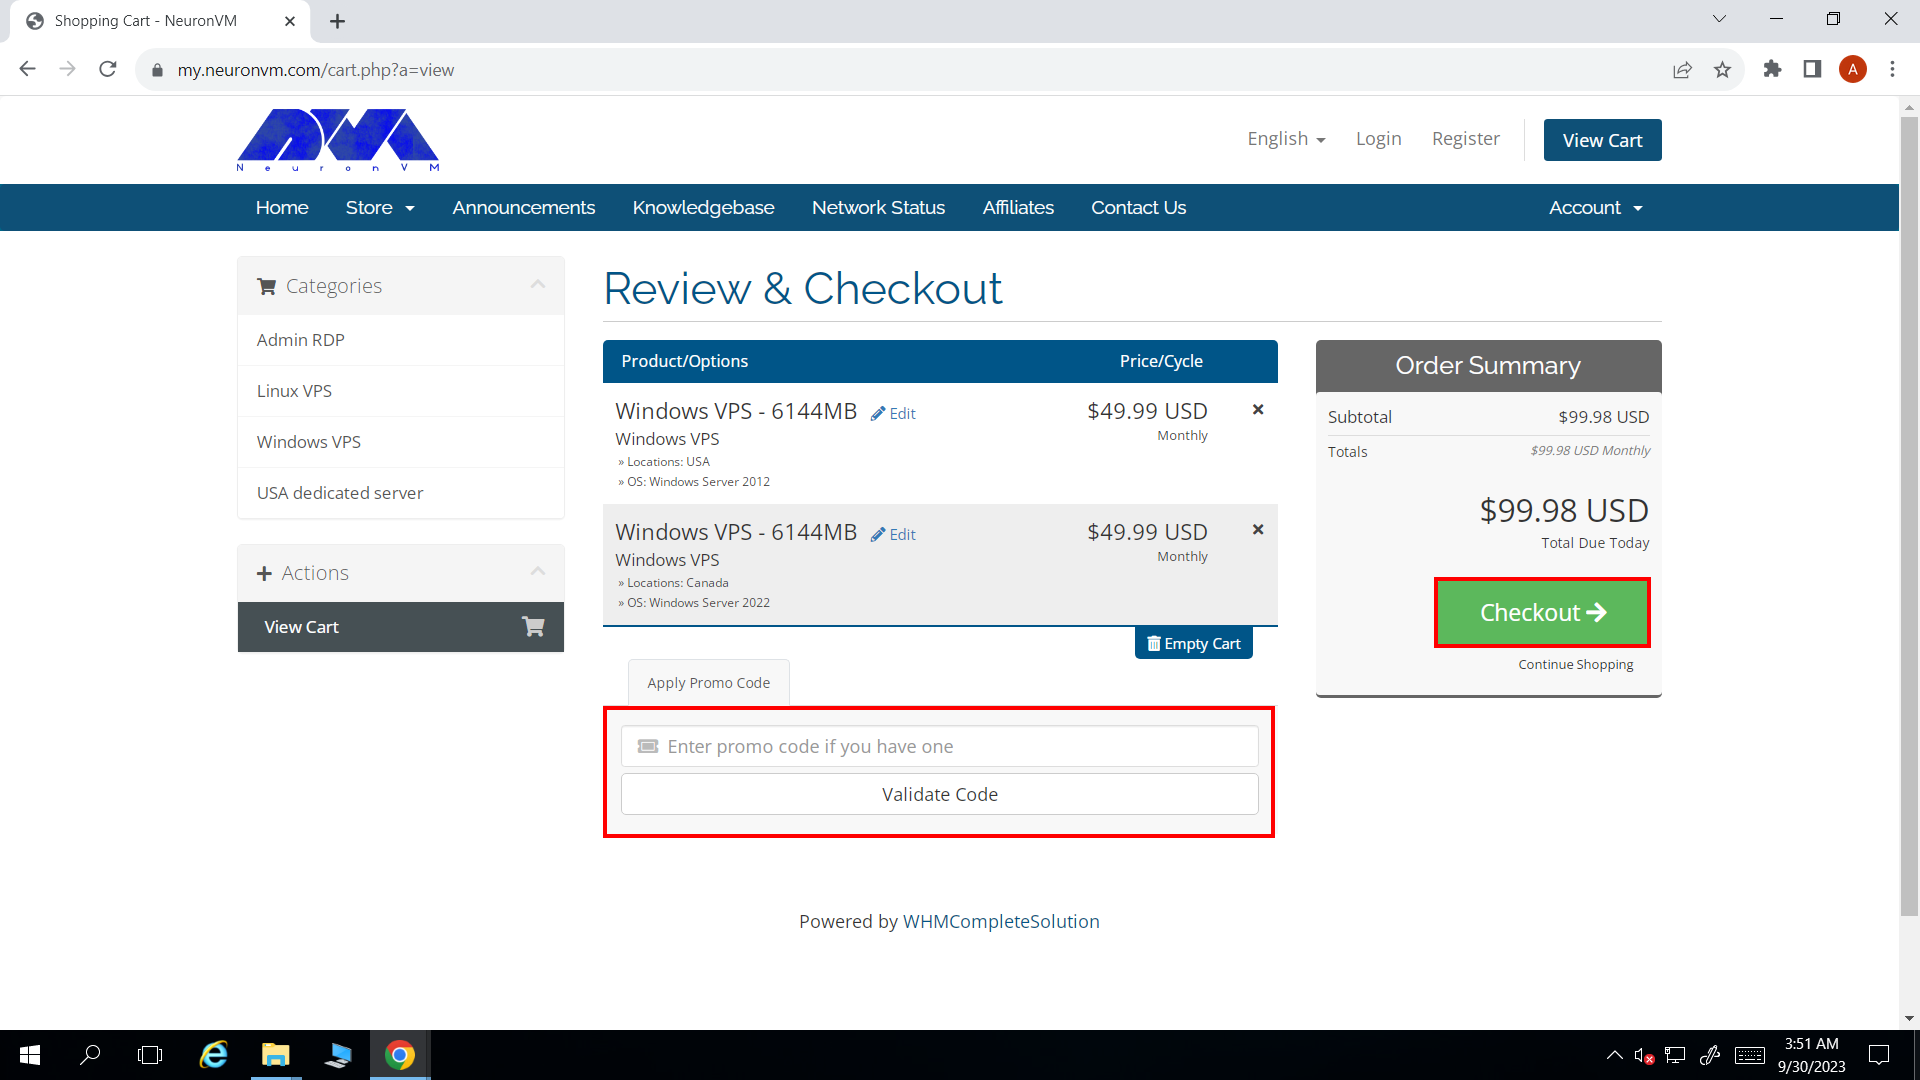
As we mentioned in the previous section, NeuronVM is one of the best providers of Windows 10 VPS. To build a highly scalable and customizable website with Windows technologies, you should choose the best Windows server for you.
NeuronVM experts have tried their best in this field. By comparing disk space, server hardware, update time, operating systems, or program compatibility, they prepare and offer the best solution for you, including Windows 10.
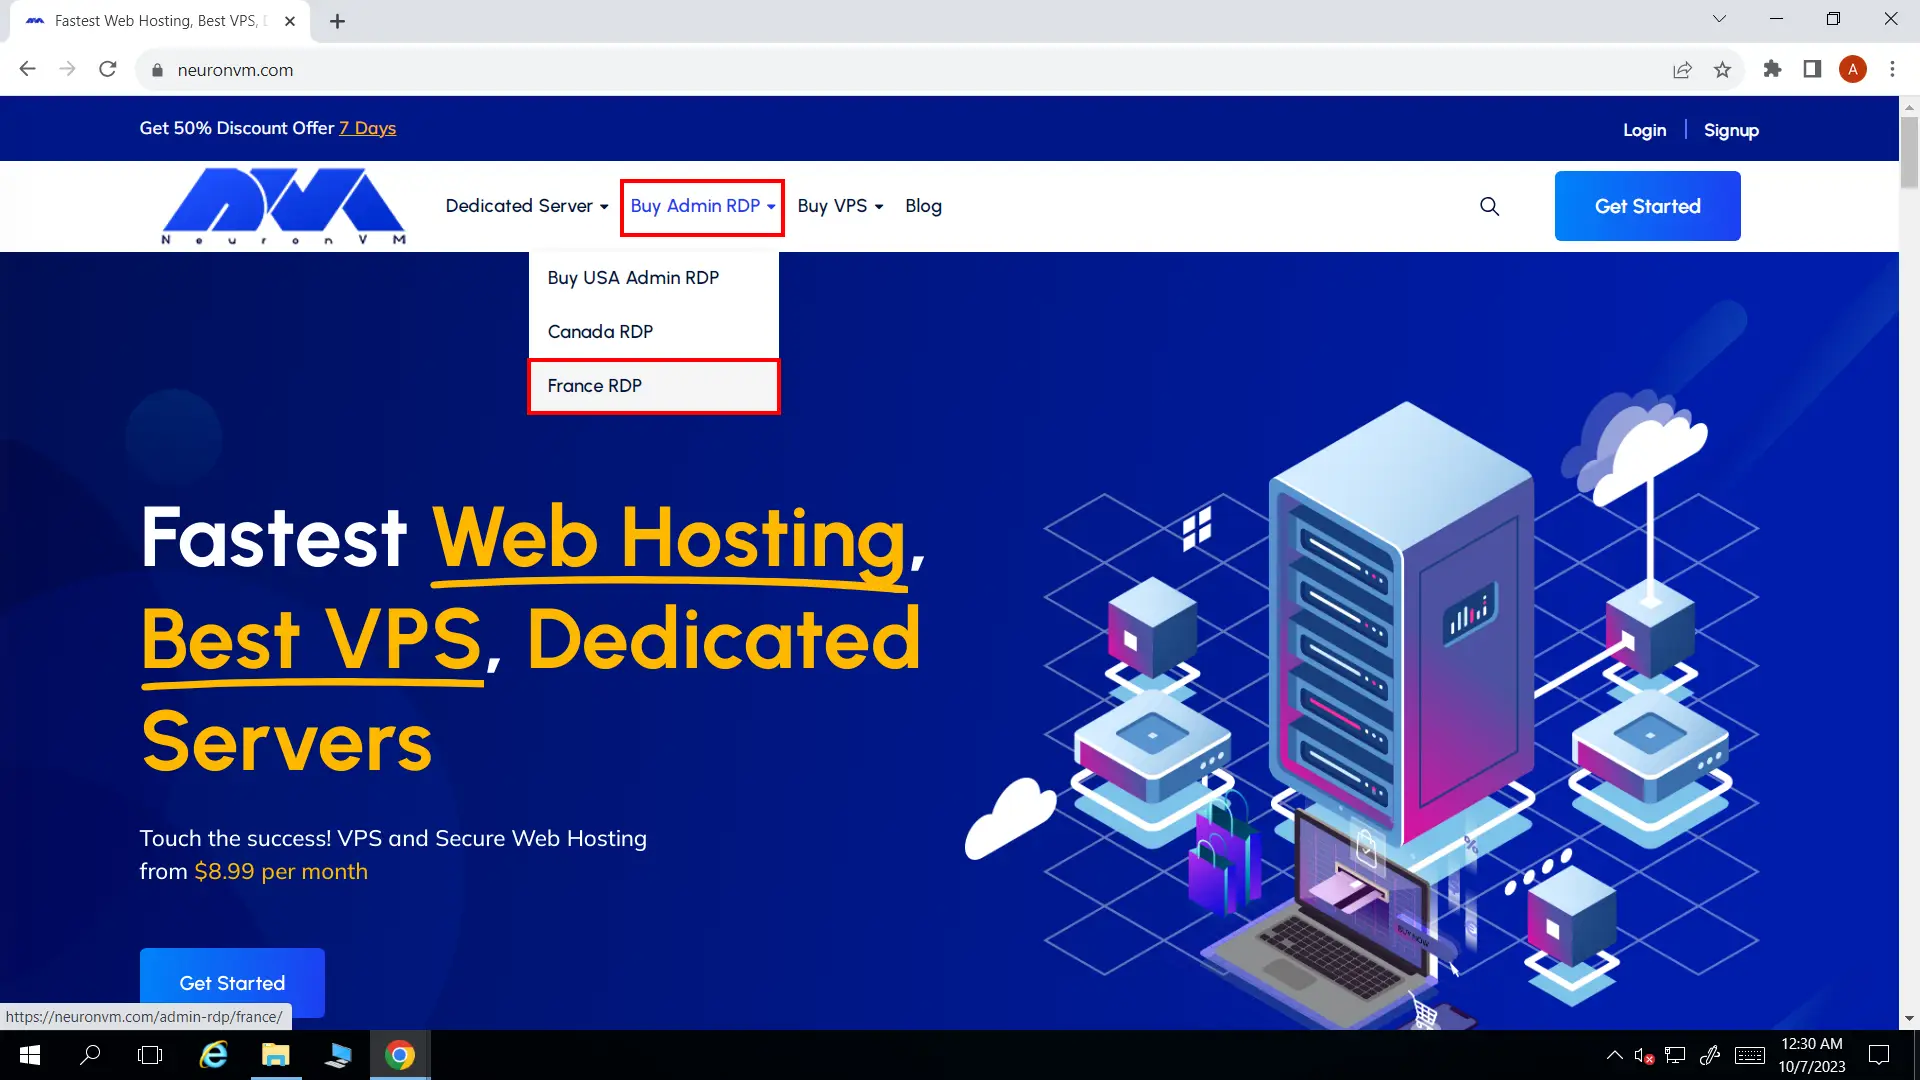
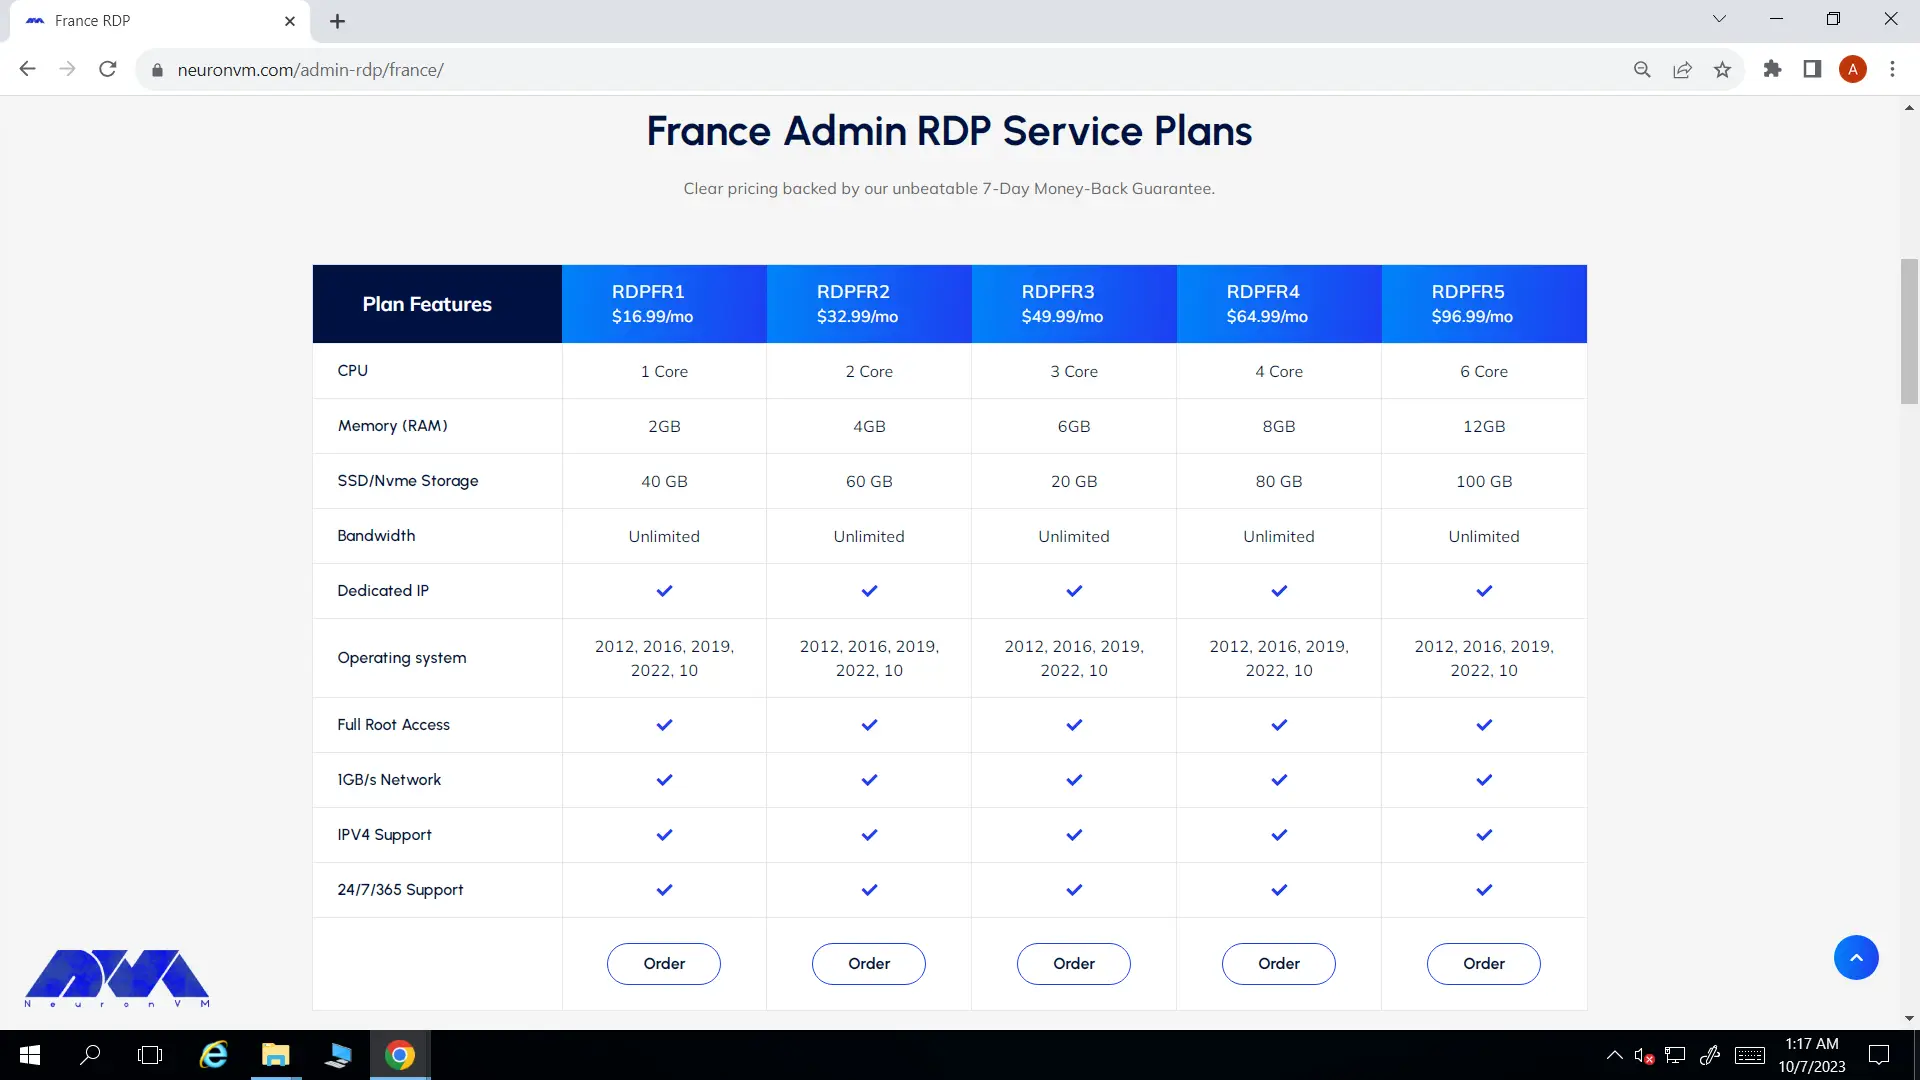
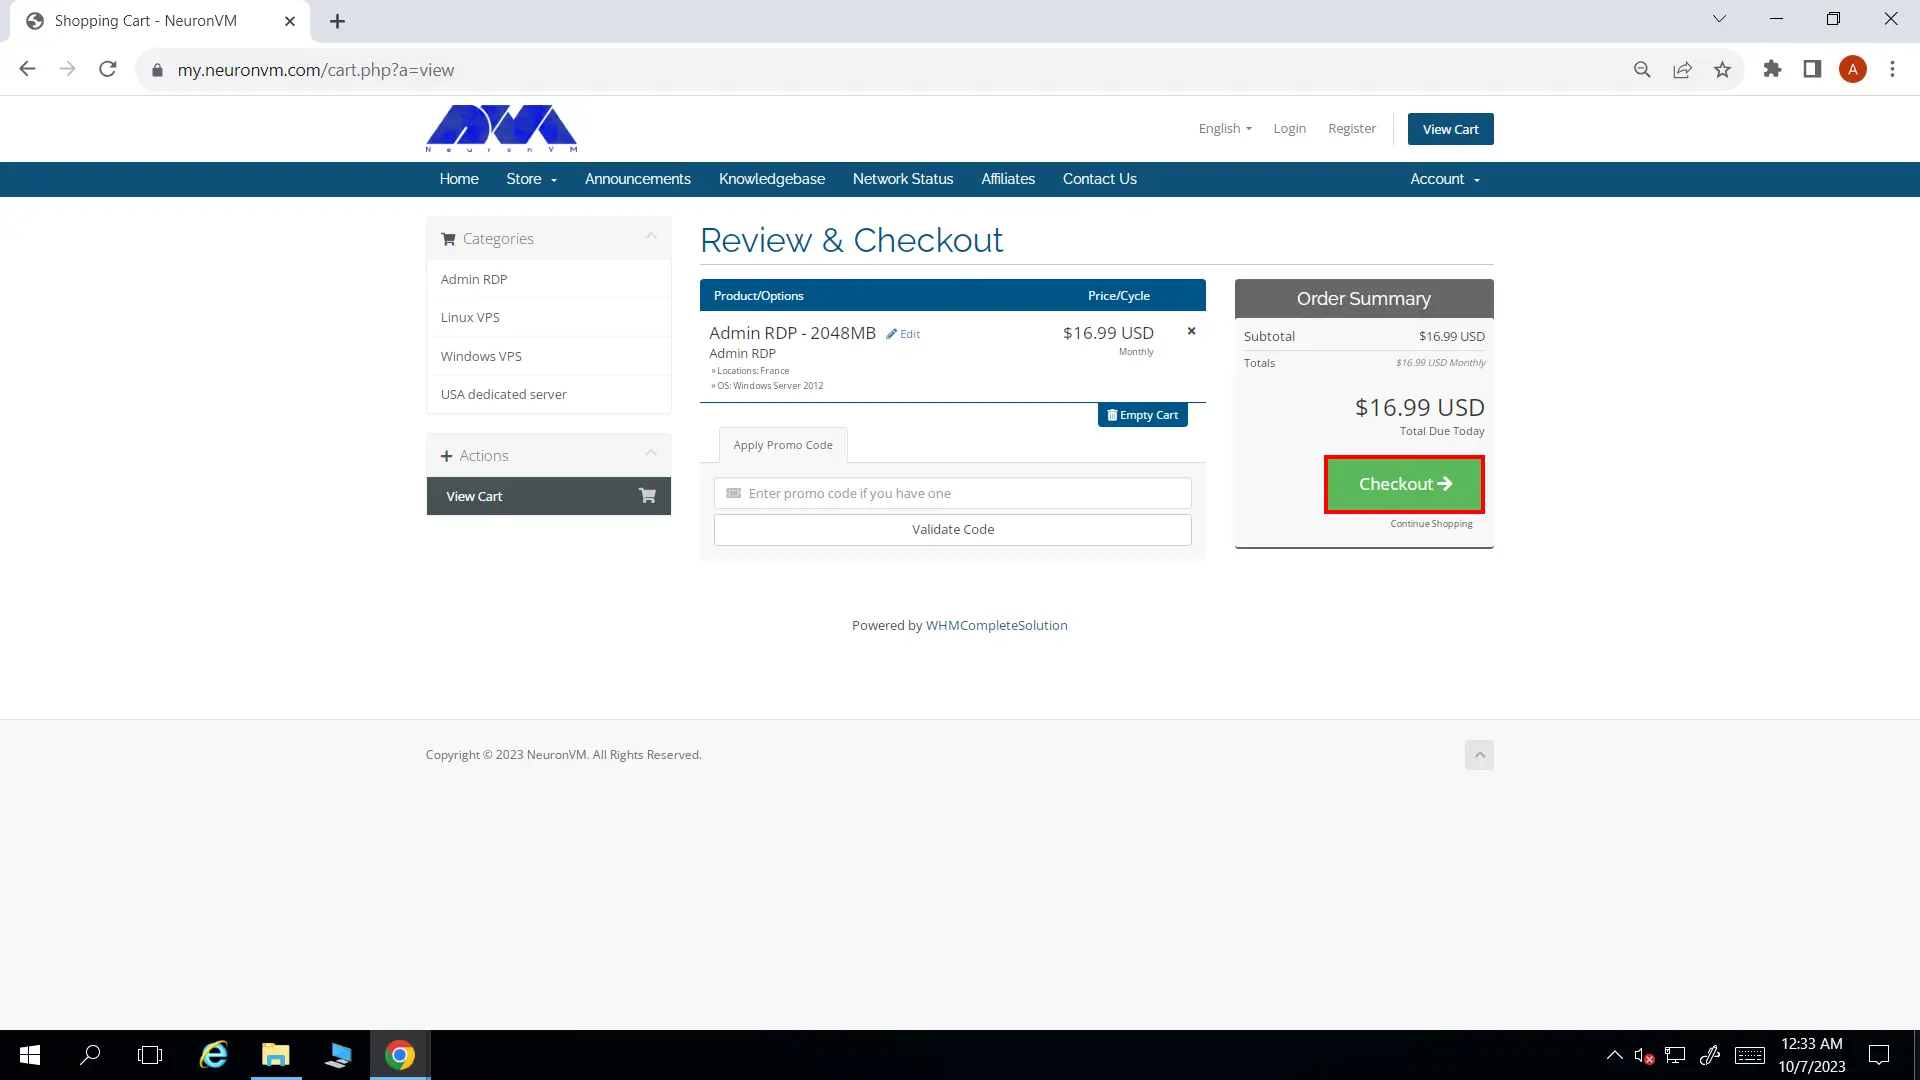
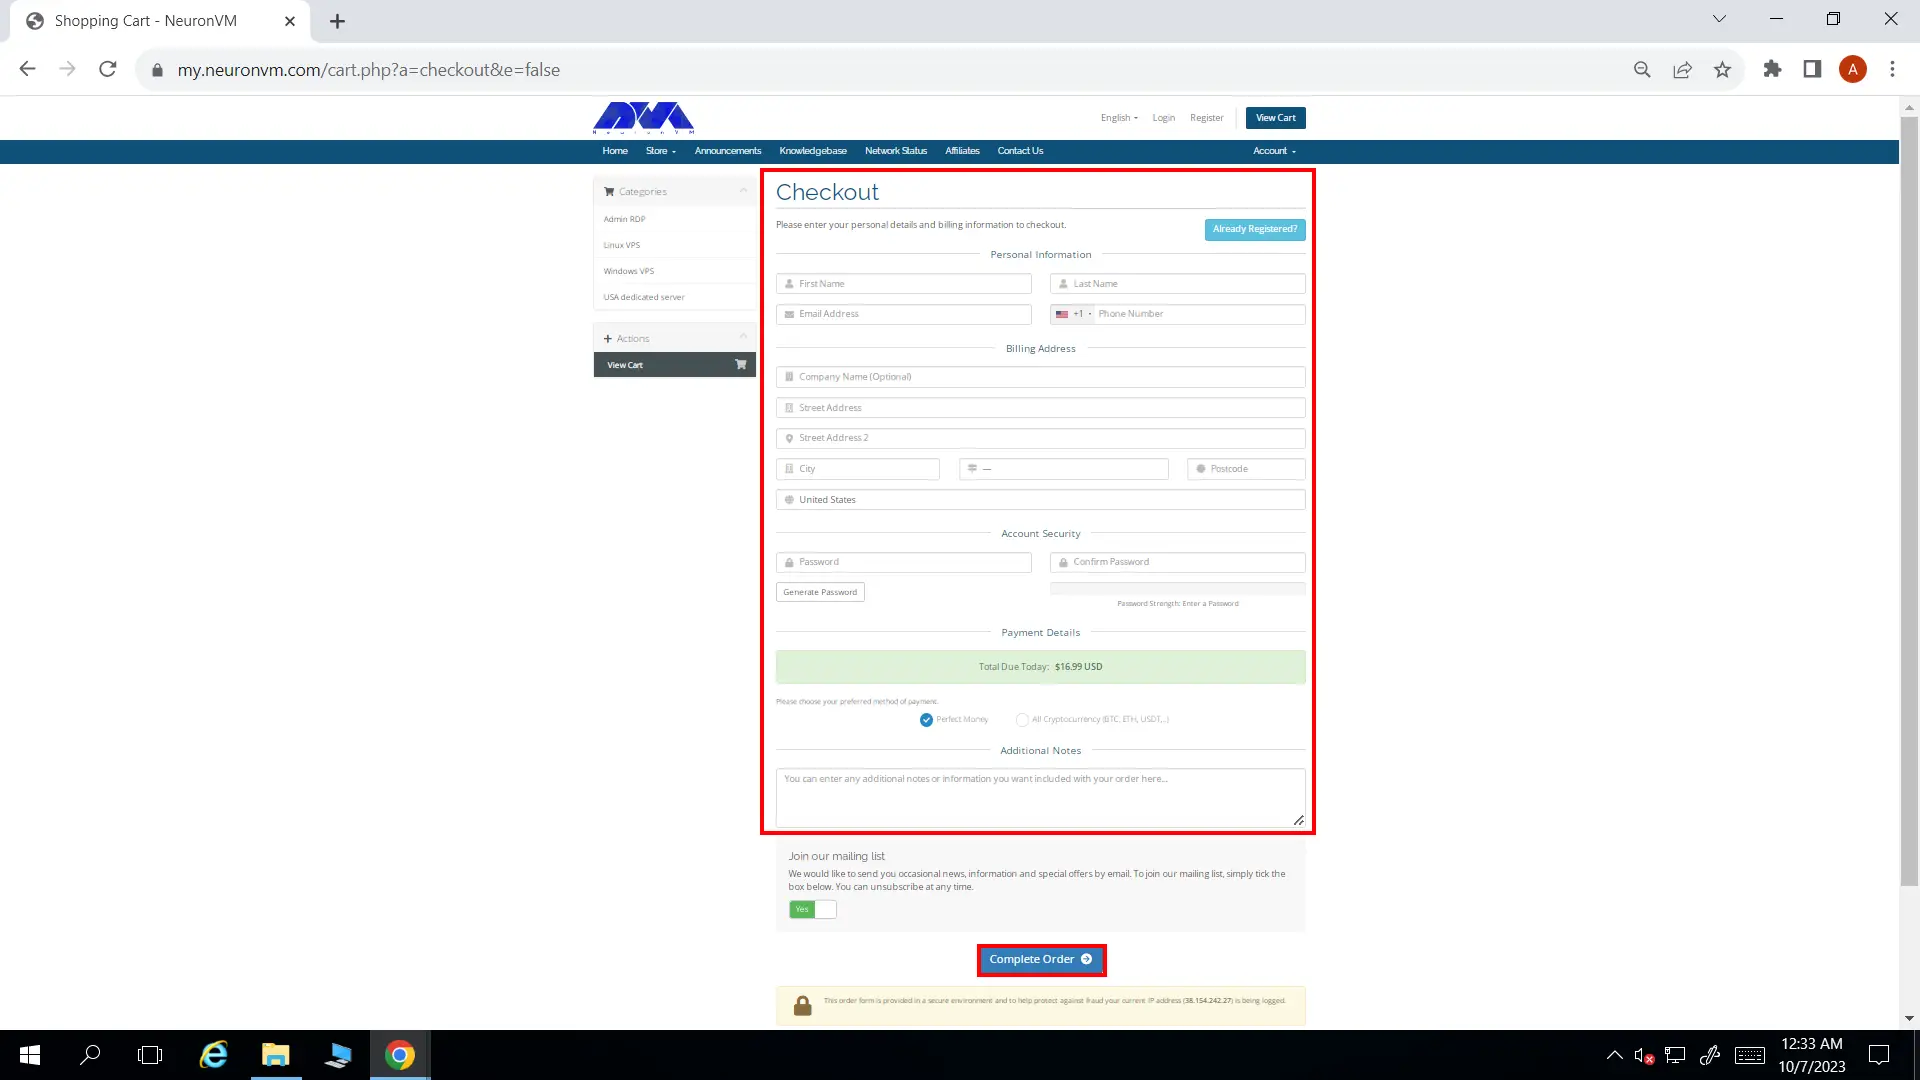
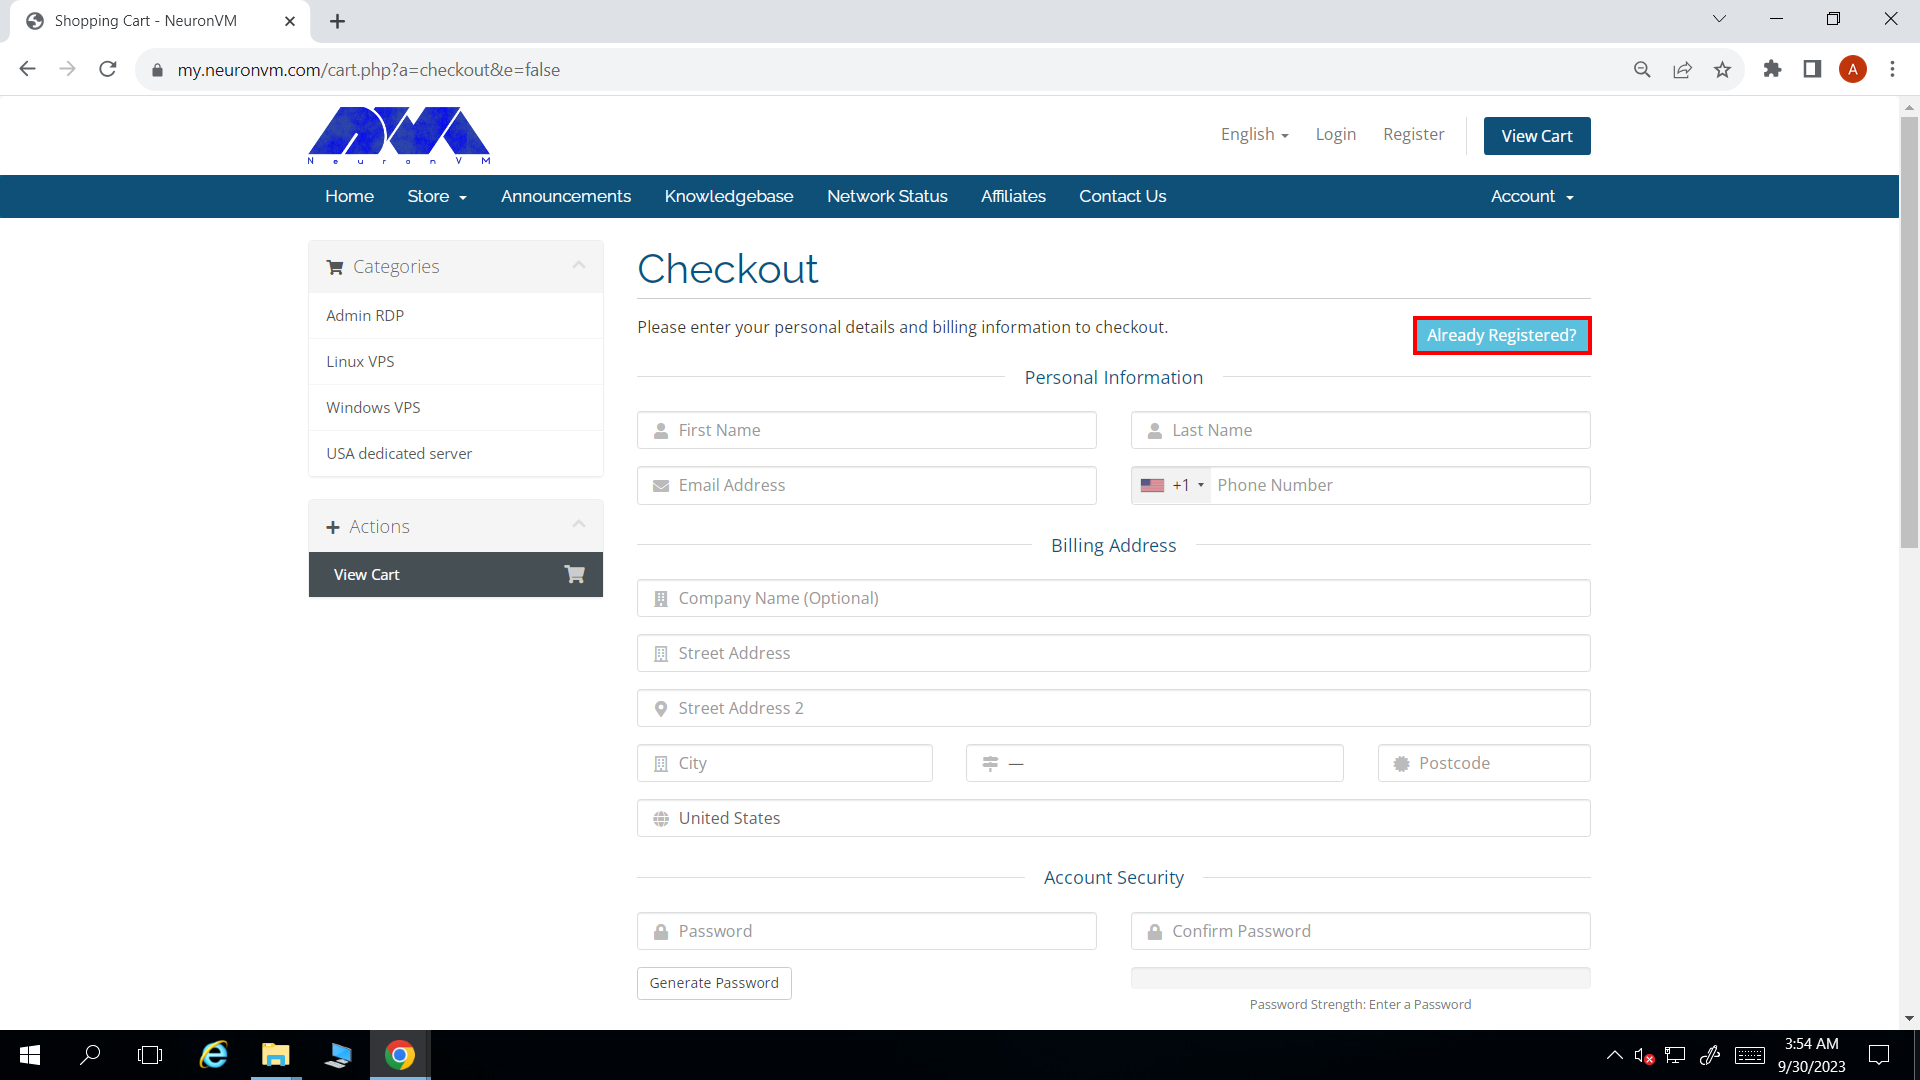
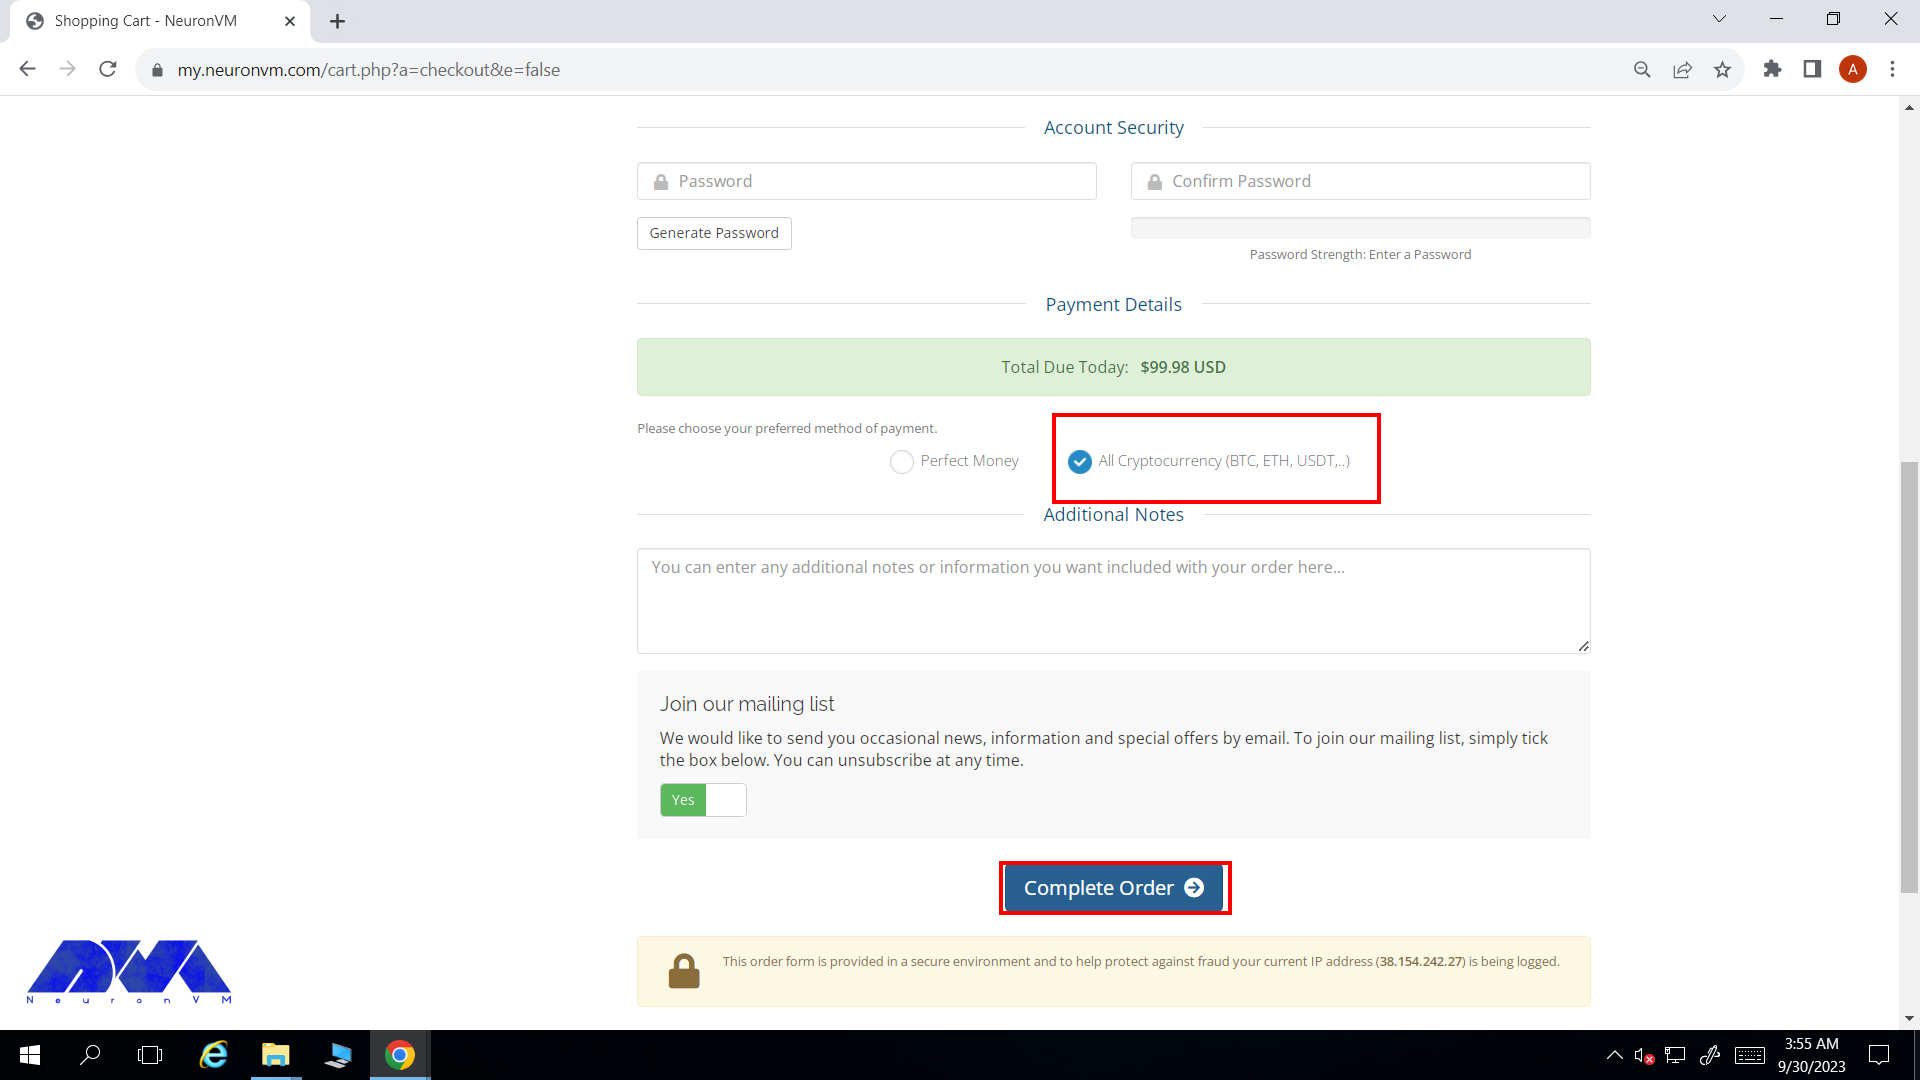
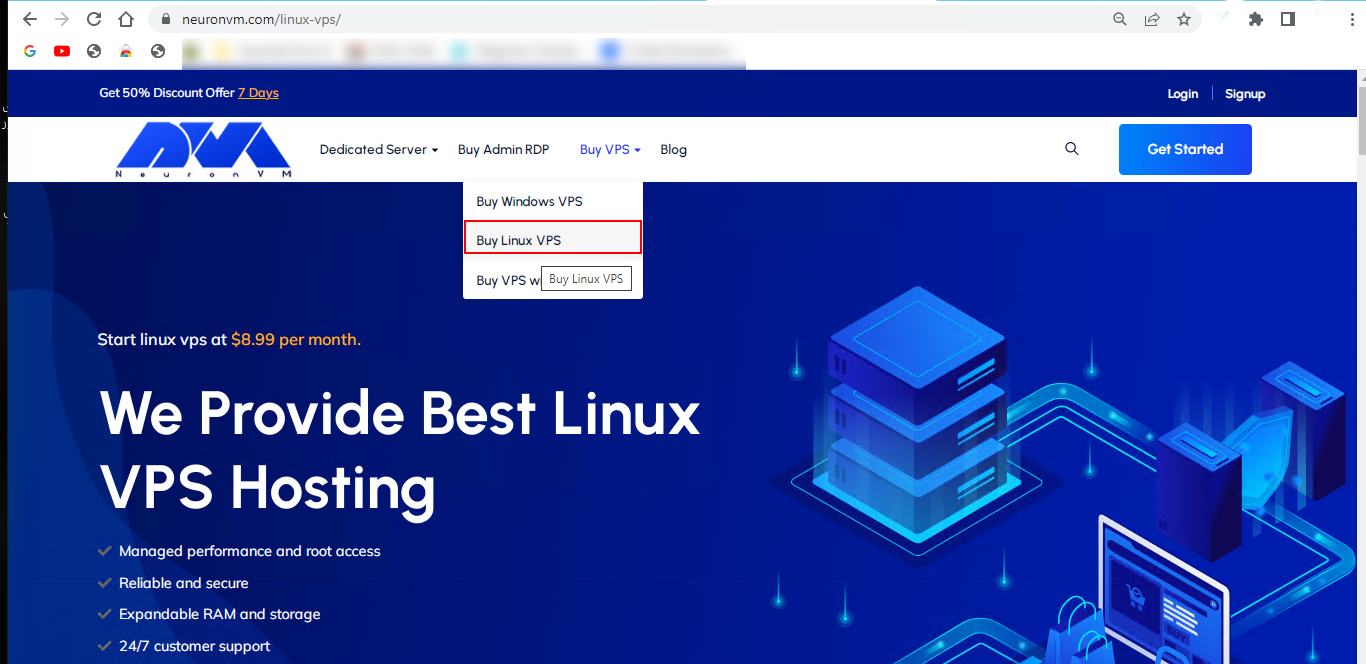
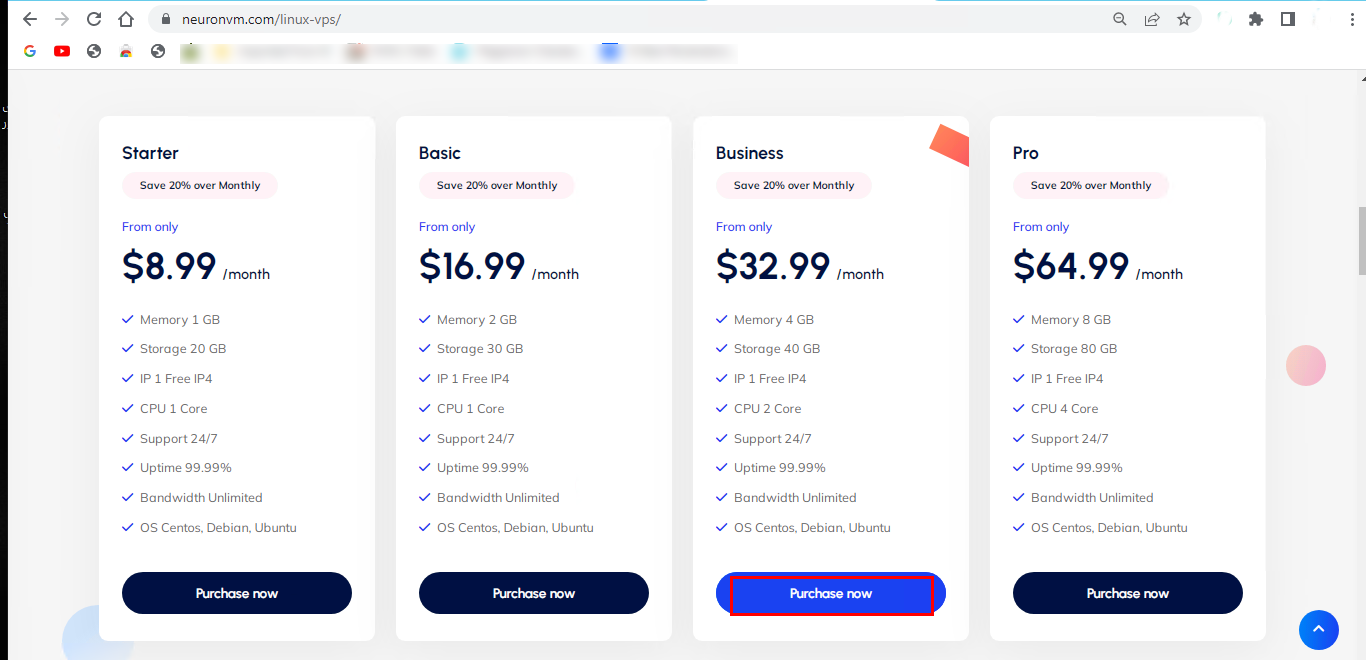
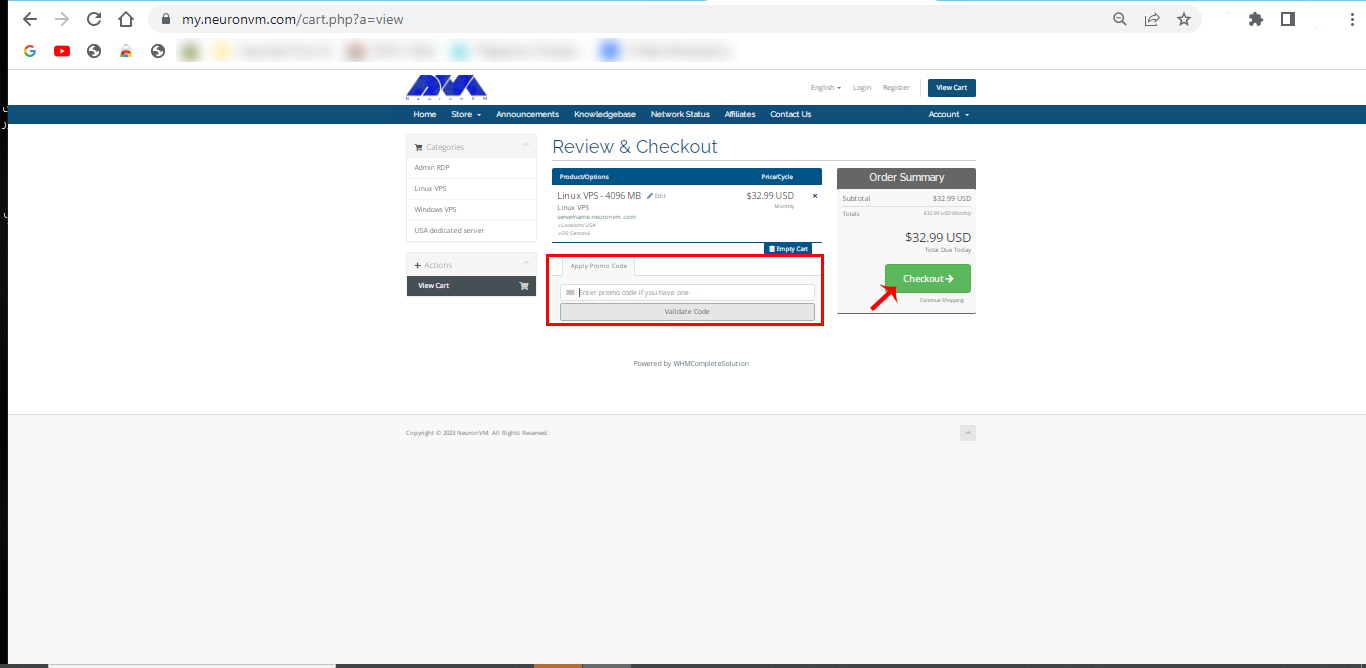
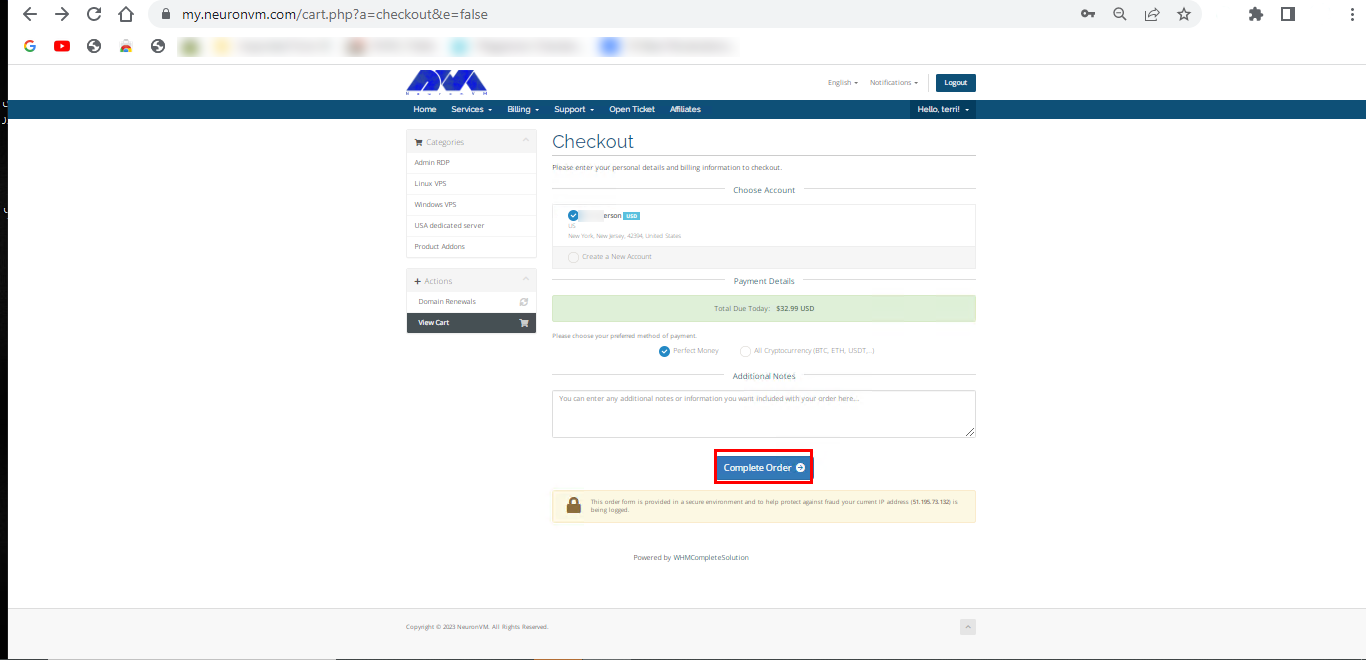
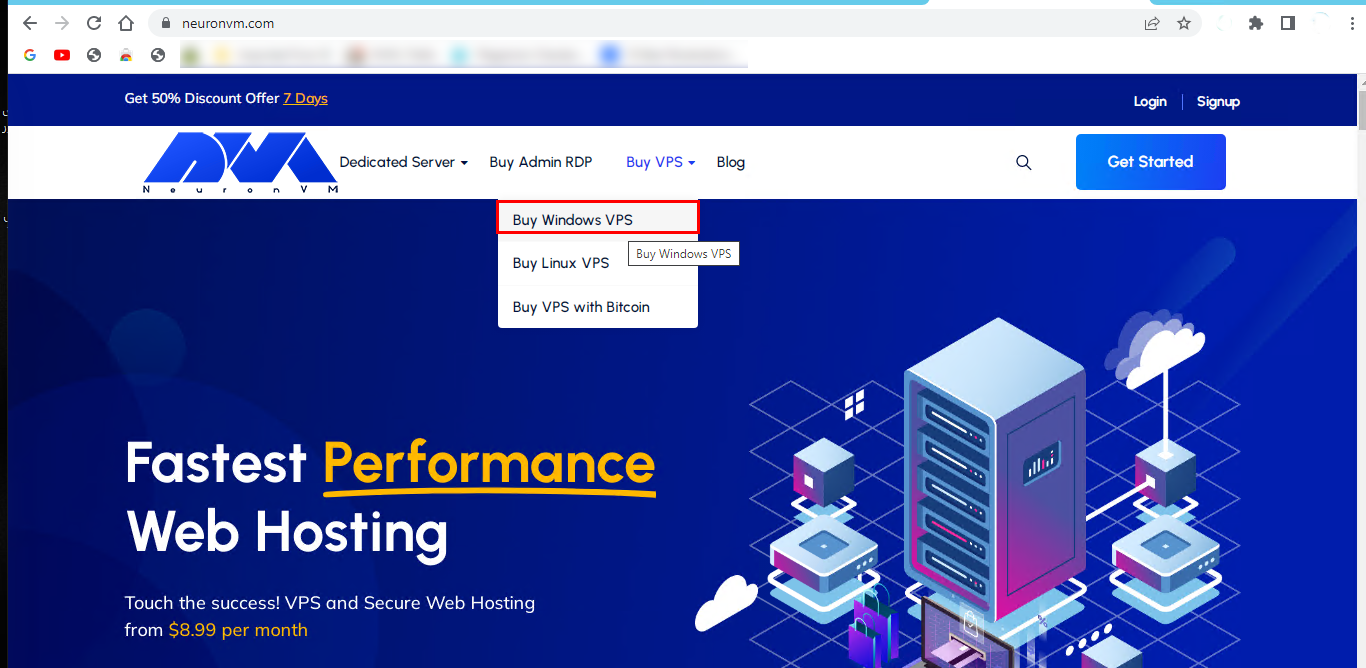
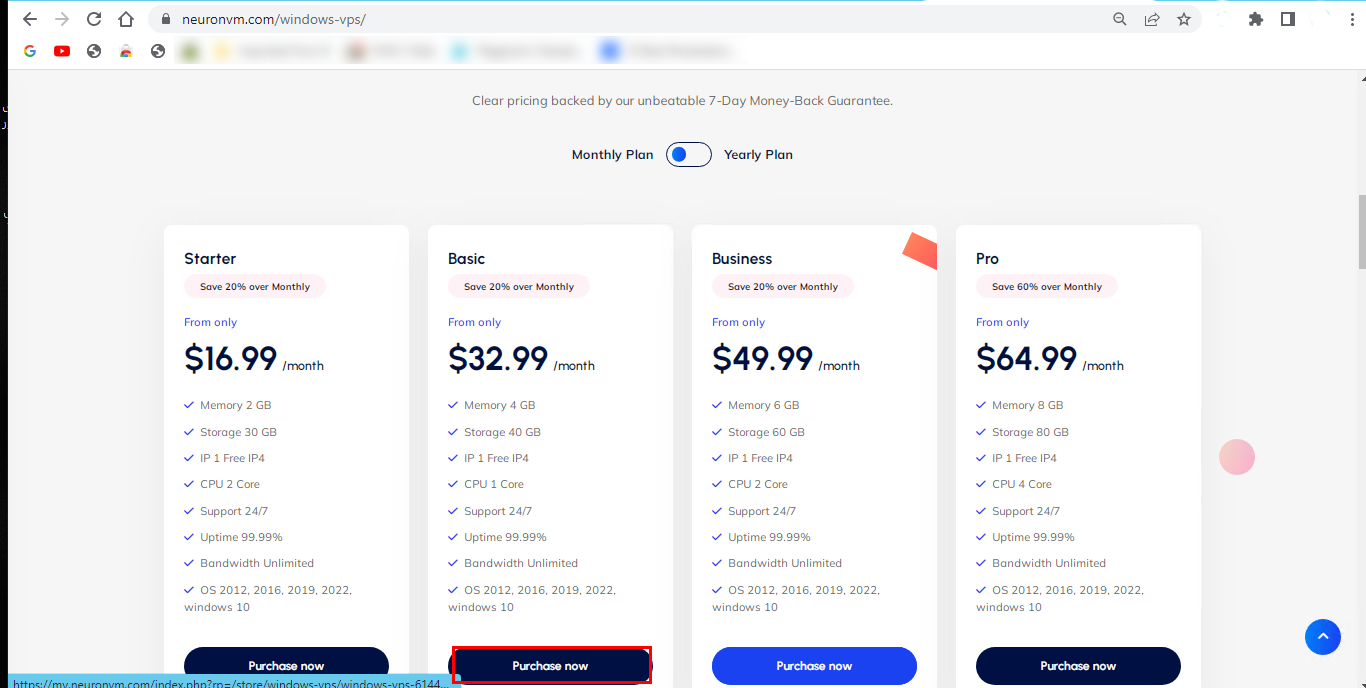
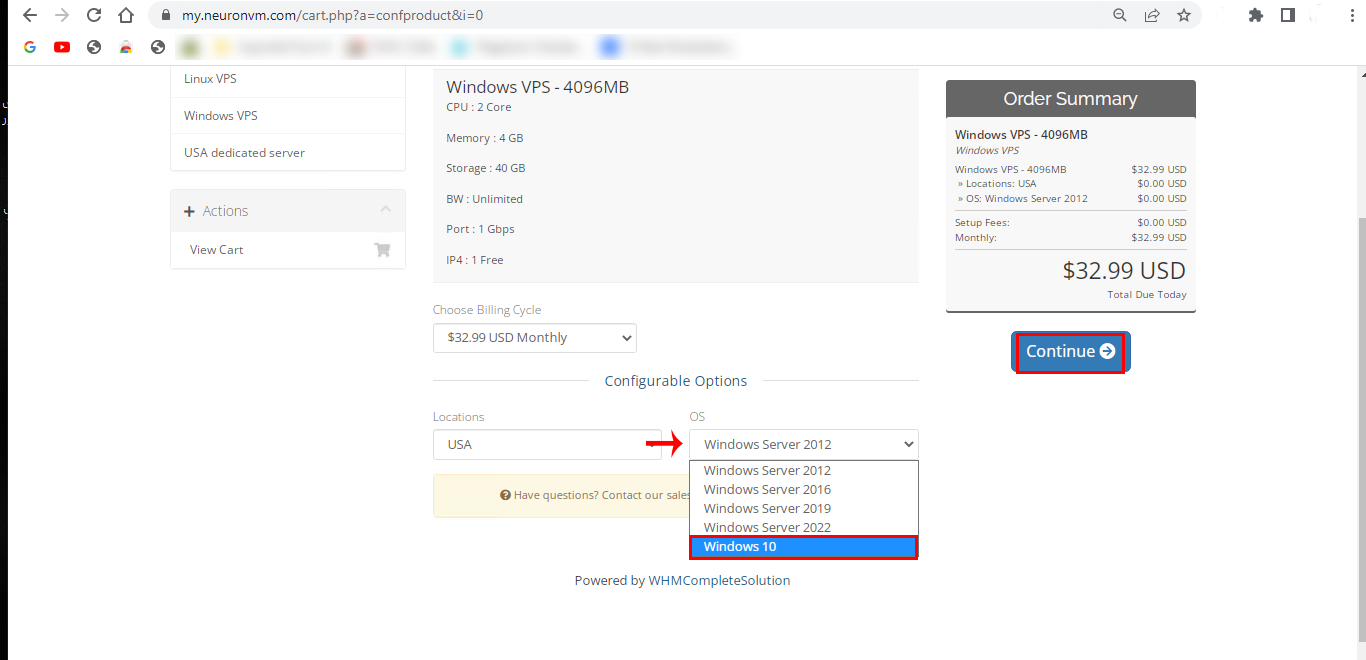
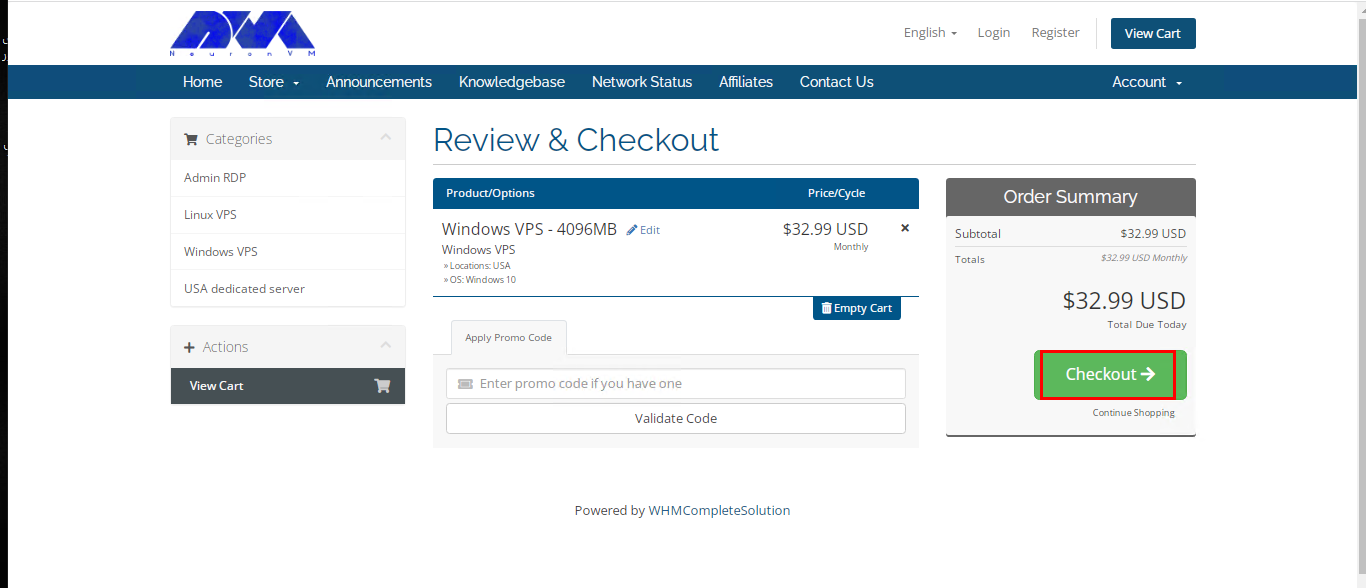
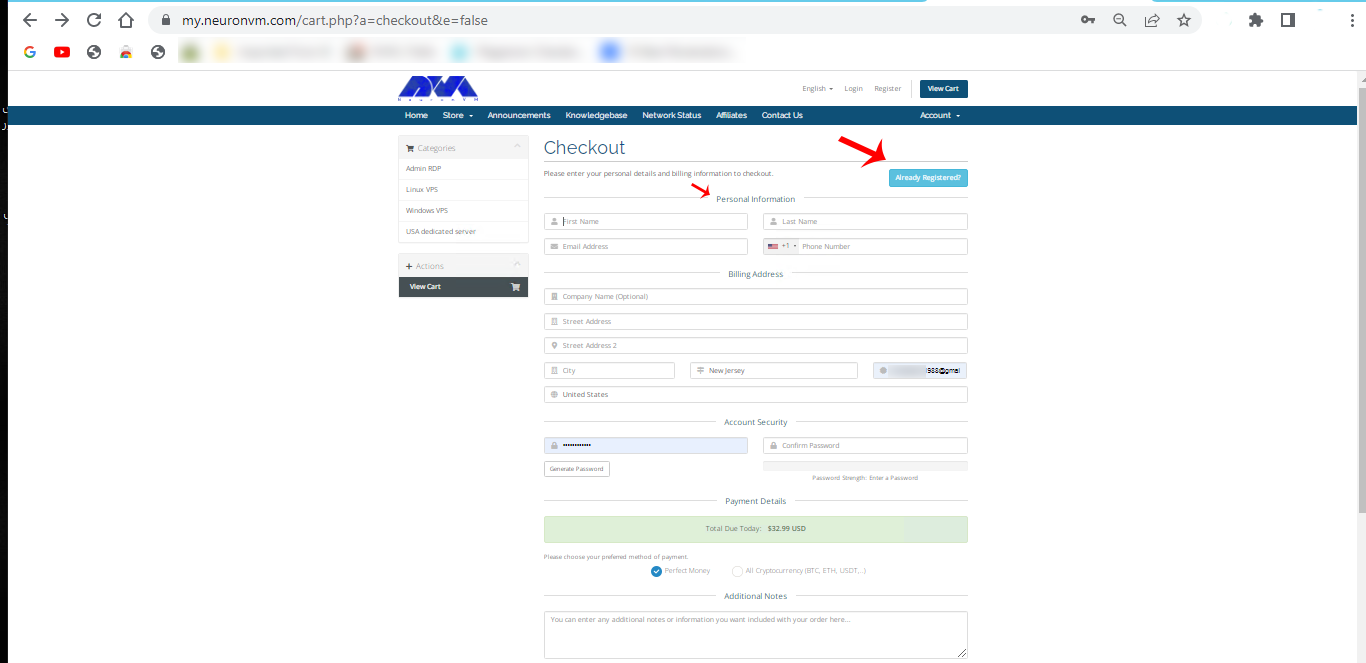
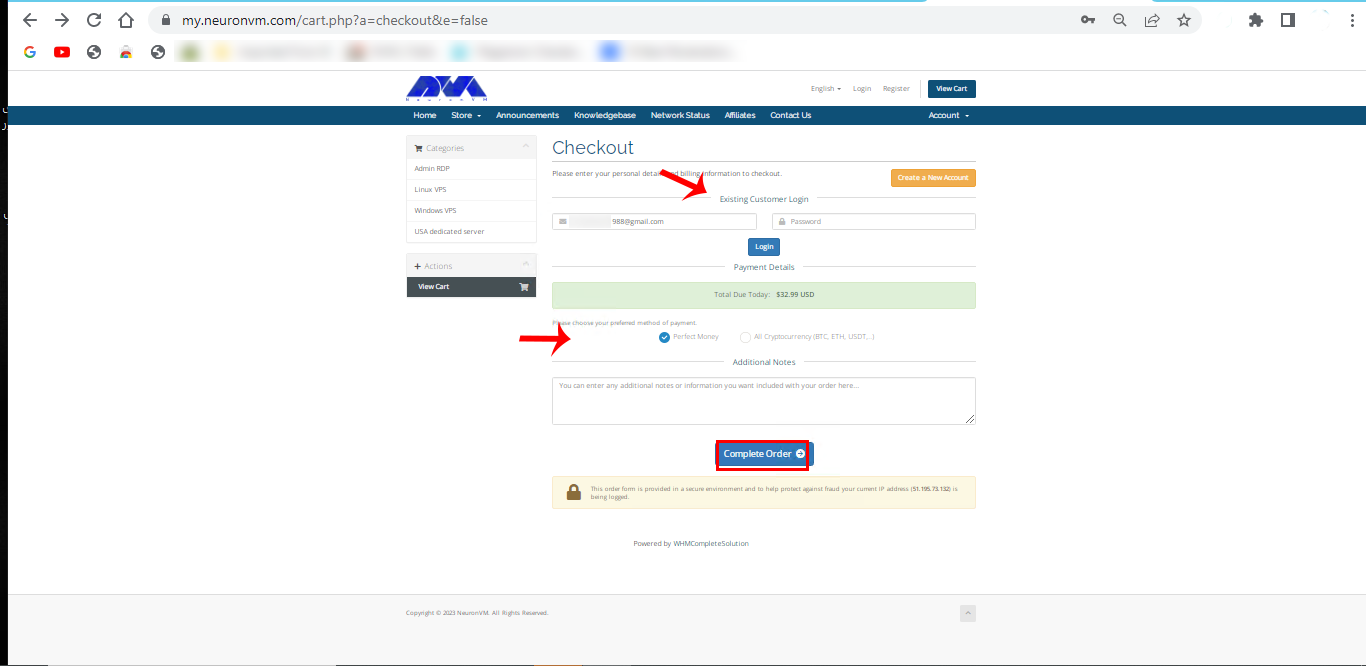
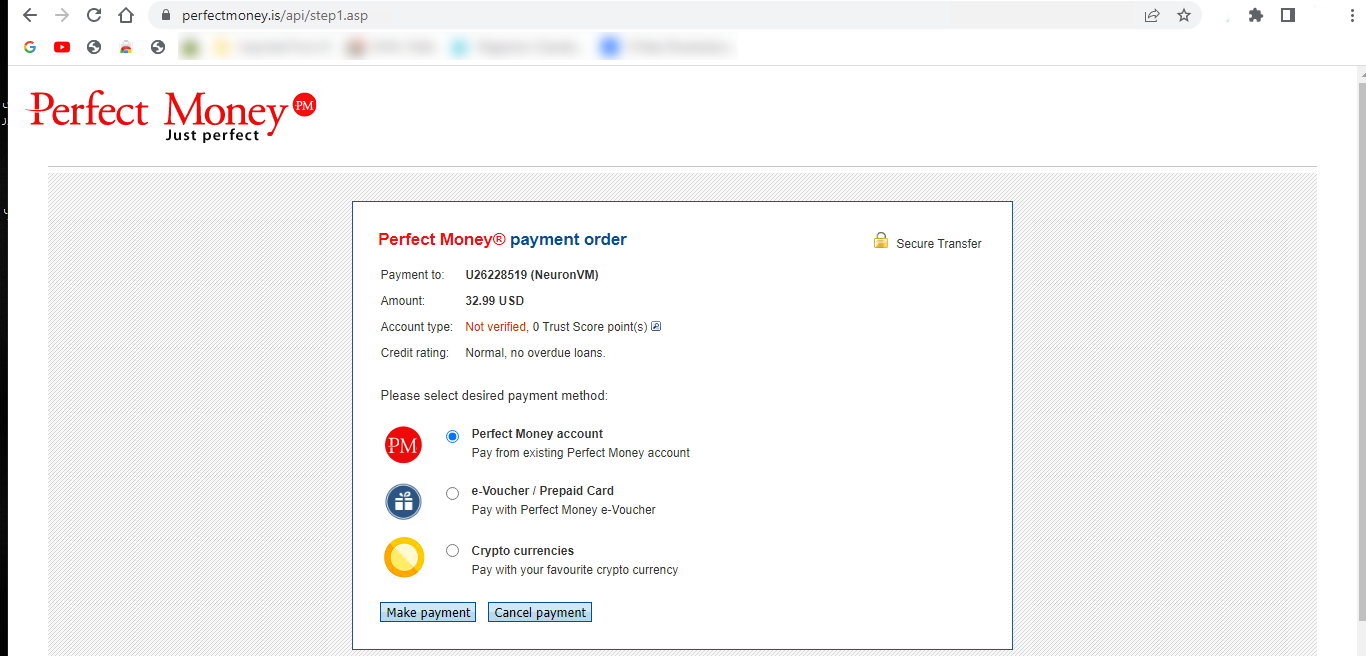
To find out how you can purchase a Windows 10 VPS from NeuronVM, you can refer to the official website or study the article Get Instant Activation with A Cheap Windows 10 VPS and follow the instructions.
Most Common Use Cases For Windows 10 VPS
Now that you have a clear vision about this server, Let’s see what are some use cases of that:
It is useful for Remote work: Businesses can provide employees with remote access to a consistent Windows 10 environment. It can ensure productivity regardless of location.
Hosting applications: You can run Windows-based software applications in a VPS environment, making them accessible to remote users.
Hosting websites and databases: Windows 10 VPS can host websites and databases, especially for small to medium-sized projects.
Data analysis: Data scientists and analysts may use Windows 10 VPS instances to perform data analysis tasks using Windows-based tools and software.
Use it for development and testing: Developers often use Windows 10 for testing software across different Windows versions and configurations.
Conclusion
Please note that Windows 10 VPS solutions are typically offered by hosting providers who manage the underlying hardware and virtualization infrastructure. Users are responsible for managing the Windows environment within the VPS, including software installation, updates, and security configurations. By studying this article, you received useful information about this profitable server. Also, we tried to show how our services can be a wise choice and good for your business.