


apt-get install apache2 sqliteAfter installing the above items, now you should install PHP and the required PHP extensions:
apt-get install php7.4 php7.4-sqlite php7.4-gdIt’s time to install Java:
apt-get install openjdk-8-jdkThen you need to open your desired text editor and edit the Apache configuration file /etc/apache2/apache2.conf:
nano /etc/apache2/apache2.confIn this step, you should set the AllowOverride option to all in the Apache configuration file, in the <Directory /var/www/> section:
<Directory /var/www/>
        Options Indexes FollowSymLinks
        AllowOverride All
        Require all granted
</Directory>
Remember to save and exit the file.
Then you should reload the Apache configuration:
service apache2 reloadIt is now time to download the Multicraft installer:
wget -O multicraft.tar.gz http://www.multicraft.org/download/index?arch=linux64Remember to extract the installer:
tar -xzf multicraft.tar.gzThen you should navigate to the extracted directory:
cd multicraft/Finally, you should run the installation script:
./setup.shIf you are asked a question by the installation script, press Enter to go to the default answer and also it’s better to answer no when asked to enable the built-in FTP server because it is not secure.
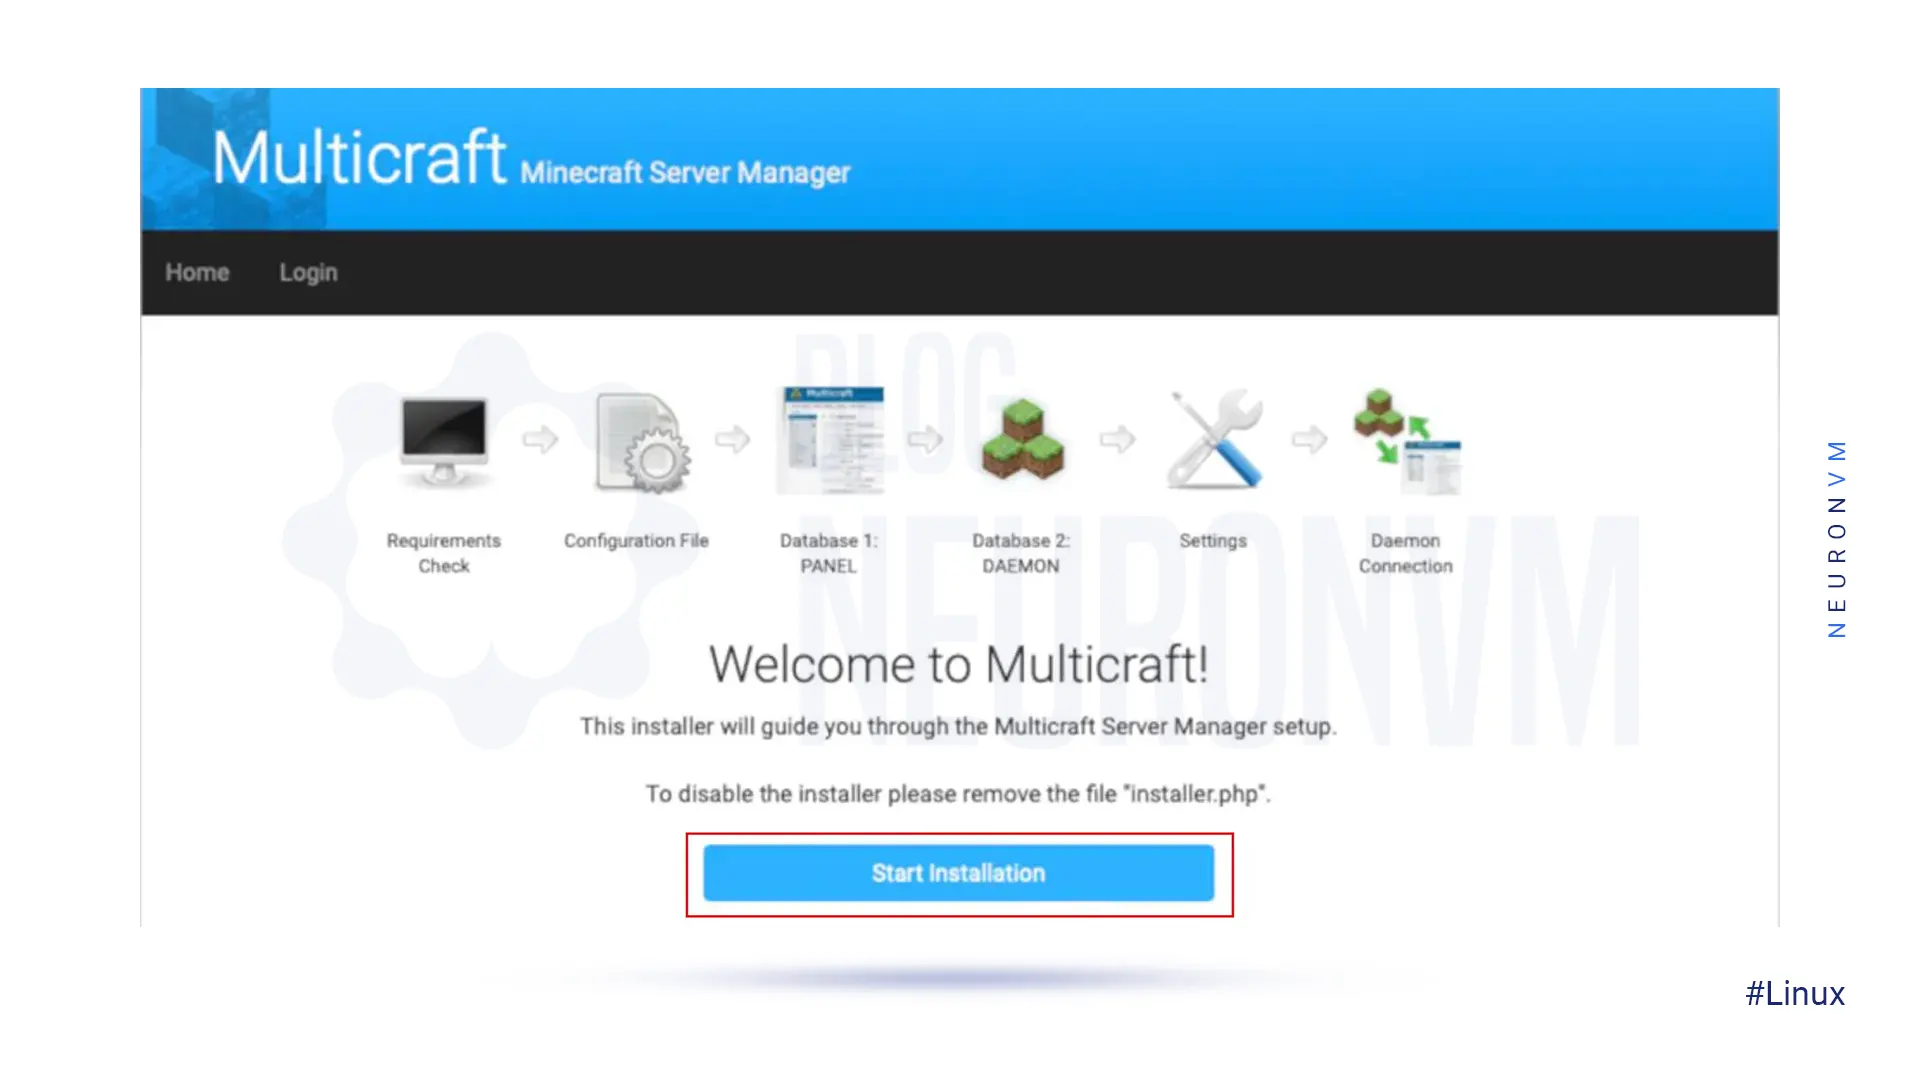
http://IPaddress/multicraft/install.phpRemember to replace your IP address instead of the IP address in the command. Now you should press Start Installation:
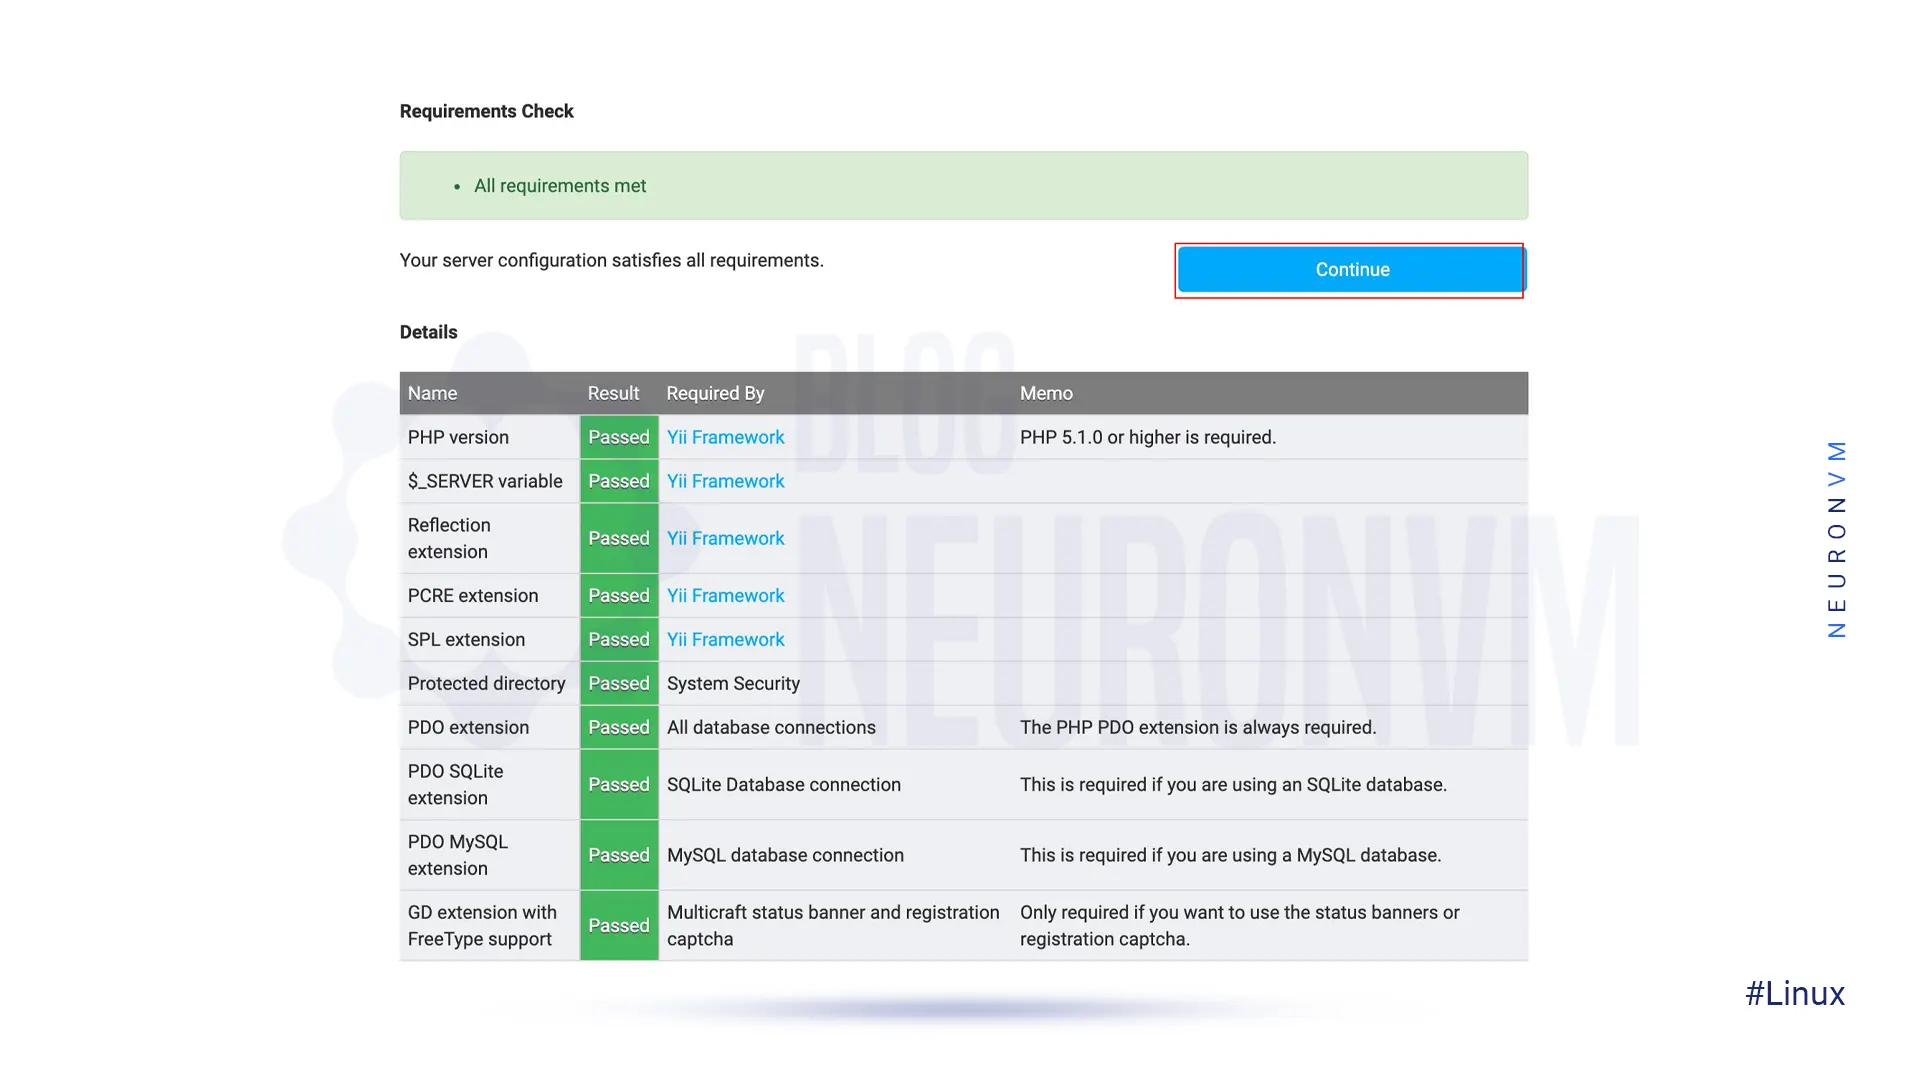
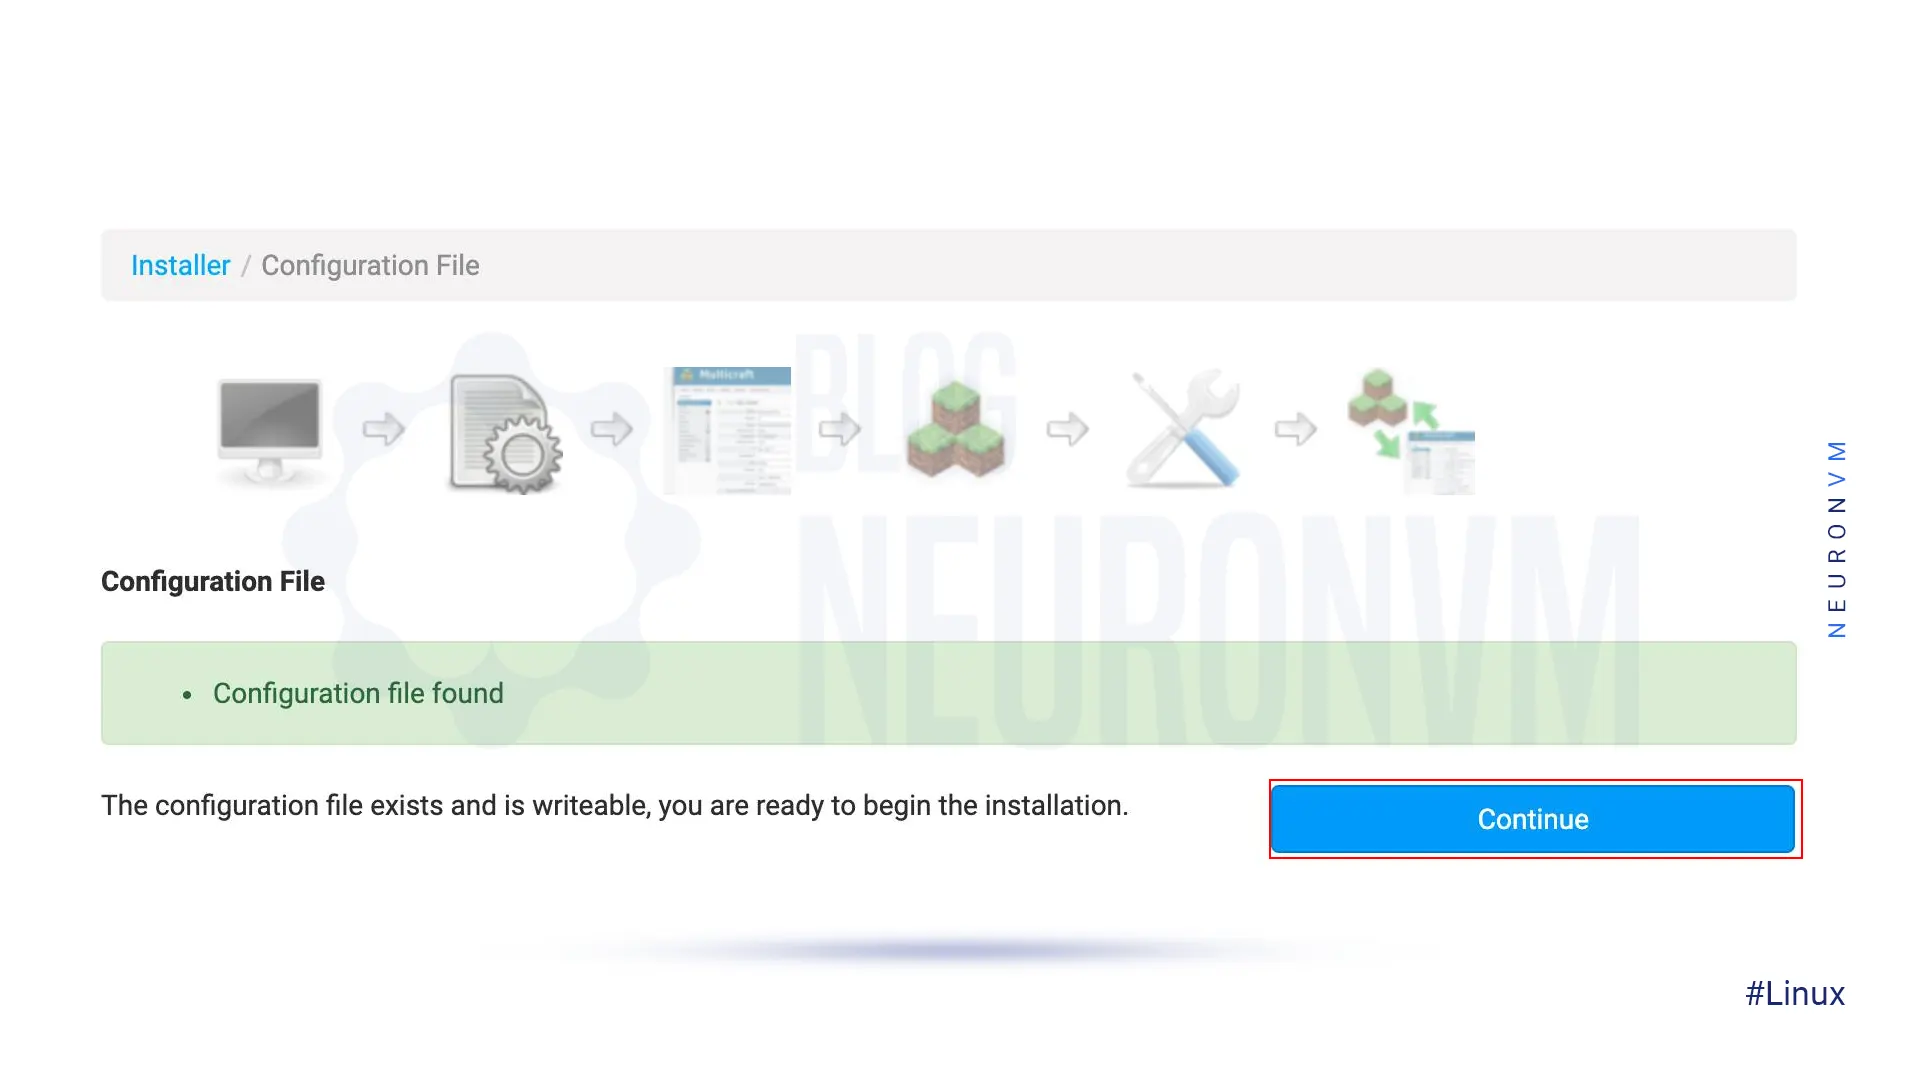
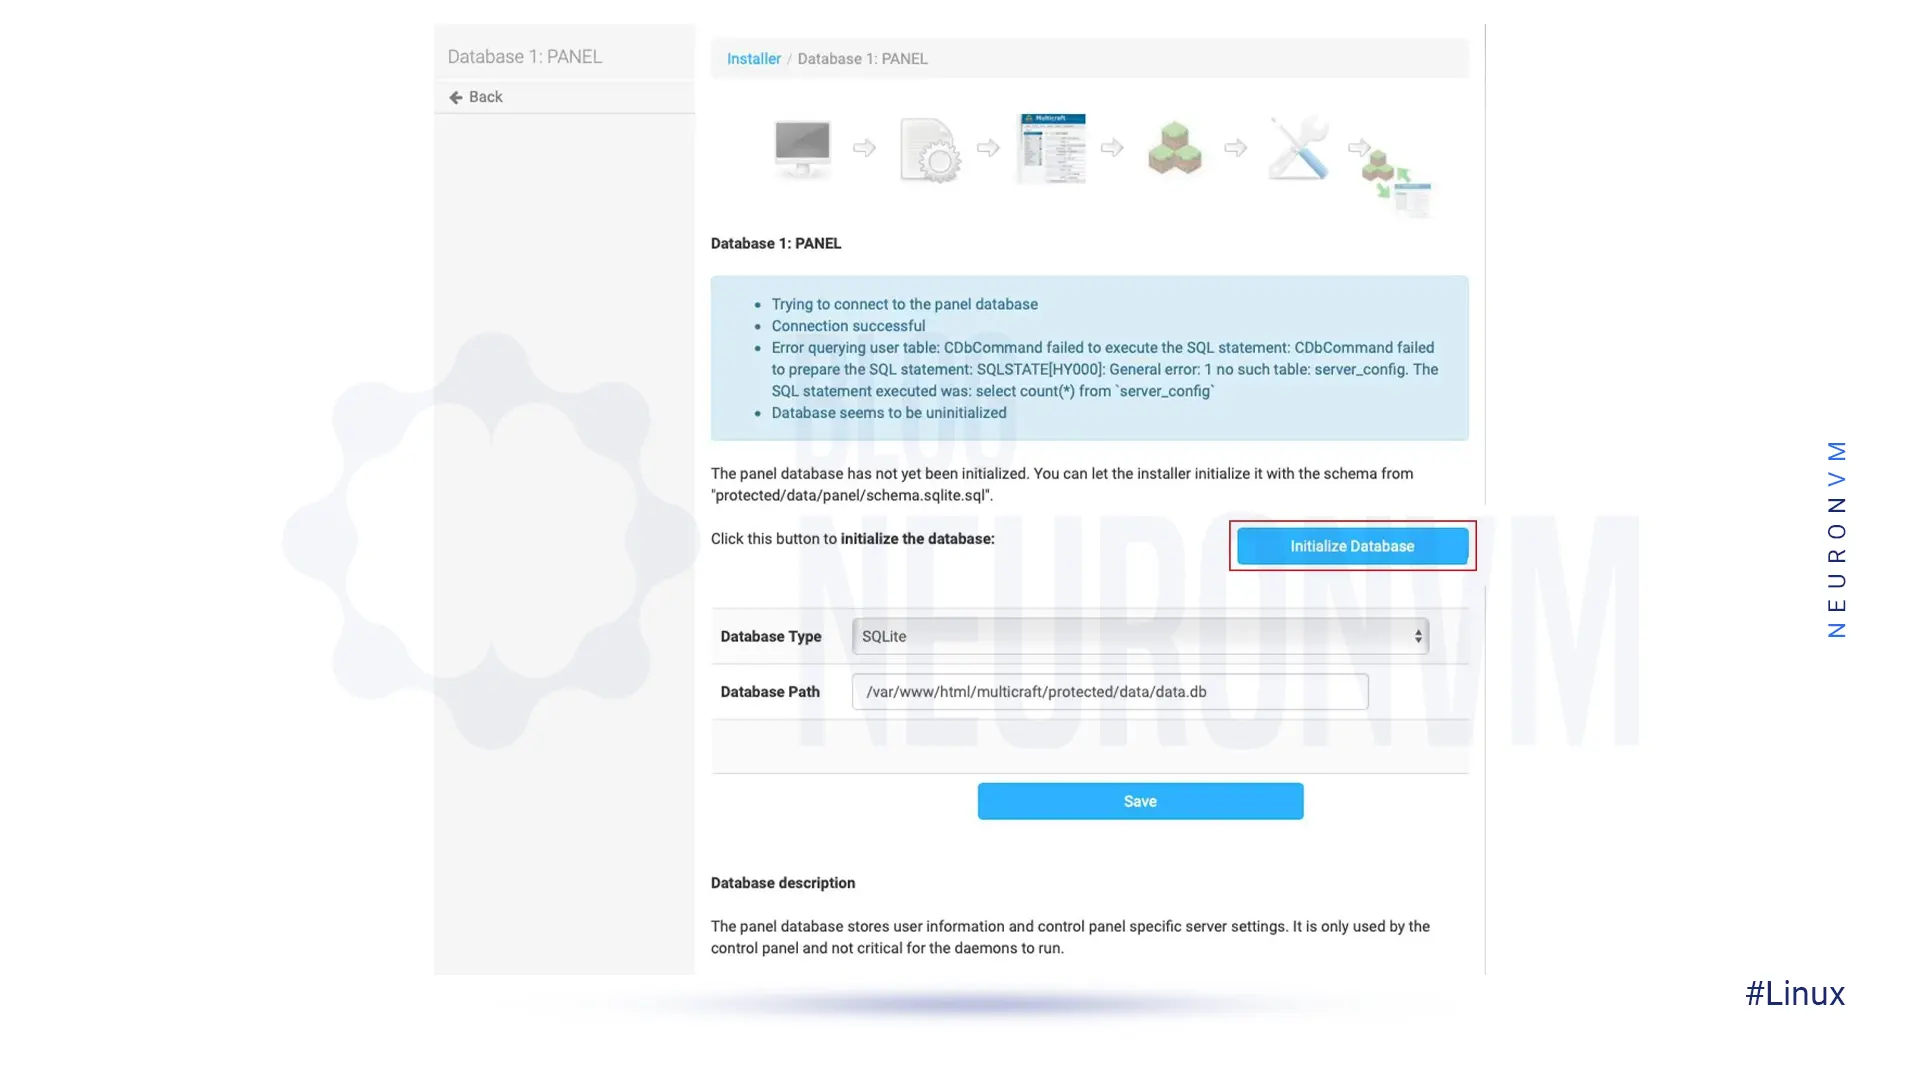
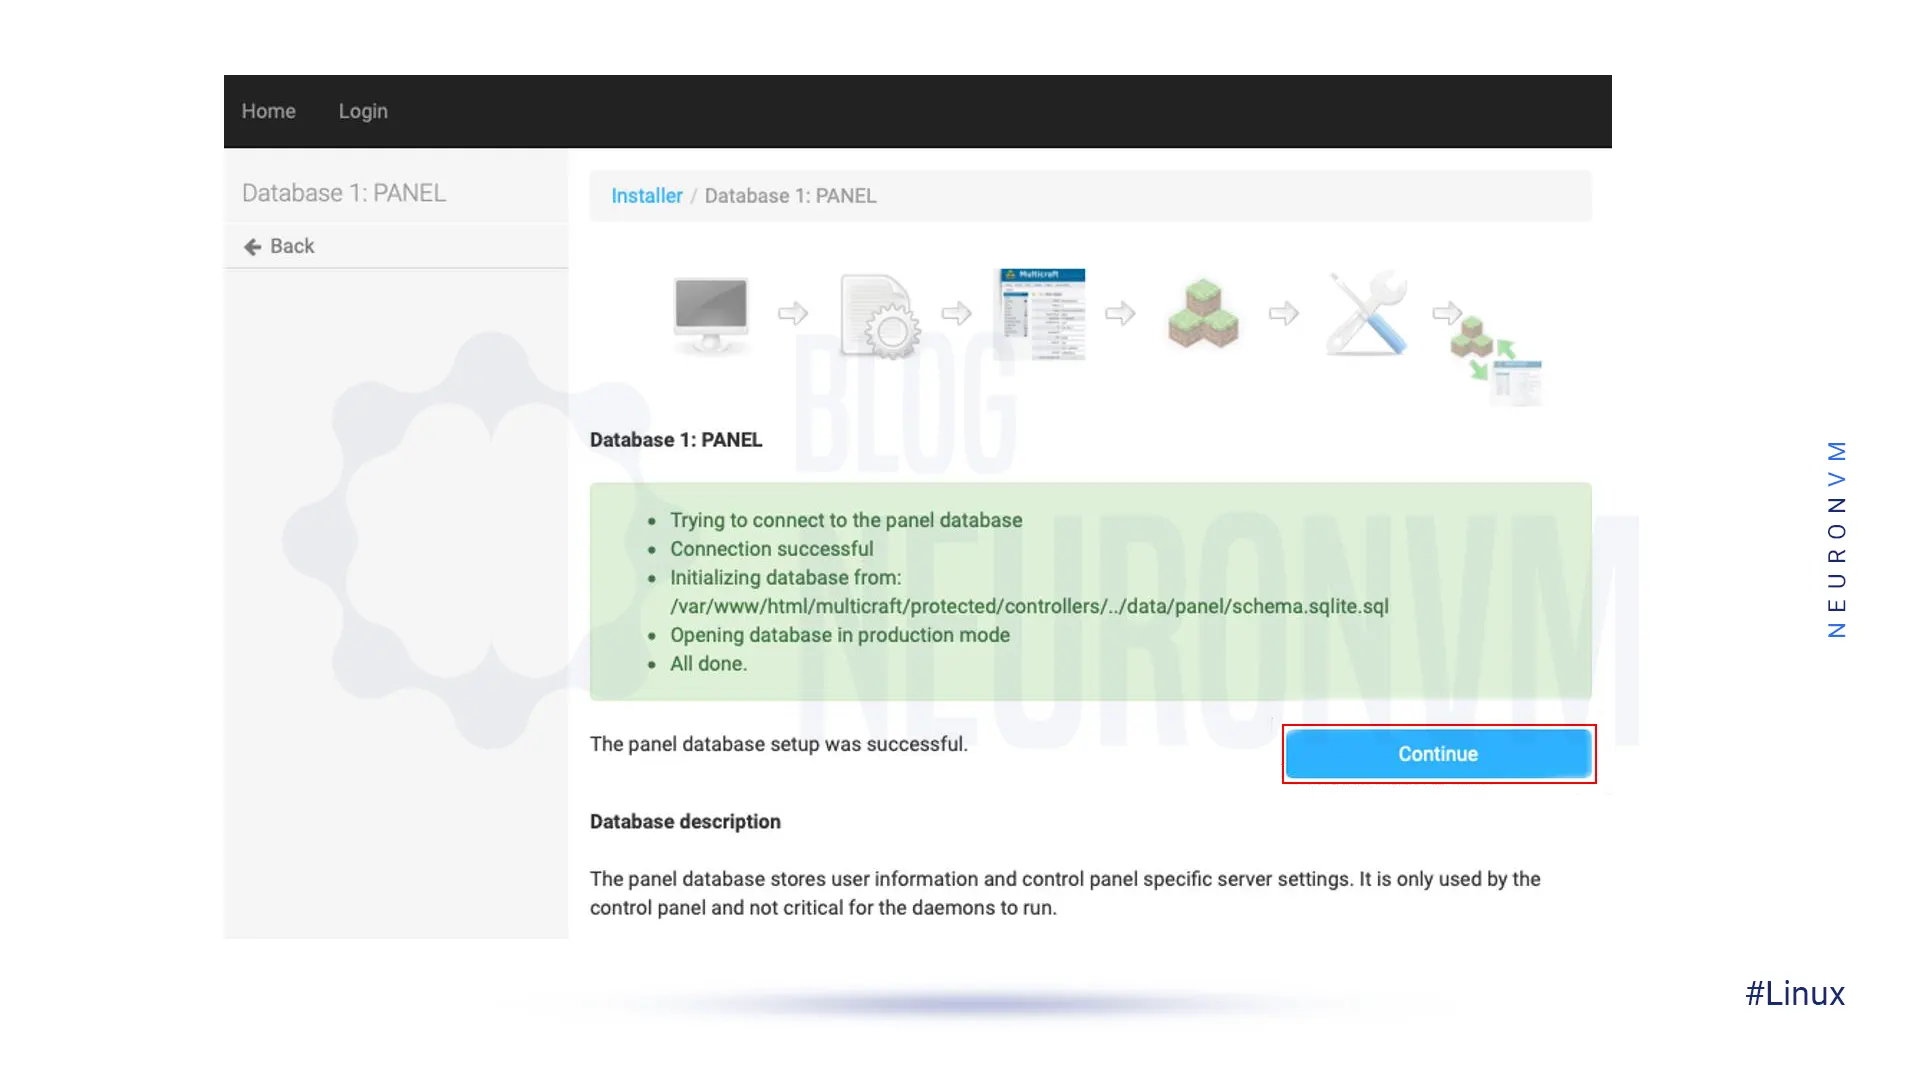
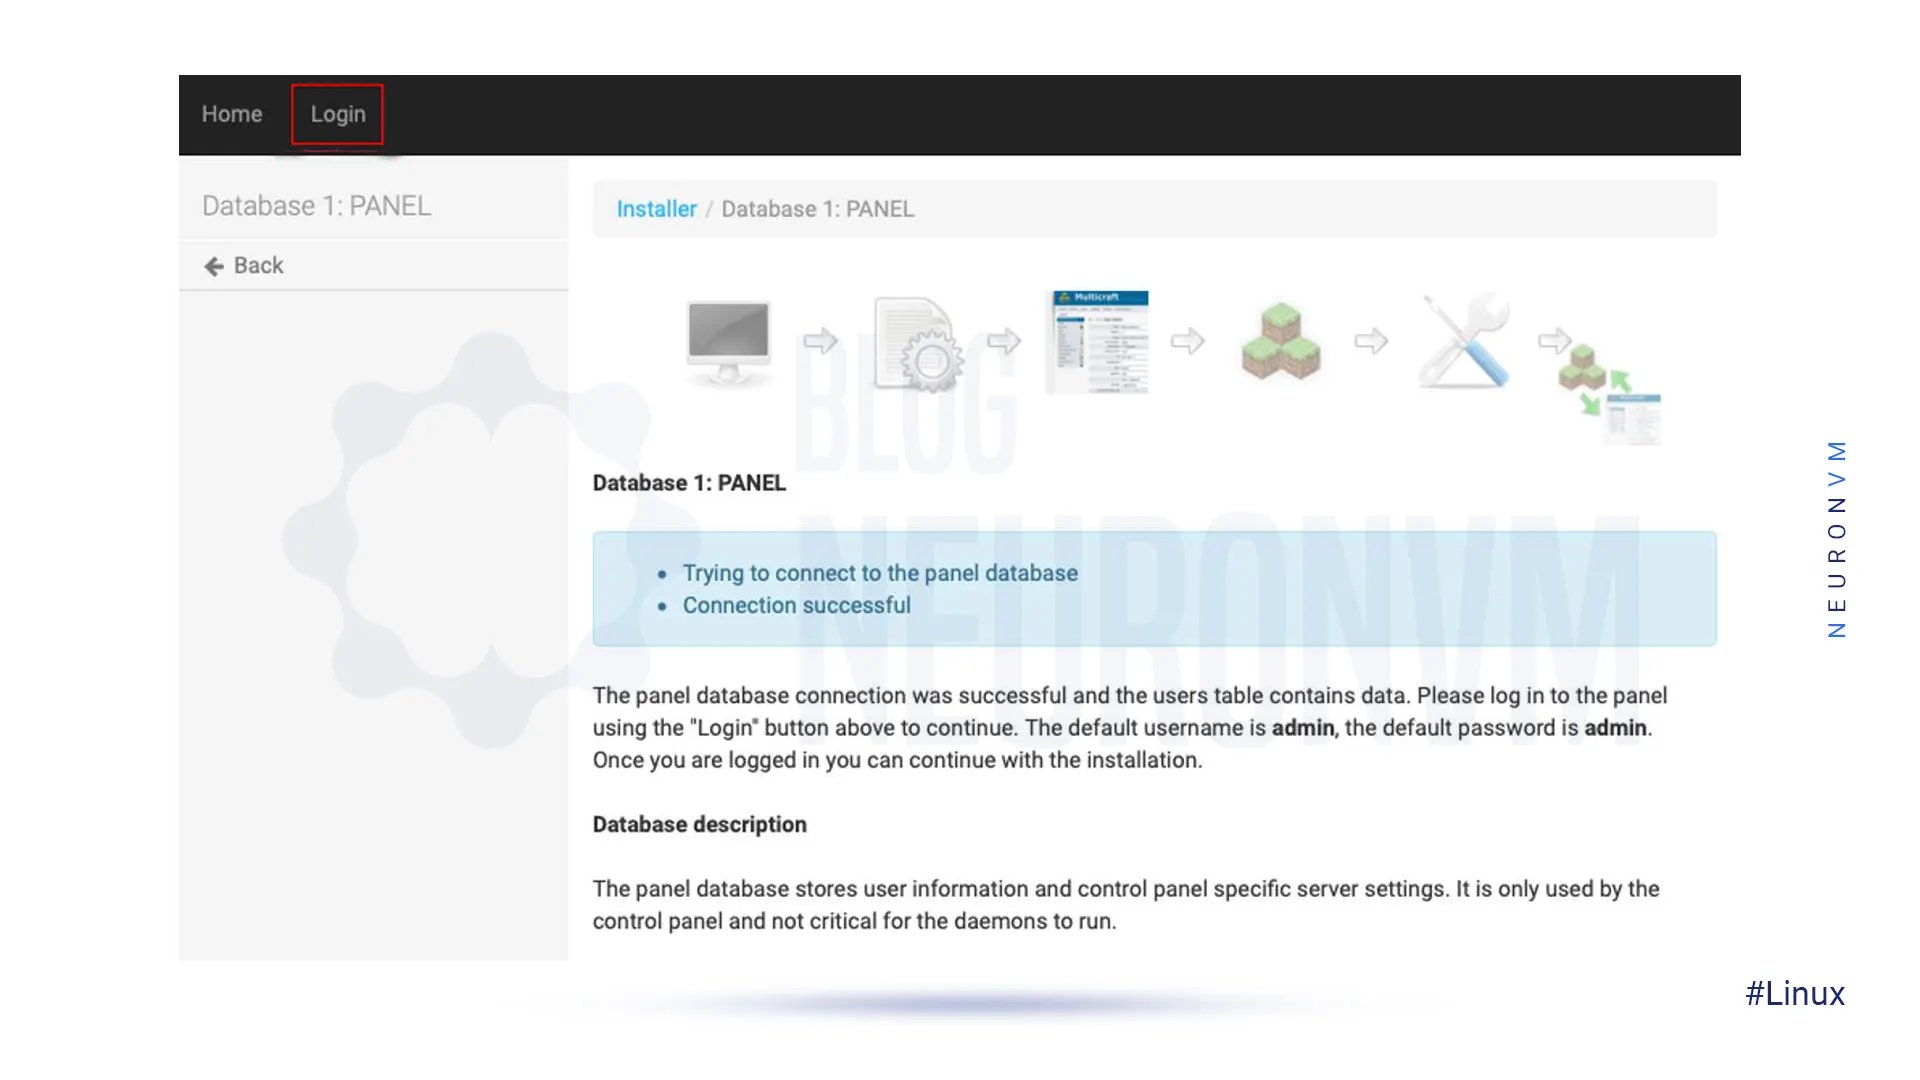
/home/minecraft/multicraft/bin/multicraft -v startNow you should navigate to your web browser, click on Refresh, and then Continue. After doing the above, you should click Continue to Multicraft. It is better to delete the Multicraft installation file for security purposes. So, run the following command:
rm /var/www/html/multicraft/install.php
How useful was this post?
Click on a star to rate it!
Average rating 5 / 5. Vote count: 1
No votes so far! Be the first to rate this post.
 Tags
Tags

WSL (Windows Subsystem for Linux) on Ubuntu is a feature that allows users to run an Ubuntu terminal...


 Tags
Tags
The impact of the virtual machine in the system is such that it abstracts the computer hardware such...


 Tags
Tags
What is your opinion about this Blog?


