
If you’re unfamiliar with networking and router configurations, connecting to the Mikrotik router can be intimidating. However, this step-by-step guide will walk you through the process to ensure a successful connection. Following these instructions, you can easily access and configure your router settings.
Requirements
Before you connect to Mikrotik router, make sure you have the following equipment ready:
1) A computer or laptop with an Ethernet port
2) An Ethernet cable for a wired connection to the router
If you want to buy a Mikrotik VPS server, we suggest you test and use the plans provided on our website, which are delivered immediately.
Step 1: Physical connection
To start, plug one end of the Ethernet cable into your computer’s Ethernet port and the other end into any available Ethernet port on the Mikrotik router.
Step 2: Configure IP settings
To establish communication between your computer and the Mikrotik router, follow these steps to configure the IP settings:
For Windows users
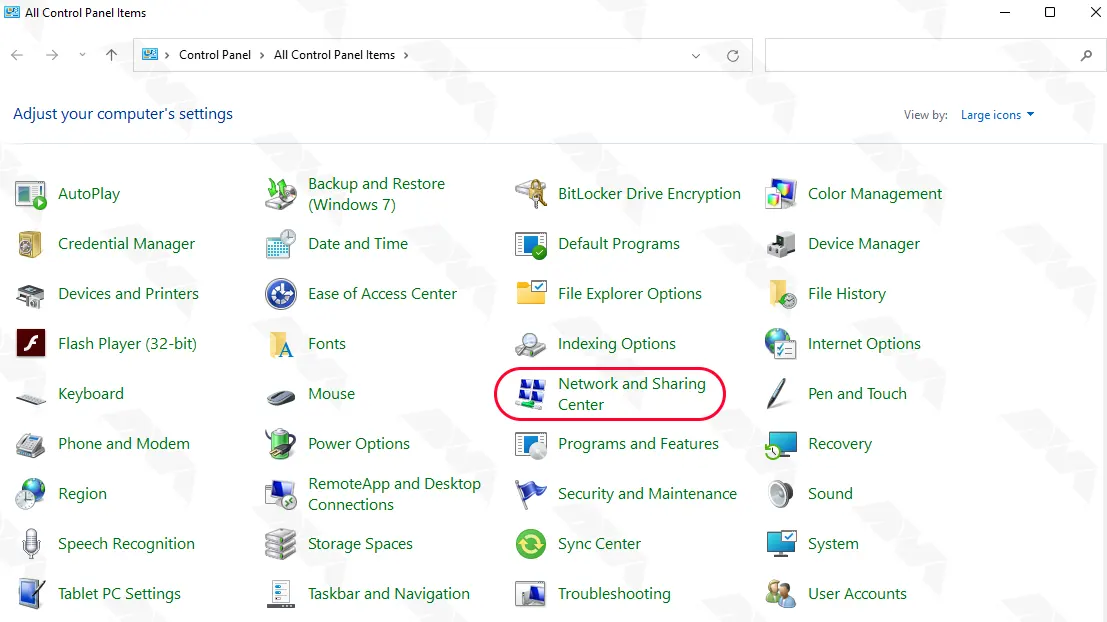
1) Open the Control Panel and go to “Network and Sharing Center.”
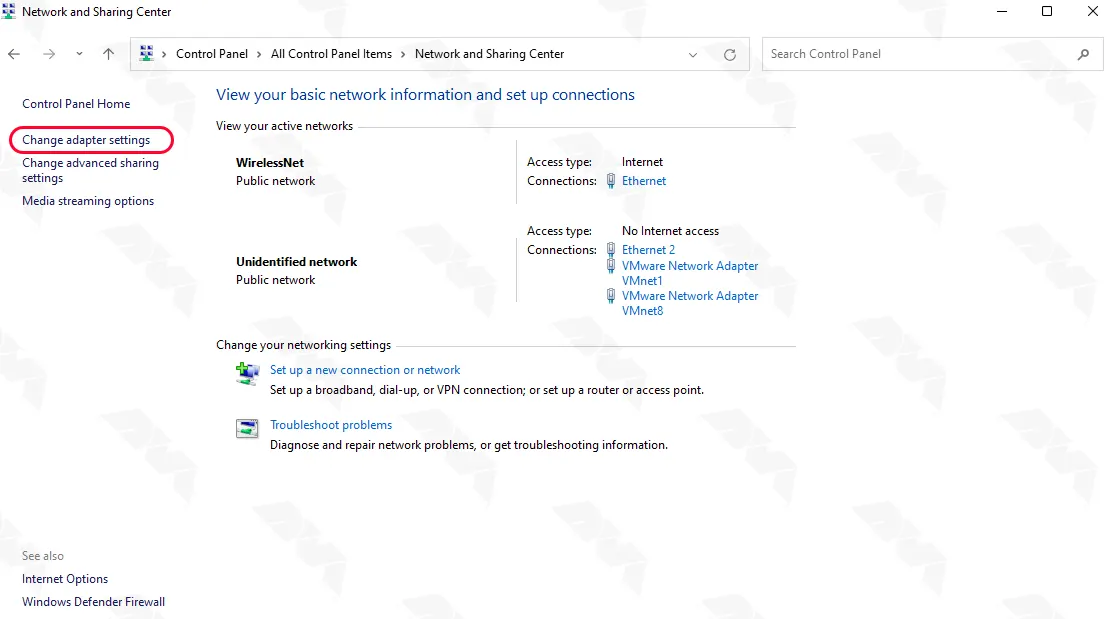
2) Now, you should click on “Change adapter settings“.
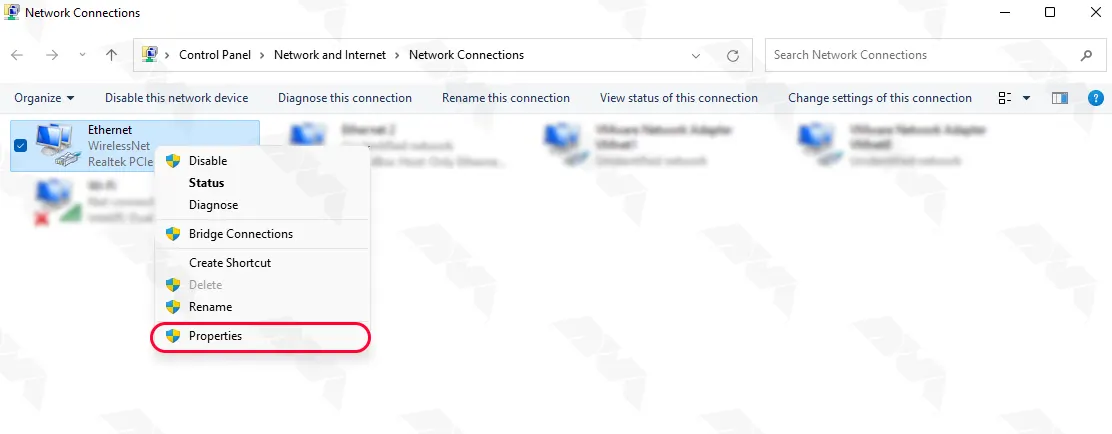
3) Right-click on the Ethernet adapter connected to the Mikrotik router and select “Properties.”
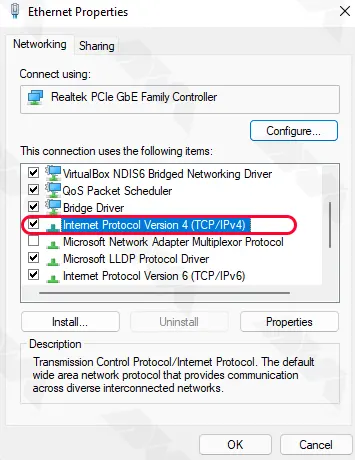
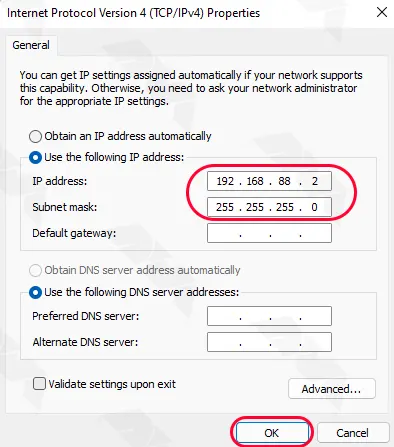
4) Highlight “Internet Protocol Version 4 (TCP/IPv4)” from the list and click on “Properties.”
5) Select “Use the following IP address” and enter the following details:
– IP address: 192.168.88.2 (choose any IP address within the 192.168.88.x range)
– Subnet mask: 255.255.255.0
– Leave the rest of the fields empty and click “OK” to save the changes.
For MacOS users
1) Click on the Apple logo at the top-left corner and choose “System Preferences.”
2) Select “Network.”
3) Choose the Ethernet adapter connected to the Mikrotik router from the sidebar.
4) Click on the “Advanced” button at the bottom-right corner.
5) Go to the “TCP/IP” tab.
6) Select “Manually” from the “Configure IPv4” dropdown menu.
7) Enter the following details:
– IP address: 192.168.88.2 (choose any IP address within the 192.168.88.x range)
– Subnet mask: 255.255.255.0
8) Click “OK” to save the changes.
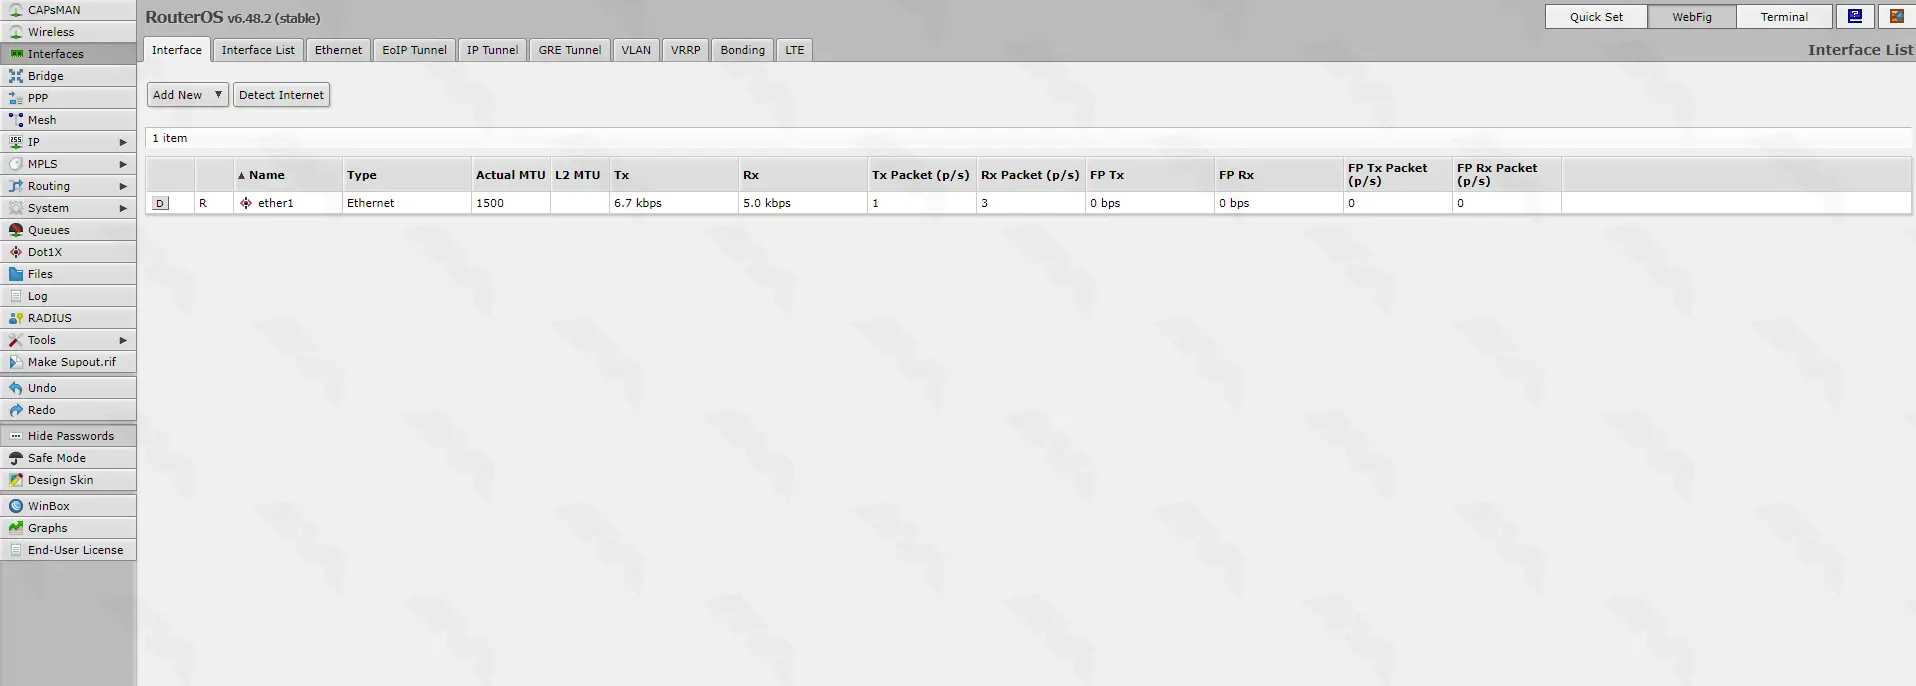
Step 3: Access the Mikrotik router’s web interface
With the physical and IP settings in place, you can now connect to the Mikrotik router using its web interface. Here’s what you should do:
Open your favorite web browser (e.g., Google Chrome, Mozilla Firefox, Microsoft Edge).
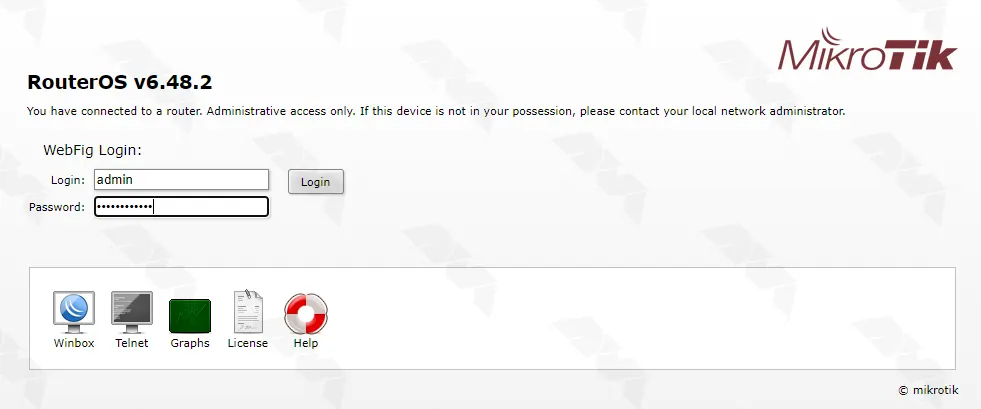
Enter “192.168.88.1” (the default IP address of Mikrotik routers) in the address bar and press Enter.
You will be directed to the Mikrotik router’s login page:
Step 4: Log in to the router
To access and configure the router settings, log in using the following default credentials:
- Username: admin
- Password: admin
If you have previously changed these credentials, enter the updated login details.
Conclusion
While connecting to a Mikrotik router may appear complex at first, this comprehensive guide will help you establish a connection and access the router’s web interface with ease. Remember the necessary steps: obtaining the required equipment, making the physical connection, configuring IP settings, accessing the web interface, and finally logging in with the correct credentials. With these instructions, you can confidently connect and manage your Mikrotik router.
Leave a Reply