Here, we will discuss VDI and RDS technologies types for virtual desktops. These two are alternative desktop virtualization and remote desktop technologies. These solutions were created to achieve desktop virtualization. VDI and RDS have their own characteristics. So, we decided to examine these technologies and presented an article including the comparison of VDI vs RDS, advantages and disadvantages to give you a clear guide and help you to decide between them.
What is VDI?
The way it works in the virtualization system VDI (Virtual Desktop Infrastructure) is in such a way that a desktop operating system is managed and controlled by a remote server. Users use this technology to log into a remote server and create a separate virtual operating system that runs for users on top of a hypervisor. When the user logs in, the connection broker connects their session to the virtual machine.
What is RDS?
Remote Desktop Services (RDS), was developed by Microsoft with the aim of making users less dependent on their local desktop. This technology was known as Terminal Services prior to 2008. RDS is very useful because it is helpful for users in accessing desktops and applications from different types of client applications and devices via Microsoft’s Remote Desktop Protocol (RDP).
What is the Difference Between VDI and RDS?
RDS and VDI offer similar functionality. With both of these technologies, users log on to a remote system, which provides users with a desktop containing all the software they need to carry out their work. You can store all files and applications remotely.
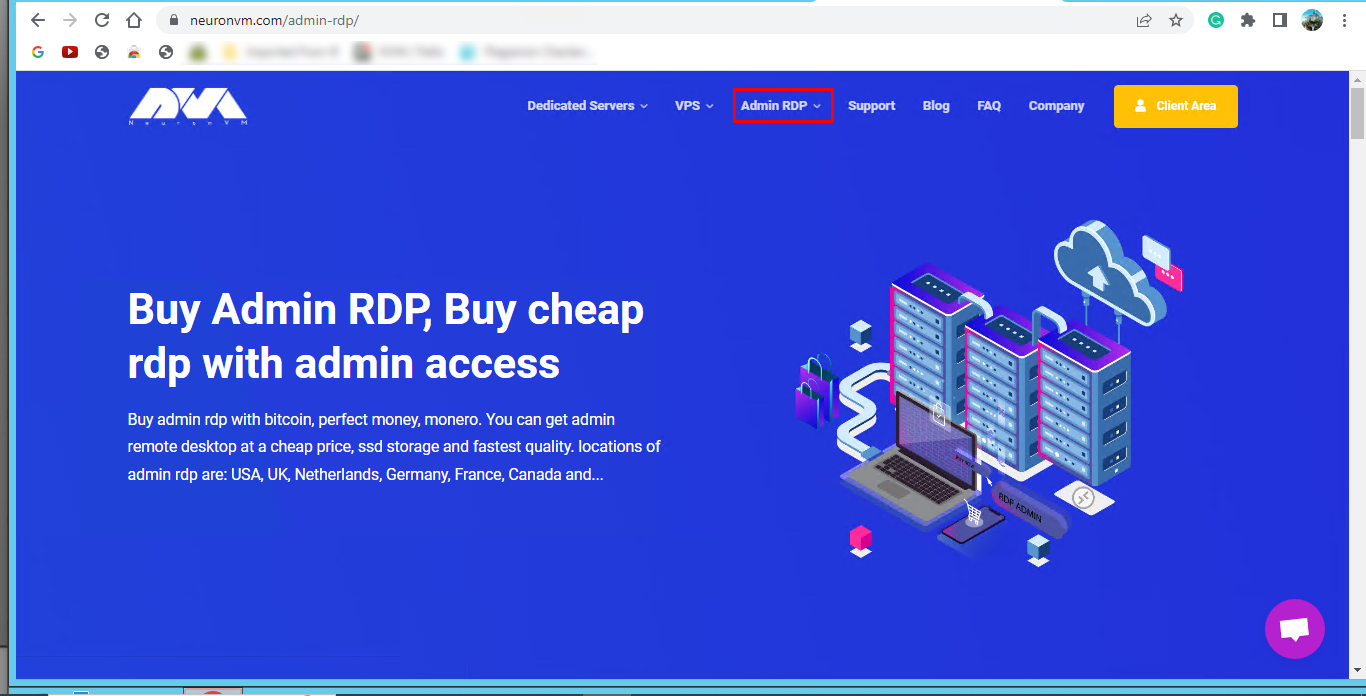
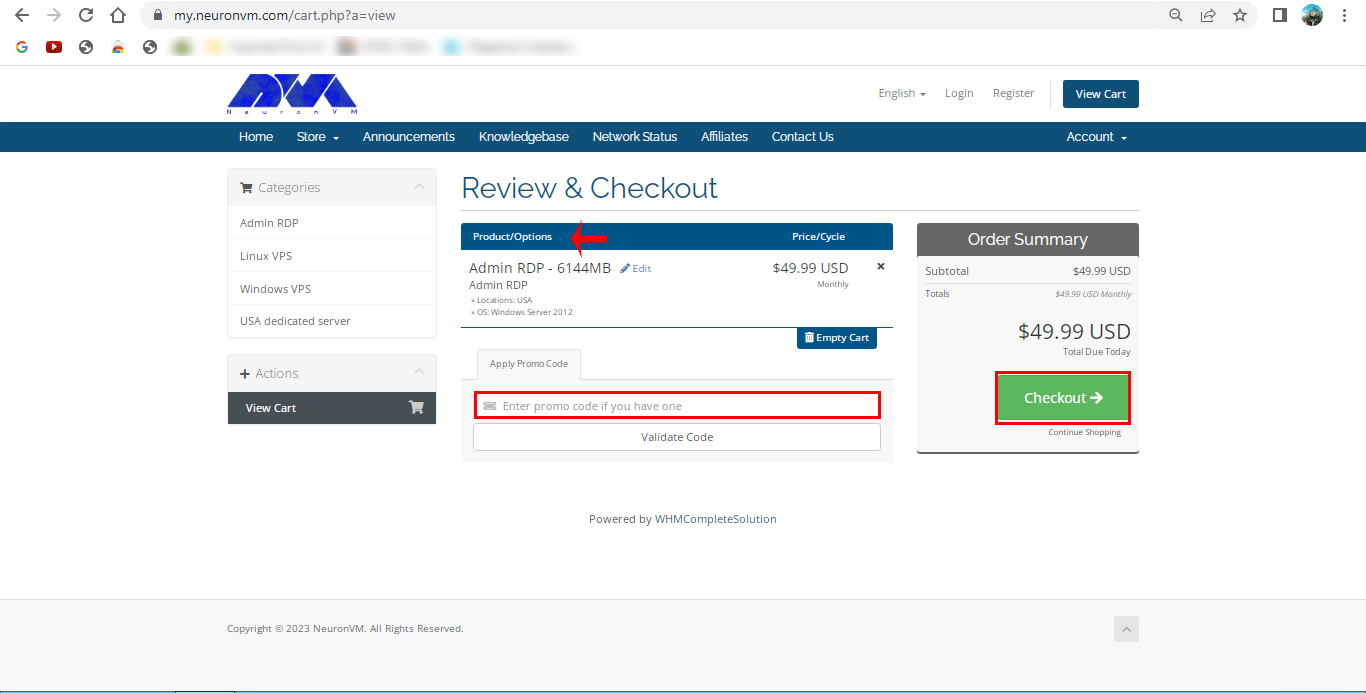
Troubleshooting issues is very easy and also handles software upgrades. We suggest you choose and use the Admin RDP plans of our website.

VDI vs RDS
The experience of using RDS or VDI is almost the same for users. However, there are significant differences between the two that focus on aspects such as:
– Flexibility
– Reliability
– Maintenance
These differences make each solution compatible with different types of organizations based on the requirements.
Now, we will analyze the advantages and disadvantages of VDI and RDS.
What are the Advantages of VDI?
Here are some advantages of Virtual Desktop Infrastructure:
Improved User Experience
As VM is separated from the rest of the system, you will have no connection problems. This will cause to allocate more power to the users who really need that. For example, users who use memory-intensive software such as Photoshop can run a Windows desktop operating system instead of a Windows server with the help of virtual machines, and in this way, things go faster and easier.
The Possibility to Choose Application
If you use VDI you can have a wider range of applications to use and there will be fewer compatibility issues.
Offline Working
Offline working is supported by VDI. As a result, users can continue to work even without the Internet, so that when they come back online, data can be easily synchronized with the server.
Device Flexibility
VDI is created in a way that users can connect with their own smartphone, laptop, tablet, or desktop.
What are the Disadvantages of VDI?
These are the disadvantages of VDI:
Higher Upfront Costs
Using VDI involves a lot of costs. These costs include Hardware costs, software costs, and finally IT support costs.
IT Staff that are Dedicated
VDI server has a skilled and professional team or IT provider to set up and manage virtual machines and systems.
What are the Advantages of RDS?
Everyone on your team can log in to the same Windows server to execute the applications, and each user can have their own session. Some other advantages are:
Lower costs
RDS Includes minimal cost. Also, low costs include minimal demand for hardware costs.
Simplicity
This solution is really simple to setup and you can add new users for a split second.
Easier Maintenance
Maintenance is also easier and quicker in RDS.
What are the Disadvantages of RDS?
In the end, we will point to some disadvantages of RDS:
Limited Application Use
You can not run every application on RDS.
Connectivity Problems
To use this server you should always be online.
Limited Personalization
You can not customize the desktop or applications you use on this server.
Performance
The performance of the server may decrease if users use the system at the same time.
Which Solution Is Better; VDI or RDS?
There is no definite answer. It depends on your goal. That is if the users are more and they should use the same server and do similar tasks and applications, RDS is a better choice. Also, you will pay less. But, if you are willing to use less-common programs and your users are different with different types of work, it’s better to use VDI.
Conclusion
As mentioned here, VDI or RDS are two great solutions for you to ease your work when you want to connect to the server or systems and use different applications. We tried to compare these two (VDI vs RDS) and specify their characteristics, and also help you to make a better and clear choice. We hope you enjoy the article.
FAQ
Yes, this option is possible in a hybrid deployment. So, you can leverage all of the benefits of these solutions at the same time.
In VDI each user has its own server so VDI offers higher security than RDS.