Category: Tutorials

  • Introduction and Run Screaming Frog on Admin RDP

    Introduction and Run Screaming Frog on Admin RDP

    Screaming Frog is a website crawler that plays a role in the SEO optimization of your site by extracting and checking the data on the site. After reading this article you will learn how to Run Screaming Frog on Admin RDP. So, read this article carefully and you will see how useful it is for your website. We have to mention that this plugin is really valuable for search engine optimization. because it is helpful to analyze the site’s structure and find technical problems.

    What Is Screaming Frog?

    You can use the screaming frog plugin (SEO spider) to crawl websites and collect data about them. It is a kind of quick SEO audit tool, and famous companies like Amazon, Google, Disney, and Apple all use screaming tools. So As you notice, Screaming Frog crawls small and large websites for you.

    Features of Screaming Frog

    1- Unlimited list mode

    2- Reporting the crawl pass

    3- The ability of AJAX to crawl

    4- The ability to edit page titles and meta descriptions by SERP snippet emulator

    5- SERPmode

    7- The ability of auditing XML sitemap

    and so on.

    Prerequisites

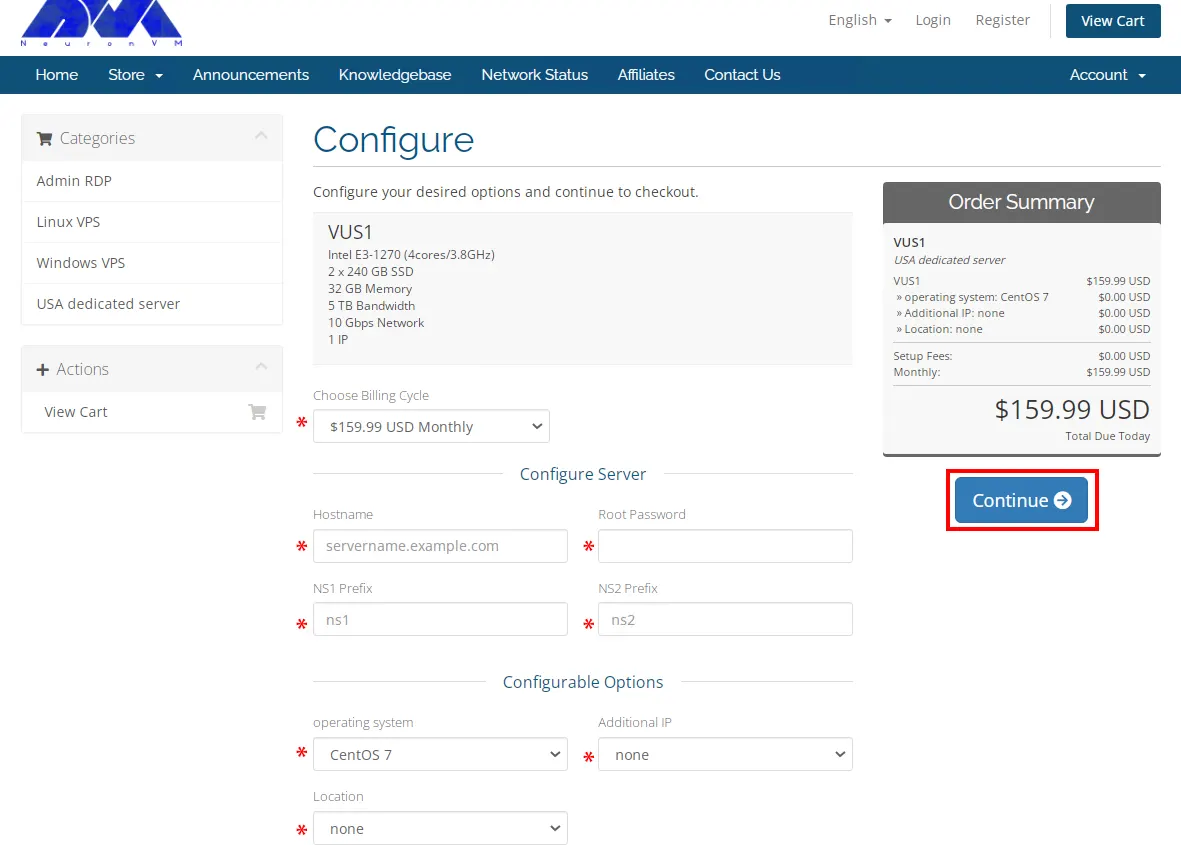
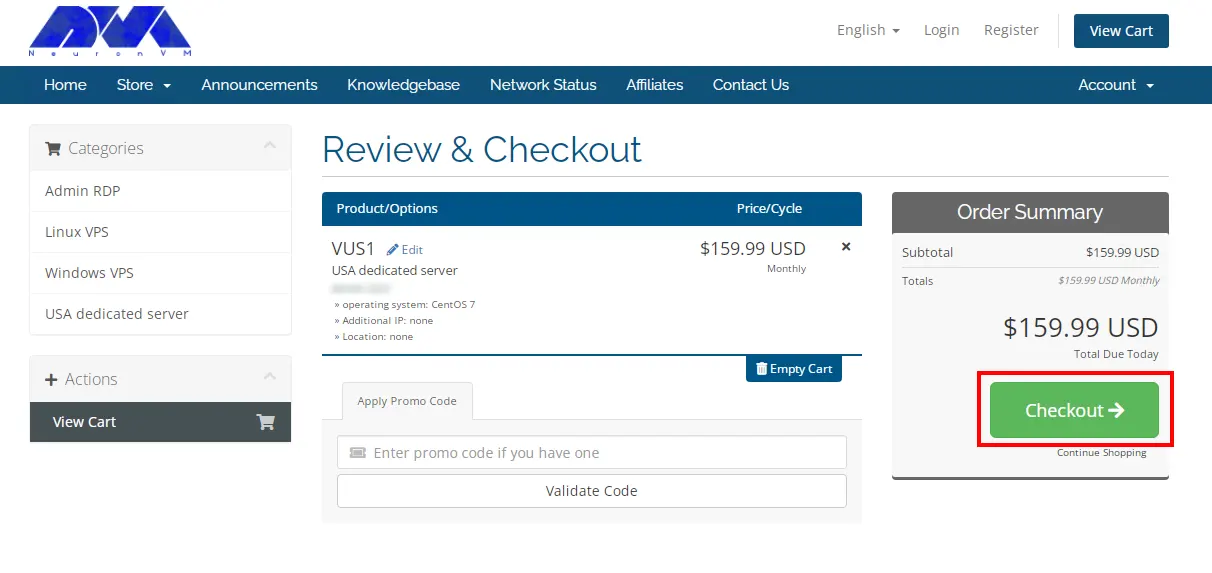
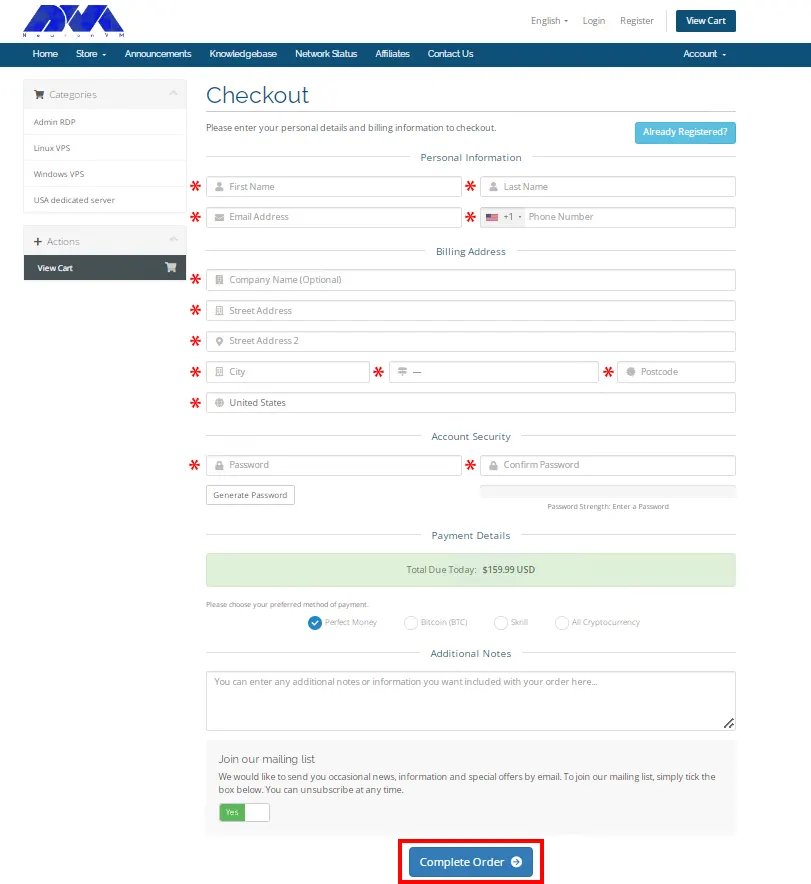
    1- An Admin RDP server

    2- Equipped with 64-bit or 32-bit OS

    3- 4 GB RAM.

    Installing Screaming Frog on Admin RDP

    Screaming Frog is available in operating systems such as Windows, Mac, and, Linux. The first action to install this plugin is to decide which operating system you have and then download it. We are going to install it on the Admin RDP server.

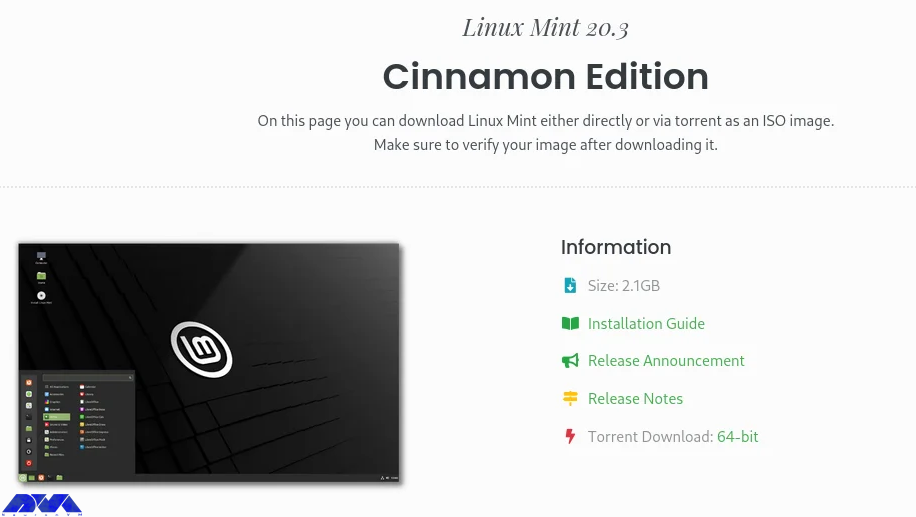
    How to Download Screaming Frog

    The first action is to go to the screaming frog download page. Then click download under SEO spider and select your operating system which here is Windows. Most likely the downloaded file will take place in the downloads directory accessible through file explorer.

    Installation Process

    The file you downloaded is an executable file that runs to execute SEO Spider. Now, as the first step, go to your downloads folder as mentioned above and double-click on the downloaded file as you can see here:

    Installation Process

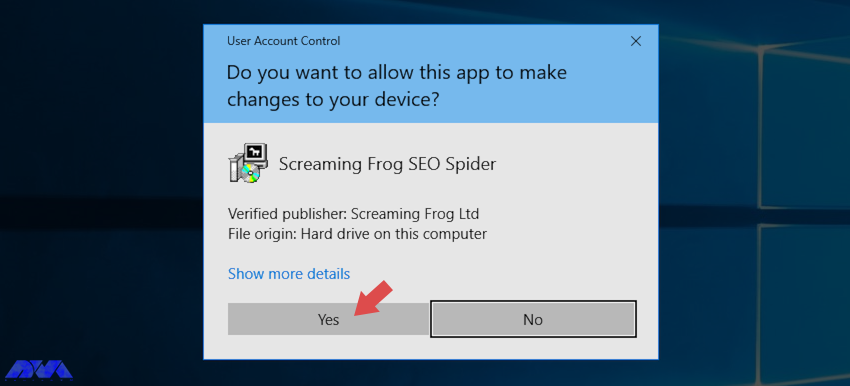
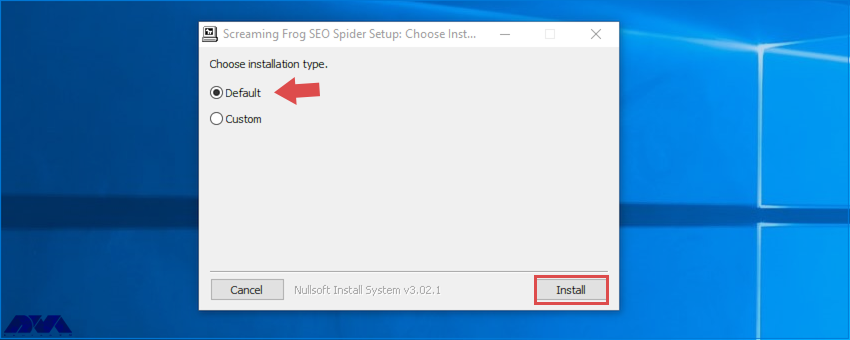
    Just click Yes and choose the Install button as you see on the screen below:

    Installation Process

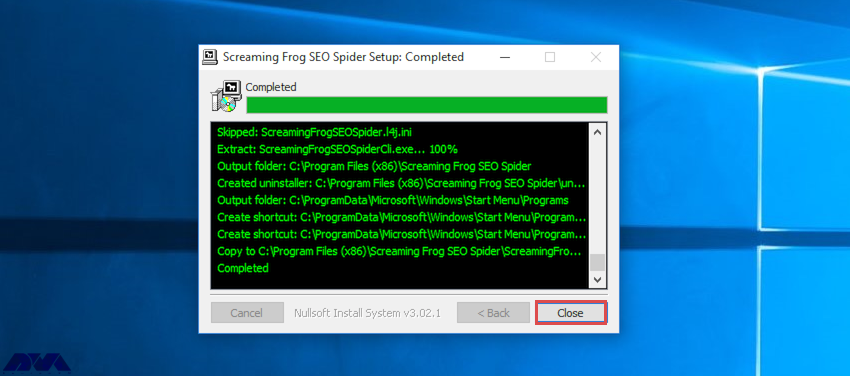
    The installation will start, and the necessary files of SEO Spider will be copied into your system. As you finished this part, the screen below will appear on your computer and you should press close to end your task:

    Installation Process

    Run Screaming Frog on Admin RDP

    You can run SEO spider (screaming frog) using one of the two ways:

    1- GUI:

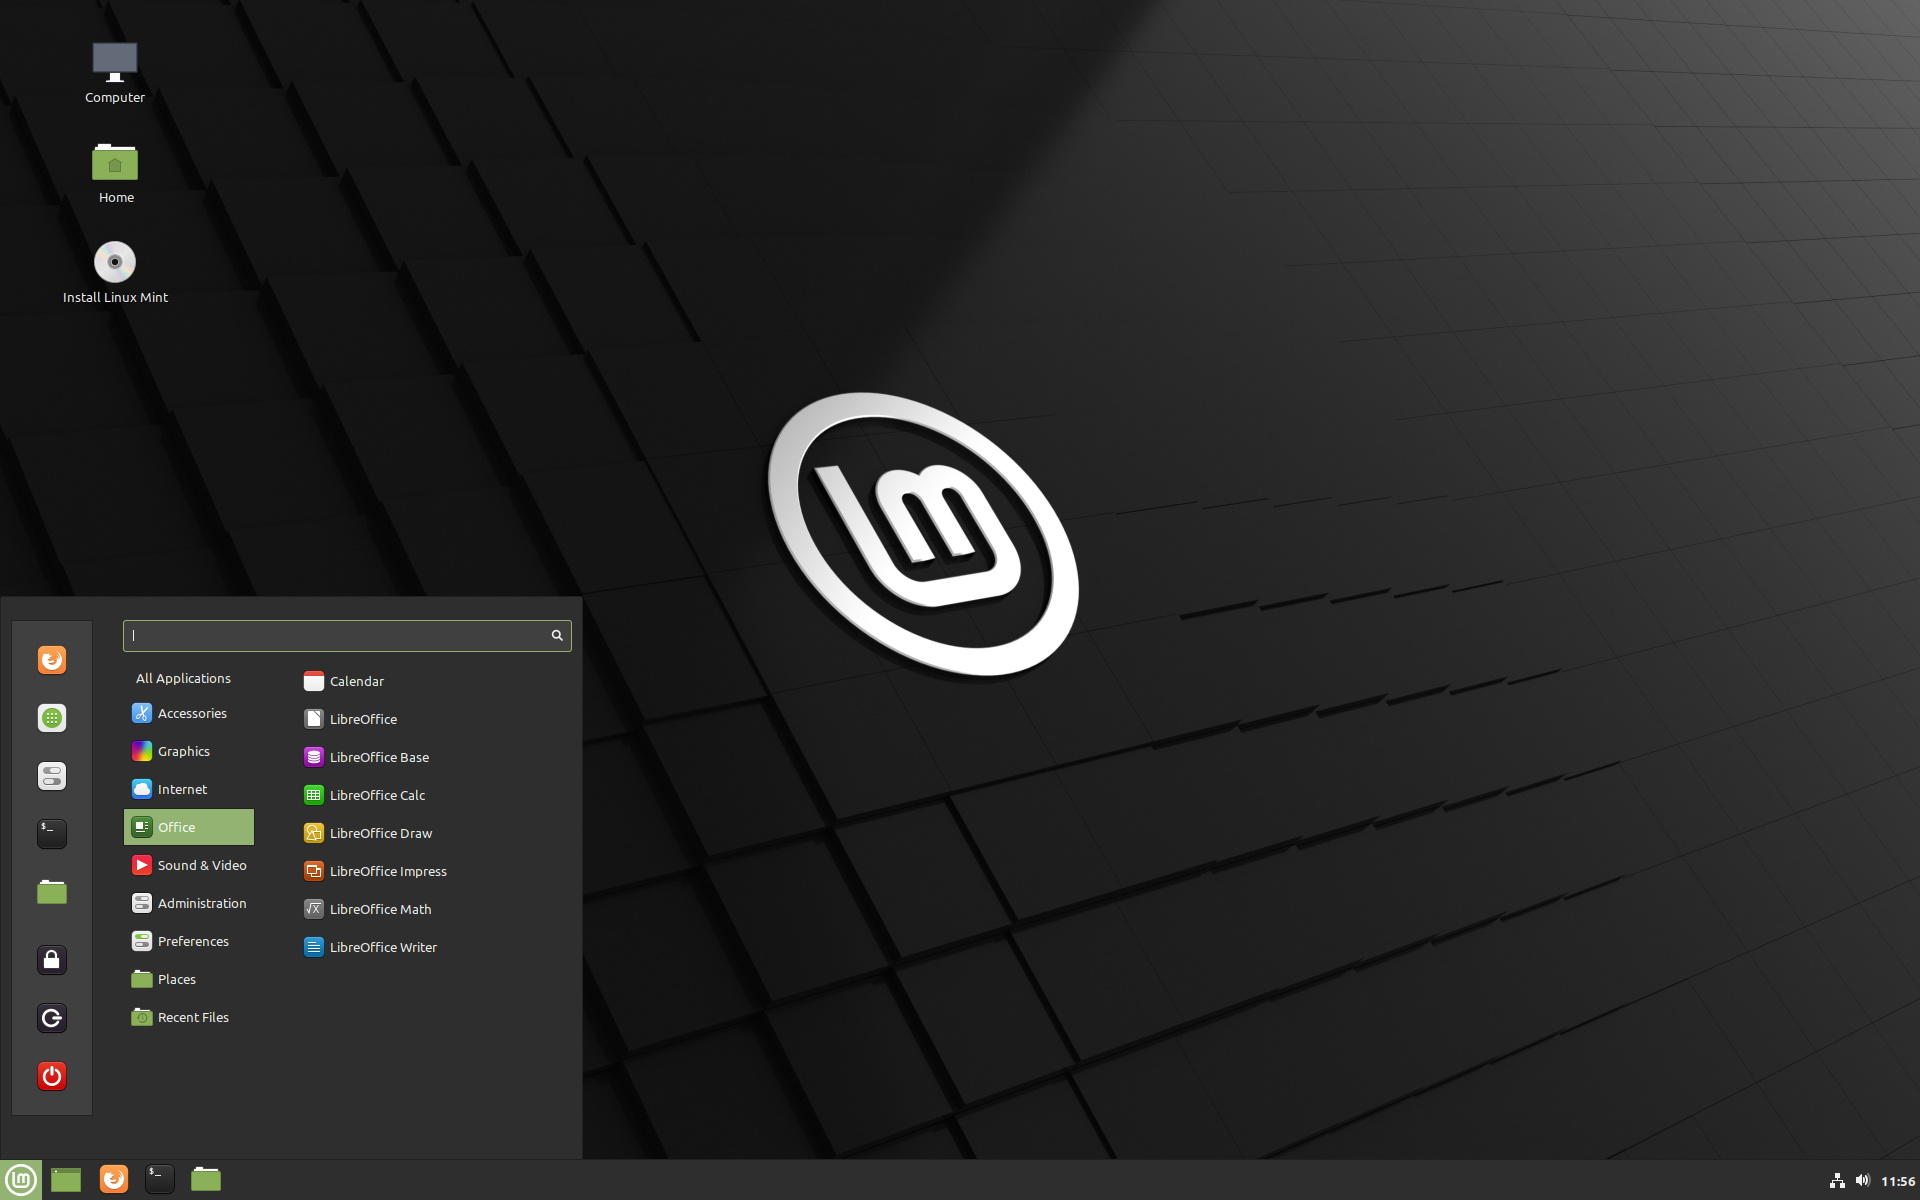
    In this way, you should go to the left downside of your screen on the start button and click on the search box to type SEO spider. As soon as you find it, click on it to start the program.

    2- Command Line:

    The first action here is to open a command prompt and type cmd or you can search programs and files for Windows command prompt and move into the SEO spider directory to enter related commands:

    32-bit

    cd "C:\Program Files (x86)\Screaming Frog SEO Spider" 

    64-bit

    cd "C:\Program Files\Screaming Frog SEO Spider"

    There is a separate build for SEO spider which is like ScreamingFrogSEOSpiderCli.exe. You can run it from a Windows command line and type:

    ScreamingFrogSEOSpiderCli.exe --help

    You can use the command below to view arguments and loggings out of the command line. So type the command below:

    –-help export-tabs, –-help bulk-export, –-help save-report, or –-help export-custom-summary

    And to start auto crawling action run the command here:

    ScreamingFrogSEOSpiderCli.exe --crawl https://www.example.com

    Then if you want to load any crawl just use this command:

    ScreamingFrogSEOSpiderCli.exe --headless --load-crawl "C:\Users\Your Name\Desktop\crawl.dbseospider"

    Conclusion

    We tried to guide you with the introduction and run Screaming Frog on Windrows admin RDP. As you start using this tool, you will use it as a helpful assistant for yourself. Hope you have enjoyed this article. Don’t forget to leave a comment and share your ideas with us.

    FAQ

    What is the limitation of using the Screaming Frog license?

    The licenses can be used by the same user on multiple devices and these licenses belong to every user.

    Is SEO Spider a free tool?

    Yes, it is free, but if you need to crawl more than 500 URLs and access advanced features, purchase a license.

  • How to Install Linux Mint on VirtualBox

    How to Install Linux Mint on VirtualBox

    If we want to recommend a suitable distribution for beginners, Linux Mint is definitely one of the best. This distribution is based on the Ubuntu operating system and is very stable. You can use this distribution as the main system for testing on a virtual machine. After reading this article step by step, you will learn how to Install Linux Mint on VirtualBox.

    Install Linux Mint on VirtualBox

    The first step here is to install a VirtaulBox on your system. If you use Windows, go to the official download page to download the exe file and install it from the page. But if your operating system is Linux, use the commands below to install it on your system.

    If your system is Ubuntu or based on Ubuntu, use the following command:

     sudo apt install VirtualBox

    If your system is Arch Linux, use the following command:

    sudo pacman -S VirtualBox

    And on the Fedora workstation:

    sudo dnf install VirtualBox

    As you have installed the software, it’s time to create a virtual machine.

    Enabling the Virtualization and Download the ISO File

    The Virtualizor may not be enabled by default on your system, in which case you need to enable it yourself. Of course, most systems have activated it. But if you encounter a problem at this stage, Follow the steps below:

    Now, you need to reboot your system. You should also check the boot menu to make sure that virtualization is enabled.

    Tip: You can also access the boot menu through the F2, F10, and F12 and delete keys, as you see the manufacturer information on the screen.

    Then, it’s time to download Linux Mint ISO from the official page.

    Enabling the Virtualization

    Creating the Virtual Machine

    After the downloading process, open your application and click on the new button. Here you should fill in the details of the given parts on the virtual machine (Linux Mint) and go to the next part:

    Creating the Virtual Machine

    Determine how much memory to use on your virtual machine and click the next button: (we recommend allocating 50% or less)

    Creating the Virtual Machine

    Now, you will see the hard disk setting. do not change the default setting and select create:

    Creating the Virtual Machine

    You will go to the next menu. Again don’t change the default option. Then in the next section, stay on the Dynamically allocated option and click the next button:

    Creating the Virtual Machine

    In this section, you must select the size of the disk you need. If it is only for testing a new distribution, 30 GB will be enough. But if you intend to install software, 30 to 100 GB is recommended. After selecting the value, click the Create option:

    Creating the Virtual Machine

    Your machine is created, but you still have some work to do. Press the setting button to configure more options.

    Here you will see the dialog menu. Go to the General -> Advanced part and choose Bidirectional for both, shared clipboard, and drag and drop.

    Creating the Virtual Machine

    You can enable disk encryption, but it is optional:

    Install Linux Mint on VirtualBox

    You need to allocate at least 2 GB RAM and 2 CPU cores to the virtual machine:

    Creating the Virtual Machine - Install Linux Mint on VirtualBox

    This part is important. Go through this direction:

    Storage -> empty -> Live CD/DVD checkbox -> CD icon

    Then navigate to the download folder, select the Linux mint ISO, and press OK.

    Creating the Virtual Machine - Install Linux Mint on VirtualBox

    Installing Linux Mint on Virtual Machine

    Now you have your virtual machine, and you can install the Linux Mint operating system on it. So follow the instructions below:

    _ You can see the start button on top. Click on it to open the related window and make it full-screen.

    _ You will see two options: open-source and proprietary drivers. Then select open-source and press the enter key.

    _ As the Linux Mint Live CD booted up, start the installer and do the installation steps like selecting your language, allocating the disk space, choosing your locale and time zone, adding your hostname and password etc.

    _ At the final step, as the installation ends, restart your virtual machine:

    Install Linux Mint on VirtualBox

    You should separate the installation media from the Setting -> Storage part. Then to set the resolution of the VM, adjust it to the custom with the help of xrandr command:

    xrandr -s

    Conclusion

    In this tutorial, we tried to show how you can install Linux Mint on VirtualBox. This distribution is one of the best operating systems for beginners. You can follow the steps and images here to have a successful installation process. If you have any ideas or questions, just leave a comment.

    FAQ

    Does VirtualBox use RAM?

    VirtualBox uses the computer’s physical RAM for virtual RAM.

    Is using a VirtualBox safe for Linux?

    Yes, it is safe to use on every platform.

  • How to Buy Instant Dedicated Server from NeuronVM

    How to Buy Instant Dedicated Server from NeuronVM

    A Dedicated Server is a specialized web hosting service that is specifically allocated to one customer. By utilizing a dedicated server, you have full access to all resources without having to share them with other users. This tutorial is going to teach you How to Buy Instant Dedicated Server from NeuronVM.

    NeuronVM Dedicated Servers

    NeuronVM provides cheap dedicated servers from all over the world. we have tried to use the best data centers in the world. If you need high speed and security, NeuronVM dedicated servers are your main need. Some of the features of dedicated servers are the possibility of providing many IPs, very high quality, high speed, complete security of servers, and a variety of locations.

    Get an Instant Dedicated Server from NeuronVM

    Now let’s see how to buy an Instant Dedicated Server from NeuronVM. Follow the steps below.

    First, navigate to the official NeuronVM website, and from the Dedicated Servers section in the main menu, click on Instant Dedicated Server:

    buy instant dedicated server

    On the page that opens, scroll down to see Instant Dedicated Server plans.

    Choose your desired plan and click on Buy Now:

    The Shopping Cart page will appear you can choose Billing Cycle, and Configurable Options, and fill in the options to configure your server.

    Billing Cycle payments are provided Monthly, Quarterly, Semi-Annually, and Annually.

    In the Configure Server section, you should fill in the fields related to Hostname, root password, and NS Prefixes.

    The Configurable Options section allows you to choose your Operating System, Additional IPs, and location.

    Now, configure your desired options and click on Continue:

    Review your checkout and click on Continue again:

    Now enter your personal details and billing information to Register on our website and click on Checkout:

    Complete your payment and that’s all. After successful payment, the service information you want will be sent to you as soon as possible.

    Conclusion

    In this article, we taught you how to buy instant dedicated server from NeuronVM. If you encounter any problems during the purchase process, please let us know in the comments section.

  • How to Install and Setup cPanel on Dedicated Server

    How to Install and Setup cPanel on Dedicated Server

    In this article, we are going to teach you How to Install and Setup cPanel on Dedicated Server. When you get a server, you need a control panel to use it better. cPanel is one of the most widely used options for various control panels. NeuronVM offers a cheap Dedicated Server, which is the best choice.

    Tutorial Setup cPanel on Dedicated Server

    In the rest of the article, we will first give you a definition of cPanel. Then we will mention the prerequisites for installing cPanel on a dedicated server. After that, we will explain to you how to connect to the server. Finally, we will teach you how to Install cPanel on Dedicated Server.

    What is cPanel?

    cPanel is one of the most popular control panels that simplify website and server management. You can publish websites, manage domains, organize web files, create email accounts, and more using cPanel. It has two interfaces, a user interface called cPanel and a server management interface called Web Host Manager (WHM). This interface allows users to manage their website and also supplies hosting providers with tools to manage the server.

    Prerequisites to installing cPanel on Dedicated Server

    Before installing cPanel, you should prepare the following prerequisites:

    –> Connecting to the Server

    –> Checking your Operating System Configuration

    –> Buy a cPanel license

    How to Connect to the Server

    You can connect to a server through SSH and PuTTY. If you want to connect to a server through SSH remote control, you should open a command line and run the following command:

    root@IP_Address

    And then enter the root password of your server.

    But if you want to connect to a server using PuTTY, first go to the PuTTY website and download and install the client. Then open the client, enter the IP address of your server in the Sessions menu, click Open, and enter the root password of your server.

    Installing cPanel on a Dedicated Server

    Now it’s time to learn how to install cPanel on a dedicated server. To do this, first open the home directory with the following command:

    cd /home

    Next, download the latest installation files from the cPanel’s servers using the command below:

    curl -o latest -L https://securedownloads.cpanel.net/latest

    Then open and run the installation files by entering the following command:

    sh latest

    Activate the cPanel license using the command below:

    /usr/local/cpanel/cpkeyclt

    That’s all about installing cPanel on a dedicated server.

    Conclusion

    cPanel is one of the most popular control panels. In this tutorial, we introduced you to cPanel and taught you how to install and setup cPanel on a Dedicated Server. You can ask your questions in the comments section.