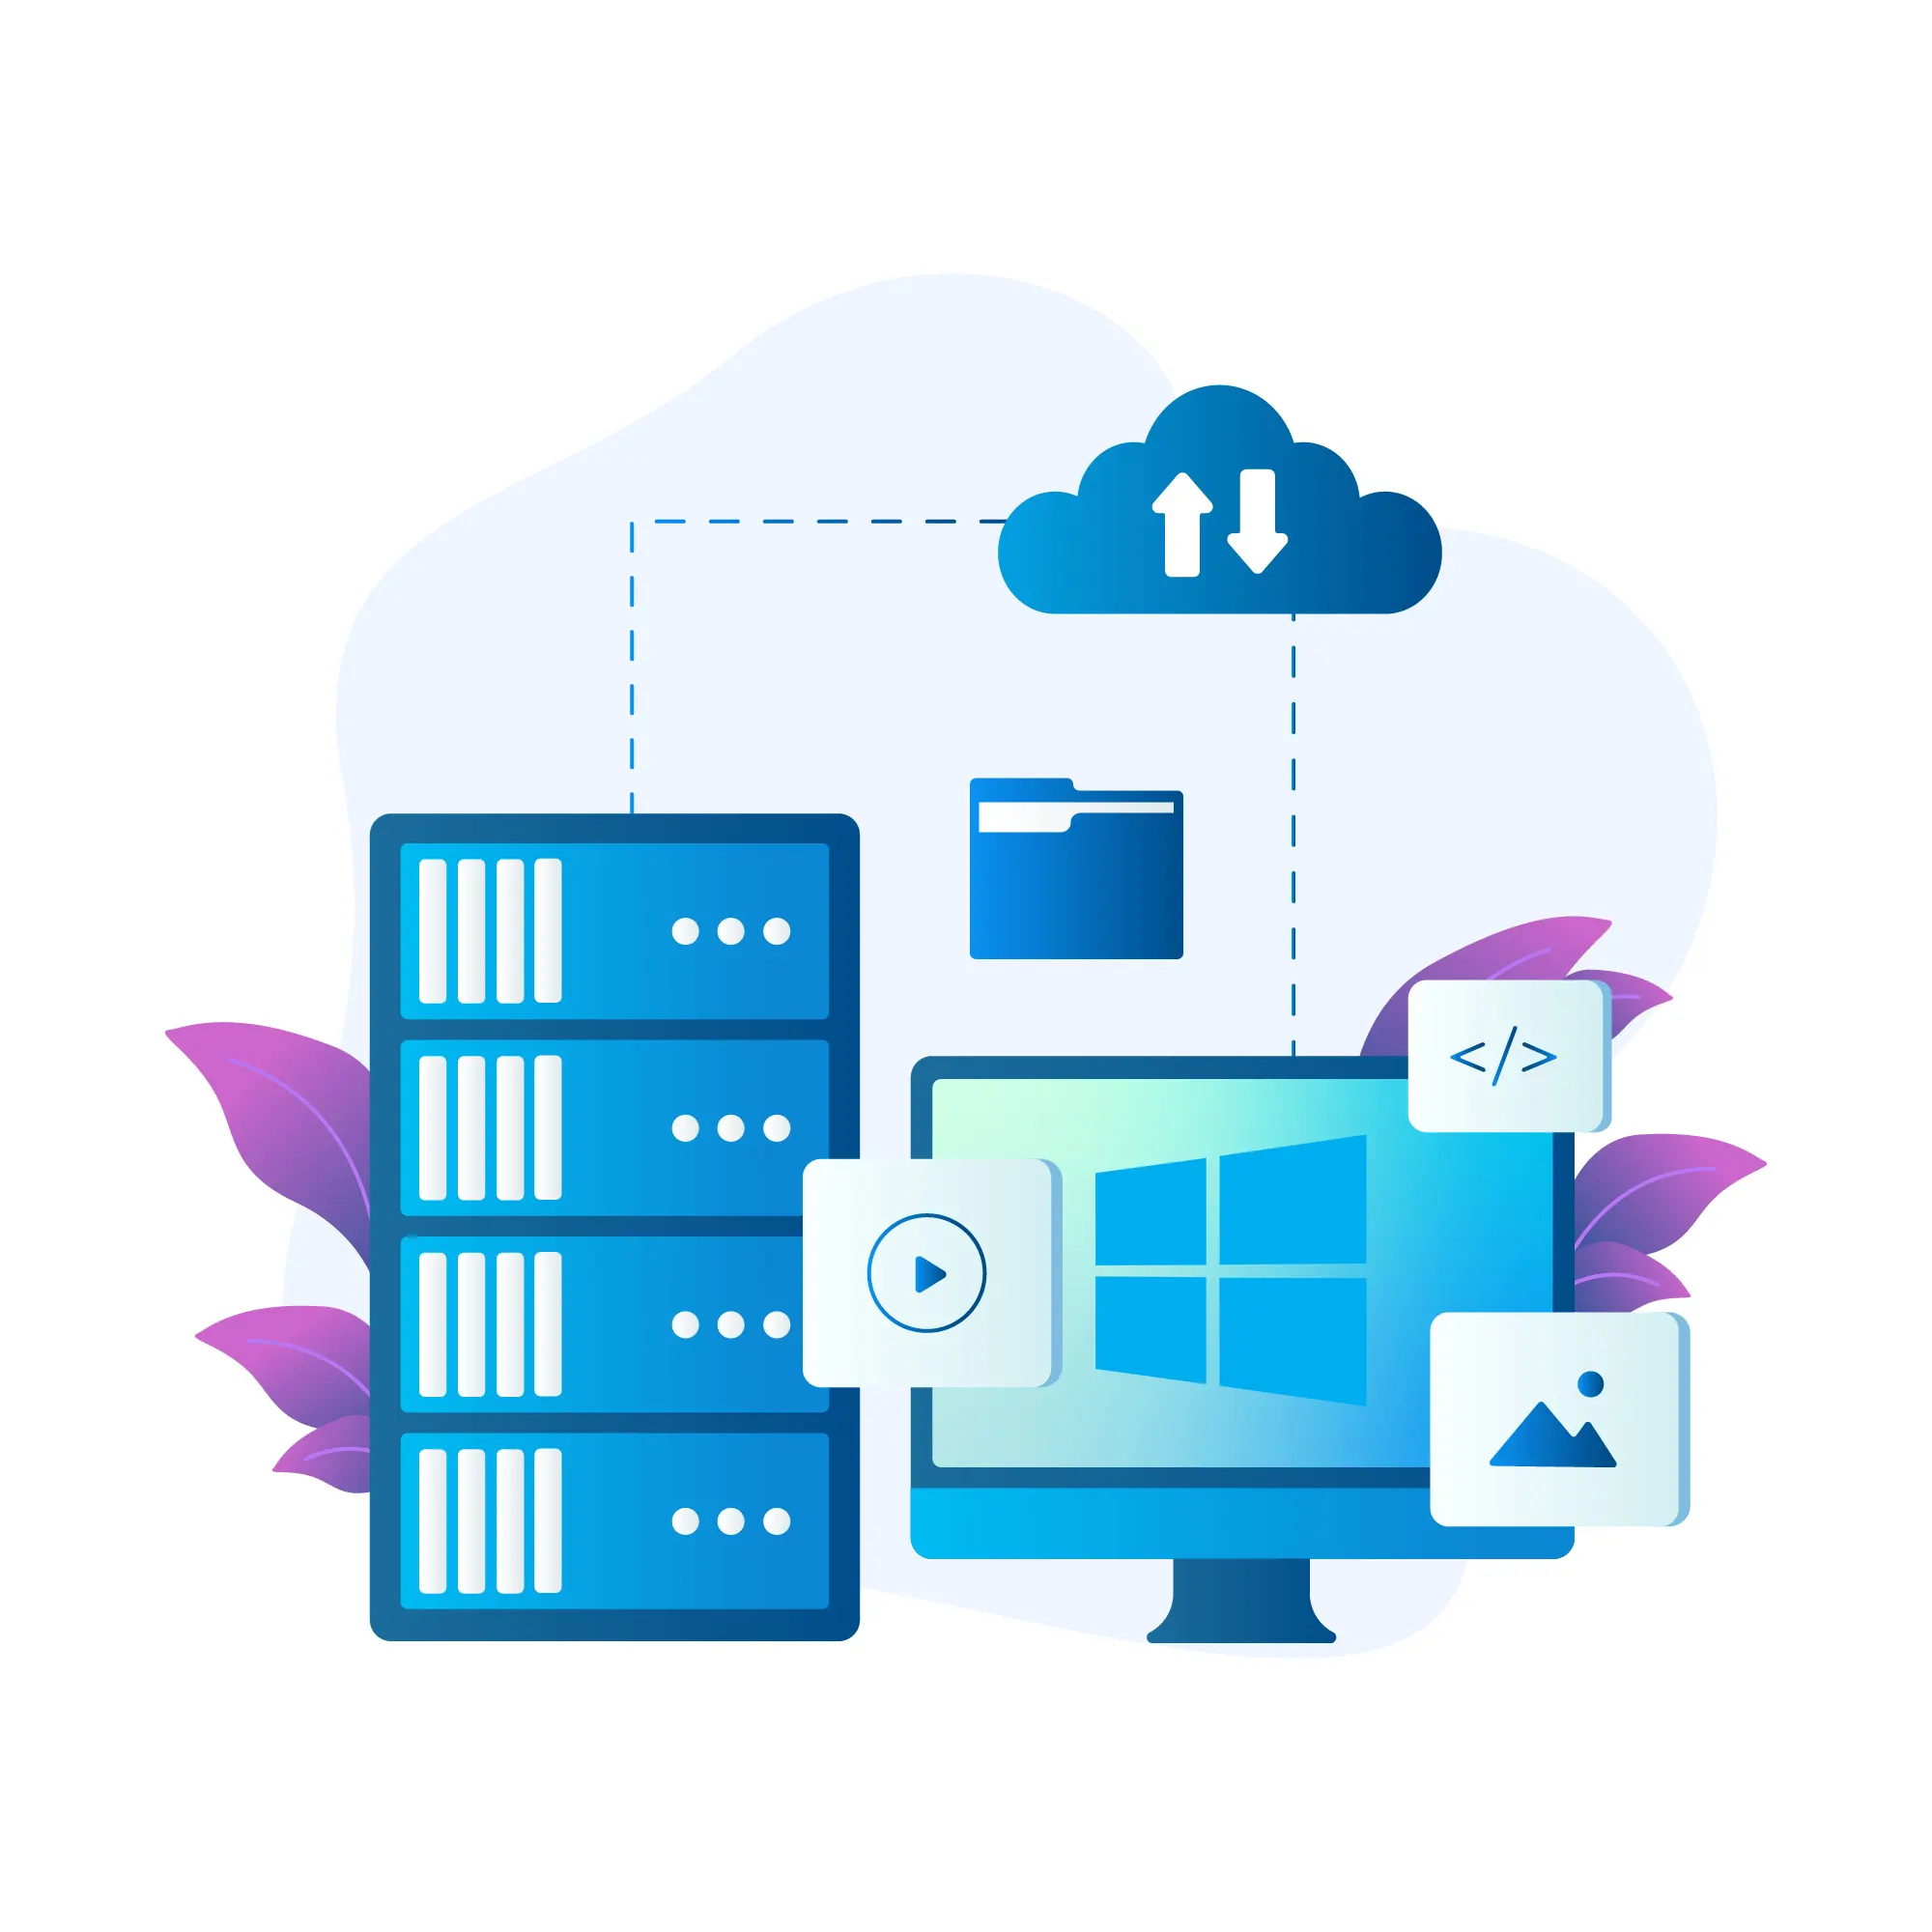
Windows VPS is a hosting server that operates on the Windows operating system, allowing users to remotely access a virtualized environment. By providing a dedicated portion of a physical server, cost-effective Windows VPS offers a dependable and budget-friendly solution for website hosting, application management, and diverse workloads. Moreover, it combines the advantages of virtual server technology with the familiarity and compatibility of the Windows operating system.
Advantages of Windows VPS server
The advantages of using a Windows VPS server include:
1. Affordability: Windows VPS servers are cost-effective comparing to dedicated servers, yet still provide sufficient resources for hosting websites or running applications.
2. Flexible scalability: Windows VPS servers can easily scale resources to match your needs. Through virtualization technology, you can adjust allocated resources such as CPU, RAM, and storage as needed.
3. User-friendly interface: Windows operating system is familiar to many users, making server management and configuration easier. It also supports a wide range of software and applications and provides a user-friendly interface.
4. Enhanced security: Windows VPS servers offer strong security features including built-in firewalls, regular security updates, and advanced encryption. You can also configure additional security measures to ensure the safety of your data.
5. Remote accessibility: With a Windows VPS server, you can manage and access your server remotely from anywhere using Remote Desktop Connection. This provides convenience for server management.
6. Reliable technical support: Windows VPS servers often provide reliable technical support to quickly resolve issues and ensure smooth server operations with minimal downtime.
7. Customization options: Windows VPS servers allow customization of the server environment to meet specific needs. You can install and configure software, set up custom security measures, and optimize server performance according to your requirements.
Application and functionality of Windows VPS server
Here are several applications and functions of a Windows VPS server:
1. Website Hosting: A Windows VPS server is suitable for hosting websites and web applications. It provides a flexible and reliable platform capable of handling high volumes of traffic. It supports popular web development technologies such as ASP.NET, PHP, and Microsoft SQL Server.
2. Remote Desktop Access: Users can remotely access their virtual machine on a Windows VPS server using the Remote Desktop Protocol (RDP). This allows them to utilize Windows-based applications, access files, and carry out administrative tasks from any location with an internet connection.
3. Virtual Desktop Infrastructure (VDI): Windows VPS servers can be utilized to establish virtual desktops for multiple users. This is beneficial for organizations aiming to deliver a consistent user experience across various devices and locations. Each user obtains their own virtual machine with independent resources and access to Windows desktop applications.

4. Application Hosting: Windows VPS servers are frequently employed for hosting specific applications that require a Windows environment. For instance, businesses may use a Windows VPS to operate Microsoft Exchange Server for email services, Microsoft SharePoint for collaboration, or Microsoft Dynamics for customer relationship management.
5. Development and Testing: Developers and software testers can employ a Windows VPS server for their development and testing environments. It provides a separate space where they can develop, debug, and test software without impacting their local systems. The server can be easily configured with different software versions and environments as needed.
6. Data Backup and Storage: Windows VPS servers can be utilized for data backup and storage purposes. Users can upload their files, documents, and system backups to the server to ensure data redundancy and availability. The server can also be configured as a network storage location accessible by multiple users.
The Best Alternative to a Dedicated Server
Determining the best alternative to a dedicated server involves considering several factors, and the suitability of a Windows VPS depends on specific needs and requirements. Here are some factors to keep in mind:
The first option is cost: In comparison to a dedicated server, a Windows VPS is typically more cost-effective. Sharing resources among multiple users significantly reduces the overall cost, making it an appealing option for budget-conscious individuals or businesses.
The second option is scalability: A Windows VPS provides greater scalability options than a dedicated server. Upgrading or scaling resources like CPU, RAM, and storage is easier with a VPS, while doing so with a dedicated server can be complex and time-consuming.
The third option is performance: Although a dedicated server generally offers better performance, modern Windows VPS offerings utilize high-performance hardware such as solid-state drives (SSD) and powerful processors. This ensures optimal performance for most applications and workloads.
The fourth option is control and customization: Dedicated servers offer complete control and customization options, but a Windows VPS also provides admin privileges, allowing users to install and configure software according to their needs. However, some limitations may still apply due to shared infrastructure.
The fifth option is support and management: Setting up, maintaining, and troubleshooting dedicated servers typically require extensive technical knowledge. Windows VPS providers often offer managed services, including server setup, regular backups, security updates, and technical support, making it a more user-friendly choice.
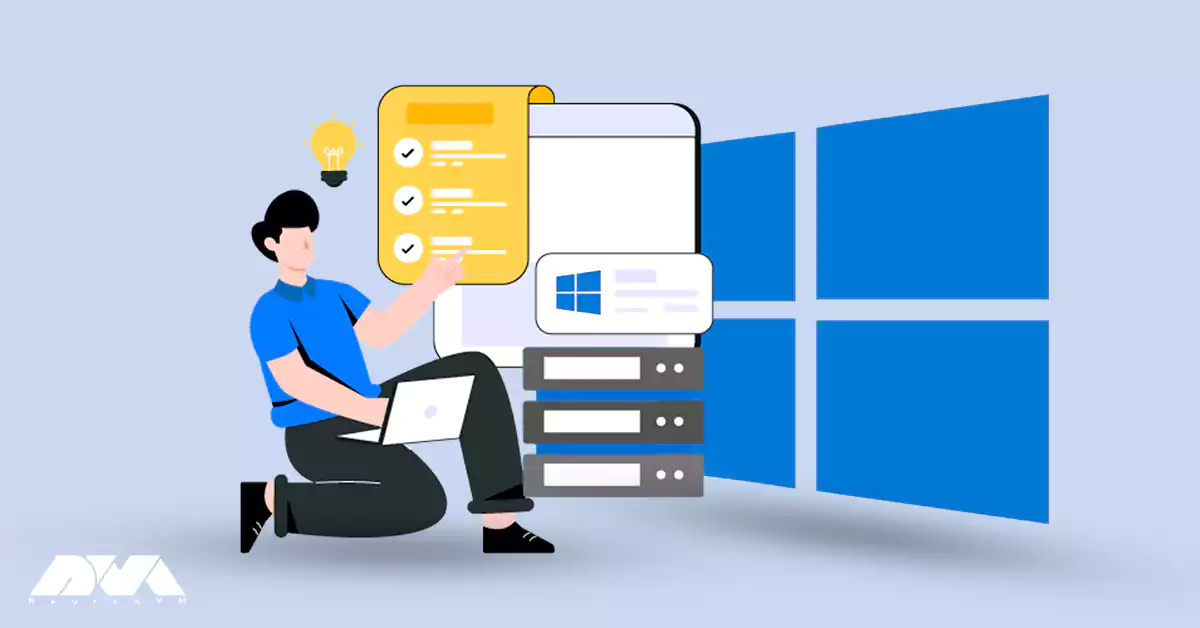
How to Buy an Affordable Windows VPS server from NeuronVM
To Buy an Affordable Windows VPS server from NeuronVM, just follow the steps below.
Step 1: Go to the NeuronVM website and click Buy Windows VPS from the Buy VPS menu:
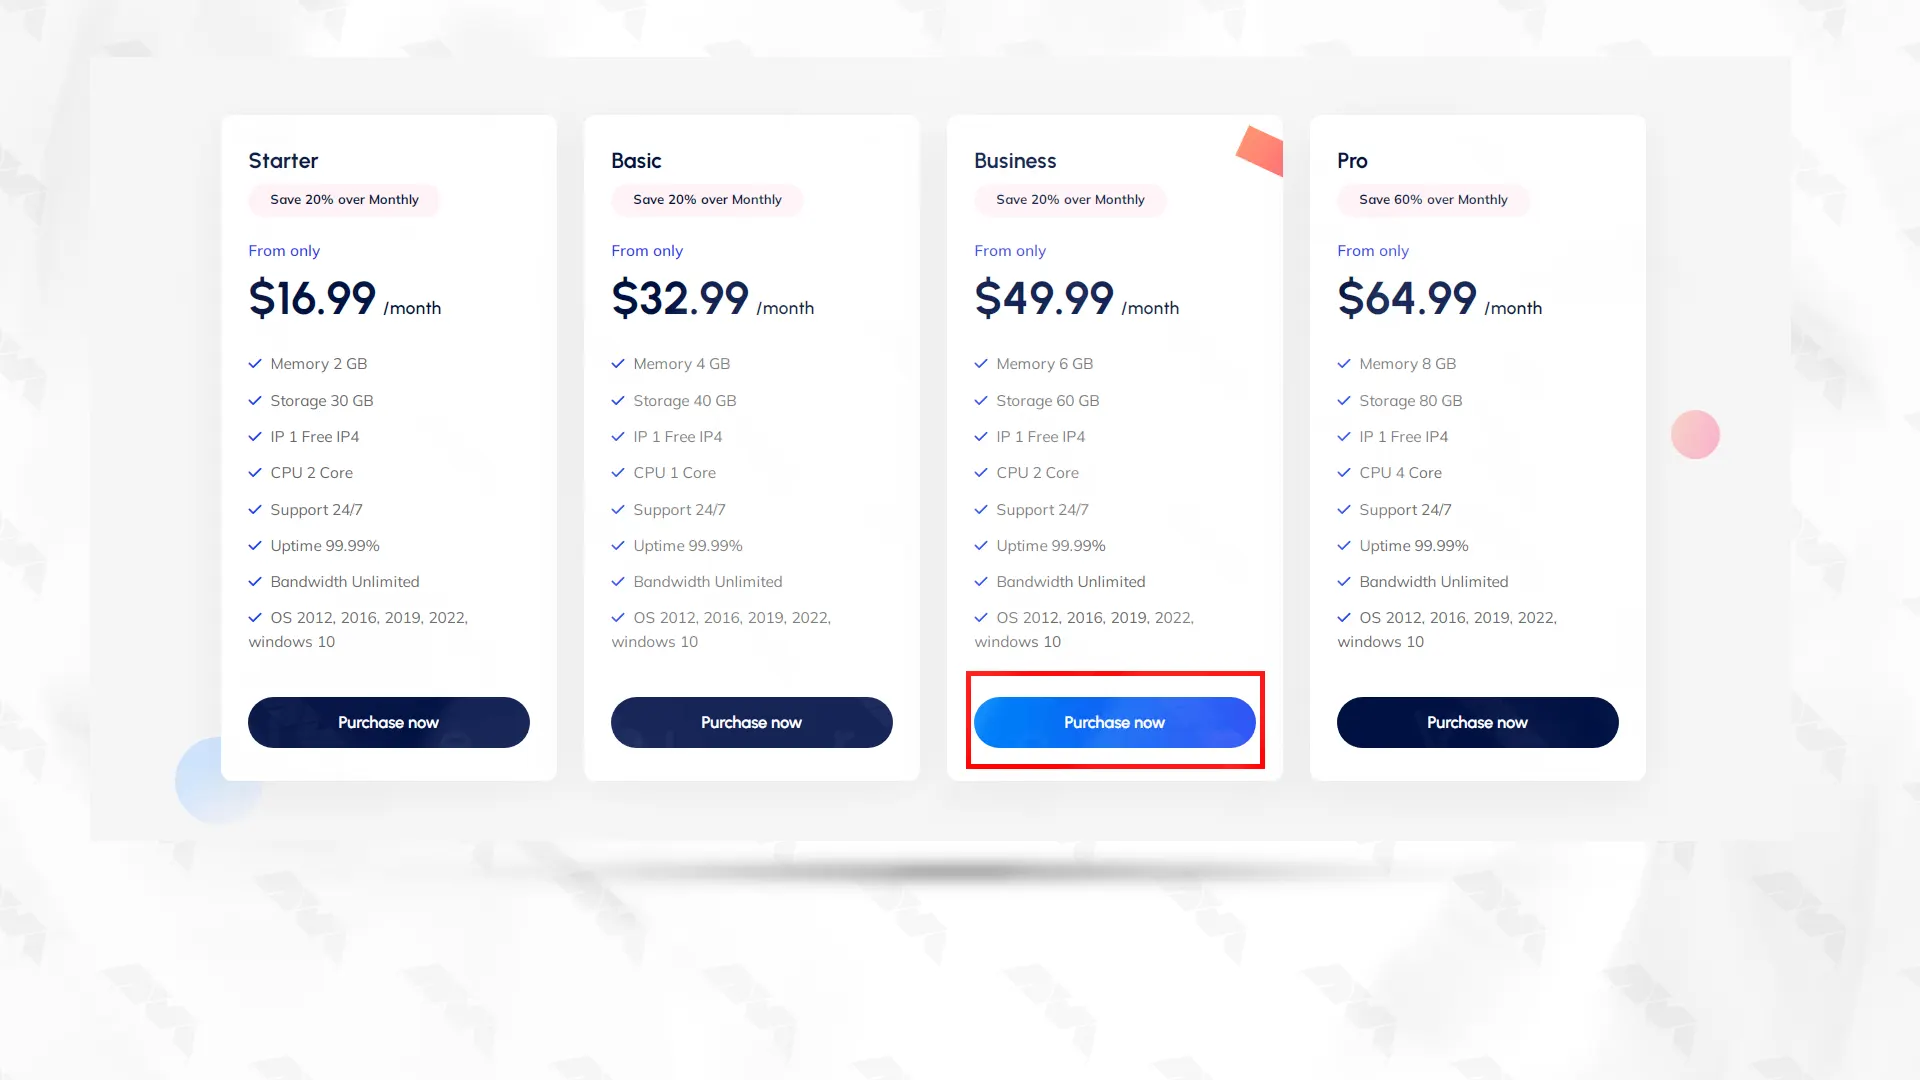
Step 2: On the Windows VPS page, scroll down a little and select the plan you need and then click on Purchase now:
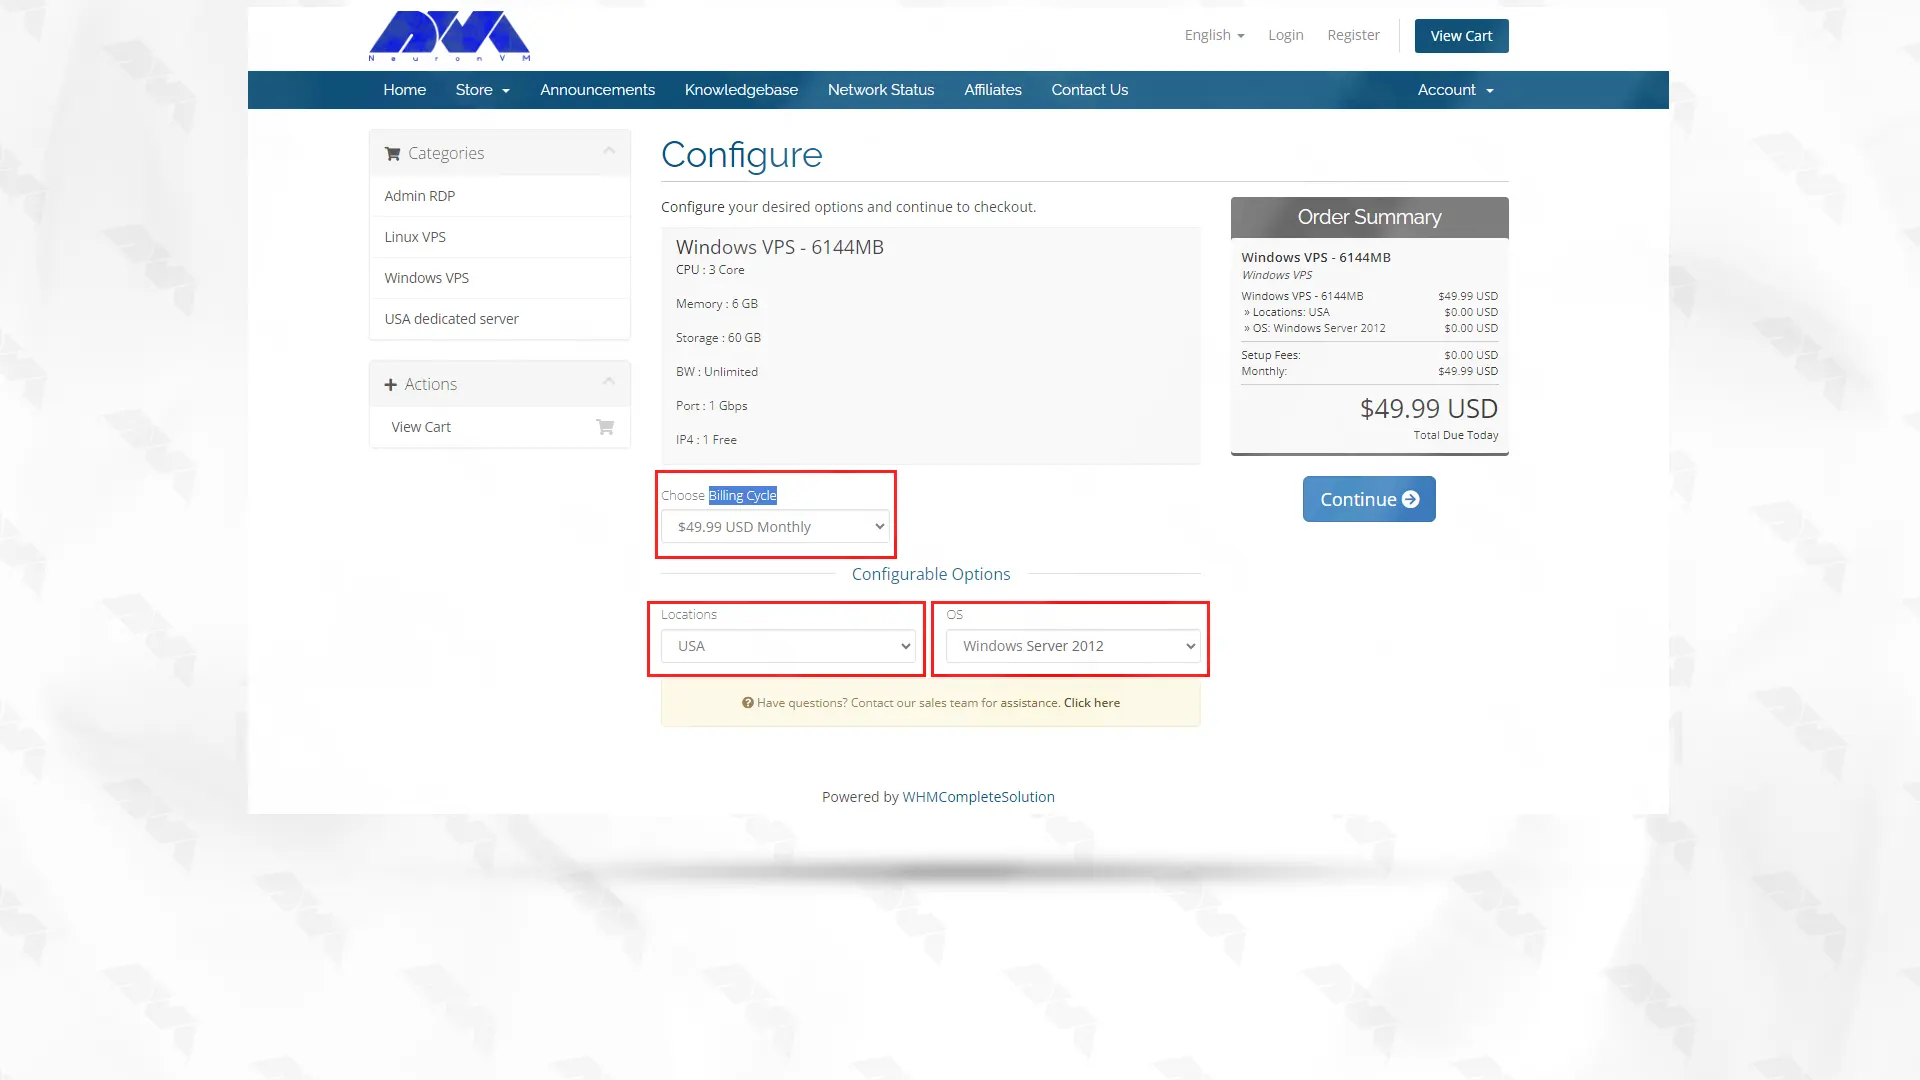
The next step is configuration. Determine the Billing Cycle, location and operating system you want and click on continue:
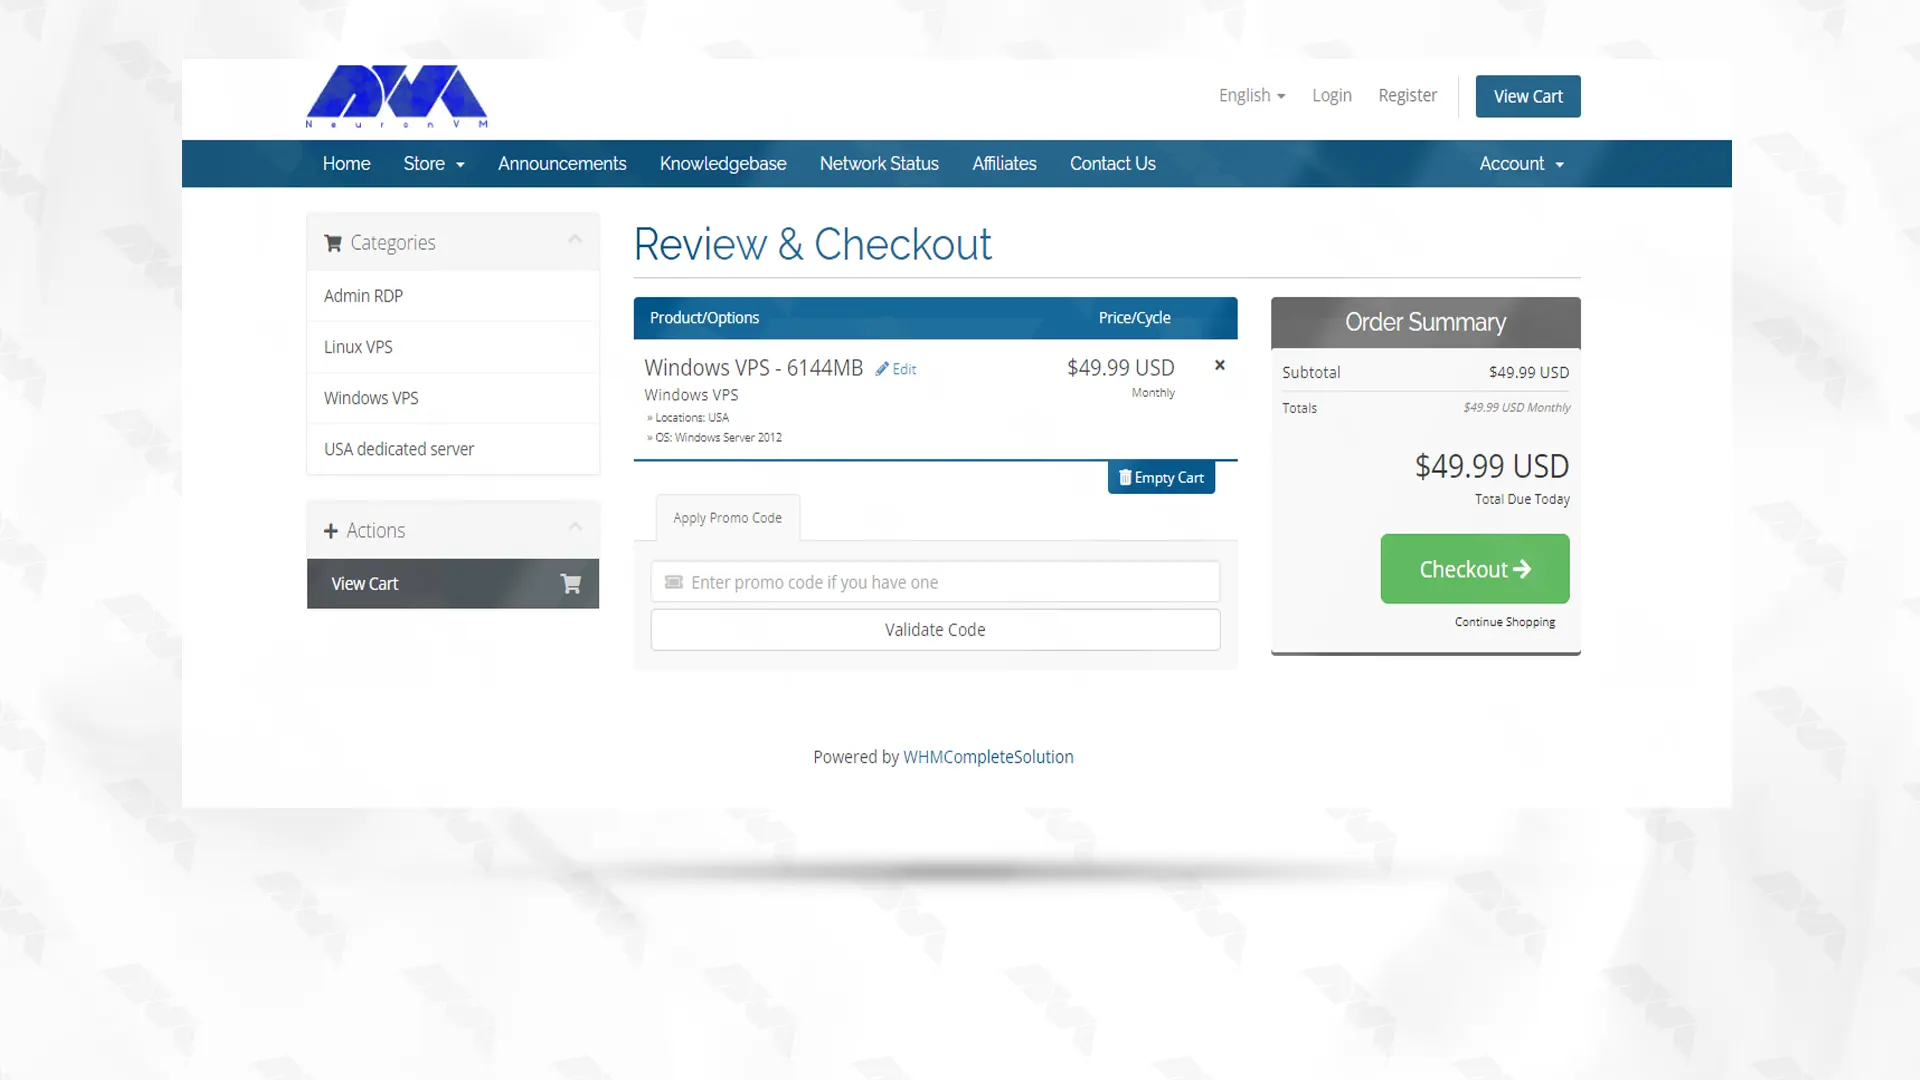
In the next step, after checking your chosen plan, if you have a discount code, type it and click Validate Code. Then click Checkout:
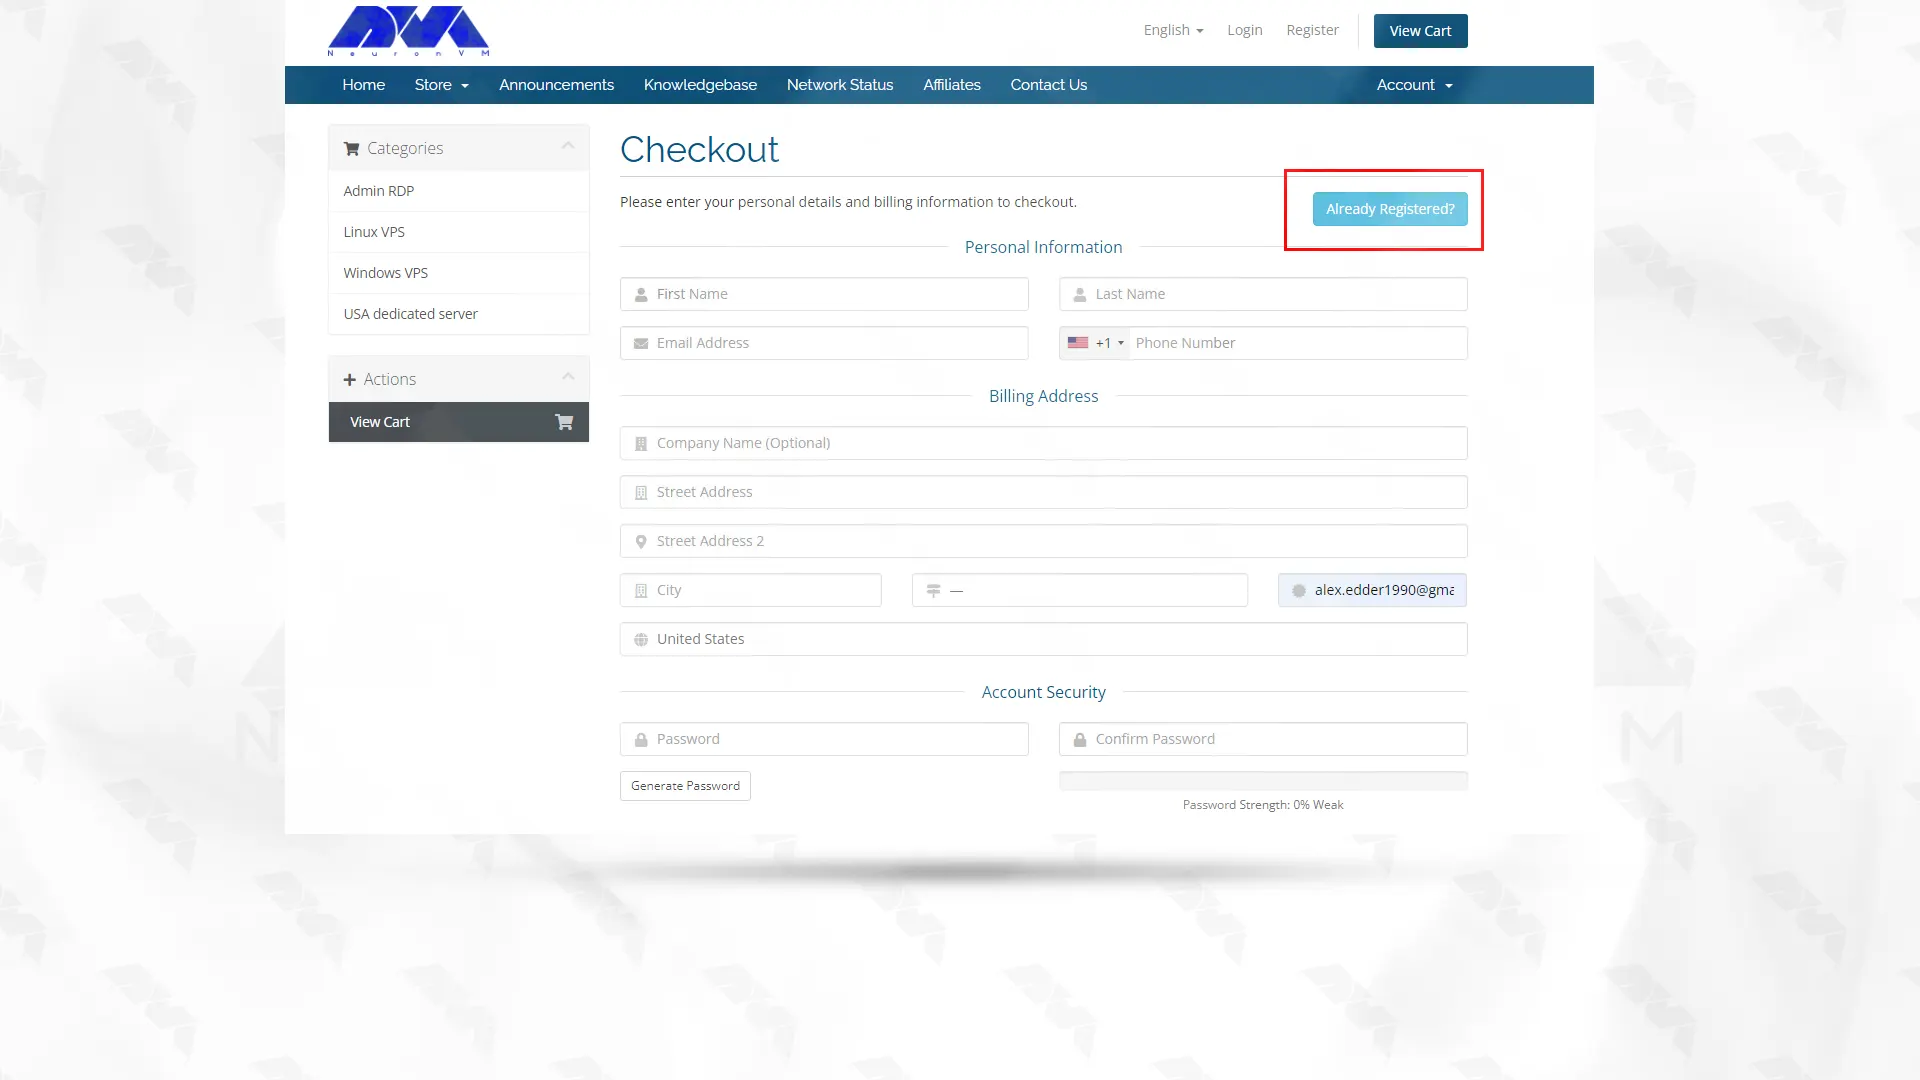
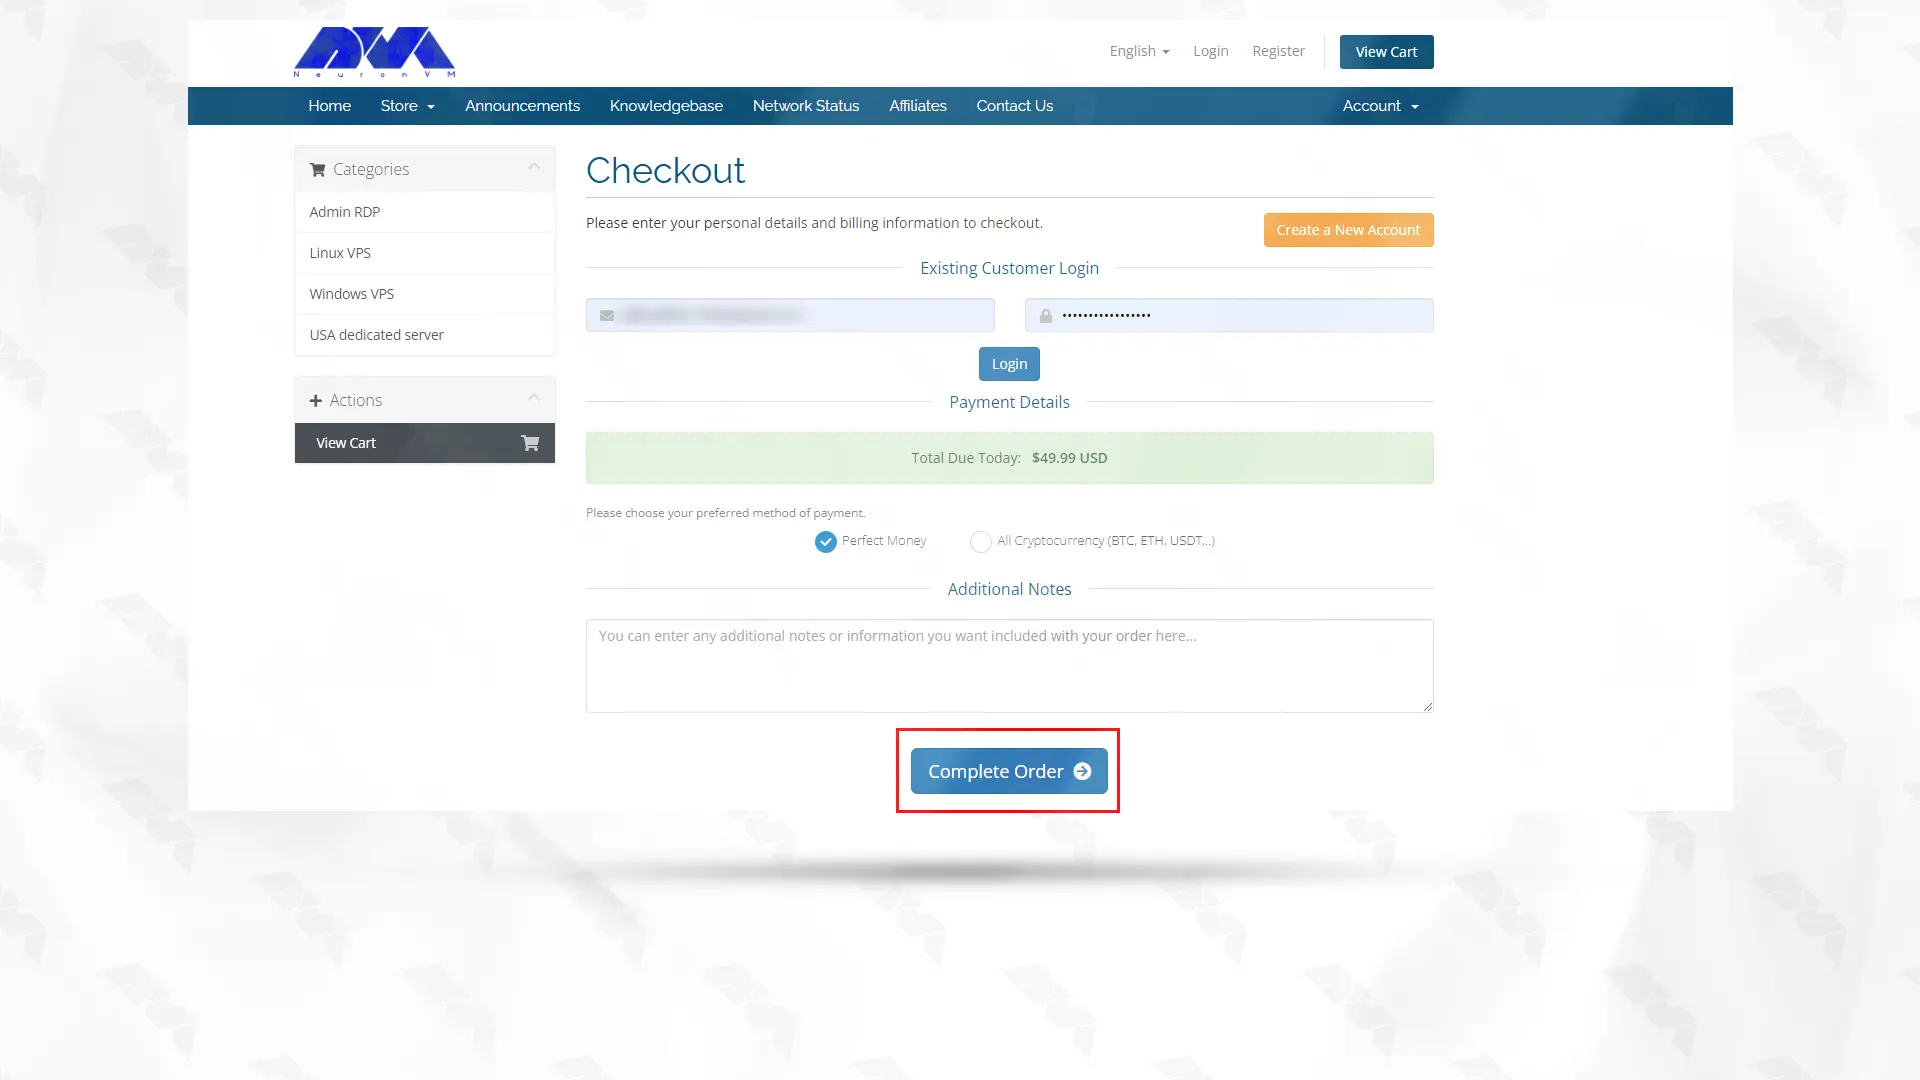
Fill the required fields with your information to register. If you have already registered, click on Already Registered. Then type your email address and password to enter the user account and login. On the next page, choose one of the payment methods and click on Complete Order:
***
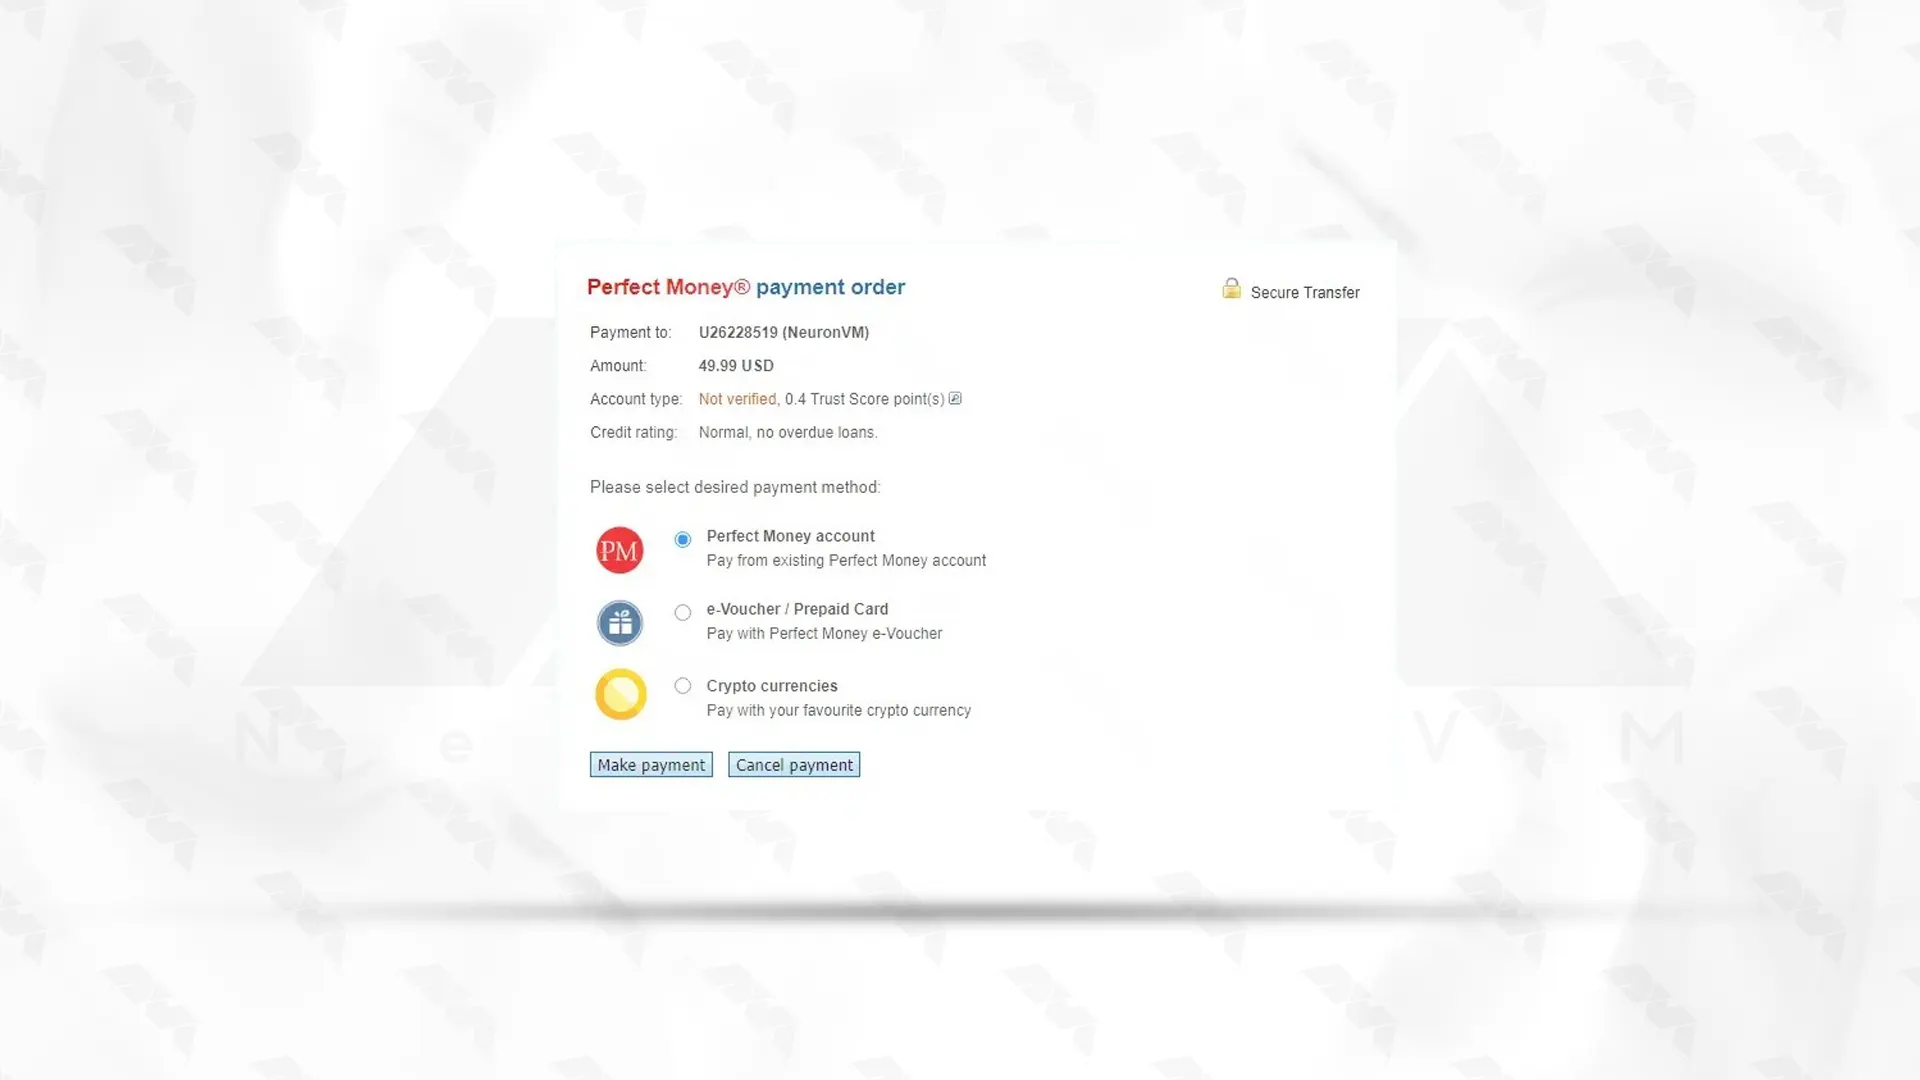
By clicking on Make payment in Perfect Money payment method and entering Member ID and password, your purchase will be completed successfully:
Note that in the shortest time and after a few minutes, the information about your purchased service will be sent to you via email.
Conclusion
In conclusion, cost-effective Windows VPS solutions offer a budget-friendly option for individuals and businesses seeking reliable and scalable hosting services. With affordable pricing and a wide range of features, these VPS plans provide excellent value for money while ensuring high performance and flexibility.