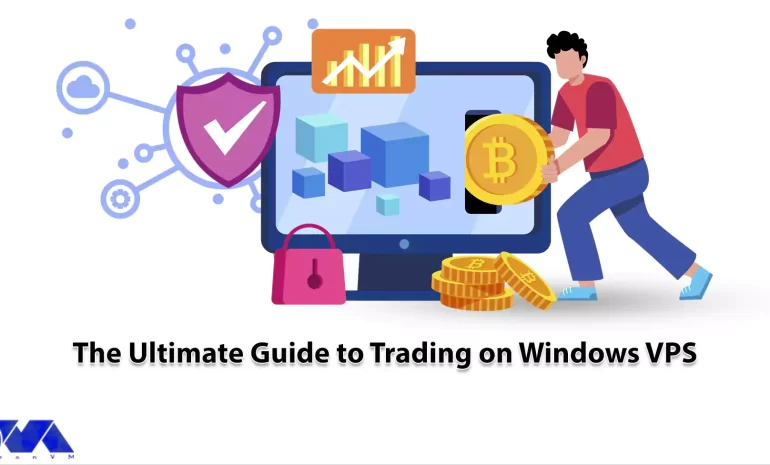
Trading on Windows VPS offers numerous advantages over traditional trading setups. One of the key benefits is the ability to access your trading platform anytime, anywhere. Unlike a physical computer, a VPS is hosted in a data center, allowing you to log in remotely from any device with an internet connection. This means you can monitor and execute trades even when you are away from your home or office, ensuring that you never miss out on profitable opportunities. Additionally, a VPS provides you with a dedicated virtual environment, free from the distractions and limitations of a regular computer. This allows your trading platform to run smoothly and efficiently, without being slowed down by other applications or processes running on your device. In this guide, we will focus on trading on Windows VPS and explore its infinite world as we move along!
Why Windows VPS is an Ideal Solution for Trading?
Trading on Windows VPS is the perfect option for traders due to a variety of reasons. Firstly, it offers reliability by providing a stable environment that eliminates interruptions and downtime typically experienced with shared hosting services. This ensures that traders can carry out their activities without any disruptions.
Secondly, speed is crucial in trading, and Windows VPS delivers high network speeds and low latency. This allows traders to execute trades in real time without any delays, enabling them to take advantage of market opportunities promptly.
In addition, accessibility is simplified with Windows VPS. Traders can access their trading platforms from anywhere and at any time through remote desktop access. Furthermore, Windows VPS provides a high level of customizability, allowing traders to install and run any desired trading software or indicators.
Overall, Windows VPS offers a reliable, fast, secure, customizable, and scalable environment that makes it an ideal hosting platform for traders in need of powerful and dedicated resources for their trading operations.
Choosing the Right Windows VPS Provider: Factors to Consider
When it comes to selecting a Windows VPS provider, there are several crucial factors to consider. The first thing to keep in mind is reliability. Look for a provider that guarantees high uptime and has a proven track record of delivering stable services. Additionally, performance is paramount.
Ensure that the provider you choose offers ample resources, such as CPU, RAM, and storage, to meet your specific needs. Pricing should also be considered, but be cautious of going for the cheapest option as it may compromise on quality. Another important factor is customer support.
Opt for a provider that offers prompt and helpful assistance whenever you need it. Taking all these factors into account, we recommend you take a look at our services. With our reliable services, high-performance resources, competitive pricing, and dedicated customer support, NeuronVM strives to provide an exceptional Windows VPS experience.
Optimizing Resources for Trading on Windows VPS: Best Practices
Optimizing resources for trading on a Windows VPS requires following best practices to ensure optimal performance and efficiency.
Firstly, it is crucial to choose a VPS provider that offers high-speed internet connection and low latency for real-time trading. Additionally, allocating sufficient RAM and CPU resources to run trading software smoothly is essential.
Regularly monitoring and optimizing resource usage by closing unnecessary programs and services, as well as keeping the VPS environment free from malware and unnecessary files, will help maximize performance.
Implementing these best practices will enable traders to execute trades swiftly and efficiently on their Windows VPS.

Top Trading Platforms Compatible with Windows VPS
There are several top trading platforms that are fully compatible with Windows VPS, providing traders with a seamless and efficient trading experience. These platforms combine robust features, advanced charting tools, and lightning-fast order execution capabilities to cater to the needs of both beginner and advanced traders.
Popular examples include MetaTrader 4 and 5, cTrader, and NinjaTrader. With the compatibility of these platforms with Windows VPS, traders gain the advantage of uninterrupted connectivity, enhanced security, and the ability to trade anytime, anywhere.
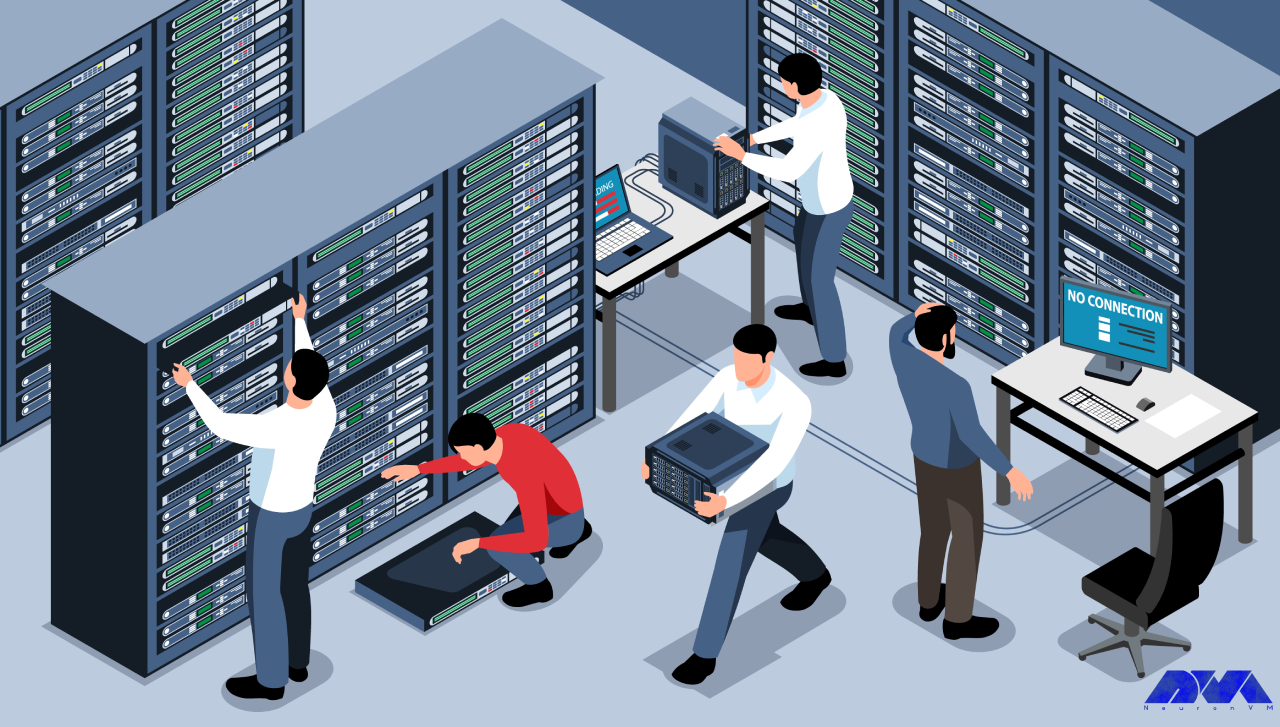
Troubleshooting Common Issues
When trading on a Windows VPS, it is not uncommon to encounter certain issues that may disrupt the trading experience.
– One common issue is a slow or unresponsive VPS. This can be due to several reasons, such as insufficient RAM, limited processing power, or high network latency. To troubleshoot this, it is recommended to check the VPS specifications and ensure that they meet the trading platform’s minimum requirements.
Additionally, optimizing the network settings, managing background processes, and ensuring adequate cooling can help improve performance.
– Another issue traders may face is the disconnection of the VPS from the trading platform. This can be caused by unstable internet connections or issues with the VPS provider. Users should check their network stability, ensure all necessary ports are open, and contact the VPS provider for any potential server-side problems.
Regularly monitoring and addressing these common issues will help ensure a seamless trading experience on a Windows VPS.
Conclusion
In conclusion, trading on a Windows VPS offers a multitude of advantages for traders seeking efficient, reliable, and secure solutions. With the ability to remotely access the VPS from any location and operate uninterrupted 24/7, traders can seize market opportunities swiftly and effectively. Windows VPS also provides a stable environment with high processing power, low latency, and optimal network connectivity, ensuring lightning-fast trade executions. Remember if you need a VPS, NeuronVM is here for you!